はじめに
Expo+Redux(+firebase)でログインフォーム② 〜Reduxの導入〜 の続きです。
この記事では、Ducksパターンを意識してReduxの各部品をファイルに分けていき、ReactNativeDebuggerを使えるようにするまでを扱います。
ファイル分割後のディレクトリ構成
root/
  ├ src/
      ├ App.tsx
      ├ store.ts
      ├ Styles.ts
      ├ components/
           ├ Counter.tsx
      ├ containers/
           ├ Counter.ts
      ├ modules/
           ├ index.ts
           ├ CounterModule.ts
  ├ node_modules/
  ├ package.json
ファイル分割
ほぼ、前回の記事のApp.tsxを分割しただけです。
App
import React from 'react';
import { Provider } from 'react-redux'
import store from './store'
import CounterContainer from './containers/Counter'

export default function App() {
  return (
    <Provider store={store}>
        <CounterContainer />
    </Provider>
  )
}
Store
import { createStore, combineReducers } from 'redux'
import { counterModule } from './modules'

const store = createStore(
  combineReducers({ count: counterModule.counter })
)

export default store
Style
import { StyleSheet } from 'react-native'

const styles = StyleSheet.create({
  container: {
    flex: 1,
    justifyContent: 'center',
    alignItems: 'center',
    backgroundColor: '#ecf0f1',
    padding: 8,
  },
  paragraph: {
    margin: 24,
    fontSize: 18,
    fontWeight: 'bold',
    textAlign: 'center',
  },
})

export default styles
これはなくてもいいですが、スタイルをつけなければ画面左上に要素が集まってしまい、見にくいですね。
Component
import React from 'react'
import { View, Text, Button } from 'react-native'
import styles from '../Styles'

const Counter = ({ count, increment, decrement }) => (
  <View style={styles.container}>
    <Text style={styles.paragraph}>{count}</Text>
    <Button
      title='Increment'
      onPress={increment}
    />
    <Button
      title='DECREMENT'
      onPress={decrement}
    />
  </View>
)

export default Counter
ReactのPresentational Componentです。
Buttonが押下された時に呼ばれる関数は下記のContainerに実装しておき、propsで渡すようにしています。ロジックはComponentには書かないほうがいいらしいです。
Container
import { connect } from 'react-redux'
import { counterModule } from '../modules'
import Counter from '../components/Counter'

const mapStateToProps = state => {
  return ({
    count: state.count
  })
}

const mapDispatchToProps = dispatch => {
  return ({
    increment: () => dispatch(counterModule.increment()),
    decrement: () => dispatch(counterModule.decrement())
  })
}

const CounterContainer = connect(mapStateToProps, mapDispatchToProps)(Counter)
export default CounterContainer
mapStateToProps, mapDispatchToPropsを定義して、connectを使ってComponentに渡しています。
今回は使わないですが、複雑なロジックが必要なら、これにmergePropsを加えるのがいいらしいです。
Module
import CounterModule from './CounterModule'

export const counterModule = new CounterModule()
moduleをまとめています。今後moduleが多くなっていくと、ここに追加していく感じです。
export default class CounterModule {
  // reducer
  counter(state, action) {
    if (action.type === 'undefined') {
      return null
    }

    switch(action.type) {
      case 'INCREMENT':
        return state + 1
      case 'DECREMENT':
        return state - 1
      default:
        return null
    }
  }

  // actionCreator
  increment = () => {
    return { type: 'INCREMENT' }
  }

  decrement = () => {
    return { type: 'DECREMENT' }
  }
}
actionTypeも作った方がいいんでしょうが、なんとなく省いています笑
React Native Debugger
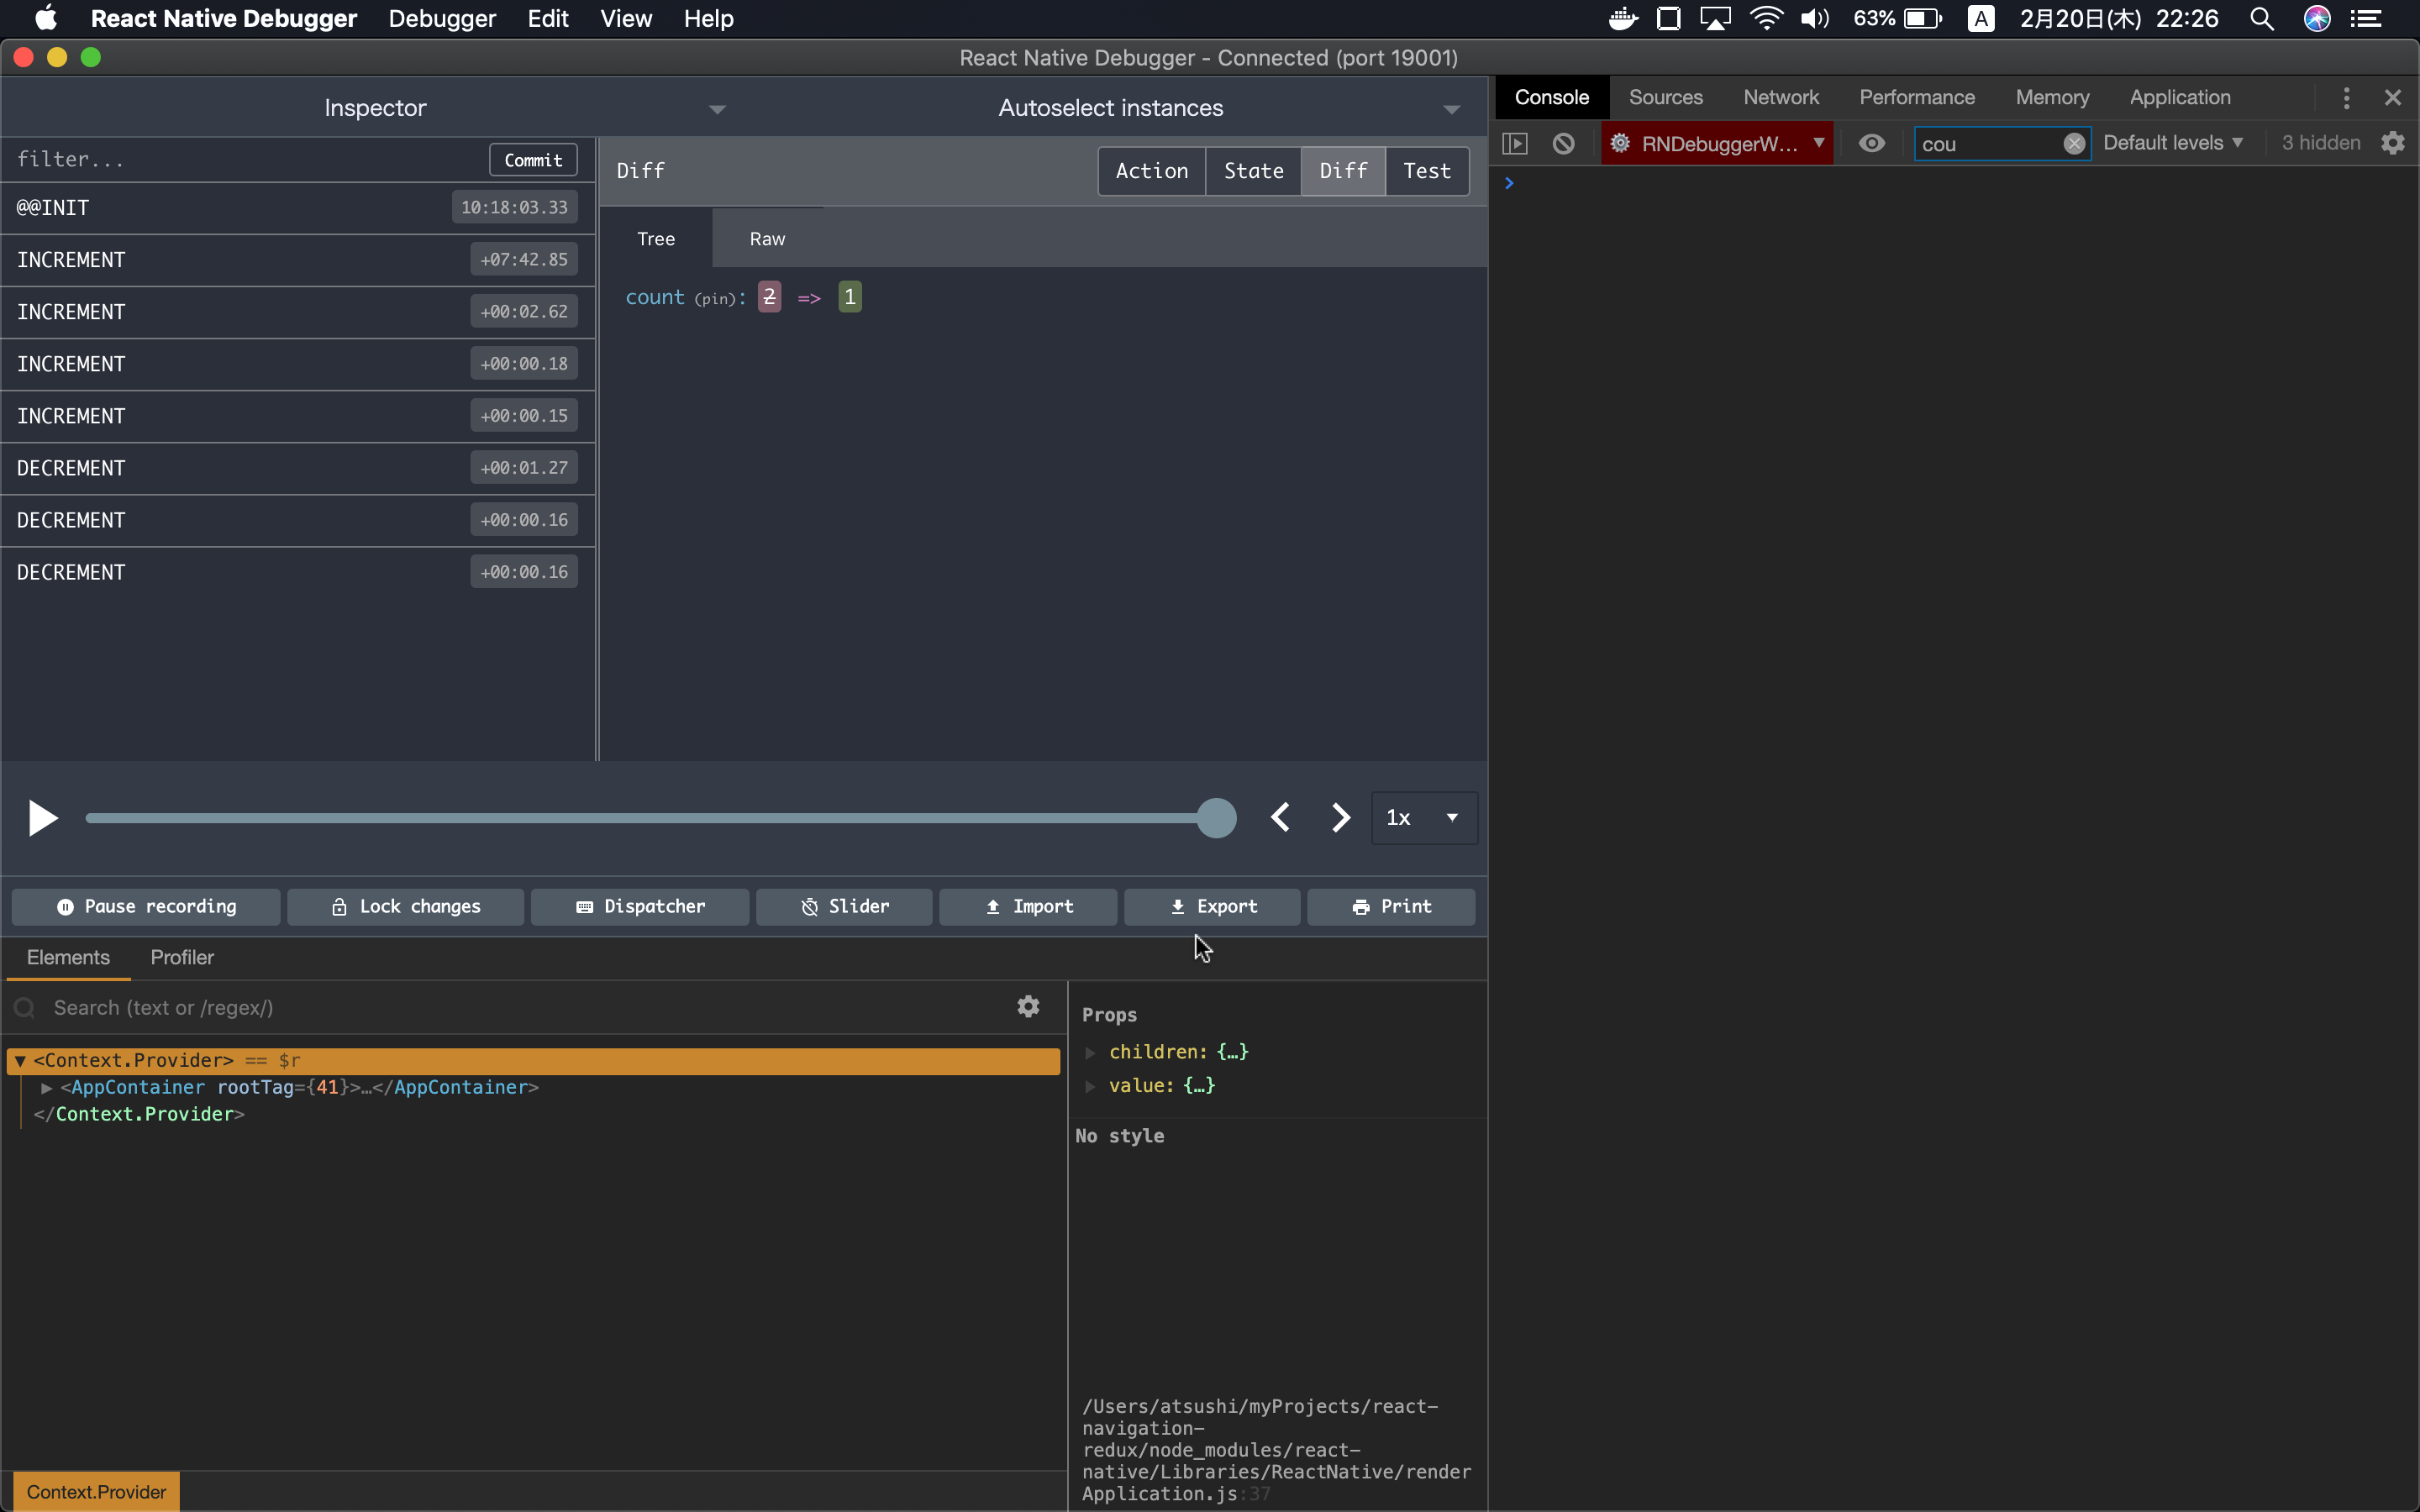
このままではreduxがちゃんと動いているのか分かりにくいので、デバッガーを使いたいと思います。
こちらの記事を参考にさせてもらったのですが、そのままだと動かなかったので少し修正します。
Storeを修正
import { createStore, combineReducers, compose, applyMiddleware } from 'redux'
import thunk from 'redux-thunk'
import { counterModule } from './modules'

const composeEnhancer = (window as any).__REDUX_DEVTOOLS_EXTENSION_COMPOSE__ || compose

const store = createStore(
  combineReducers({ count: counterModule.counter }),
  composeEnhancer(applyMiddleware(thunk))
)

export default store
このようにミドルウェアのredux-thunkを挟まないと、デバッガが繋がらないみたいです(僕もよくわかっていない笑)
デバッガをインストール、起動
インストール
brew update && brew cask install react-native-debugger
起動
open "rndebugger://set-debugger-loc?host=localhost&port=19001"
はじめ、シングルクォーテーション(')で囲っていたのですが,なぜかエラー
The file /Users/atsushi/myProjects/react-navigation-redux/‘rndebugger:/set-debugger-loc?host=localhost does not exist.
[1]+  Exit 1                  open ‘rndebugger://set-debugger-loc?host=localhost
~
が出たので、ダブルクォーテーション(")で囲い直して見ると、うまくいきました。

次回
次回は、React Navigationを用いて画面遷移を実装していきます。
いよいよサインイン、サインアップ画面を作っていくことになります。