概要
この記事では、Godot Engine でディゾルブエフェクトの作り方を紹介します。
ディゾルブ(dissolve)とは「溶ける」という意味で、部分的に消えていくようなエフェクトとなります。
シンプルなディゾルブ
まずはシンプルなディゾルブを実装します。
以下の画像を "bg.jpeg" として保存してプロジェクトに追加します。
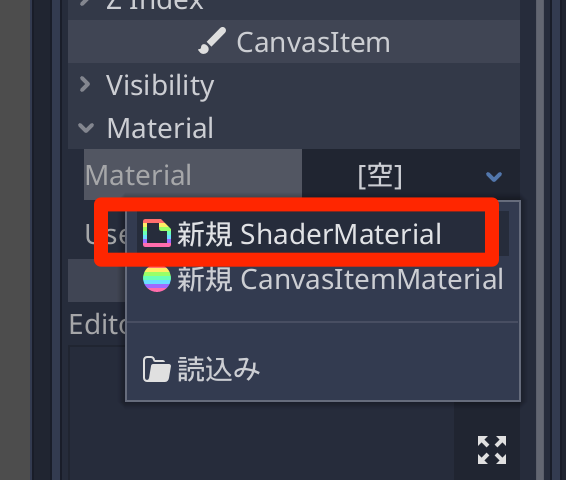
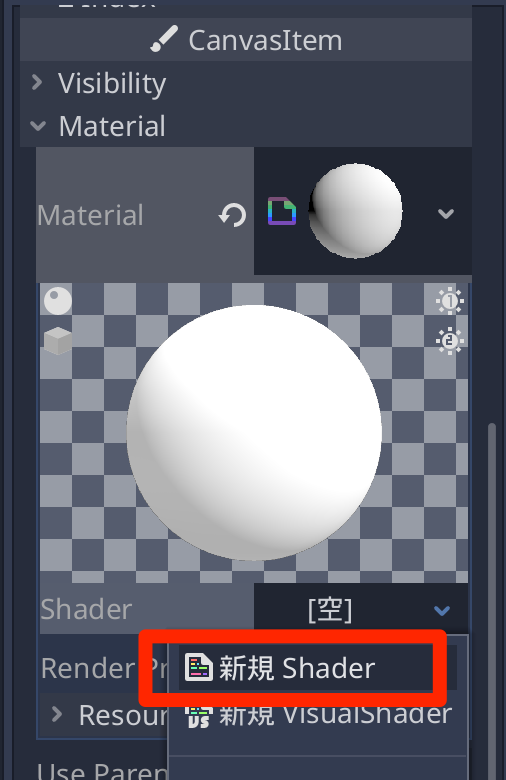
そして画像を Sprite として登録し、CanvasItem > Material > Material > [空] をクリックして「新規 ShaderMaterial」を選びます。
そして、Shader > [空] をクリックして「新規 Shader」を選んでシェーダーコーを有効にします。
シェーダーコードは以下のように記述します。
shader_type canvas_item;

// ノイズテクスチャ
uniform sampler2D noise_img : hint_albedo;

// ディゾルブのかかり具合
uniform float dissolve_value : hint_range(0, 1);

void fragment() {
	// 現在のテクスチャの色を取得
    vec4 main_texture = texture(TEXTURE, UV);

	// ノイズテクスチャを取得
    vec4 noise_texture = texture(noise_img, UV);

	// ノイズテクスチャの色でアルファ値を決定
	// 0.0〜1.99の範囲におさめて floor() で 0.0〜1.0にする
    main_texture.a *= floor(dissolve_value + min(0.99, noise_texture.r));

	// 色を反映
    COLOR = main_texture;
}
ただ、パラメータがない状態だと何も表示されなくなっています。
bgノード(Sprite) にスクリプトをアタッチして以下のように記述します。
tool
extends Sprite

# ノイズテクスチャ
export(Texture) var noise_img;
# ディゾルブの値
export(float, 0, 1) var dissolve;

func _process(delta):
	# シェーダーパラメータに反映
	material.set_shader_param("noise_img", noise_img)
	material.set_shader_param("dissolve_value", dissolve)
tool宣言を反映させるために、いったんシーンを保存して開き直します。
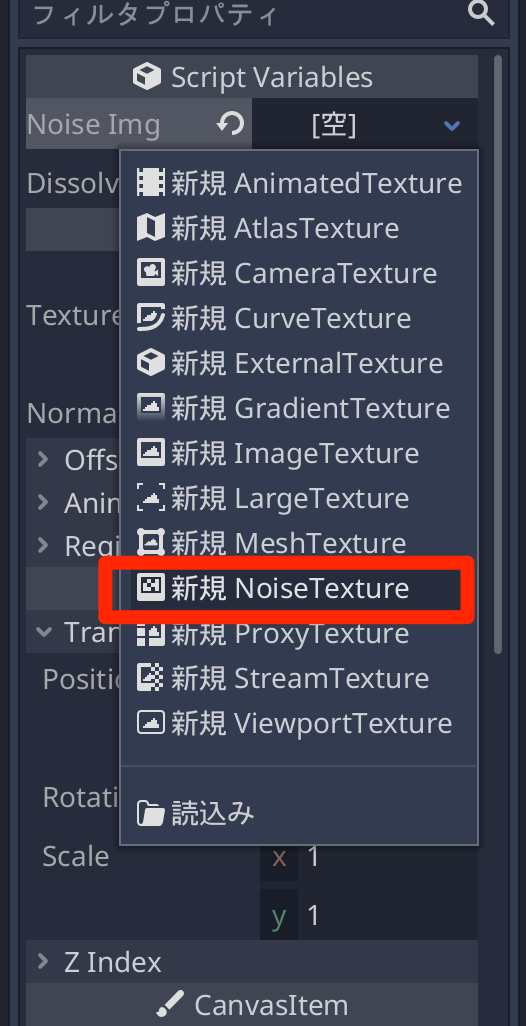
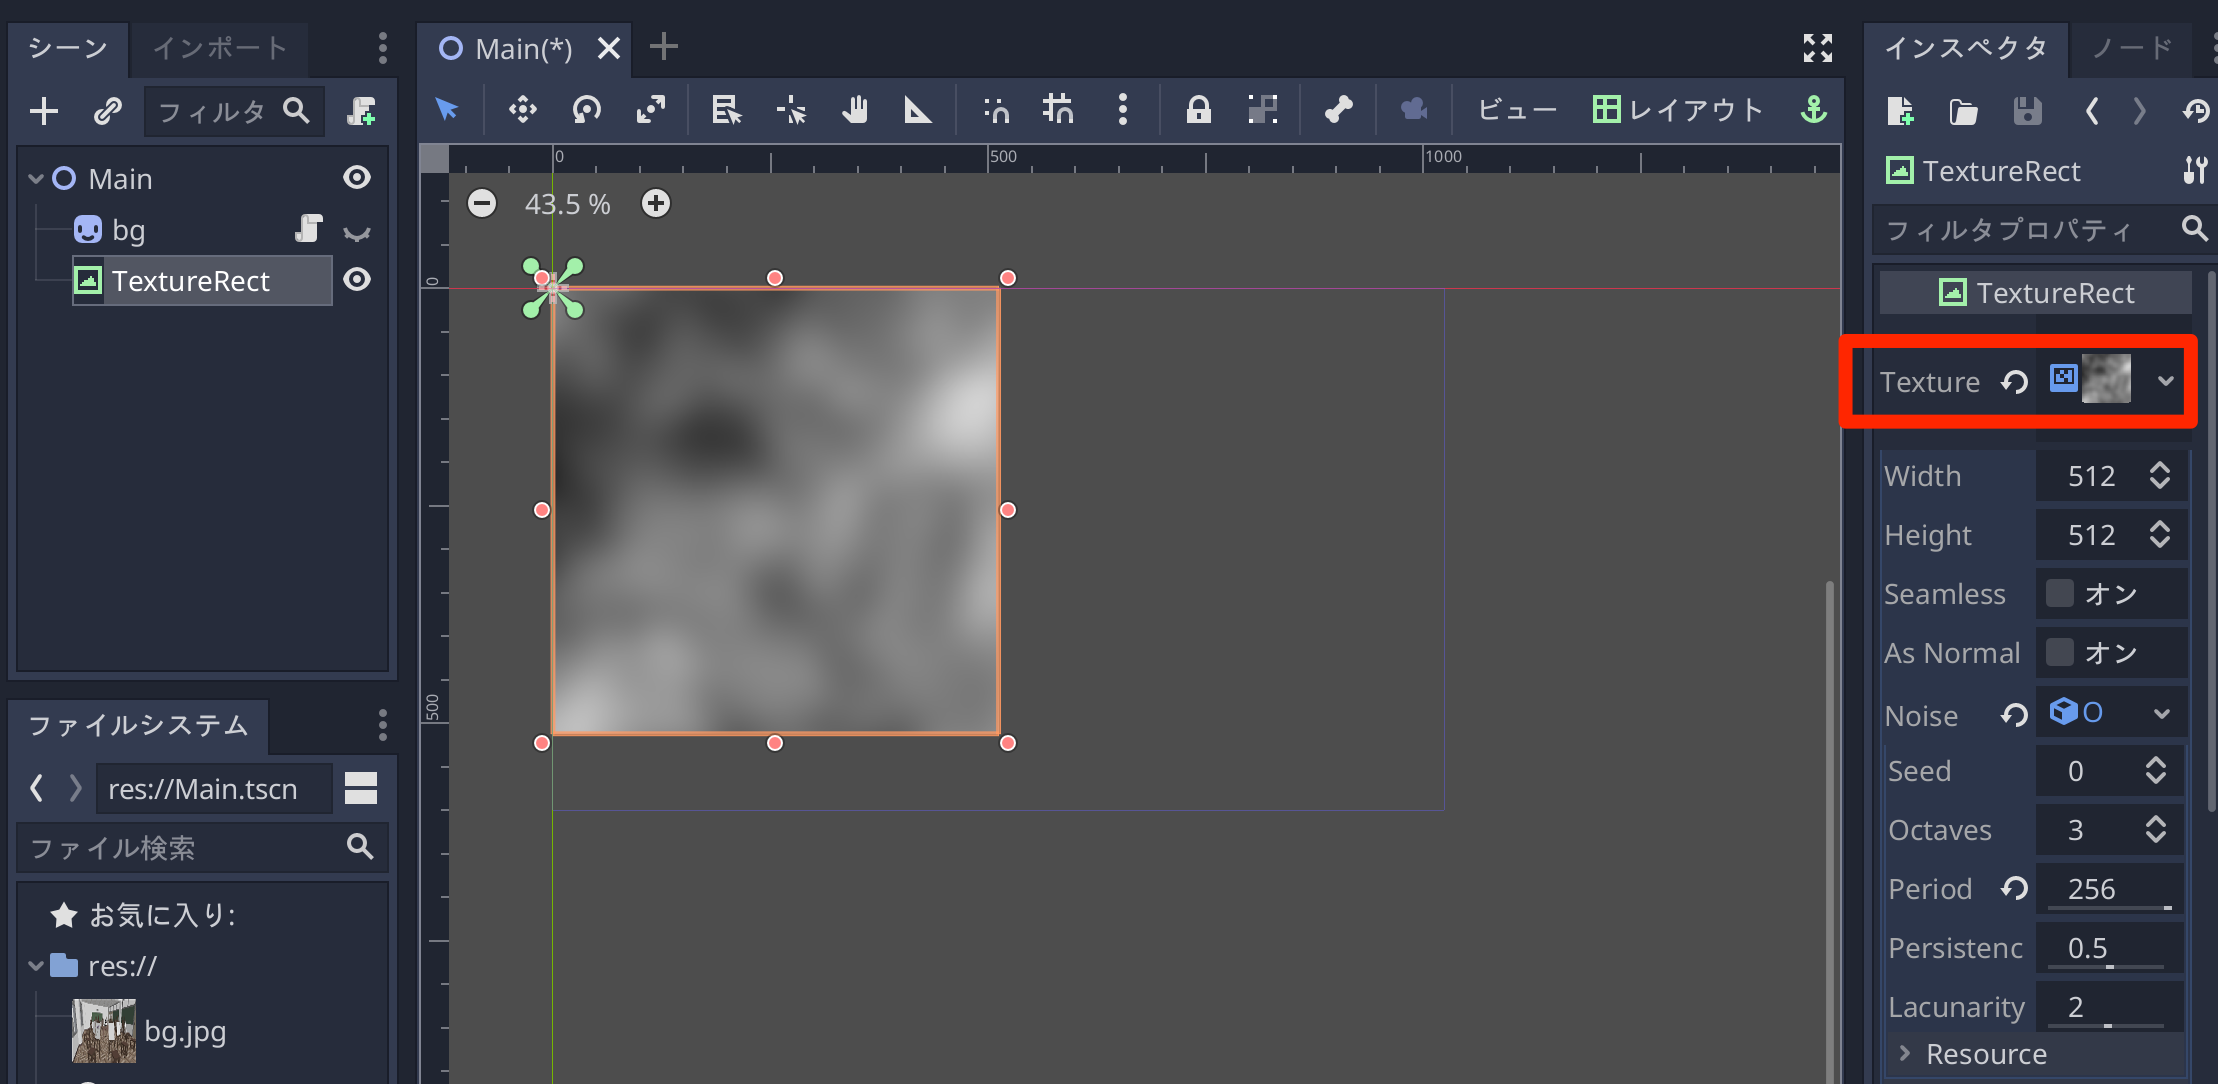
開き直すと、bgノード(Sprite)に Script Variables が追加されているので、そこから Noise Img > [空] をクリックして、「新規 Noise Texture」を選びます。
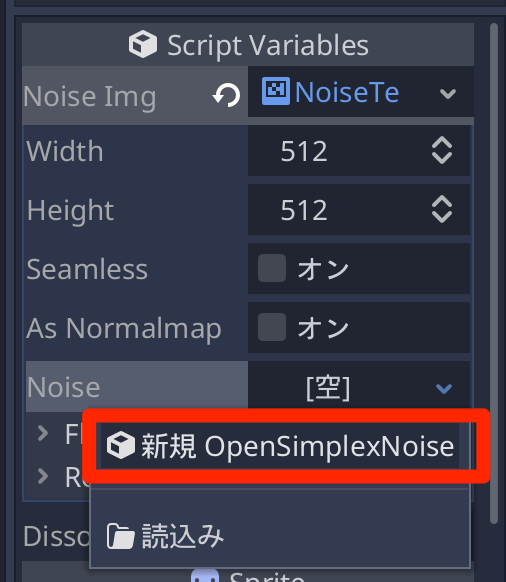
作成された Noise Texture をクリック、さらに Noise > [空]をクリックして、「新規 OpenSimplexNoise」を選びます。
そしてノイズパラメータの Period を「256」に変更しておきます。
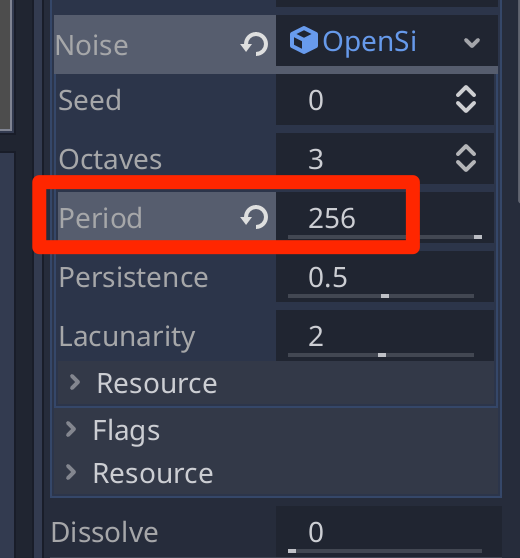
これでノイズの設定は完了です。
エディタの「Dissolve」パラメータを変化させて動作を確認します。
なお、ノイズテクスチャがどのような画像になっているのを確認する場合は、Texture Rectなどに Noise Textureを設定するとわかりやすいかと思います。
テレポートエフェクト
ディゾルブの応用としてテレポートエフェクトを作成してみます。
立ち絵素材は「立ち絵素材 わたおきば」様よりお借りました
シェーダーコードを以下のように記述します。
/*
Shader from Godot Shaders - the free shader library.
godotshaders.com/shader/teleport-effect

This shader is under CC0 lincense. Feel free to use, improve and
change this shader according to your needs and consider sharing
the modified result on godotshaders.com.
*/

shader_type canvas_item;

// ディゾルブのかかり具合
uniform float progress : hint_range(0.0, 1.0);

// ノイズの抽出範囲
uniform float noise_desnity : hint_range(0.0, 60.0);

// 色の残るサイズ
uniform float beam_size : hint_range(0.01, 0.15);
// 残る色
uniform vec4 color : hint_color = vec4(0.0, 1.02, 1.2, 1.0);

// We are generating our own noise here. You could experiment with the
// built in SimplexNoise or your own noise texture for other effects.
vec2 random(vec2 uv){
    uv = vec2( dot(uv, vec2(127.1,311.7) ),
               dot(uv, vec2(269.5,183.3) ) );
    return -1.0 + 2.0 * fract(sin(uv) * 43758.5453123);
}

float noise(vec2 uv) {
    vec2 uv_index = floor(uv);
    vec2 uv_fract = fract(uv);

    vec2 blur = smoothstep(0.0, 1.0, uv_fract);

    return mix( mix( dot( random(uv_index + vec2(0.0,0.0) ), uv_fract - vec2(0.0,0.0) ),
                     dot( random(uv_index + vec2(1.0,0.0) ), uv_fract - vec2(1.0,0.0) ), blur.x),
                mix( dot( random(uv_index + vec2(0.0,1.0) ), uv_fract - vec2(0.0,1.0) ),
                     dot( random(uv_index + vec2(1.0,1.0) ), uv_fract - vec2(1.0,1.0) ), blur.x), blur.y) * 0.5 + 0.5;
}

void fragment()
{
	vec4 tex = texture(TEXTURE, UV);

	float noise = noise(UV * noise_desnity) * UV.y;

	float d1 = step(progress, noise);
	float d2 = step(progress - beam_size, noise);

	vec3 beam = vec3(d2 - d1) * color.rgb;

	tex.rgb += beam;
	tex.a *= d2;

	COLOR = tex;
}
シェーダーコードは以下からお借りしたものです。
このままでもよい感じなのですが、より良くするためにグロー効果を追加します。
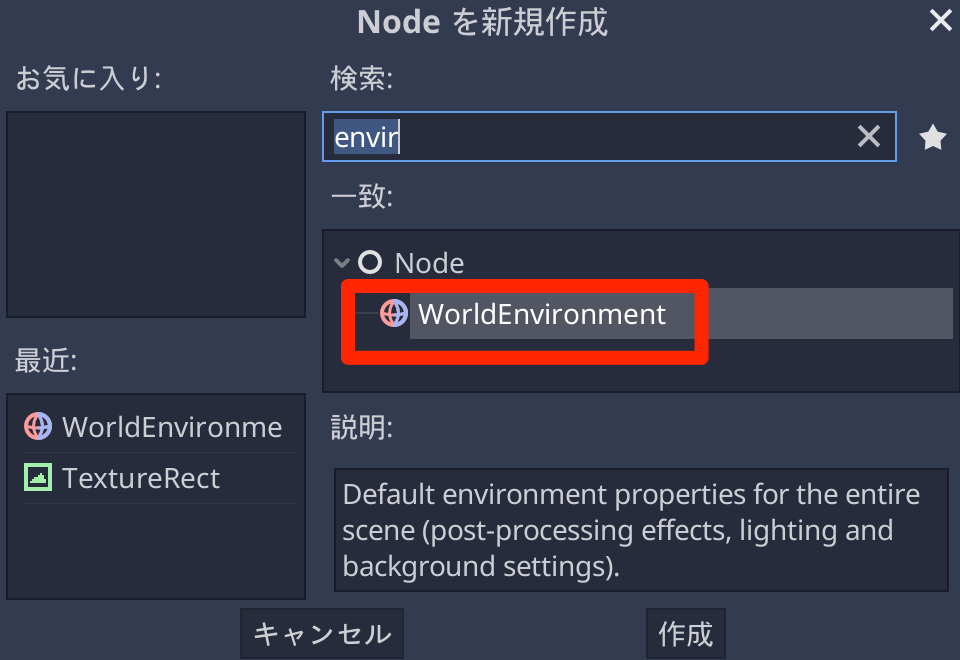
WorldEnvironment を追加します。
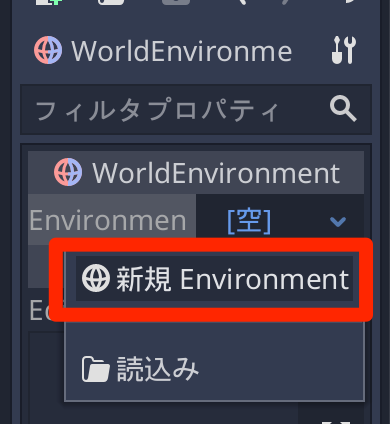
インスペクタから Environment > [空] をクリックして「新規 Environment」を追加します。
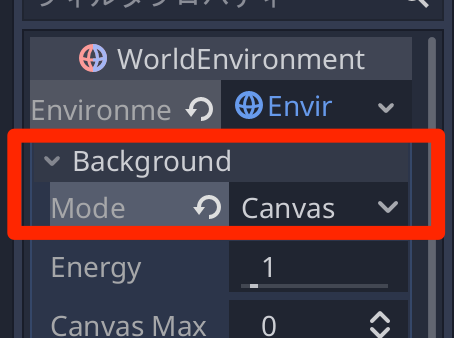
作成したEnvironmentをクリックして、Background > Modeを 「Canvas」に設定します。
さらに、Glow > Enabled にチェックを入れて、Intensity を「0.2」、Blend Modeを「Addictive」に変更します。
するとGlow効果が適用されて、光り輝く感じになります。