環境
- EC2
- Docker
初めに
Dockerのimageにcode-serverが出てきた!
試しに使ってみよう!
と思い構築を行い。記録用にここに記事として書いとこてな感じ
で作成しました。
EC2やセキュリティグループの設定、Dockerなどの知識はここでは省かせてもらいますので、公式ドキュメントで調べてみてください。
とりあえず構築
簡単に言うとDockerHubに上がっているイメージを使って構築
Dockerfile
FROM codercom/code-server

USER root

# パッケージの更新
RUN apt-get update -y

RUN apt-get install -y docker docker-compose

RUN apt-get clean

USER coder

RUN cat /etc/group | grep docker
docker-compose.yml
version: "3"
services:
  code:
    build:
      context: .
      dockerfile: ./Dockerfile
    restart: unless-stopped
    command: code-server
    environment:
      PASSWORD: [任意のパスワード]
    ports:
      - 80:8080
    volumes:
      - ./projects:/home/coder/project
      - ./code-server:/home/coder/code-server
      - /var/run/docker.sock:/var/run/docker.sock
できたら実行!
- コマンド
- docker-compose up --build
- 指定のブラウザで
localhostにアクセス - ログイン画面が表示された
EC2にUPしてみる
- sshでEC2に接続 ※pemファイルの権限は600に変更してあること前提
- ssh -v -i [pemファイル] ec2-user@[Elastic IP]
- gitを使ってリポジトリをClone
- マウント先のフォルダに遷移
- 例の場合:
/var/www/code-server
- 例の場合:
- Dockerのサービスを起動
- service docker start
- コンテナを起動
- docker-compose up -d
- Amazon Route 53はコスト面からやってないので、直接IPでHttp接続
- http://[Elastic IP]
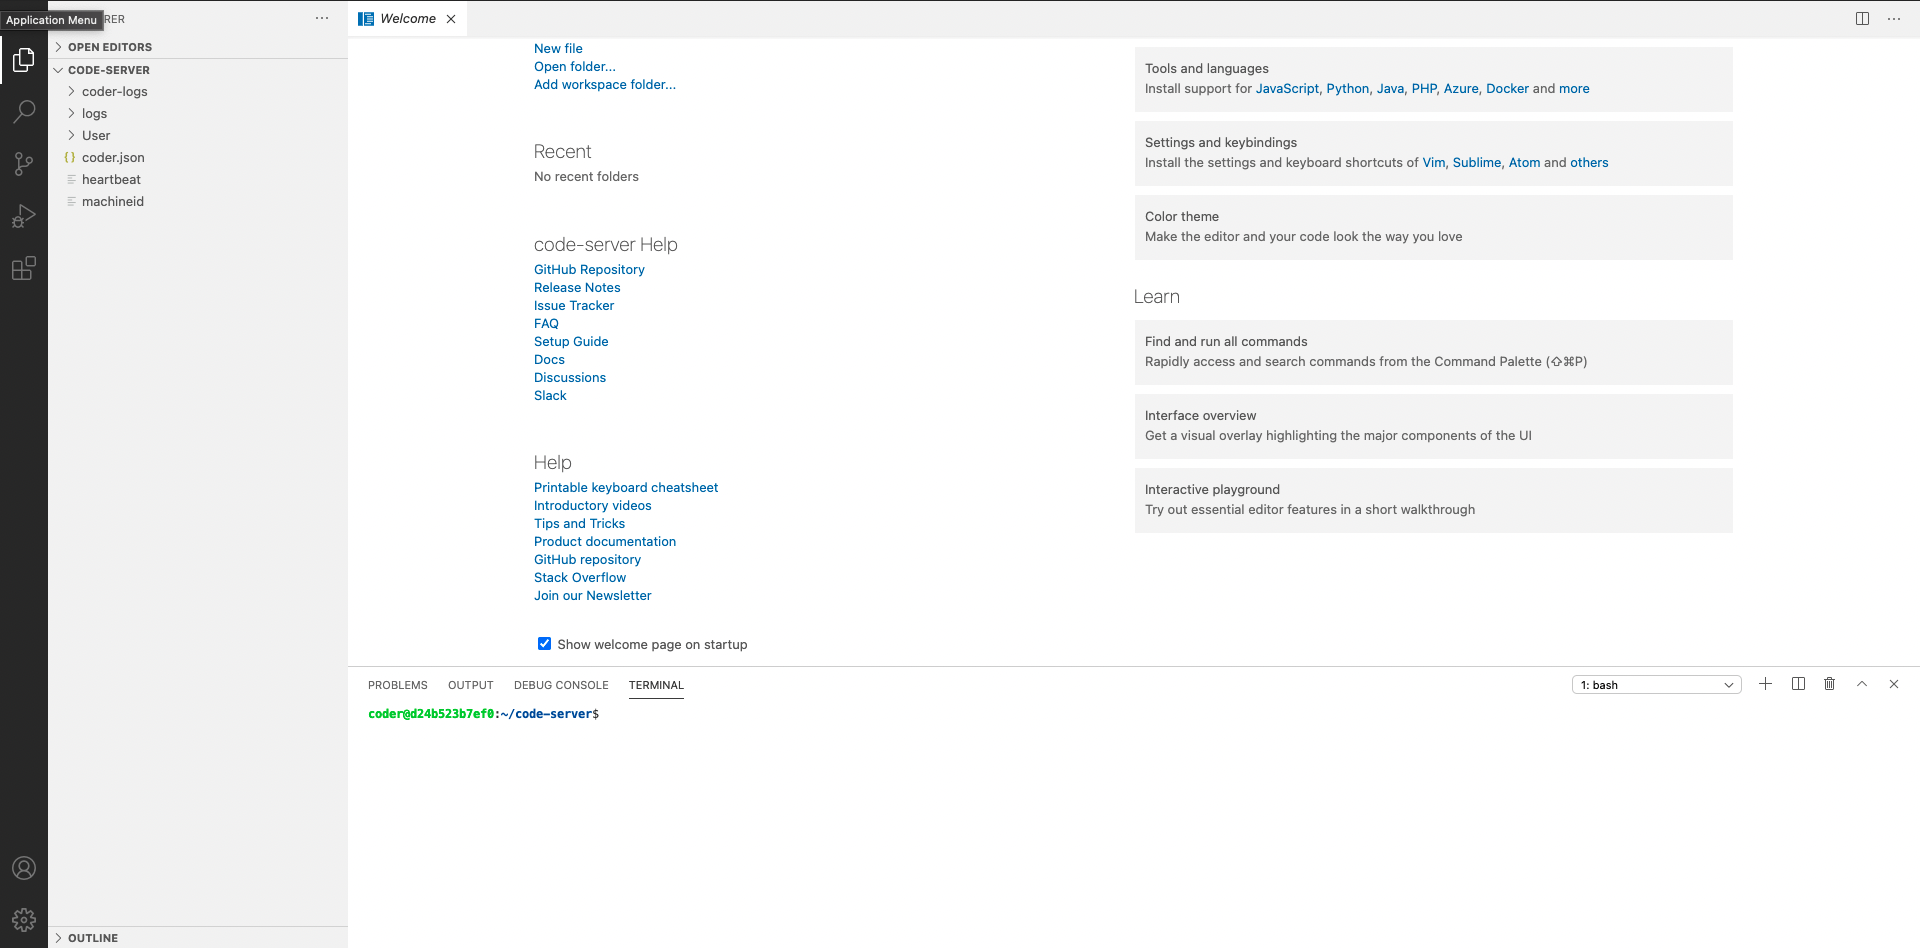
- Local同様の画面が確認できた!
実際の画面
今後
- カラーやプラグインが設定できればより良いものになりそうなので、そこができるか調べ試そうと思う
- 現状手動で起動しなければいけないので、自動で起動できるようにしたい!
リンク
- 今回使用したImage
