Vue.jsを使ったWEBサイト
今回はVue.jsでWEBサイトを作りたいと思います。
参考資料
[【資料1】第一回 Vue.jsでWebアプリをつくろう!]
(https://www.monster-dive.com/blog/web_creative/20180608_001789.php)
[【資料2】【超簡単】Vue.jsを使って3時間で自分のホームページを作成&公開する]
(https://qiita.com/abouch/items/35d7a202f3e74c7d4c3e)
環境
Windows 10
Visual Studio Code: 1.40.1 (system setup)
Electron: 6.1.2
Chrome: 76.0.3809.146
Node.js: 12.4.0
V8: 7.6.303.31-electron.0
OS: Windows_NT x64 10.0.18362
Vue.js データをダウンロード
WEBアプリ用のフォルダを作りターミナルを開く
以下1、2を入力し質問に答える
① npm install -g vue-cli
② vue init webpack
  ? Generate project in current directory? (Y/n) // →y enter
  ? Project name  // →enter
  ? Project description // →enter
  ? Author // →enter
  ? Vue build
   // Runtime-only: about 6KB lighter min+gzip, but templates (or any Vue-specific HTML)
     are ONLY allowed in .vue files - render functions are required elsewhere を選択 →enter
    ? Install vue-router?(Y/n) // →y enter (routerを使うので)
    ? Use ESLint to lint your code? (Y/n) // →n enter
    ? Set up unit tests (Y/n) // →n enter
    ? Setup e2e tests with Nightwatch? (Y/n) // →n enter
    ? Should we run `npm install` for you after the project has been created? (recommended) (Use arrow keys)
      > Yes, use NPMを選択 →enter
インストール完了、
npm run dev
http://localhost:8080
にアクセス。
表示されたら完成。
routerを使って複数ページを繋げる
完成品

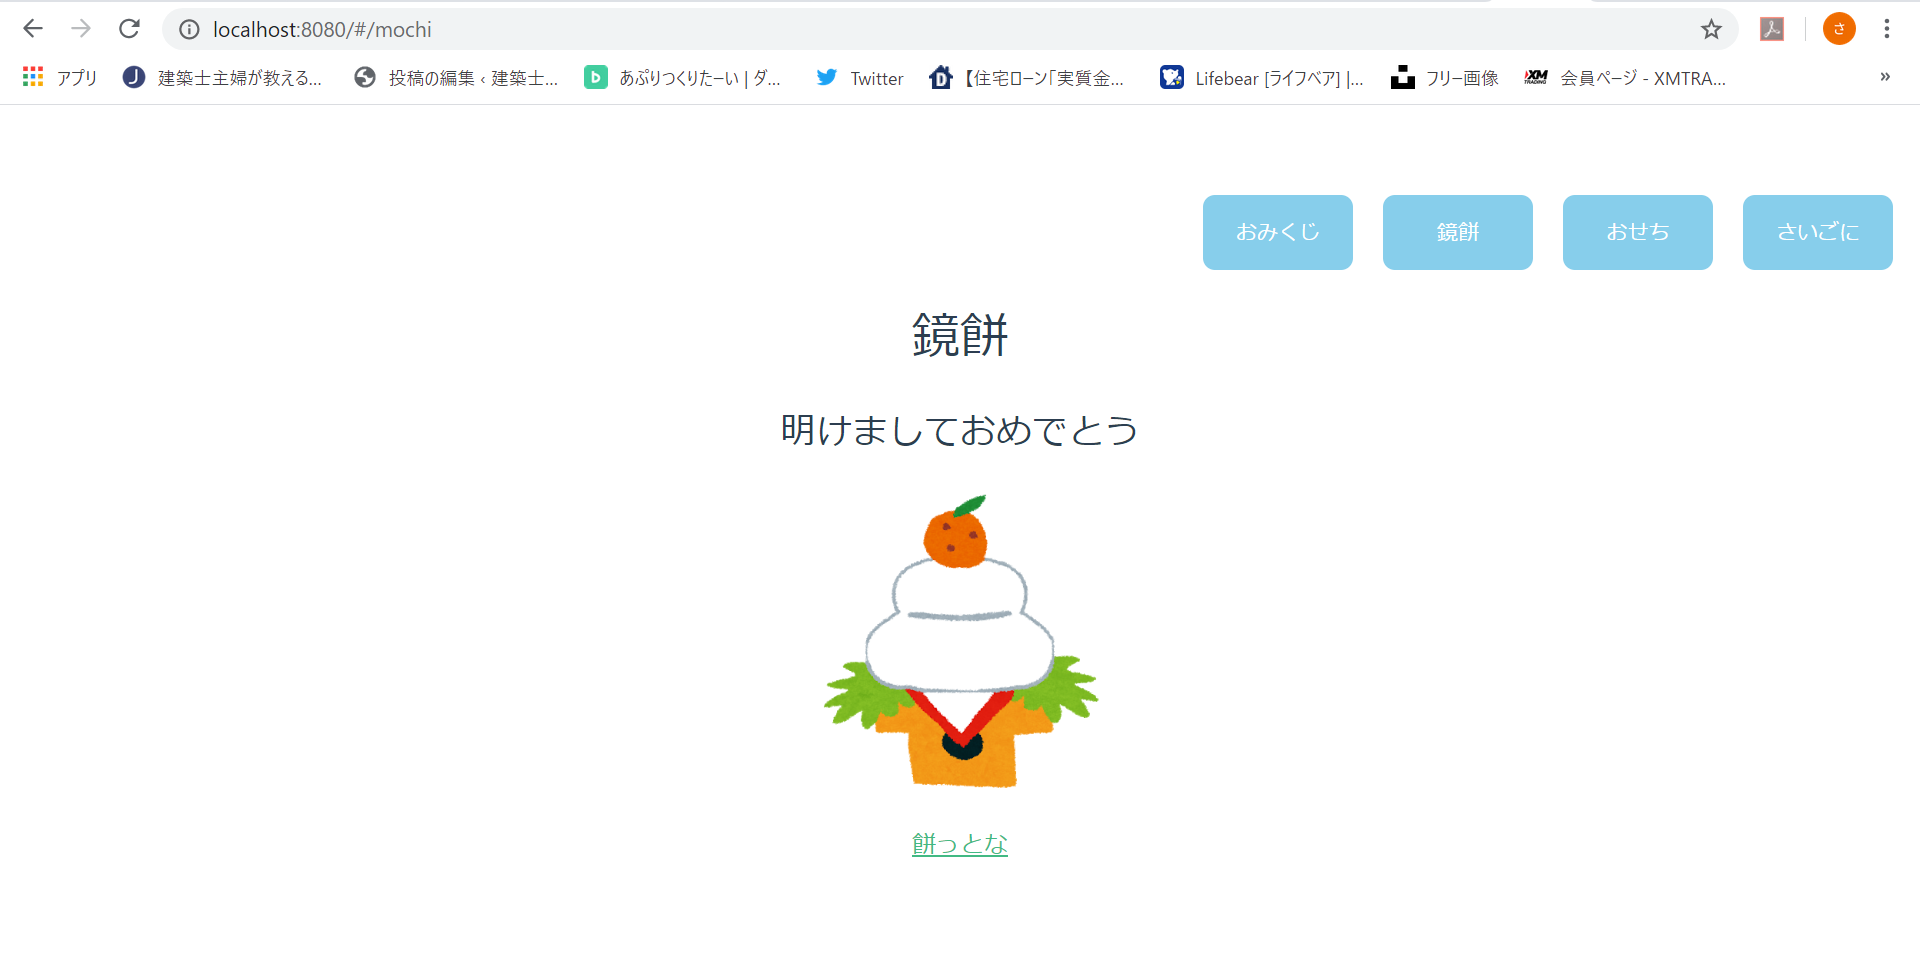


画像とURLに飛ぶ4ページをボタンで繋げたシンプルな構成です。
ファイルを整理
ファイル構成はこう。

①src直下のApp.vueファイルでメインの表示設定
<template>
  <div id="app">
    <tab-menu></tab-menu>
    <router-view/>
  </div>
</template>

<script>

import TabMenu from '@/components/TabMenu'

export default {
  name: 'App',
  components: {
    TabMenu
  }
}
</script>

<style>
# app {
  font-family: 'Avenir', Helvetica, Arial, sans-serif;
  -webkit-font-smoothing: antialiased;
  -moz-osx-font-smoothing: grayscale;
  text-align: center;
  color: #2c3e50;
  margin-top: 60px;
}
</style>
②src直下のmain.jsファイルでメインの動きを設定
import Vue from 'vue'
import App from './App'
import router from './router'

Vue.config.productionTip = false

/* eslint-disable no-new */
new Vue({
  el: '#app',
  router,
  render: h => h(App)
})
③-1 componentsの中にボタンに関する.vueファイルを作成
<template>
  <div>
    <ol>
      <li v-for="(item, index) in items" :key=index>
         <router-link v-bind:to=item.path>
            {{ item.title }}
         </router-link>
      </li>
    </ol>
  </div>
</template>

<script>
export default {
  name: 'TabMenu',
  data () {
    return {
      items: [
        { title: 'おみくじ', path: '/' },
        { title: '鏡餅', path: '/mochi' },
        { title: 'おせち', path: '/osechi' },
        { title: 'さいごに', path: '/last' }
      ]
    }
  }
}
</script>

<style scoped>

ol {
  margin-left: auto;
  width: 480px;
  display:flex;
  justify-content: center;
  padding: 0;
  list-style: none;
}

li {
  width: 100px;
  height: 50px;
  margin-left:10px;
  margin-right:10px;
  font-size: 14px;
  background-color: skyblue;
  border-radius: 8px;
  position: relative;
}

li:hover {
  opacity: 0.4;
}

/*  router-linkがaタグとして表示されてたのでスタイルをaタグに書いた*/
a {
  position: absolute;
  left: 0;
  top: 0;
  width: 100%;
  height: 100%;
  color: white;
  text-decoration: none;
  line-height: 50px;
}

</style>
③-2 componentsの中におみくじ、鏡餅、おせちに関する.vueファイルをそれぞれ作成。
指定する画像ファイルはあらかじめsrc/assetsの中に〇〇.pngと名前を付けて保存しておく。
<template>

  <div class="hello">
    <h1>{{ msg }}</h1>
    <h2>明けましておめでとう</h2>
    <img class="img" src="../assets/omijikuji.png" width="200">


    <ul>
      <li>
        <a
          href="https://fortune.yahoo.co.jp/omikuji/index.html"
          target="_blank"
        >
          占う

        </a>
      </li>

    </ul>
  </div>

</template>


<script>
export default {
  name: 'HelloWorld',
  data () {
    return {
      msg: 'おみくじ'
    }
  }
}
</script>

<!-- Add "scoped" attribute to limit CSS to this component only -->
<style scoped>
h1, h2 {
  font-weight: normal;
}
ul {
  list-style-type: none;
  padding: 0;
}
li {
  display: inline-block;
  margin: 0 10px;
}
a {
  color: #42b983;
}
</style>
③-3 componentsの中にさいごに関する.vueファイルを作成
<template>
  <div class="output">

  <!-- 何個のコンテンツを並べるかin 数  -->
    <div class="content" v-for="i in 1" :key=i>

    <h3> {{ name }} </h3>
    <p> {{ text }} </p>
  </div>
  </div>
</template>

<script>
export default {
  name: 'Output',
  data () {
    return {
      name: 'さいごに',
      text: '今回はvue.jsのrouterを使って作ってみました。初めて使いましたがVue.jsのファイルの使い方が少し分かるようになって嬉しかったです。'
      //.repeat(3)サンプルの(3回繰り返しのコード)
    }
  }
}
</script>

<!-- Add "scoped" attribute to limit CSS to this component only -->
<style scoped>

div.output {
  text-align: center;
}

div.content {
  background-color: #eee;
  display: inline-block;
  margin: 10px;
  width: 30%;
}

h3 {
  color: white;
}


p {
  width: 90%;
  display: inline-block;
  text-align: left;
}


</style>
④ ③で作ったそれぞれのvueファイルをsrc/router/index.jsを編集して繋げる。
import Vue from 'vue'
import Router from 'vue-router'
import omikuji from '@/components/omikuji'
import mochi from '@/components/mochi' //①import 〇〇〇.vueを @/components/〇〇で指定
import osechi from '@/components/osechi'
import last from '@/components/last'


Vue.use(Router)

export default new Router({
  routes: [
    {
      path: '/',
      name: 'omikuji',
      component: omikuji
    },


//②鏡餅
   {
      path: '/mochi',
      name: 'mochi',
      component: mochi
    },

//③おせち
   {
      path: '/osechi',
      name: 'osechi',
      component: osechi
    },

 //③さいごに
   {
    path: '/last',
    name: 'last',
    component: last
  },


  ]
})
完成!!
自在に思ったレイアウトを作るにはまだまだですが少しVue.jsの使い方が分かったかなと思います。
複数ファイルの構成も、画像の貼り付け方も分からなかったのでうれしいです。
スタートラインかと思いますが楽しかったです。
ありがとうございました。