自分の備忘録用記事です。
※2021/03/03 こちらのページに従い、firebase_coreを使うパターンも記載しました。
完成形
下記の記事を参考にしてます。
Flutter projectの作成
まずはFlutter projectの作成。
今回はAndroid Studioメインで作成します。
(Flutterのプラグインは導入済みの想定。まだの人はこちらから)
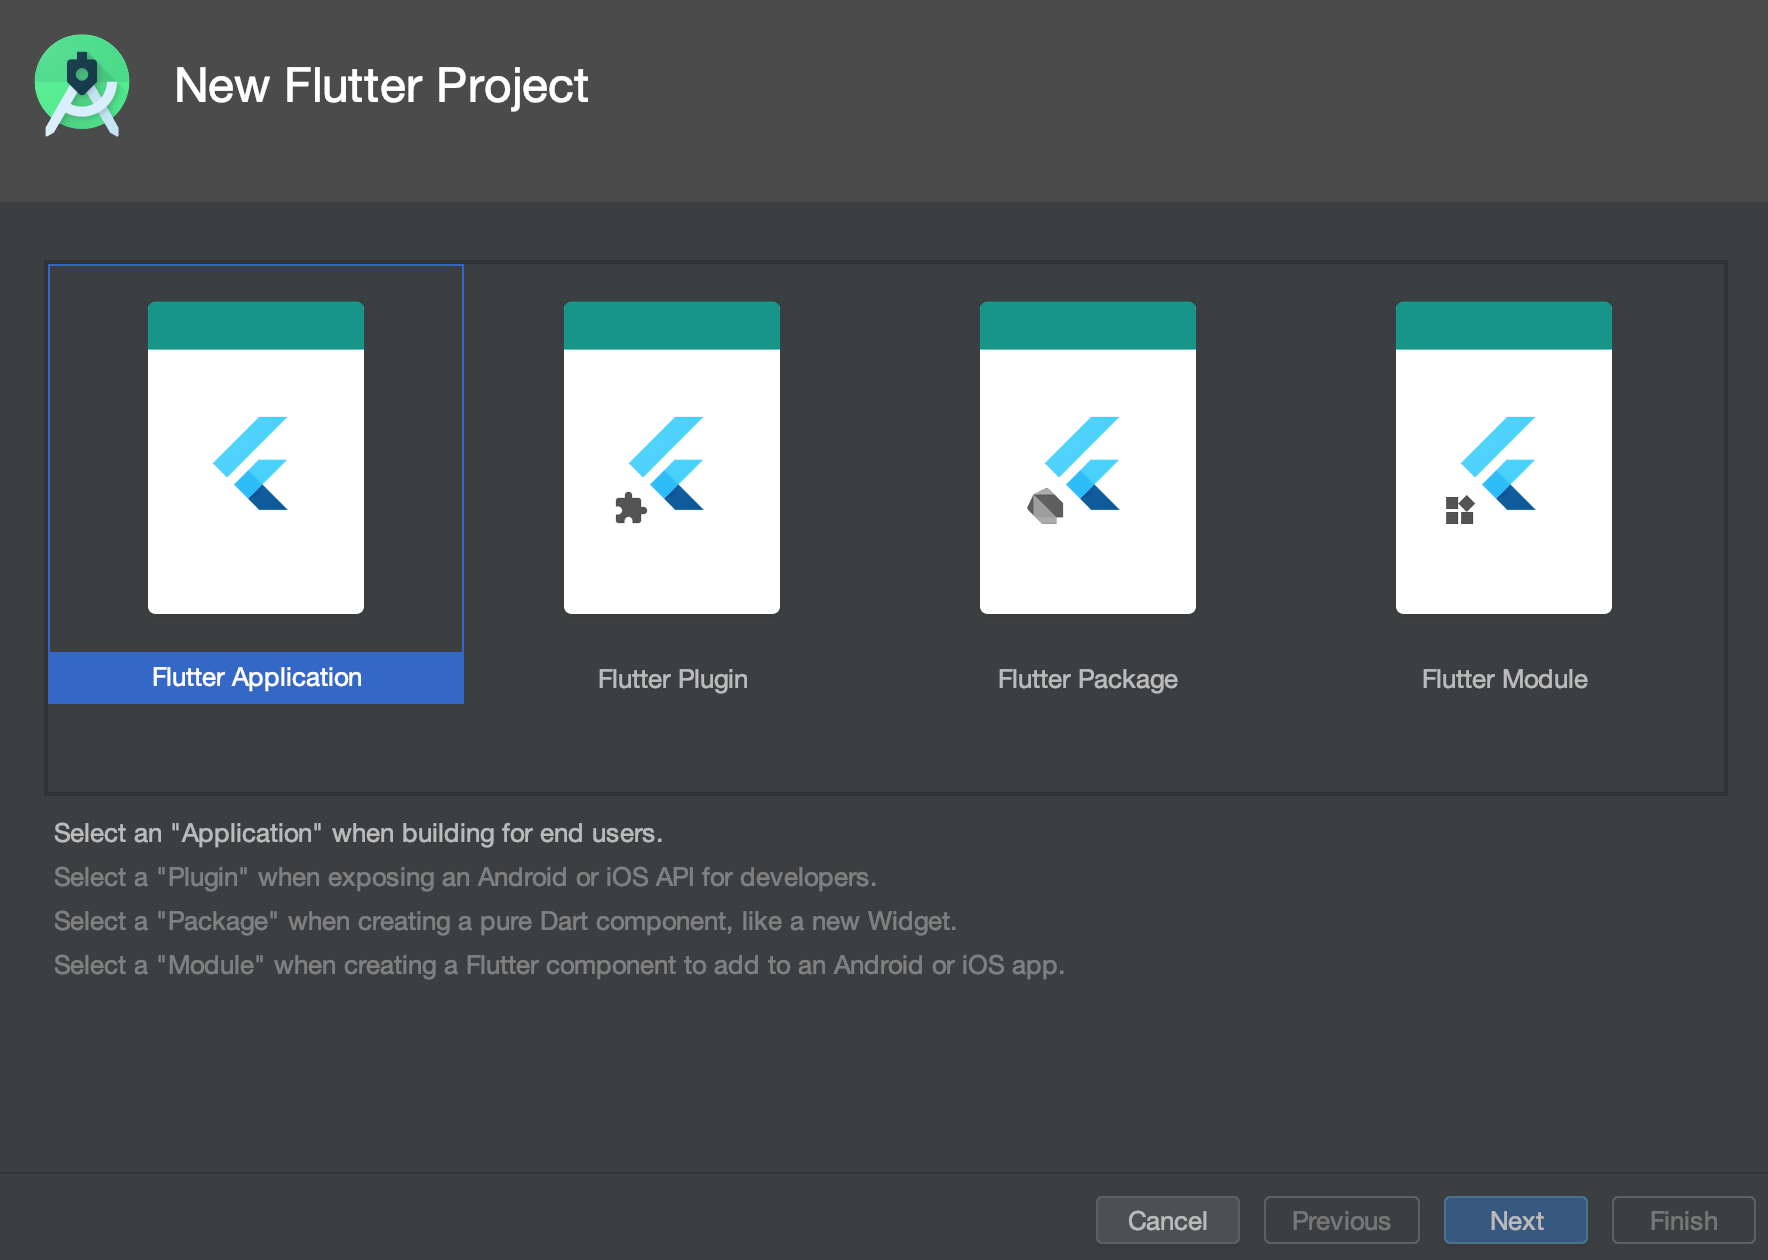
Start a new Flutter projectをクリック。

Flutter Applicationを選択し、Nextをクリック。
Packeage Nameを入力し、Finishをクリック。。
※Packeage Nameは任意で良いです。

プロジェクトが立ち上がったら、pubspec.yamlのdependenciesに下記の文言を追加。
(Android StudioならShiftキーを2回押すとファイル検索できるので、pubspec.yamlと入力してください)
dependencies:
  flutter:
    sdk: flutter
  // この行を追加
  cloud_firestore: ^0.13.0+1
  // firebase_coreを使う場合、こちらの行に変更する
  // firebase_core: "^1.0.0"
  // cloud_firestore: "^1.0.0"
pubspec.yamlを編集したら、flutter packages getを実施するか、
Android Studioであれば画面右上のPub getをクリック。

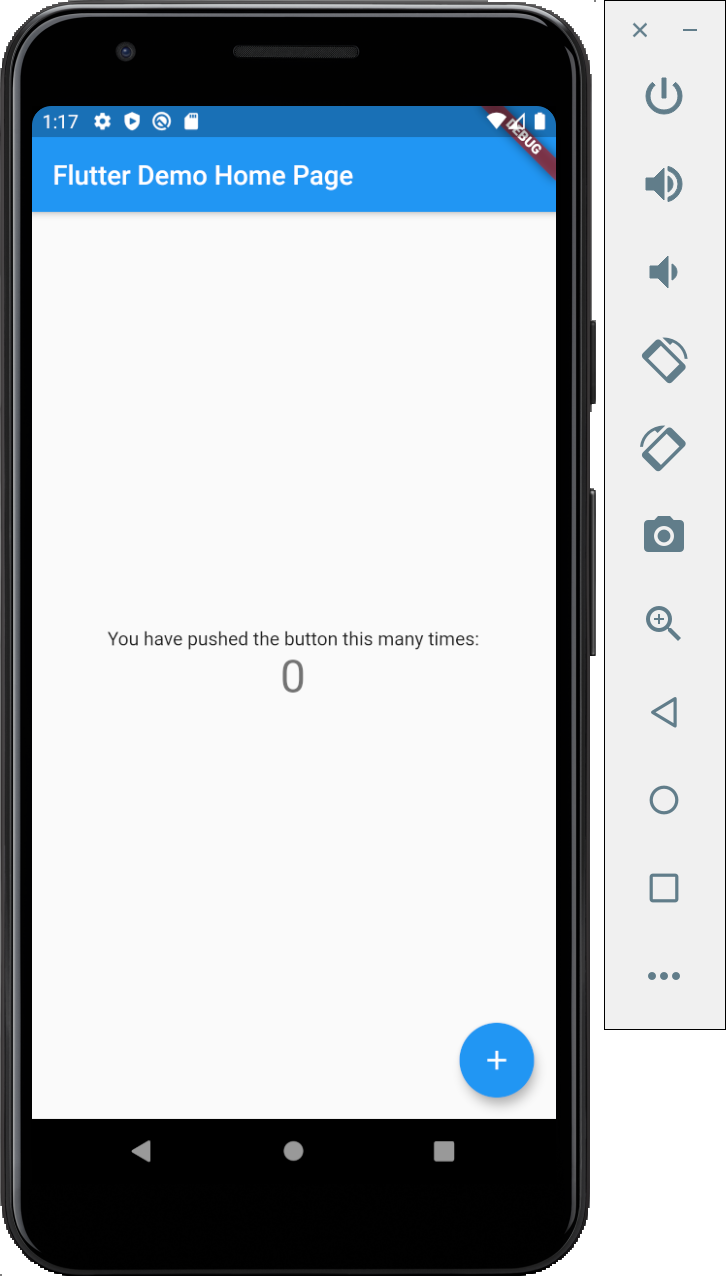
packagesをインストールし終えたら、Android emulatorでアプリを実行し
デフォルトのFlutter Appが立ち上がることを確認します。
※Cannot fit requested classes in a single dex fileエラーが出た場合、minSdkVersionのバージョンを16->21に変更し、再度アプリを実行してください。
// minSdkVersion 16
minSdkVersion 21
サンプルコードの実装
main.dartの既存コードを削除し、下記のコードを貼り付けます。
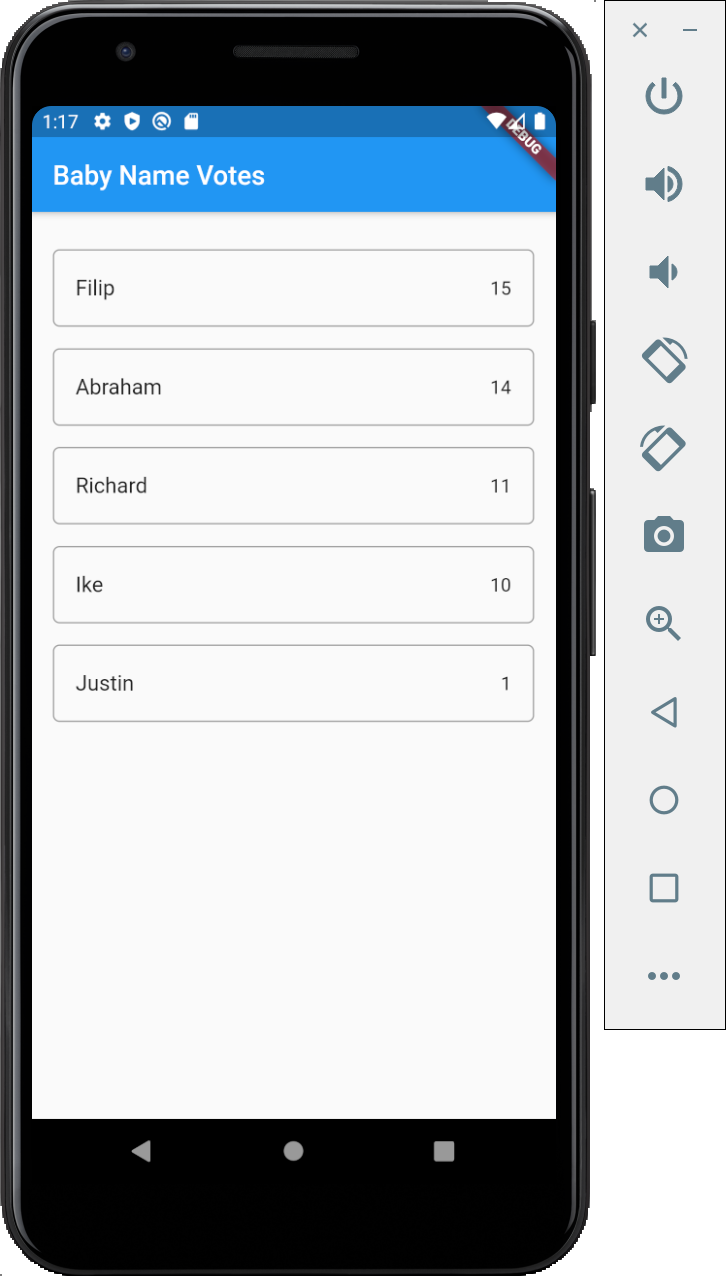
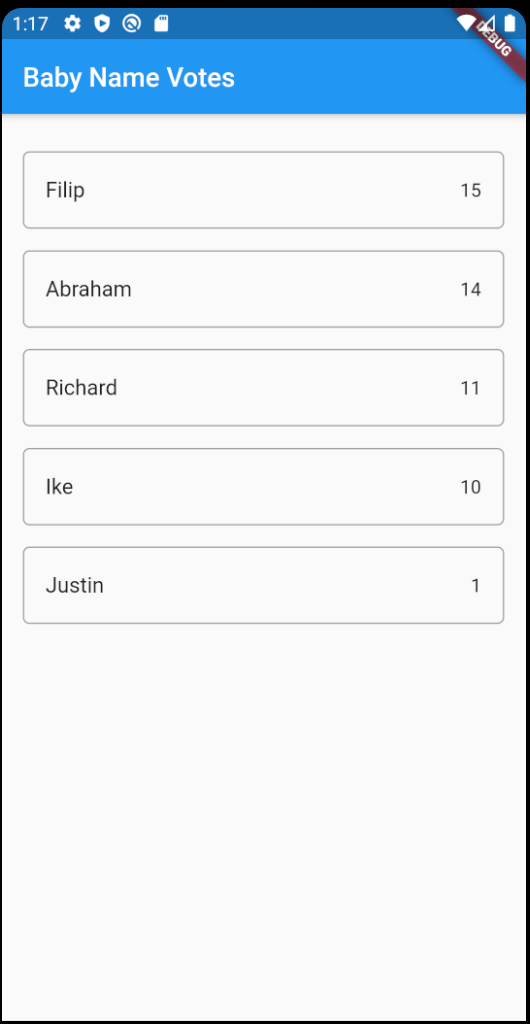
実行するとdummySnapshotの値がListViewで表示されるはずです。
コードの詳細は元ページを参照してください。
firebase_core利用なし
import 'package:cloud_firestore/cloud_firestore.dart';
import 'package:flutter/material.dart';

void main() => runApp(MyApp());

final dummySnapshot = [
 {"name": "Filip", "votes": 15},
 {"name": "Abraham", "votes": 14},
 {"name": "Richard", "votes": 11},
 {"name": "Ike", "votes": 10},
 {"name": "Justin", "votes": 1},
];

class MyApp extends StatelessWidget {
 @override
 Widget build(BuildContext context) {
   return MaterialApp(
     title: 'Baby Names',
     home: MyHomePage(),
   );
 }
}

class MyHomePage extends StatefulWidget {
 @override
 _MyHomePageState createState() {
   return _MyHomePageState();
 }
}

class _MyHomePageState extends State<MyHomePage> {
 @override
 Widget build(BuildContext context) {
   return Scaffold(
     appBar: AppBar(title: Text('Baby Name Votes')),
     body: _buildBody(context),
   );
 }

 Widget _buildBody(BuildContext context) {
   return _buildList(context, dummySnapshot);
 }

 Widget _buildList(BuildContext context, List<Map> snapshot) {
   return ListView(
     padding: const EdgeInsets.only(top: 20.0),
     children: snapshot.map((data) => _buildListItem(context, data)).toList(),
   );
 }

 Widget _buildListItem(BuildContext context, Map data) {
   final record = Record.fromMap(data);

   return Padding(
     key: ValueKey(record.name),
     padding: const EdgeInsets.symmetric(horizontal: 16.0, vertical: 8.0),
     child: Container(
       decoration: BoxDecoration(
         border: Border.all(color: Colors.grey),
         borderRadius: BorderRadius.circular(5.0),
       ),
       child: ListTile(
         title: Text(record.name),
         trailing: Text(record.votes.toString()),
         onTap: () => print(record),
       ),
     ),
   );
 }
}

class Record {
 final String name;
 final int votes;
 final DocumentReference reference;

 Record.fromMap(Map<String, dynamic> map, {this.reference})
     : assert(map['name'] != null),
       assert(map['votes'] != null),
       name = map['name'],
       votes = map['votes'];

 Record.fromSnapshot(DocumentSnapshot snapshot)
     : this.fromMap(snapshot.data, reference: snapshot.reference);

 @override
 String toString() => "Record<$name:$votes>";
}
firebase_core利用あり
import 'package:cloud_firestore/cloud_firestore.dart';
import 'package:firebase_core/firebase_core.dart';
import 'package:flutter/material.dart';

void main() => runApp(MyApp());

final dummySnapshot = [
 {"name": "Filip", "votes": 15},
 {"name": "Abraham", "votes": 14},
 {"name": "Richard", "votes": 11},
 {"name": "Ike", "votes": 10},
 {"name": "Justin", "votes": 1},
];


class MyApp extends StatelessWidget {
  @override
  Widget build(BuildContext context) {
    return MaterialApp(
      title: 'Baby Names',
      home: MyHomePage(),
    );
  }
}

class MyHomePage extends StatefulWidget {
  @override
  _MyHomePageState createState() {
    return _MyHomePageState();
  }
}

class _MyHomePageState extends State<MyHomePage> {
  @override
  Widget build(BuildContext context) {
    return Scaffold(
      appBar: AppBar(title: Text('Baby Name Votes')),
      body: _buildBody(context),
    );
  }

  Widget _buildBody(BuildContext context) {
   return _buildList(context, dummySnapshot);
  }

  Widget _buildList(BuildContext context, List<Map> snapshot) {
    return ListView(
      padding: const EdgeInsets.only(top: 20.0),
      children: snapshot.map((data) => _buildListItem(context, data)).toList(),
    );
  }

  Widget _buildListItem(BuildContext context, Map data) {
    final record = Record.fromMap(data);

    return Padding(
      key: ValueKey(record.name),
      padding: const EdgeInsets.symmetric(horizontal: 16.0, vertical: 8.0),
      child: Container(
        decoration: BoxDecoration(
          border: Border.all(color: Colors.grey),
          borderRadius: BorderRadius.circular(5.0),
        ),
        child: ListTile(
          title: Text(record.name),
          trailing: Text(record.votes.toString()),
          onTap: () => print(record),

        ),
      ),
    );
  }
}

class Record {
  final String name;
  final int votes;
  final DocumentReference reference;

  Record.fromMap(Map<String, dynamic> map, {this.reference})
      : assert(map['name'] != null),
        assert(map['votes'] != null),
        name = map['name'],
        votes = map['votes'];

  Record.fromSnapshot(DocumentSnapshot snapshot)
      : this.fromMap(snapshot.data(), reference: snapshot.reference);

  @override
  String toString() => "Record<$name:$votes>";
}
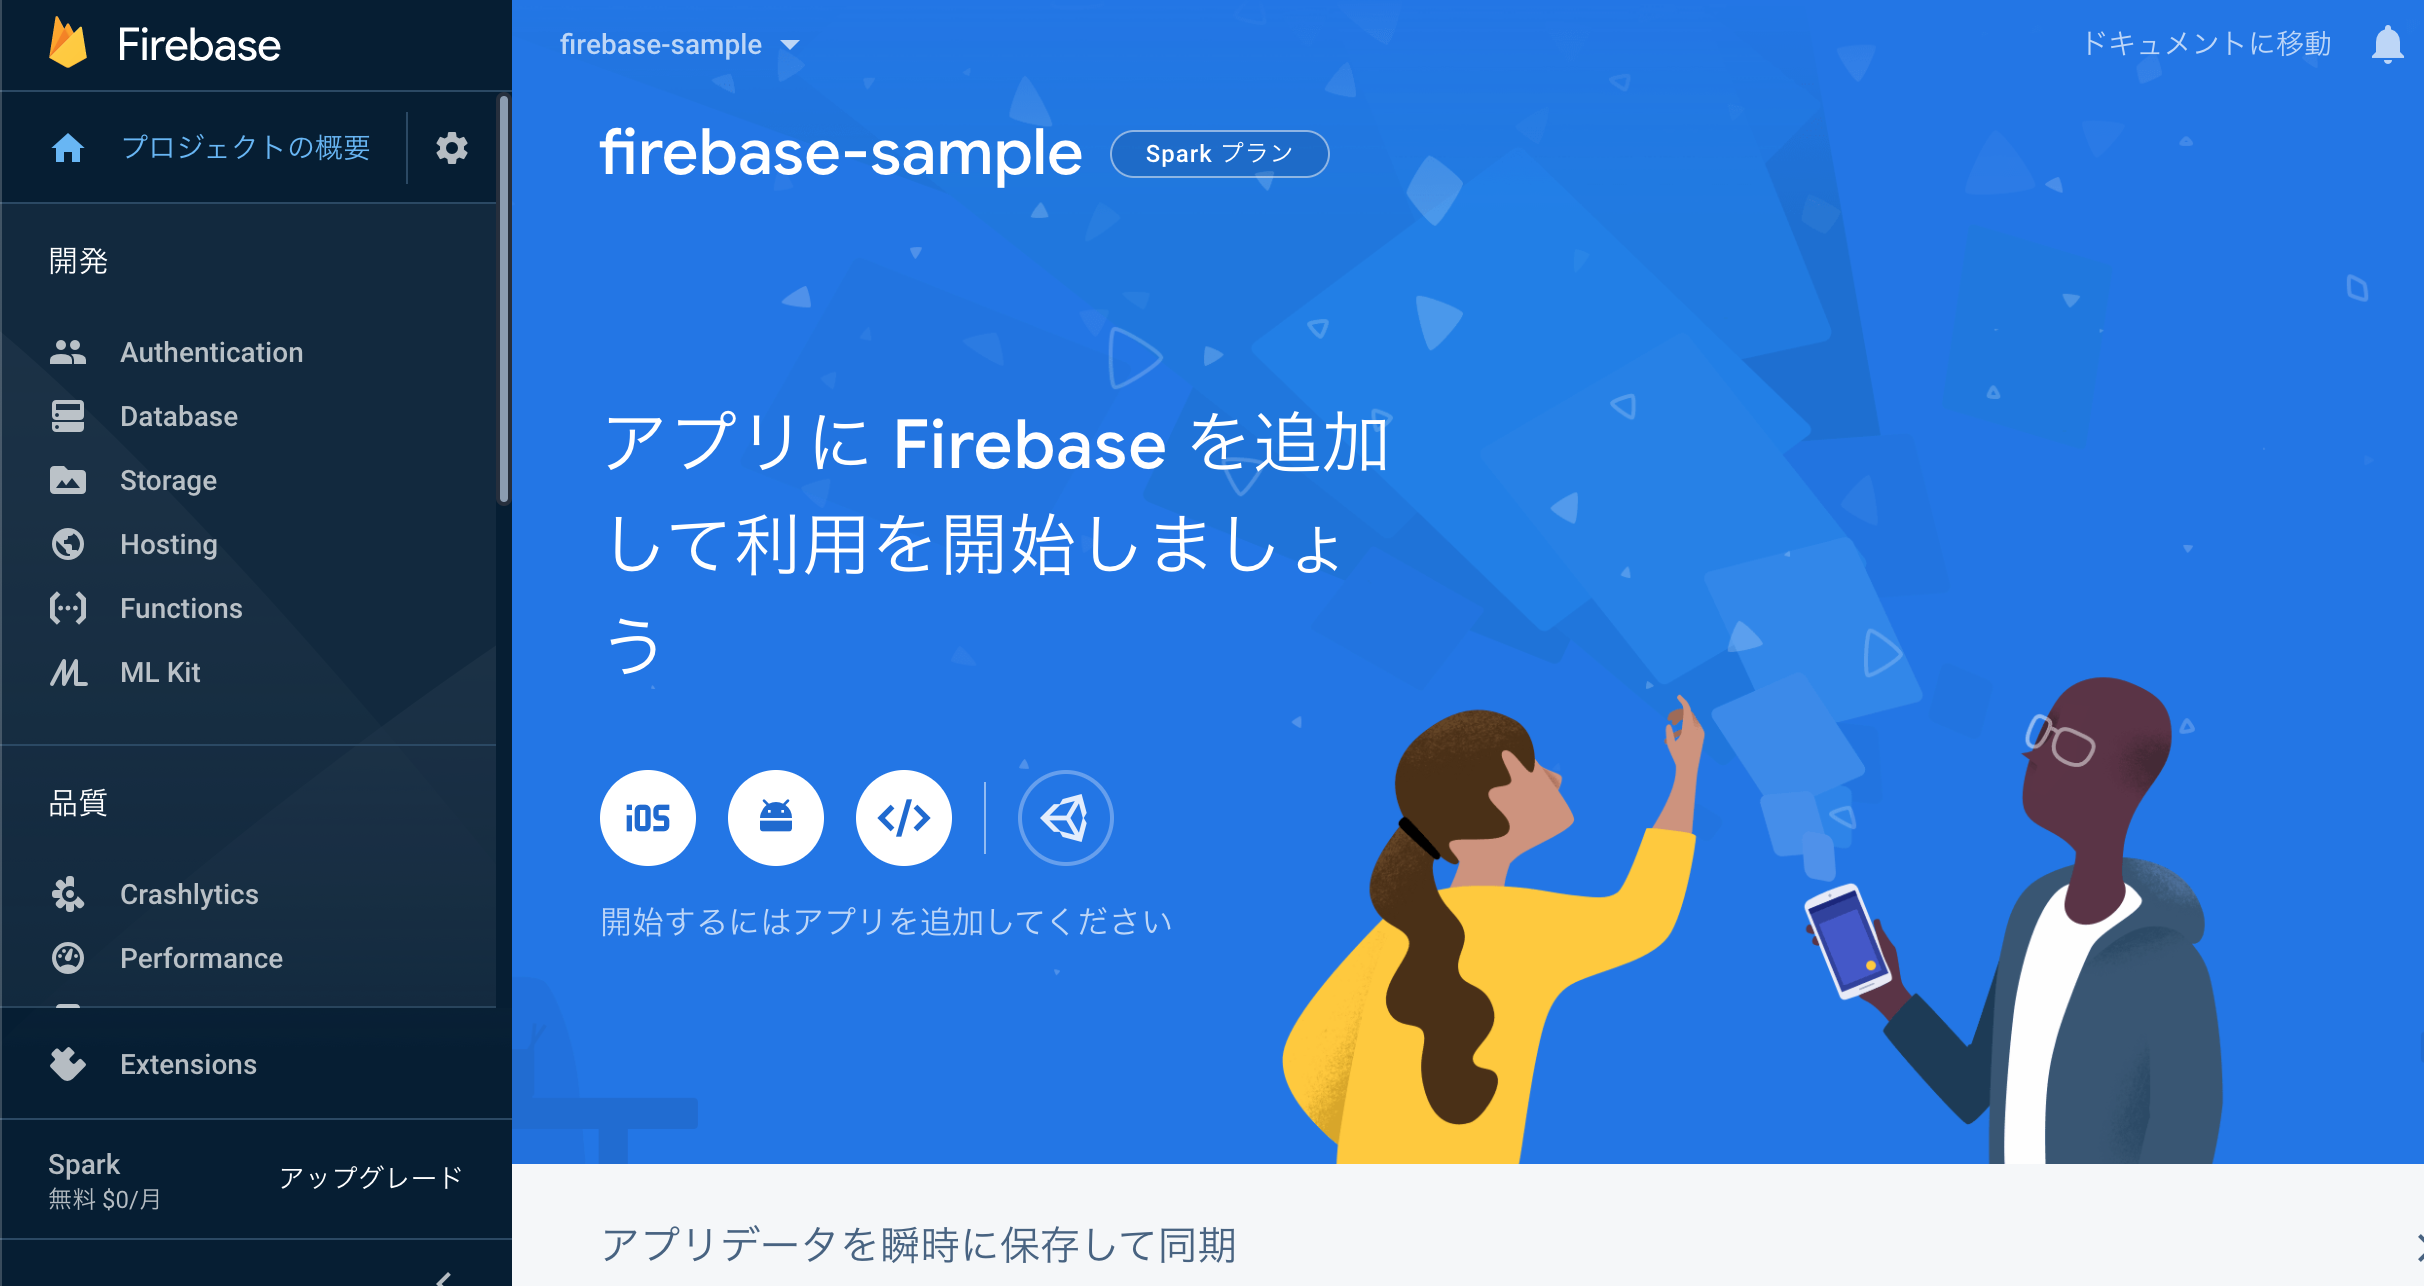
Firebaseにプロジェクト作成
プロジェクトを作成をクリック。
(アカウント作成は省略しますので必要に応じて行ってください。)

プロジェクト名を入力。
※任意でOK。

下記の通り作成できればOKです。
Androidアプリの設定
まずはAndroidの設定を追加します。
プロジェクトページ真ん中あたりのドロイド君をクリック。

パッケージ名を入力。
※パッケージ名はFlutter projectを作成した時のものです。
ex)com.example.babynames
忘れた場合、android/app/src/main/AndroidManifest.xmlの一番上の方に記載されています。
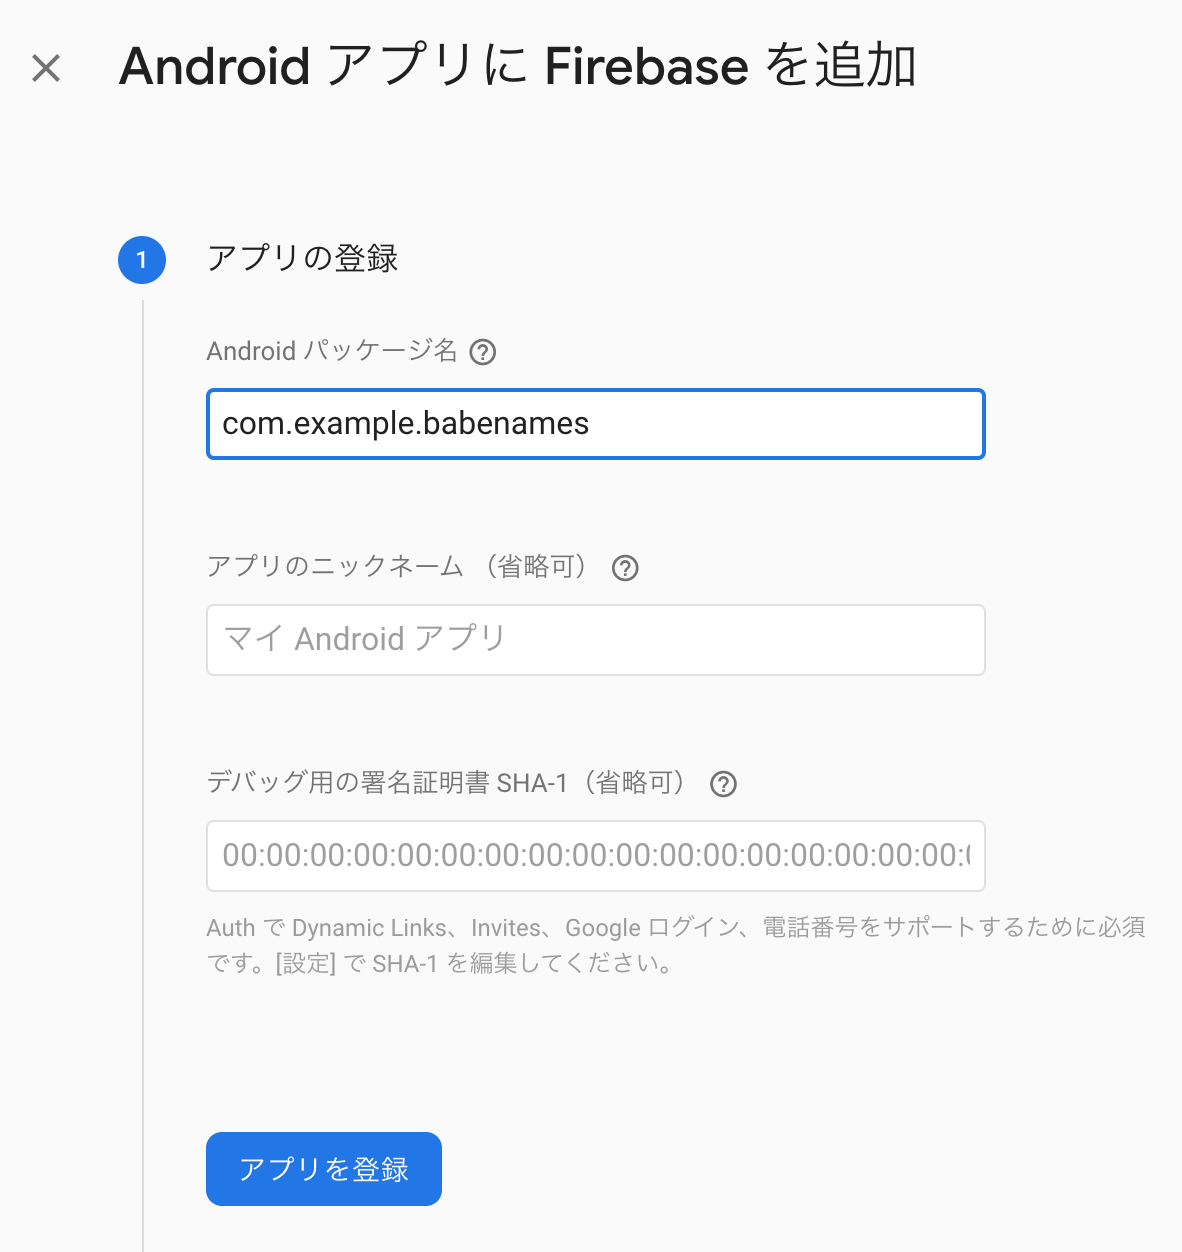
※ Google sign-inを使いたい場合、
デバッグ用の署名証明書 SHA-1も入力しておく必要があるみたいです。
ターミナルで下記のコマンドを実行すると
SHA1: DA:39:A3:EE:5E:6B:4B:0D:32:55:BF:EF:95:60:18:90:AF:D8:07:09 のように取得できるので、必要に応じて入力してください。
入力するとパスワードを聞かれますが、初期パスワードはandroidです。
keytool -list -v \
-alias androiddebugkey -keystore ~/.android/debug.keystore
アプリを登録したら、次はgoogle-services.jsonをダウンロードします。
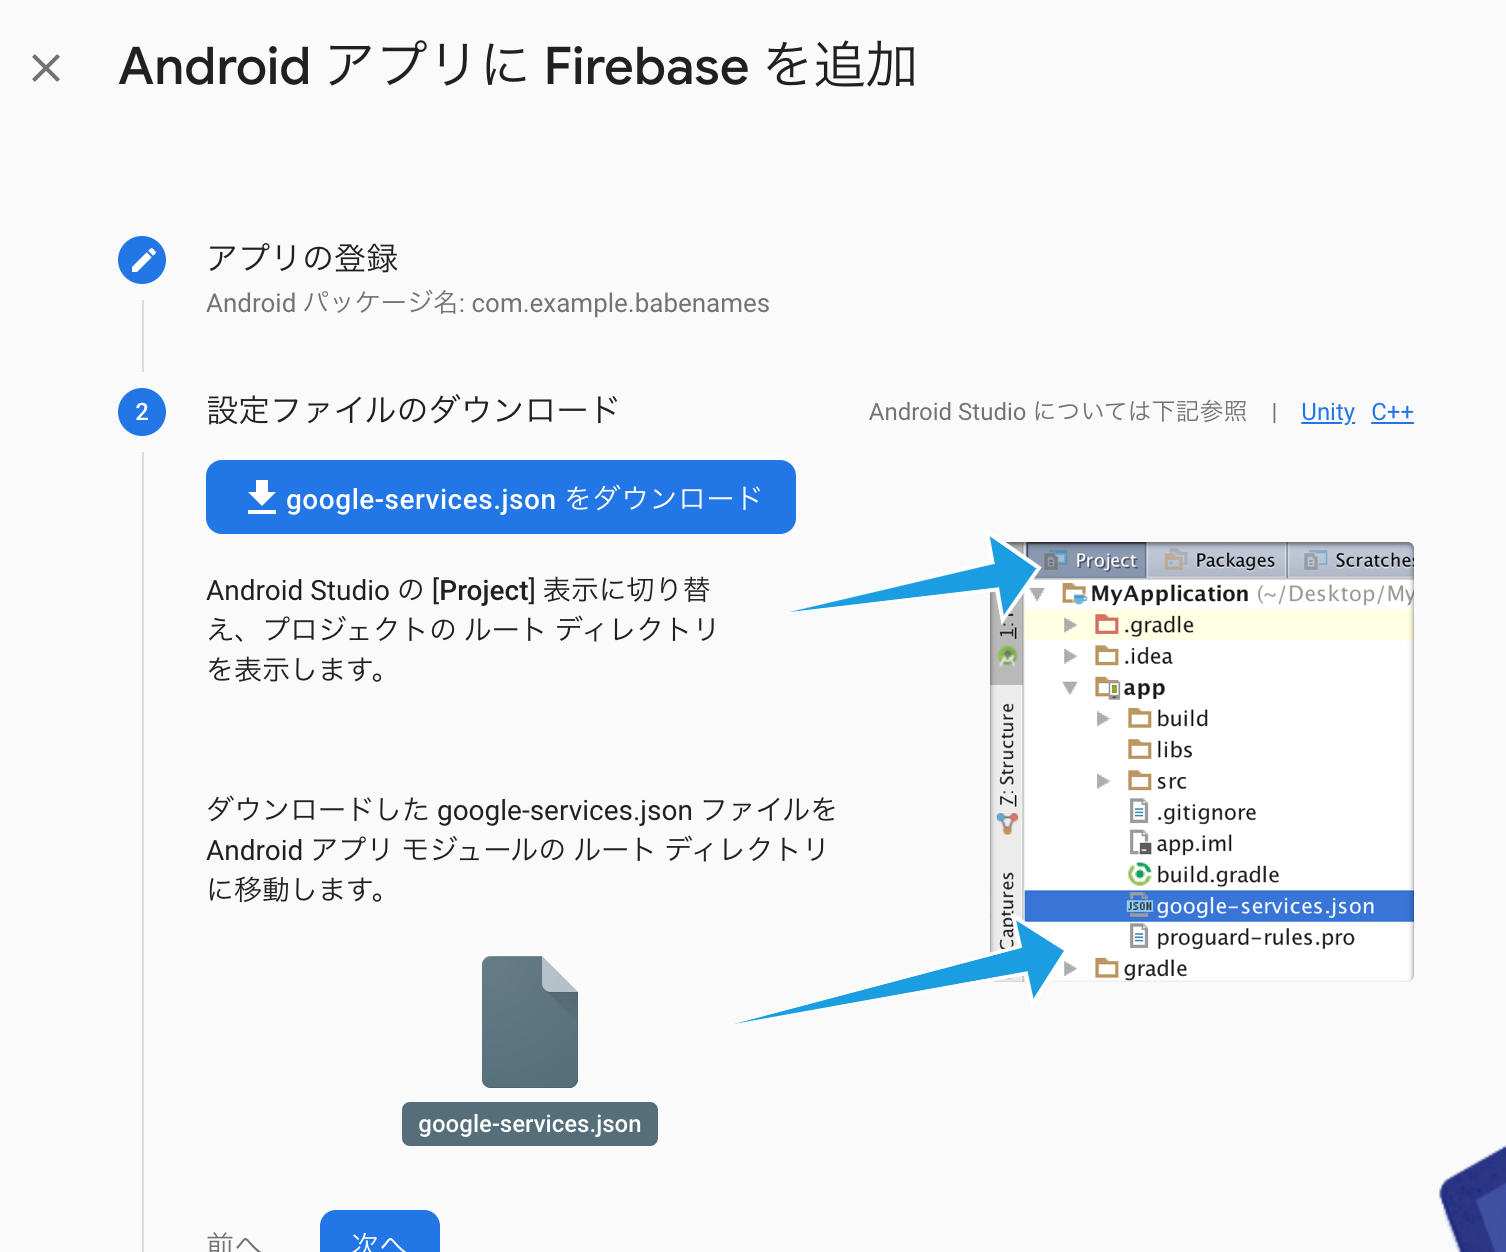
ダウンロードしたgoogle-services.jsonをプロジェクトのandroid/app配下に配置。
(Android Studioを開き、android/appの部分にドラッグ&ドロップでOK)
google-services.jsonを配置したら、
android/app/build.gradleとandroid/build.gradleをそれぞれ編集。
dependencies {
    // dependencies内に下記の一行を追加
    implementation 'com.google.firebase:firebase-analytics:17.2.2'
}
 ...
// ファイルの一番下に下記の一行を追加
apply plugin: 'com.google.gms.google-services'
buildscript {
 ...
    dependencies {
         ...
        // 下記の文言を追加
        classpath 'com.google.gms:google-services:4.3.3'
    }
}
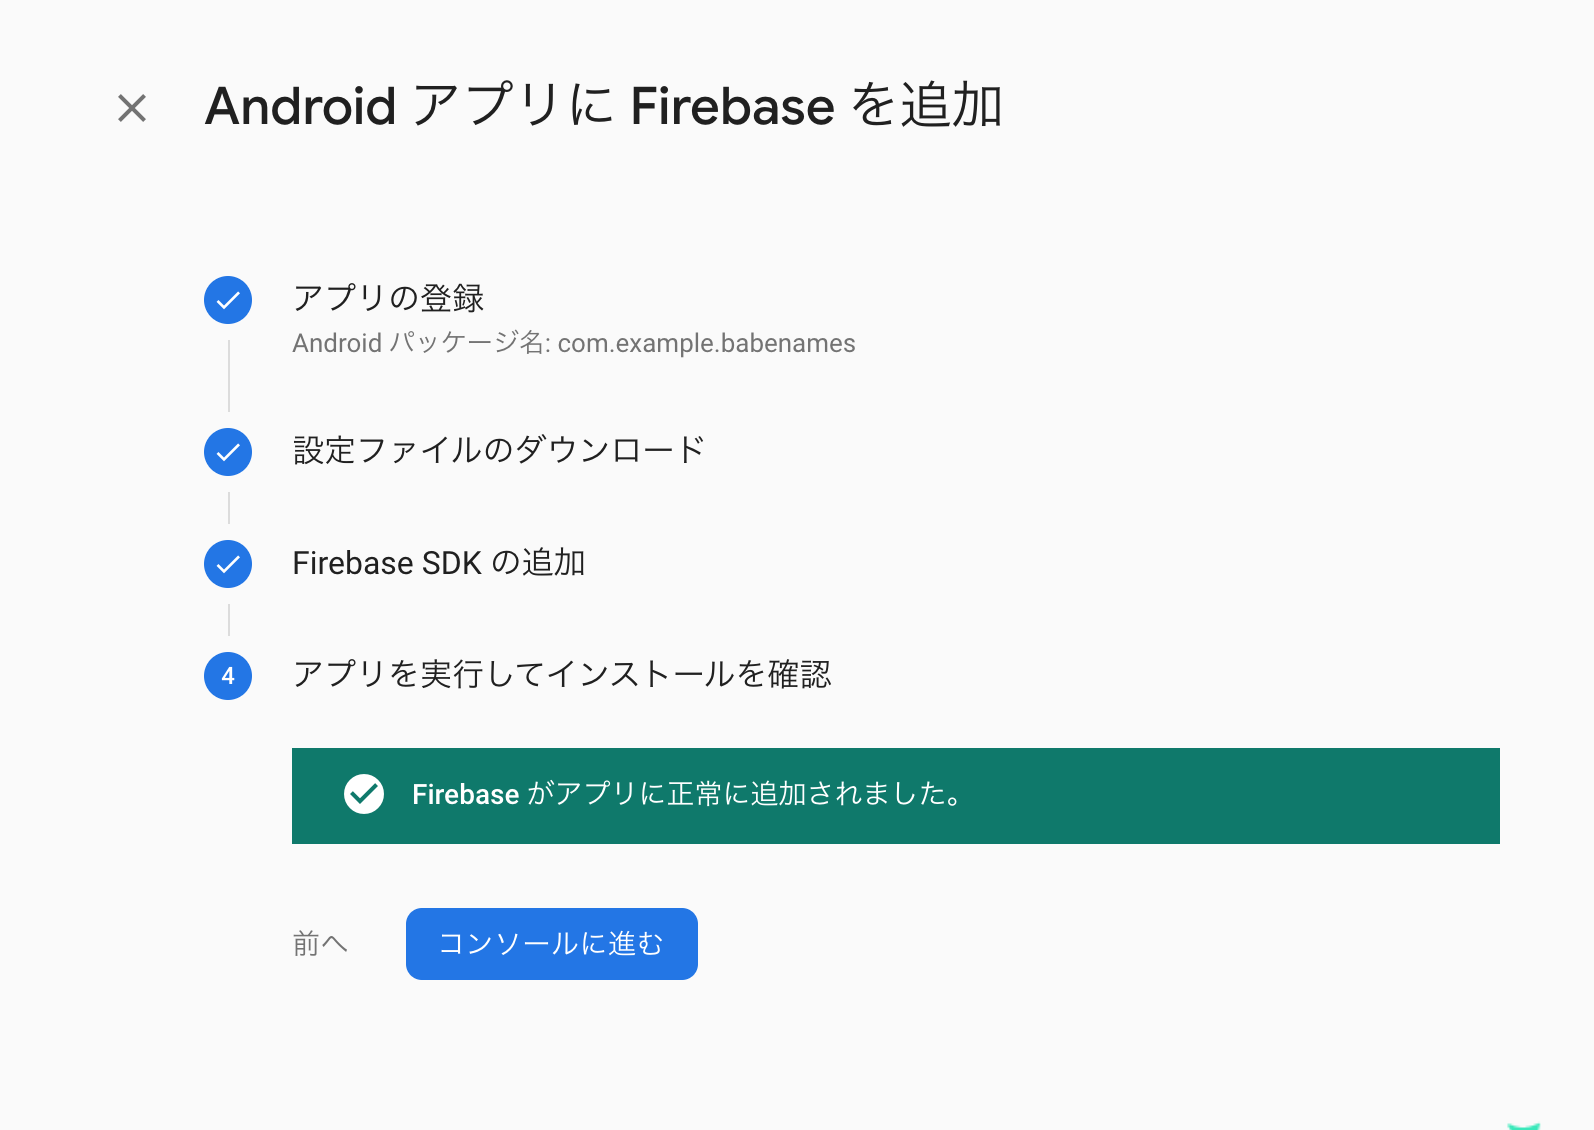
Androidエミュレータを起動し、下記の画面が表示されることを確認する。
Firebaseも下記のような表示になるはずです。
iOSアプリの設定
次にiOSの設定を追加します。
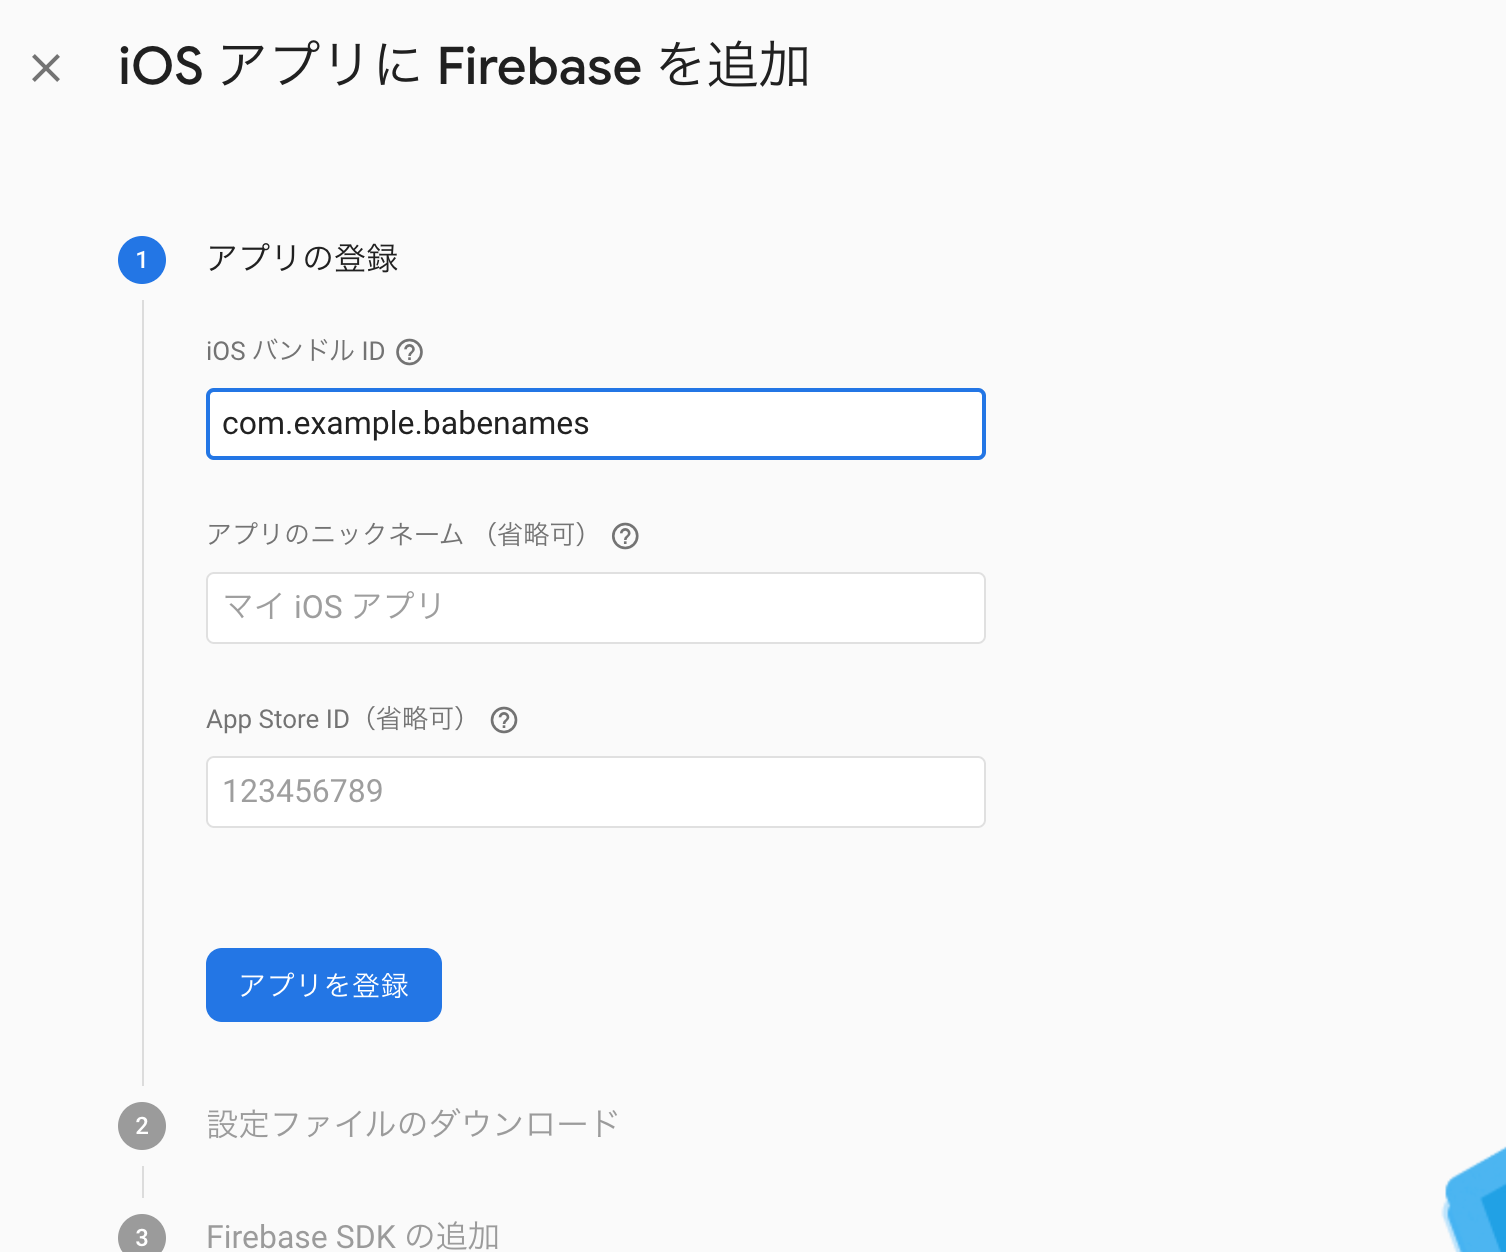
プロジェクトページ真ん中あたりのiOSをクリック。
bundle idを入力。
※bundle idはAndroidのパッケージ名と同じです。
ex)com.example.babynames
アプリを登録したら、次はGoogleService-Info.plistをダウンロードします。

ダウンロードしたら、ターミナルで下記のコマンドを入力し、Xcodeでプロジェクトを開きます。
open {プロジェクトファイルパス}/ios/Runner.xcworkspace
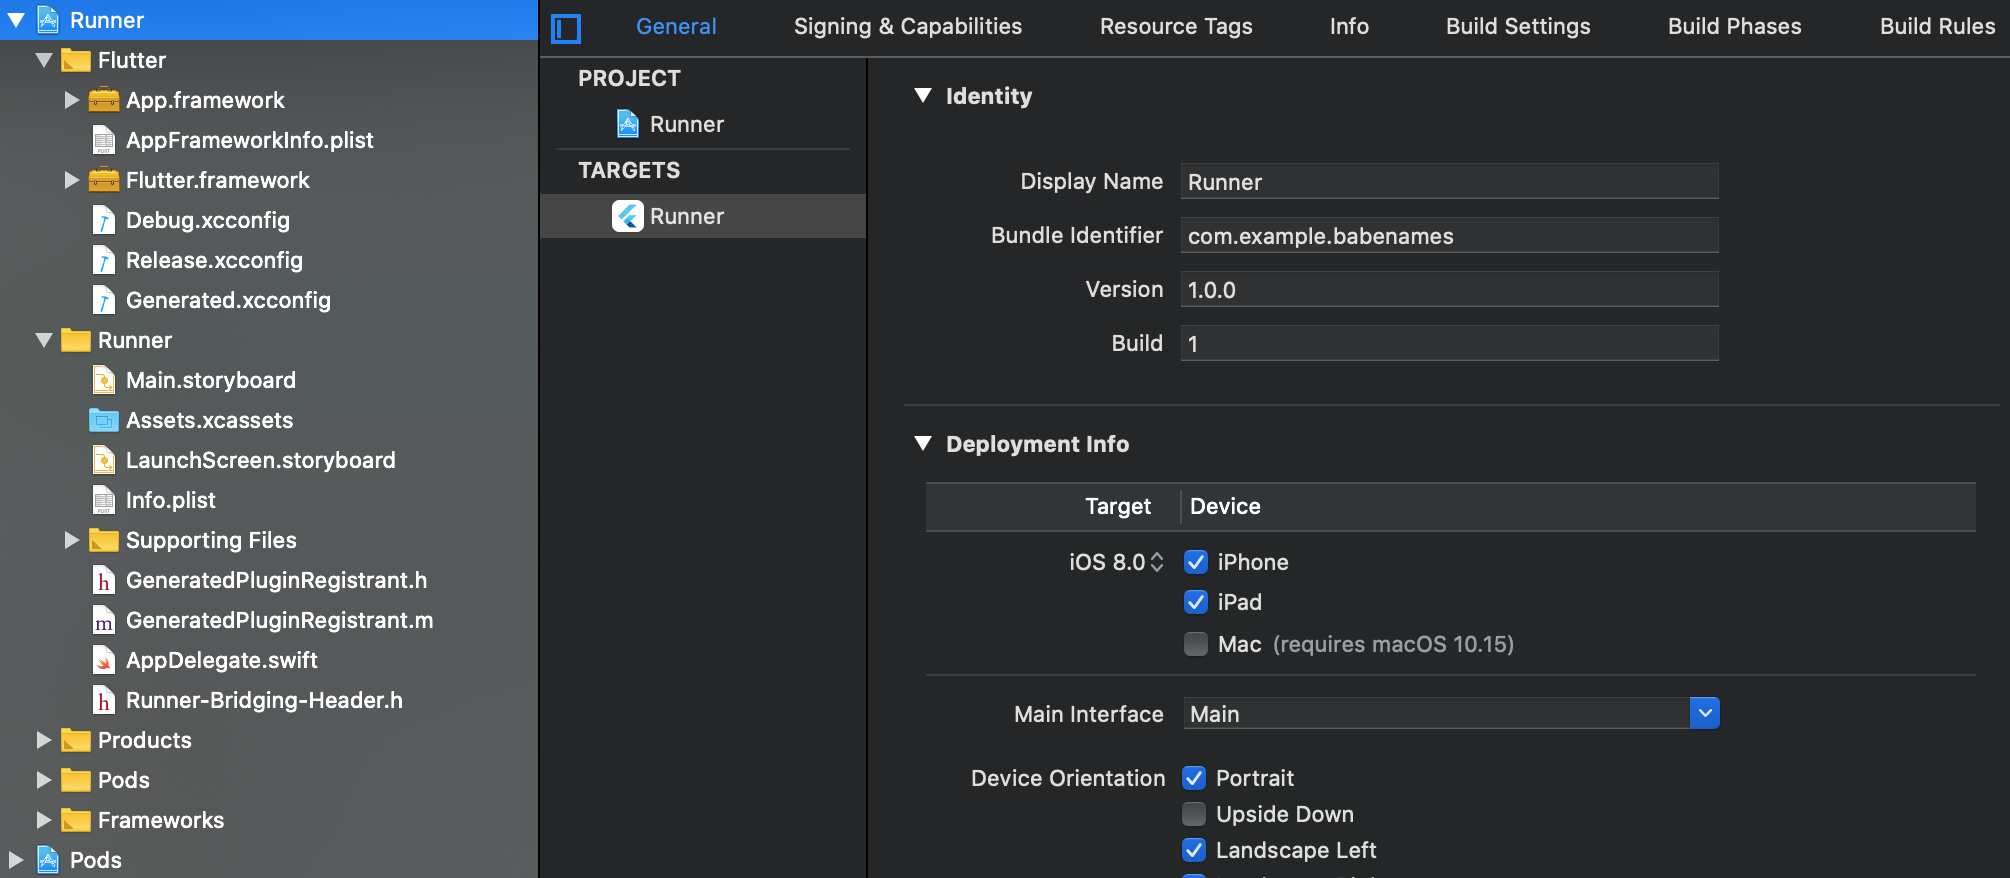
開いたら、まずはbundle idが正しく入力されているか確認します。
(bundle identifierが正しいことを確認してください)
次にダウンロードしたGoogleService-Info.plistをRunner/Runner配下に配置。
(Runner/Runner直下にドラッグ&ドロップでOK)

配置後は下記のようになります。

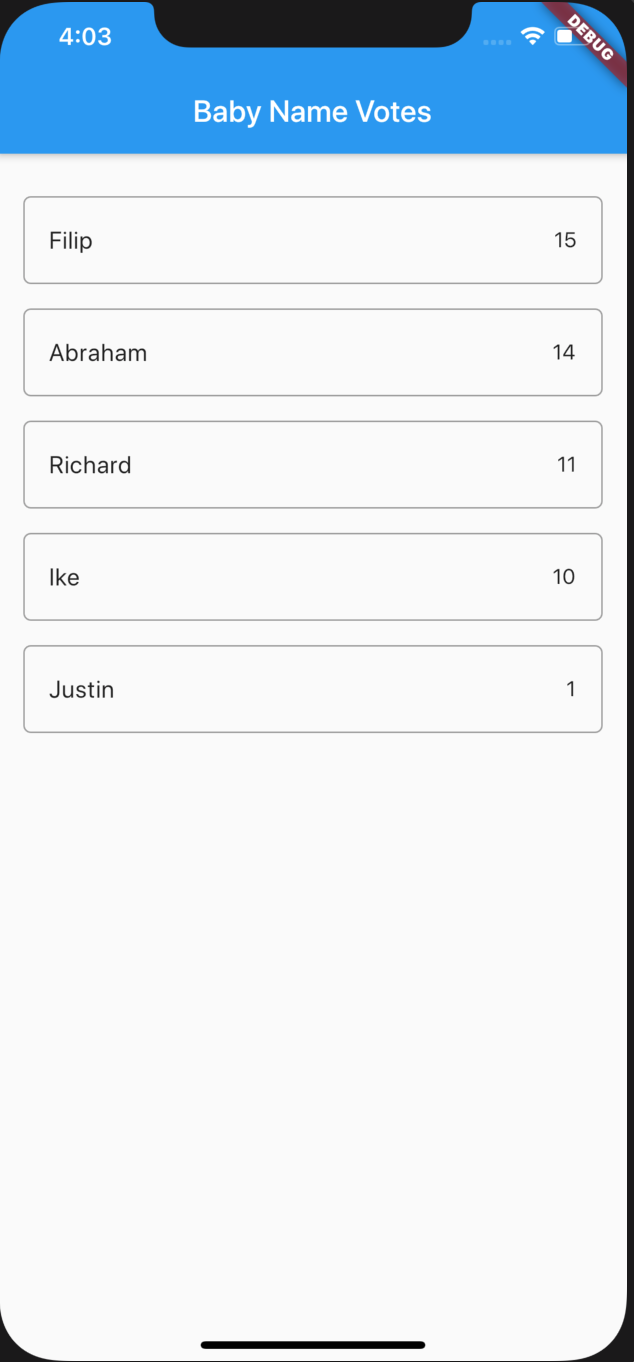
iOSエミュレータを起動し、Androidと同じ画面が表示されていることを確認する。

Databaseの作成
投票数をアプリで共有するためにDatabaseを作成します。
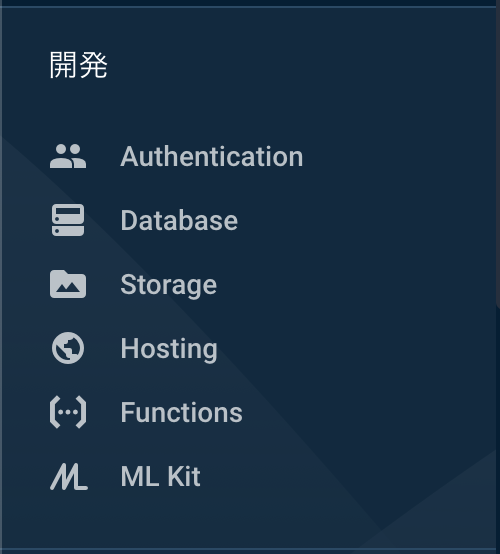
左ペインからDatabaseを選択。
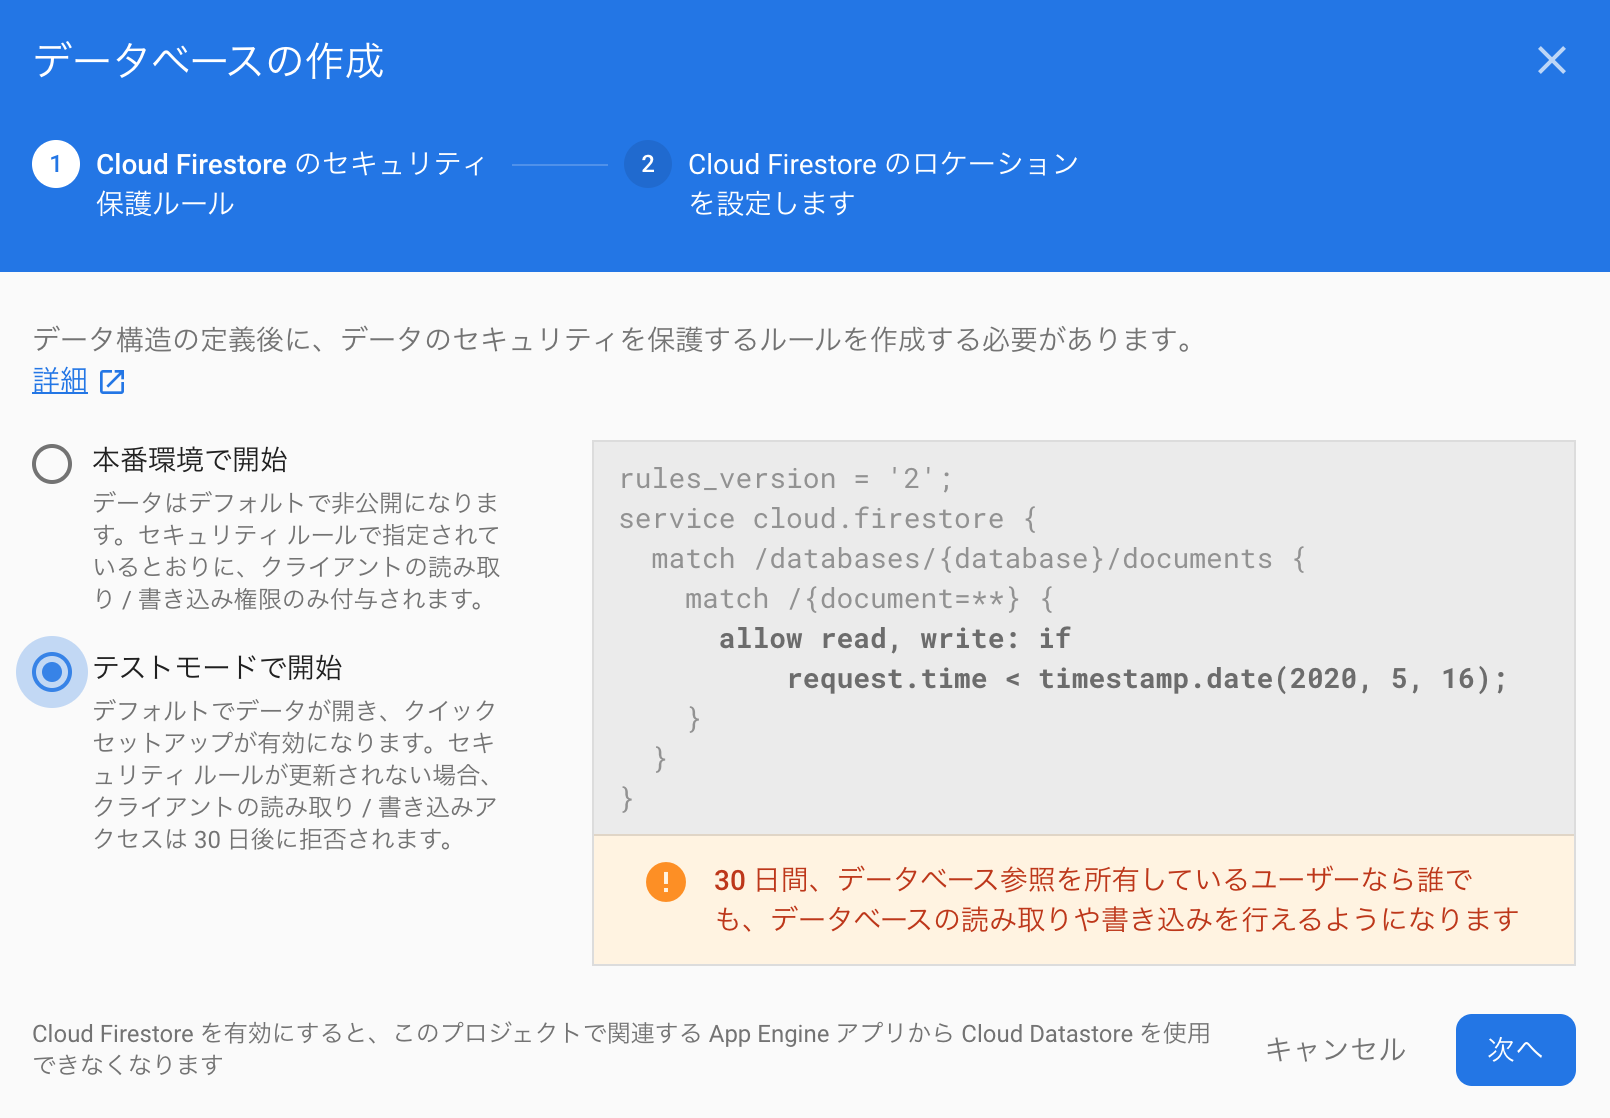
データベースの作成をクリック。

テストモードで開始を選択し、次へをクリック。
Cloud Firestoreのロケーションを選択。
※任意でOK

コレクションを開始をクリックし、コレクションIDを入力。
※任意でOK(コレクションIDは後で使うので覚えておいてください)

リスト作成用のデータを登録していく。
詳細はキャプチャ参照
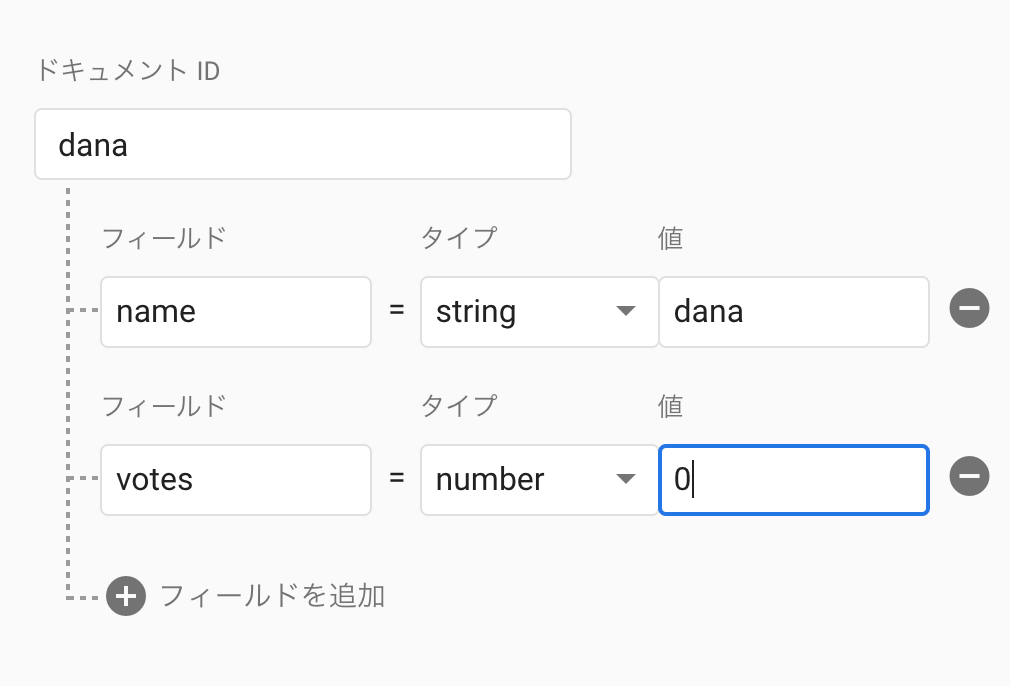
適当な数を追加し、下記のような形にします。

投票アプリの実装
Android Studioを開き、main.dartの下記の部分を編集します。
firebase_core利用なし
// 削除
// final dummySnapshot = [
//  {"name": "Filip", "votes": 15},
//  {"name": "Abraham", "votes": 14},
//  {"name": "Richard", "votes": 11},
//  {"name": "Ike", "votes": 10},
//  {"name": "Justin", "votes": 1},
// ];

Widget _buildBody(BuildContext context) {
//   return _buildList(context, dummySnapshot);  削除
  return StreamBuilder<QuerySnapshot>(
    stream: Firestore.instance.collection('baby').snapshots(), // babyは各々のコレクションIDに変更してください
    builder: (context, snapshot) {
      if (!snapshot.hasData) return LinearProgressIndicator();

      return _buildList(context, snapshot.data.documents);
    },
  );
}

//  Widget _buildList(BuildContext context, List<Map> snapshot) { 変更
Widget _buildList(BuildContext context, List<DocumentSnapshot> snapshot) {
  return ListView(
    padding: const EdgeInsets.only(top: 20.0),
    children: snapshot.map((data) => _buildListItem(context, data)).toList(),
  );
}

//  Widget _buildListItem(BuildContext context, Map data) { 変更
Widget _buildListItem(BuildContext context, DocumentSnapshot data) {
// final record = Record.fromMap(data); 変更
  final record = Record.fromSnapshot(data);

  return Padding(
    key: ValueKey(record.name),
    padding: const EdgeInsets.symmetric(horizontal: 16.0, vertical: 8.0),
    child: Container(
      decoration: BoxDecoration(
        border: Border.all(color: Colors.grey),
        borderRadius: BorderRadius.circular(5.0),
      ),
      child: ListTile(
        title: Text(record.name),
        trailing: Text(record.votes.toString()),
//      onTap: () => print(record), 変更
        onTap: () => record.reference.updateData({'votes': FieldValue.increment(1)}),
      ),
    ),
  );
}
firebase_core利用あり
// 削除
// final dummySnapshot = [
//  {"name": "Filip", "votes": 15},
//  {"name": "Abraham", "votes": 14},
//  {"name": "Richard", "votes": 11},
//  {"name": "Ike", "votes": 10},
//  {"name": "Justin", "votes": 1},
// ];

  Widget _buildBody(BuildContext context) {
    return StreamBuilder<QuerySnapshot>(
      stream: FirebaseFirestore.instance.collection('baby').snapshots(), // babyは各々のコレクションIDに変更してください
      builder: (context, snapshot) {
        if (!snapshot.hasData) return LinearProgressIndicator();

        return _buildList(context, snapshot.data.docs);
      },
    );
  }

  //  Widget _buildList(BuildContext context, List<Map> snapshot) { 変更
  Widget _buildList(BuildContext context, List<DocumentSnapshot> snapshot) {
    return ListView(
      padding: const EdgeInsets.only(top: 20.0),
      children: snapshot.map((data) => _buildListItem(context, data)).toList(),
    );
  }

//  Widget _buildListItem(BuildContext context, Map data) { 変更
  Widget _buildListItem(BuildContext context, DocumentSnapshot data) {
// final record = Record.fromMap(data); 変更
    final record = Record.fromSnapshot(data);

    return Padding(
      key: ValueKey(record.name),
      padding: const EdgeInsets.symmetric(horizontal: 16.0, vertical: 8.0),
      child: Container(
        decoration: BoxDecoration(
          border: Border.all(color: Colors.grey),
          borderRadius: BorderRadius.circular(5.0),
        ),
        child: ListTile(
          title: Text(record.name),
          trailing: Text(record.votes.toString()),
//      onTap: () => print(record), 変更
          onTap: () => record.reference.update({'votes': FieldValue.increment(1)}),
        ),
      ),
    );
  }
}
以上で完了です。
アプリを起動し、Databaseとアプリのデータが連動していることを確認してみてください。