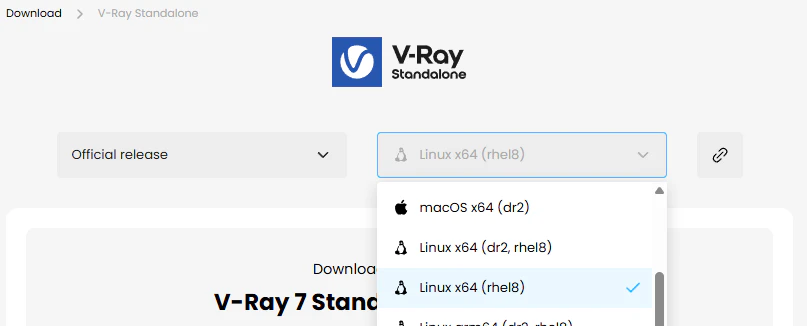
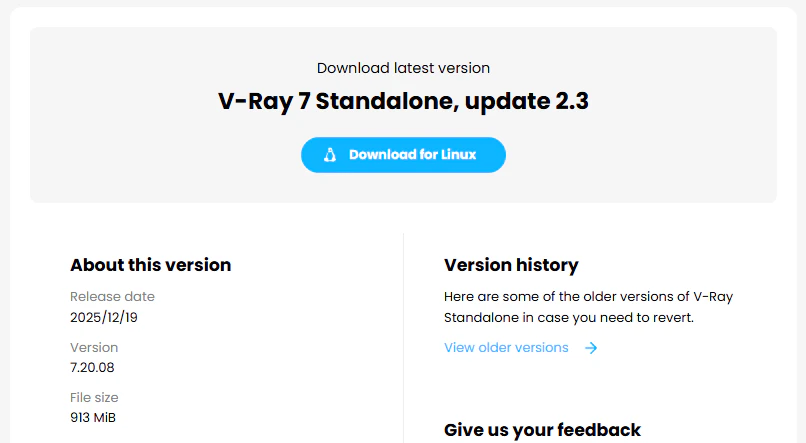
V-Ray 7 Standalone, Update 2.3 (7.20.08)を、Rocky Linux 9.6にインストールする手順です。
2026/3/21
■環境
OS:Rocky Linux 9.6 GUI無し
GPU:Quadro RTX 6000 4枚構成 24GBx4=96GB
メモリ:192GB
Nvidia Driver Version: 535.288.01
CUDA Version: 12.2
※Update 2より、V-Rayの次世代分散レンダリング(DR2)が追加されていますが、私の環境では使用しません。
以下のコマンドで、インストールを開始します。
# ./vraystd_adv_72008_rhel8_clang-gcc-11.2
開始後すぐに、使用許諾1回目の説明画面になります。(かなりの長文)
Enterキーを連打する状況になりますが、連打し続けると[no]の選択になり、インストールが終了してしまうので注意
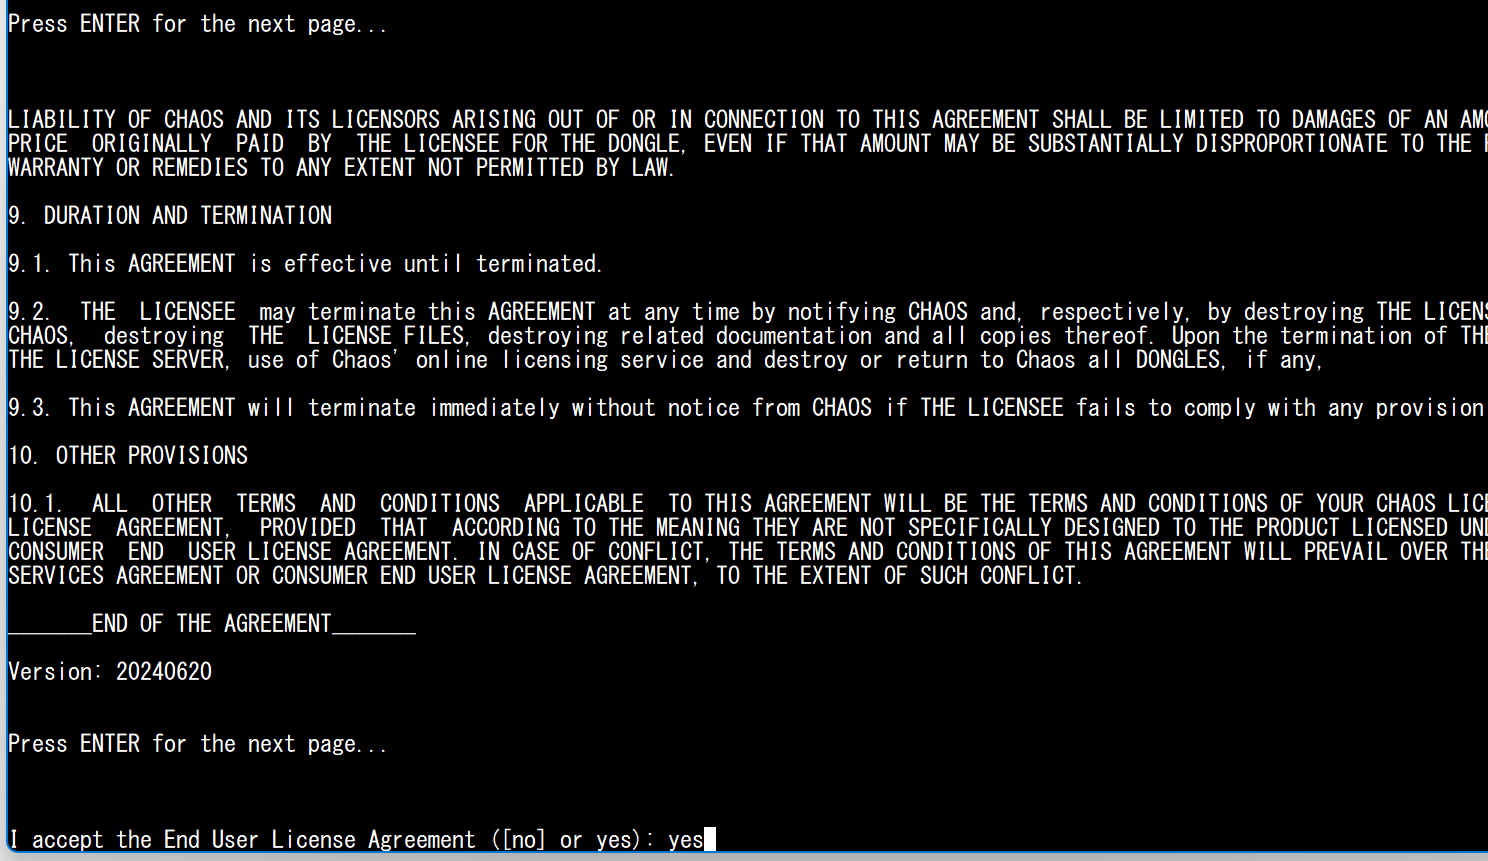
次に、使用許諾2回目の説明画面になります。
こちらも、Enterキーを連打すると、[no]の選択になり終了してしまうので注意
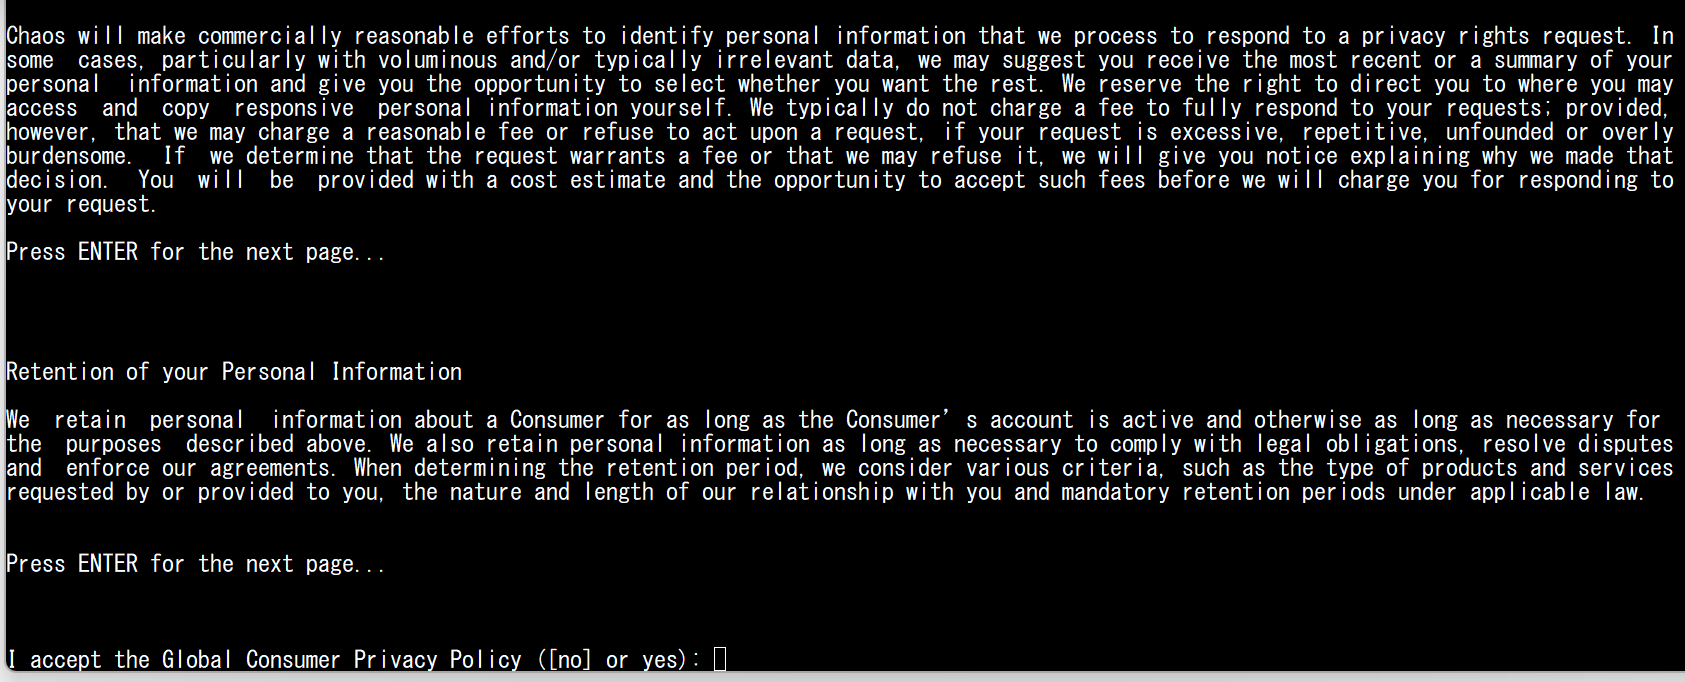
「Global Consumer Privacy Policy」 への同意
I accept the Global Consumer Privacy Policy ([no] or yes): yes
V-Rayのインストールフォルダの入力:/opt/V-Ray/Standalone に設定します。(任意)
Please specify the V-Ray destination directory.
V-Ray destination: [/usr/Chaos/V-Ray/Standalone_for_rhel8]:/opt/V-Ray/Standalone
ライセンスサーバーの設定 私の環境では、Remote(ネットワークライセンス)を選択
Choose local to use licenses directly on your system or remote for network licenses.
How are you going to connect to the V-Ray license server?
  1) Local
  2) Remote
Enter your choice [1-2, default is 1]: 2
Enter remote license server address and port [:0]:192.168.0.3:30304
ネットワークライセンスの追加設定ですが、私の環境では設定しません。
Enter additional servers? ([no] or yes):
Enter remote license server username:
Enter remote license server password (no echo):
Please close these applications:
実際にインストールが始まり、以下の画面になります。
Installing V-Ray Standalone.
Almost there!
V-Ray will be ready in a moment...
Create /opt/V-Ray/Standalone/uninstall/chaos_install.xml
Create /opt/V-Ray/Standalone/uninstall/install.log
Create /opt/V-Ray/Standalone/uninstall/uninstaller
Create /opt/V-Ray/Standalone/uninstall/installer
Create /opt/V-Ray/Standalone/bin/vray
Create /opt/V-Ray/Standalone/uninstall/backup.bin
Create /opt/V-Ray/Standalone/uninstall/icons/icon.png
Create /opt/V-Ray/Standalone/bin/profiler_resources/chrome_trace_view_template.html
Create /opt/V-Ray/Standalone/bin/prgstarsmodelbckg.hdr
Create /opt/V-Ray/Standalone/bin/prgmoonmodelalbedo.png
Create /opt/V-Ray/Standalone/bin/prgstarsmodeldata.dat
Create /opt/V-Ray/Standalone/bin/prgsunmodeldata.dat
Create /opt/V-Ray/Standalone/bin/prgskymodeldata.dat
Create /opt/V-Ray/Standalone/lib/libvray_usdsupport.so
Create /opt/V-Ray/Standalone/lib/vray_usd/0.24.08/libraries/bxdf/disney_brdf_2015.mtlx
Create /opt/V-Ray/Standalone/lib/vray_usd/0.24.08/libraries/bxdf/usd_preview_surface.mtlx
Create /opt/V-Ray/Standalone/lib/vray_usd/0.24.08/libraries/bxdf/translation/standard_surface_to_usd.mtlx
Create /opt/V-Ray/Standalone/lib/vray_usd/0.24.08/libraries/bxdf/translation/standard_surface_to_gltf_pbr.mtlx
Create /opt/V-Ray/Standalone/lib/vray_usd/0.24.08/libraries/bxdf/lama/lama_diffuse.mtlx
Create /opt/V-Ray/Standalone/lib/vray_usd/0.24.08/libraries/bxdf/lama/lama_sss.mtlx
インストール完了後の最後の画面になります。
最後に警告が出ていますが、"Failed restoring user environment" は、インストーラが環境変数を元に戻せなかった警告なので気にしていません。
・・・
Create /opt/V-Ray/Standalone/scenes/renderchannels.vrscene
Create /opt/V-Ray/Standalone/scenes/testE.vrscene
Create /opt/V-Ray/Standalone/scenes/dof-test-phycam.vrscene
Create /opt/V-Ray/Standalone/scenes/gi_test.vrscene
Create /opt/V-Ray/Standalone/scenes/bump.vrscene
Create /opt/V-Ray/Standalone/scenes/testD.vrscene
Create /opt/V-Ray/Standalone/scenes/testA_glsl.vrscene
Create /opt/V-Ray/Standalone/scenes/sss_test.vrscene
Create /opt/V-Ray/Standalone/scenes/teapot.vrscene
Create /opt/V-Ray/Standalone/scenes/parquet.png
Create /opt/V-Ray/Standalone/scenes/cobbles.png
Create /opt/V-Ray/Standalone/scenes/GeoSphere01.vrmesh
Create /opt/V-Ray/Standalone/scenes/glass.vrscene
Create /opt/V-Ray/Standalone/scenes/nurbs.vrscene
Create /opt/V-Ray/Standalone/scenes/bricks.png
Create /opt/V-Ray/Standalone/scenes/displacement.jpg
Create /opt/V-Ray/Standalone/scenes/lighttree.vrscene
Create /opt/V-Ray/Standalone/scenes/dome_cornell.vrscene
Create /opt/V-Ray/Standalone/scenes/test.frag
Create /opt/V-Ray/Standalone/scenes/dots.png
Create /opt/V-Ray/Standalone/scenes/nurbsparams.include
Create /opt/V-Ray/Standalone/scenes/aniso_test.vrscene
Create /opt/V-Ray/Standalone/scenes/testB.vrscene
Create /opt/V-Ray/Standalone/scenes/caustics.vrscene
Create /opt/V-Ray/Standalone/scenes/testZ.vrscene
Create /opt/V-Ray/Standalone/scenes/lightportal.vrscene
Create /opt/V-Ray/Standalone/scenes/testA.vrscene
Create /opt/V-Ray/Standalone/scenes/testC.vrscene
Create /opt/V-Ray/Standalone/scenes/aperture.png
Create /opt/V-Ray/Standalone/scenes/testA_displ.vrscene
Create /opt/V-Ray/Standalone/scenes/cornell.vrscene
Create /opt/V-Ray/Standalone/scenes/kitchen_probe.hdr
Create /opt/V-Ray/Standalone/scenes/bgmap.vrscene

The installation was successful.
V-Ray Standalone is ready.
Thank you for choosing V-Ray. Now go render something awesome!
Anonymized Telemetry (no or [yes]): no
Personalized Telemetry ([no] or yes): no
[processChildCallback] 1: Failed restoring user environmentSuccessfully created configuration file:
        "/usr/local/src/config.xml"
You can use the file to automatically install the same product on different machine with the same settings, by running the installer with the following arguments:
 -configFile="/usr/local/src/config.xml" {-ignoreErrors=1}
■起動コマンド
/opt/V-Ray/Standalone/bin/vray
■インストール完了テスト1
以下の場所にインストールされます。
ls /opt/V-Ray/Standalone
■インストール完了テスト2
/opt/V-Ray/Standalone/bin/vray のコマンドで、以下の画面になります。
# /opt/V-Ray/Standalone/bin/vray
===============================================
V-Ray Standalone, version 7, update 2 hotfix 3 for x64
Copyright (C) 2000-2025 Chaos Software. All rights reserved.
Use -credits option for additional third-party copyright notices.

Build a3f24476 from Dec 19 2025, 07:18:41
Compiled with Clang LLVM compiler, version 14, target ISA: avx2
Operating system is Rocky Linux 9.7 (Blue Onyx) (Build: 9.7)
CPU: Intel, Intel(R) Xeon(R) Gold 6242 CPU @ 2.80GHz, 2800-3900 MHz, threads: 64
ISA: SSE, SSE2, SSE3, SSSE3, SSE4.1, SSE4.2, POPCNT, AVX, AVX2, FMA, BMI1, BMI2, F16C, AVX512_F, AVX512_DQ, AVX512_CD, AVX512_BW, AVX512_VL, AVX512_VNNI
RAM: 191536 MiB

V-Ray core version is 7.20.08
===============================================

Usage:
  vray -server
or
  vray <option> <option> ...

where option (case-sensitive) is one of the following:
([] means optional string, {} means the string can be repeated
zero or more times)

SYSTEM OPTIONS:

    -help - print this help text and exit.

    -version - print the V-Ray version and exit.

    -credits - print copyright notices for V-Ray and available plugins.
・・・
・・・