はじめに
Python で手軽に Web アプリを作れるフレームワークといえば Streamlit。
データ分析や可視化の文脈でよく使われますが、任意の HTML/JS/CSS をそのまま表示する こともできます。
この記事では、最小構成で HTML/JS/CSS を Streamlit 上に表示する方法を紹介します。
将来的には、よりリッチな UIへ拡張することも可能です。
環境準備
この記事の動作確認は以下のバージョンで行っています。
- Python: 3.13.2
- Streamlit: 1.47.1
プロジェクト構成
作業用ディレクトリを用意し、以下のような構成にします。
projects_root/
├─ app.py                # Streamlit本体
├─ templates/
│   └─ index.html        # HTMLテンプレート
└─ assets/
    ├─ style.css         # CSS
    └─ app.js            # JavaScript
-
app.py: Streamlit のエントリーポイント -
templates/: HTML テンプレートを配置 -
assets/: CSS や JS などのフロント資産を配置
最小サンプルコード
app.py
app.py
import streamlit as st
from pathlib import Path
def read_text(path: str) -> str:
return Path(path).read_text(encoding="utf-8")
st.set_page_config(page_title="Streamlit × カウンターボタン", page_icon="🔢")
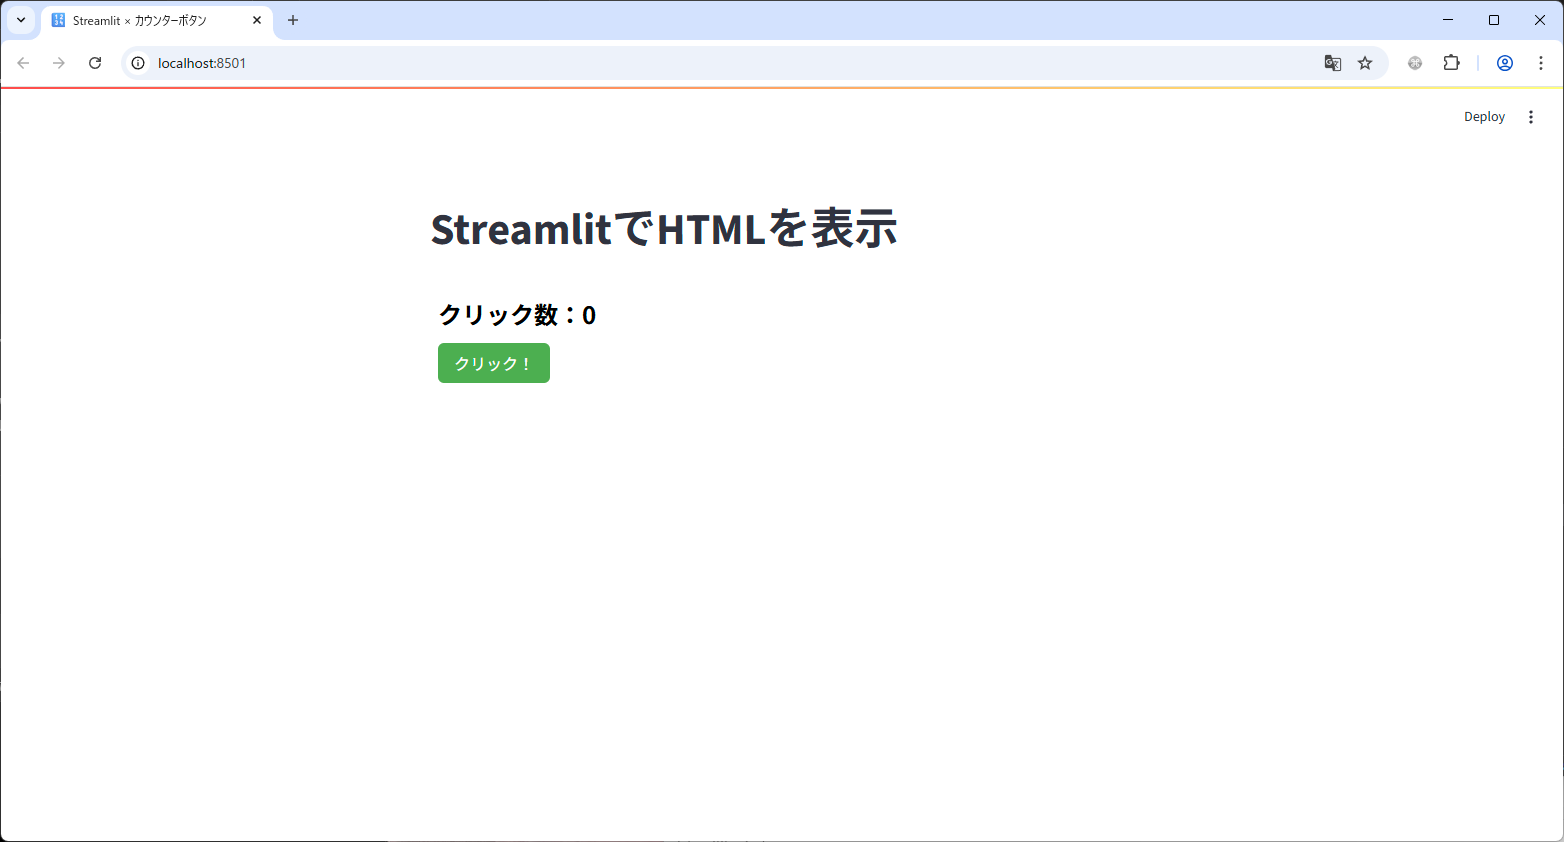
st.title("StreamlitでHTMLを動かしてみる")
# ファイル読み込み
html = read_text("templates/index.html")
css = read_text("assets/style.css")
js = read_text("assets/app.js")
# HTMLにCSSとJSを挿入
html = html.replace("</head>", f"<style>{css}</style></head>")
html = html.replace("</body>", f"<script>{js}</script></body>")
# 埋め込み表示
st.components.v1.html(html, height=200)
templates/index.html
<!doctype html>
<html>
  <head>
    <meta charset="utf-8">
    <title>カウンターボタン</title>
  </head>
  <body>
    <p id="counter">クリック数:0</p>
    <button id="btn">クリック!</button>
  </body>
</html>
assets/style.css
#counter {
  font-size: 24px;
  font-weight: bold;
  margin-bottom: 12px;
}
button {
  padding: 8px 16px;
  border: none;
  border-radius: 6px;
  background: #4CAF50;
  color: white;
  font-size: 16px;
  cursor: pointer;
}
button:hover {
  background: #45a049;
}
assets/app.js
(function(){
  let count = 0;
  const counter = document.getElementById("counter");
  const btn = document.getElementById("btn");

  btn.addEventListener("click", () => {
    count++;
    counter.textContent = "クリック数:" + count;
  });
})();
実行方法
-
任意の作業ディレクトリへ移動
cd projects_root -
仮想環境を作成・依存をインストール(任意
python -m venv .venv source .venv/Scripts/activate pip install --upgrade pip pip install streamlit -
アプリを起動
streamlit run app.py -
ブラウザで確認
- 自動で開かない場合は、端末に表示された URL(例:
http://localhost:8501)へアクセス
- 自動で開かない場合は、端末に表示された URL(例:
-
よく使う操作
- ポートを変える場合:
streamlit run app.py --server.port 8502 - 停止:
Ctrl + C - コードを変更したら保存で自動リロード(手動なら画面右上の「Rerun」)
- ポートを変える場合:
リロードの反映が遅い
JS や CSS を編集してもブラウザのキャッシュが効いて反映されない場合がある
→ ブラウザをリロードするか、キャッシュを無効化して確認する
仕組み解説
今回のサンプルで使っているのは、Streamlit の st.components.v1.html() という関数です。
これは、その名の通り 任意の HTML をそのまま埋め込んで表示 できる仕組みです。
-
CSS
HTML 内の<style>タグに直接書き込めば適用されます。外部ファイルを使いたい場合は、Python 側で読み込んで HTML に差し込む方法がシンプルです。 -
JavaScript
<script>タグ内に記述すれば実行できます。今回のサンプルでは、ボタンを押すたびに数値を更新する処理を記述しました。 -
値の受け渡し
-
Streamlit → HTML/JS: Python 側から渡したい値を
<script>内に埋め込むことで利用可能 - HTML/JS → Streamlit: 今回は扱っていませんが、必要になったら「カスタムコンポーネント」を作成するのが定石です
-
Streamlit → HTML/JS: Python 側から渡したい値を
まとめ
- Streamlit は Python 中心の UI を手軽に作れるフレームワーク
-
st.components.v1.html()を使えば HTML/JS/CSS を直接動かせる - 今回は「クリック数を数えるカウンターボタン」を題材に、最小構成
- 構成を整理しておくと、リッチなUIへの拡張にも対応しやすい
- 応用と次のステップ
- Python で処理したデータを HTML/JS に渡して描画
- Leaflet.js や MapLibre GL を使った地図表示