はじめに
この記事は Flutter #1 Advent Calendar 2020 の 8 日目の記事です。 Flutter 歴半年の新人ですが、よろしくお願いします。
今回は、「 flutter_hooks を使って StatelessWidget で AnimationController を使う」という題で書きます。題で全て言ってしまってる感が強いですが、私と同じように StatelessWidget でも AnimationController を使ってアニメーションを実装したい、という方の助けになれれば幸いです。
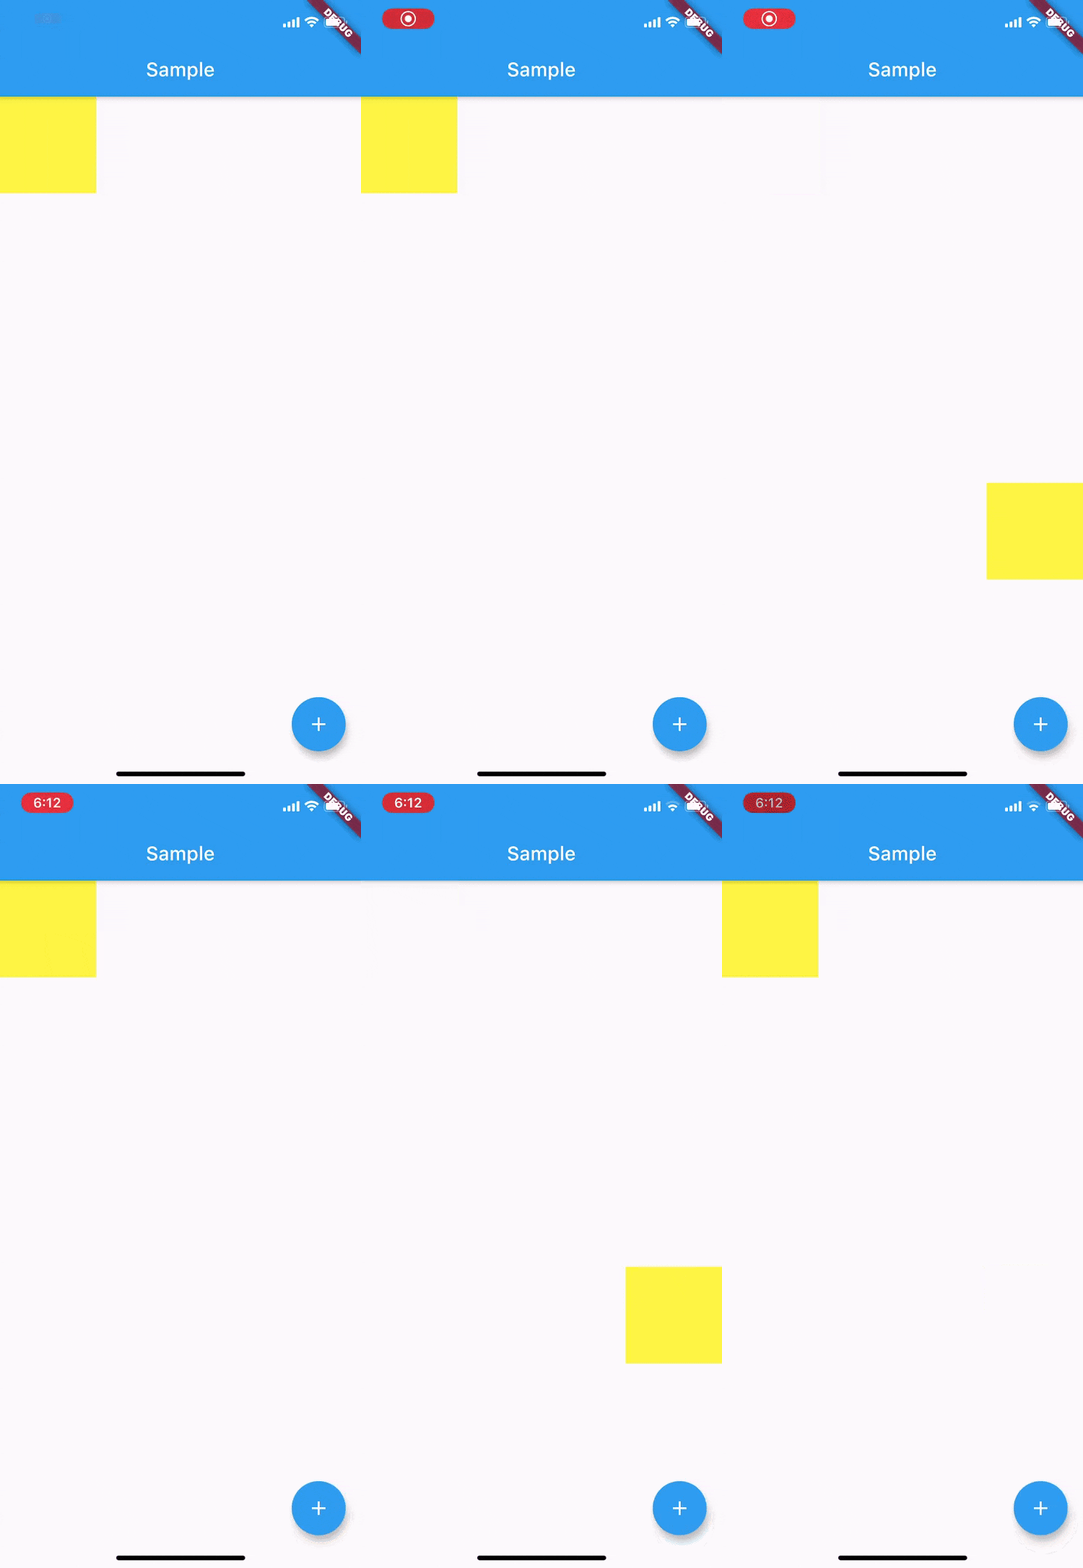
実装する画面
以下のような画面を実装します。実装をシンプルにするためにあえてアニメーションも簡単なものにしています。

StatefulWidget での実装
Flutter ではアニメーションを行う際に、しばしば AnimationController を使います。以下に、 AnimationController を使うサンプルを示します。
class SampleScreen extends StatefulWidget {
  @override
  _SampleScreenState createState() => _SampleScreenState();
}

class _SampleScreenState extends State<SampleScreen>
    with SingleTickerProviderStateMixin {
  Animation<double> tweenAnimation;
  AnimationController animationController;

  initState() {
    super.initState();

    animationController = AnimationController(
        duration: const Duration(milliseconds: 250), vsync: this);

    tweenAnimation = Tween(begin: 0.0, end: 1.0).animate(animationController)
      ..addListener(() {
        setState(() {});
      });
  }

  @override
  Widget build(BuildContext context) {
    return Scaffold(
      appBar: AppBar(
        title: Text('Sample'),
      ),
      body: Stack(
        children: [
          Positioned(
            left: tweenAnimation.value * 275.0,
            top: tweenAnimation.value * 400.0,
            child: Container(
              width: 100,
              height: 100,
              color: Colors.yellow,
            ),
          ),
        ],
      ),
      floatingActionButton: FloatingActionButton(
        child: Icon(Icons.add),
        onPressed: () {
          if (animationController.isCompleted) {
            animationController.reverse();
          } else {
            animationController.forward();
          }
        },
      ),
    );
  }
}
上のコードのように、 AnimationController を初期化する際は vsync に TickerProvider 型で createTicker メソッドを持つものを入れる必要があります。 この条件を満たすために手っ取り早く行われることが多いのが、 State に with SingleTickerProviderStateMixin や TickerProviderStateMixin を付け加えることです。ですが、 State を使う以上、 Widget は StatefulWidget にすることになります。 私は極力すべての画面を StatelessWidget で実装しようと考えていたため、このアニメーションのためだけに StatefulWidget に変更するのは抵抗がありました。
使用するパッケージ
以下のパッケージを使います。
flutter_hooks
StatelessWidget での実装
同じようなアニメーションを、 flutter_hooks を使って StatelessWidget を使って実装した例を示します。
class SampleScreen extends HookWidget {
  @override
  Widget build(BuildContext context) {

    final animationController = useAnimationController(
      duration: const Duration(milliseconds: 250),
    );
    final tweenAnimation =
        Tween(begin: 0.0, end: 1.0).animate(animationController);

    return Scaffold(
      appBar: AppBar(
        title: Text('Sample'),
      ),
      body: Stack(
        children: [
          AnimatedBuilder(
            animation: animationController,
            builder: (BuildContext context, Widget child) {
              return Positioned(
                left: tweenAnimation.value * 275.0,
                top: tweenAnimation.value * 400.0,
                child: Container(
                  width: 100,
                  height: 100,
                  color: Colors.yellow,
                ),
              );
            },
          ),
        ],
      ),
      floatingActionButton: FloatingActionButton(
        child: Icon(Icons.add),
        onPressed: () {
          if (animationController.isCompleted) {
            animationController.reverse();
          } else {
            animationController.forward();
          }
        },
      ),
    );
  }
}
flutter_hooks の機能を使う時は、StatelessWidget を継承した、「HookWidget」を継承します。継承すると、buildメソッド内でいくつかの useXXX というメソッドを使うことができるようになります。今回使用する useAnimationController は、 vsync を使うことなく AnimationController を取得することができます。あとは、取得した AnimationController を AnimatedBuilder の controller に入れて、 builder でアニメーションする Widget を組み立てれば完成です。
おわりに
flutter_hooks をいうパッケージを使うことで StatelessWidget でも AnimationController を使うことができる、ということを書きました。 flutter_hooks は他にも Future がより簡単に書けたり TextEditingController や ScrollController も取得できたりいろいろできるパッケージですが、私が一番悩んでいて解決できて感動した機能がこれでした。私と同じように、アニメーションの実装のために StatefulWidget を使いたくない、という方の助けになっていましたら幸いです。
以上で、 8 日目の記事は終了します。ありがとうございました!!