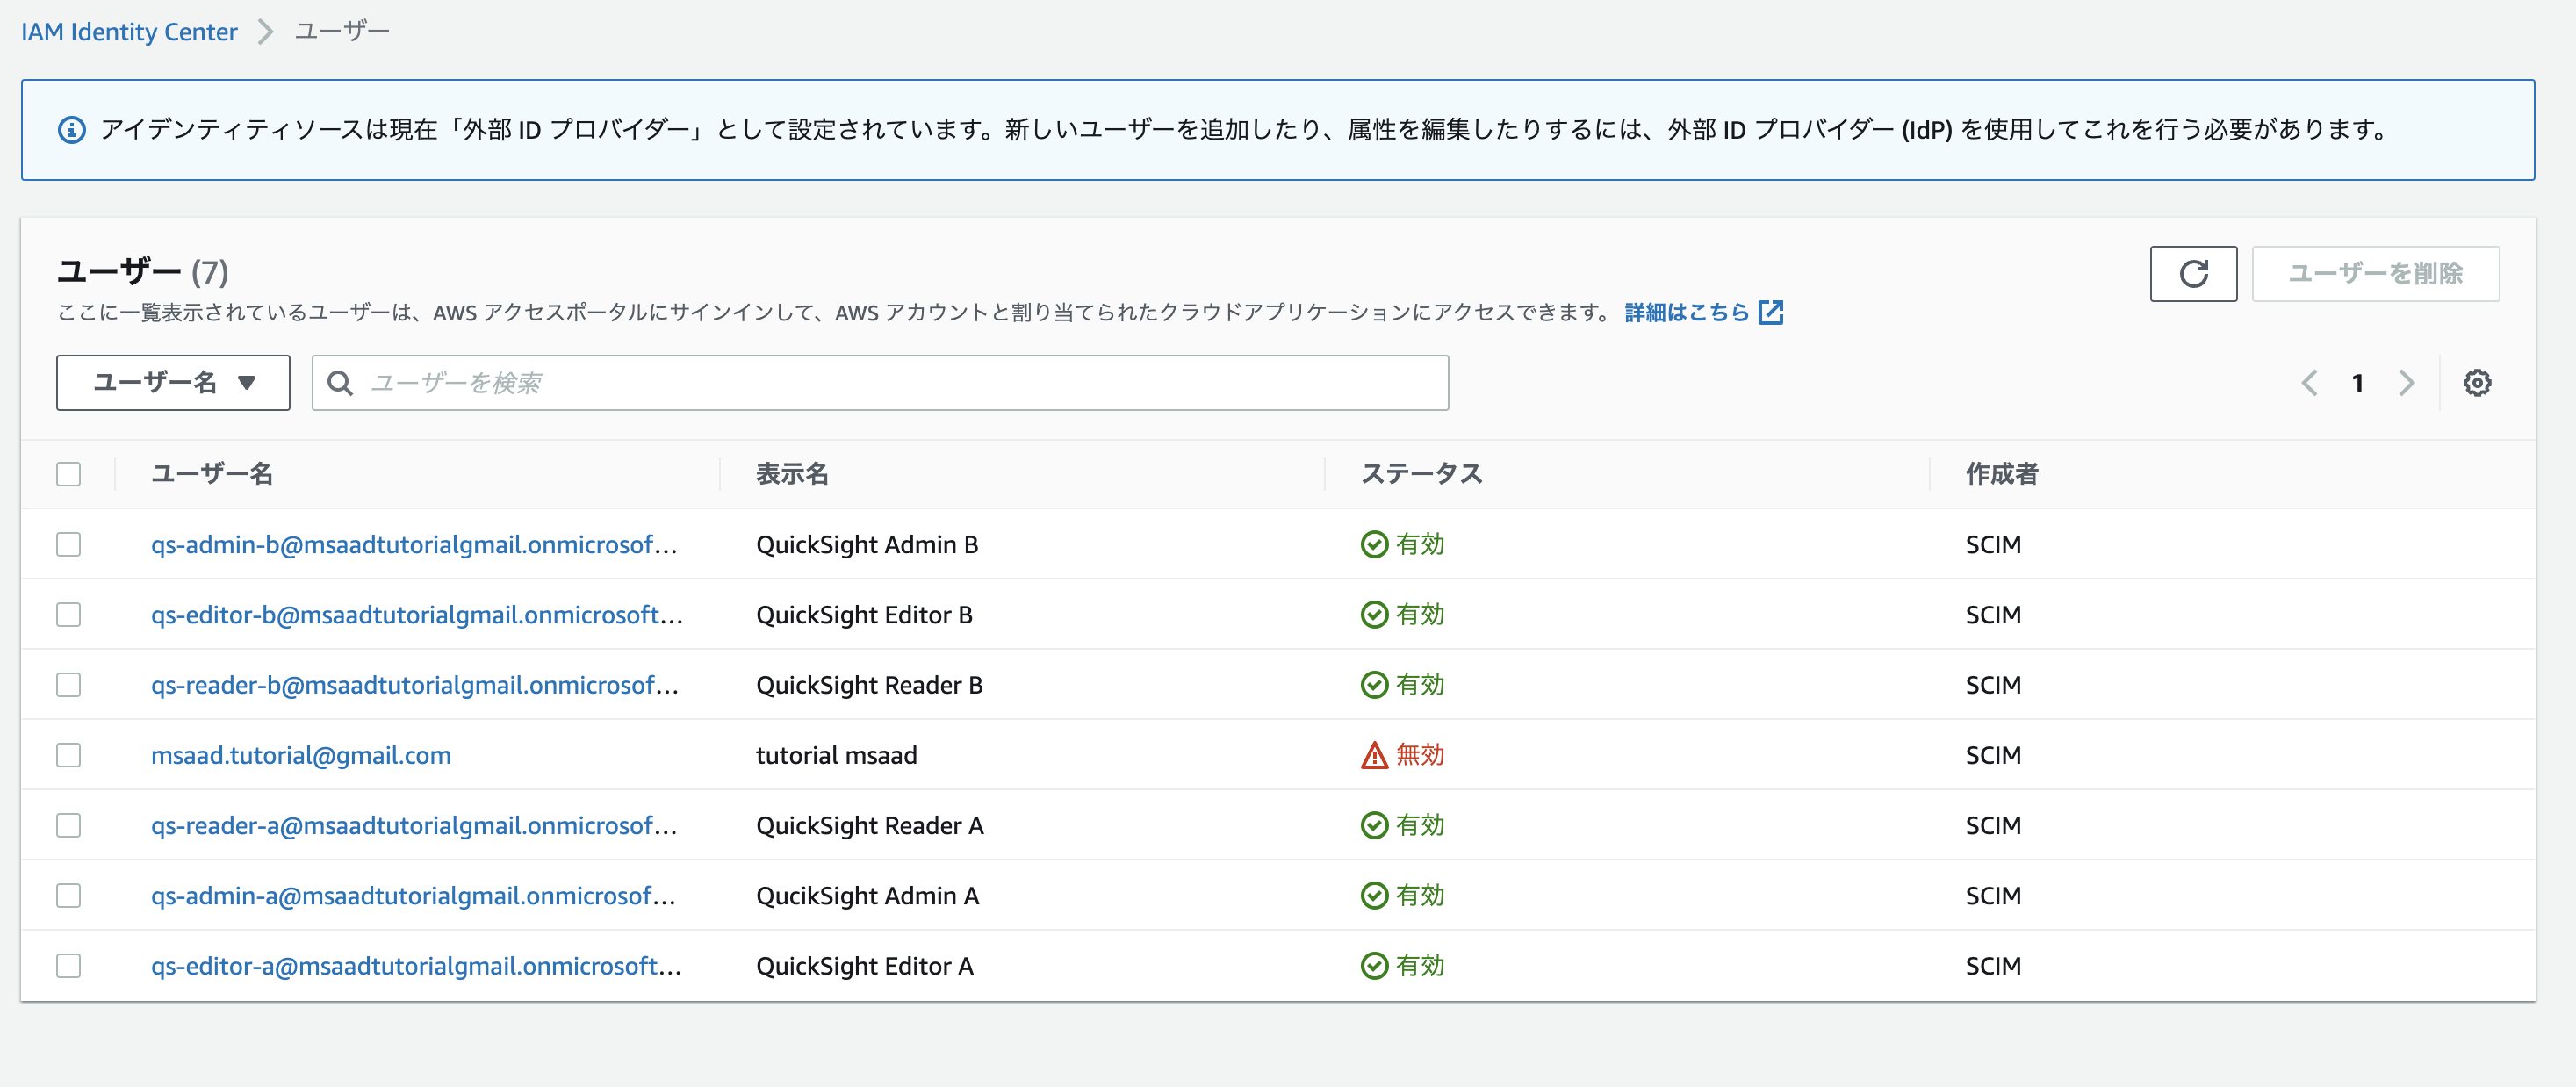
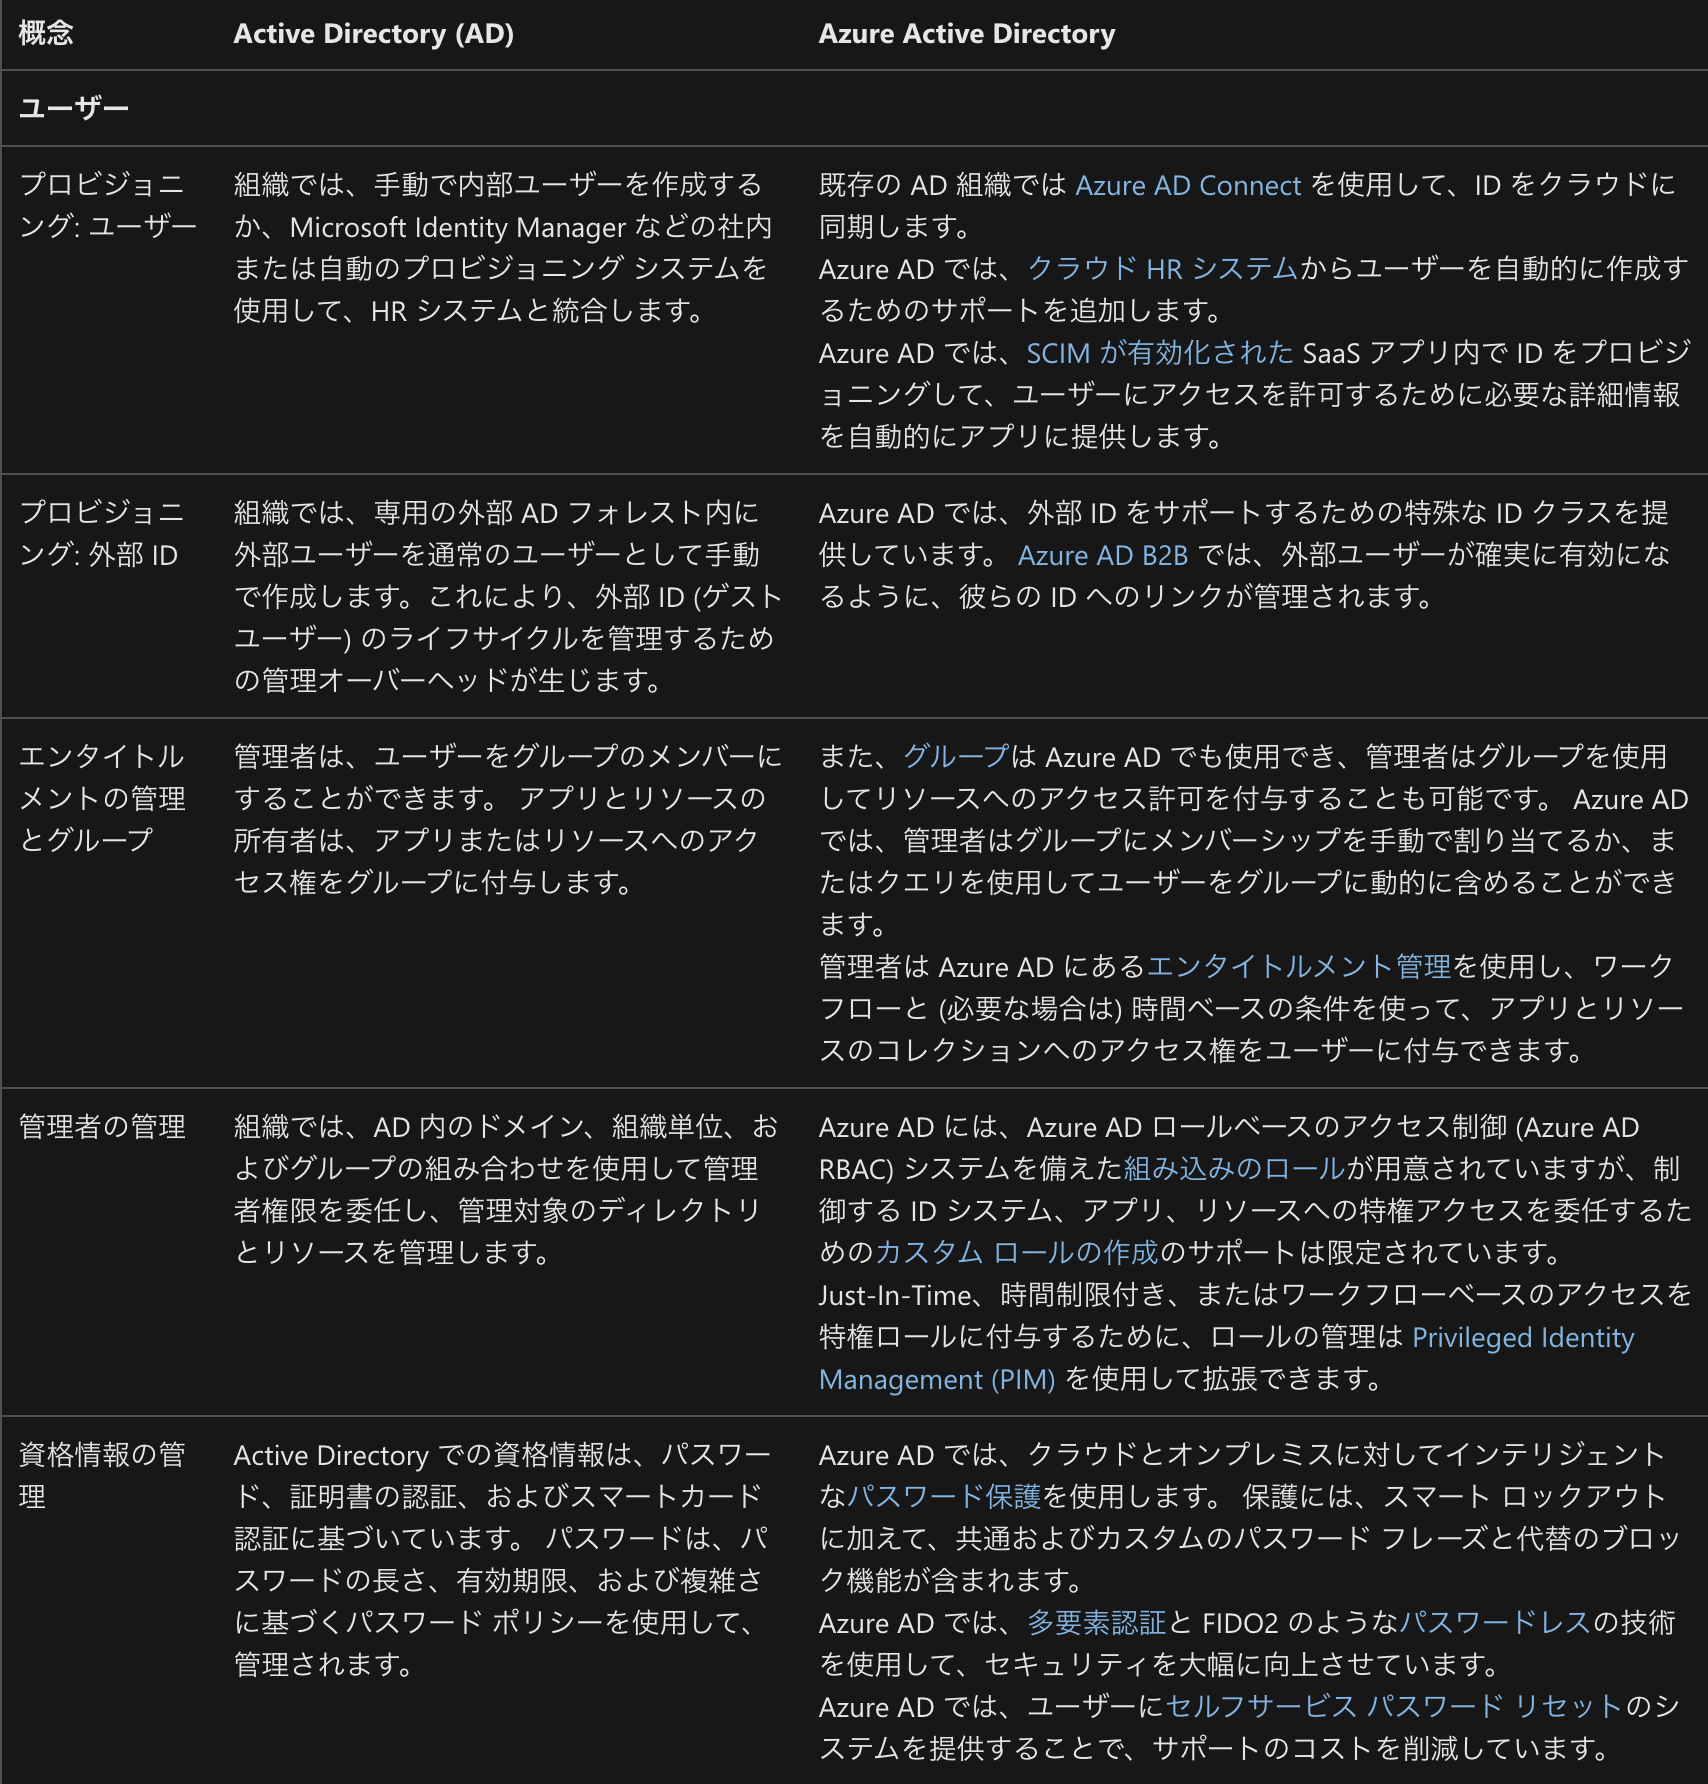
Azure AD認証でQuickSightへのログイン環境を構築した際の雑多なメモとなります。
また、番外編で Azure AD と IAM Identity Center の連携パターンも試してみました。
1. Azure AD 側の作業
Azure AD ユーザー、グループ作成
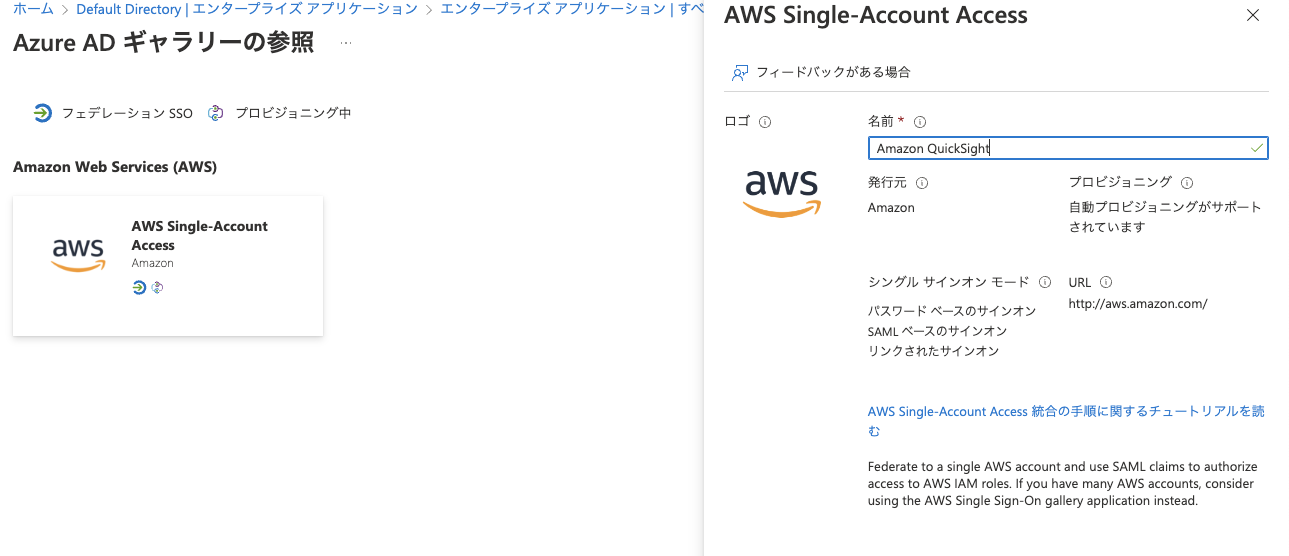
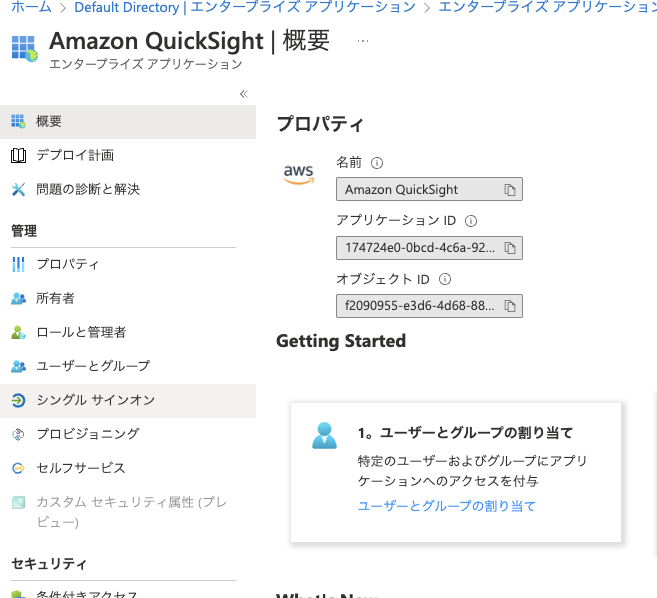
Azure AD エンタープライズアプリケーション作成 -> 構成情報出力
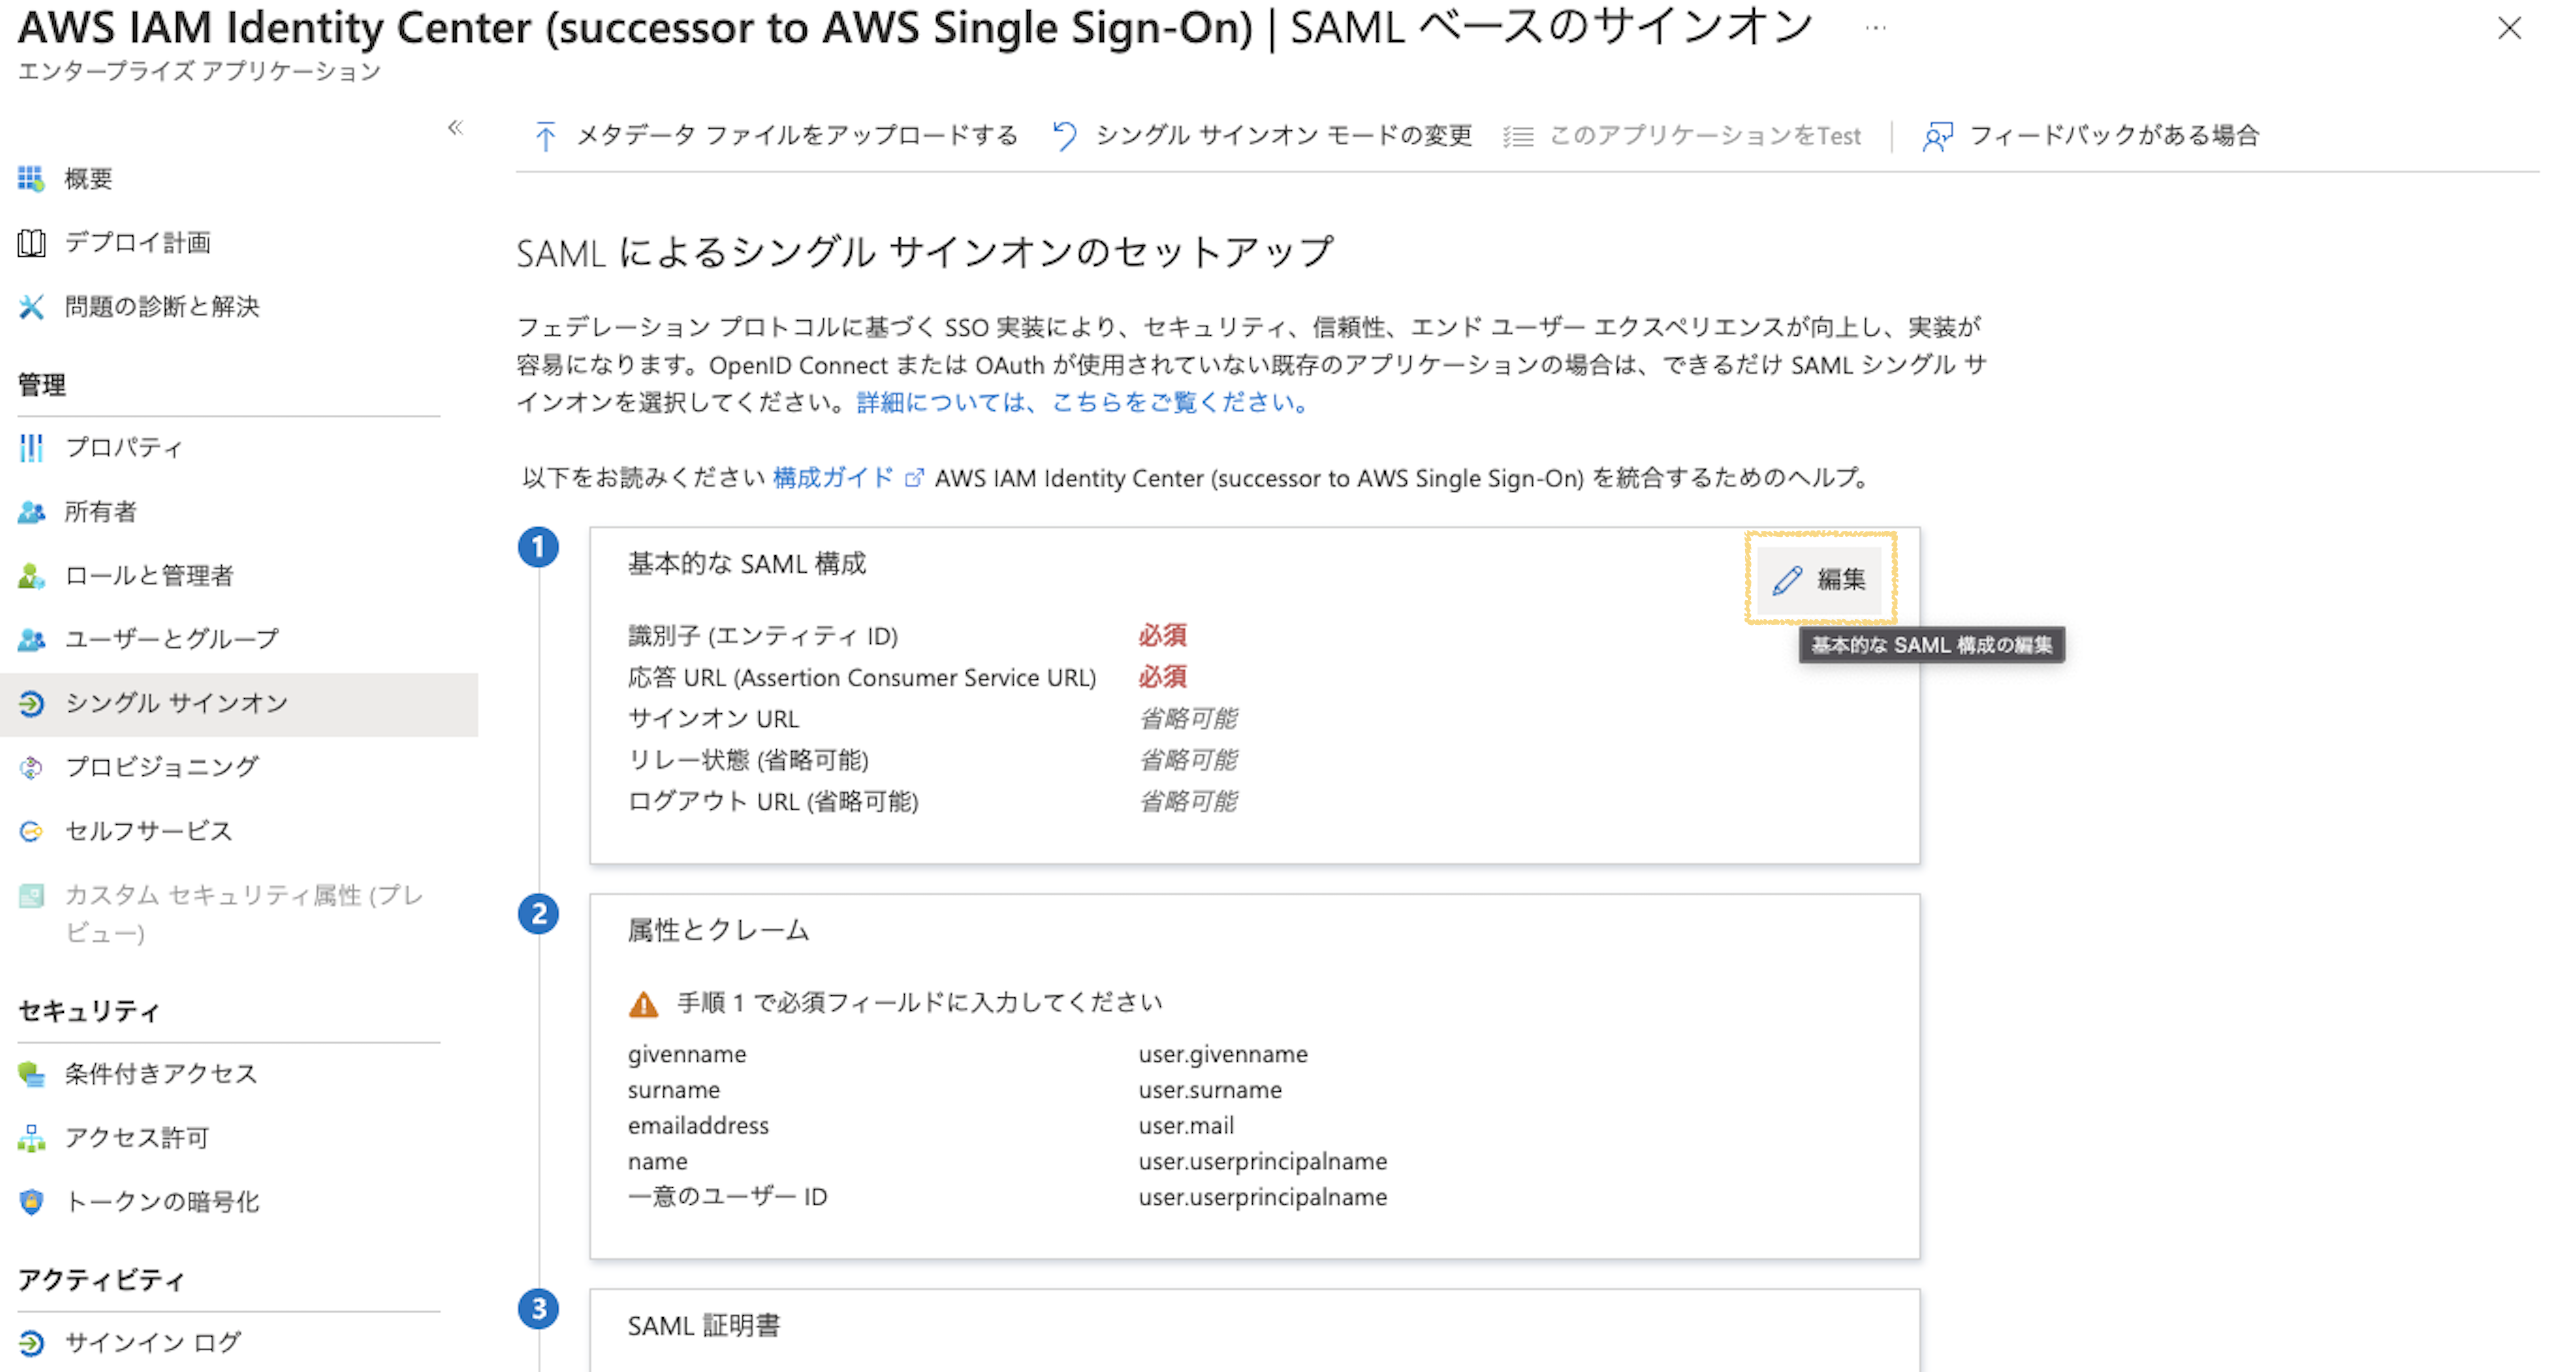
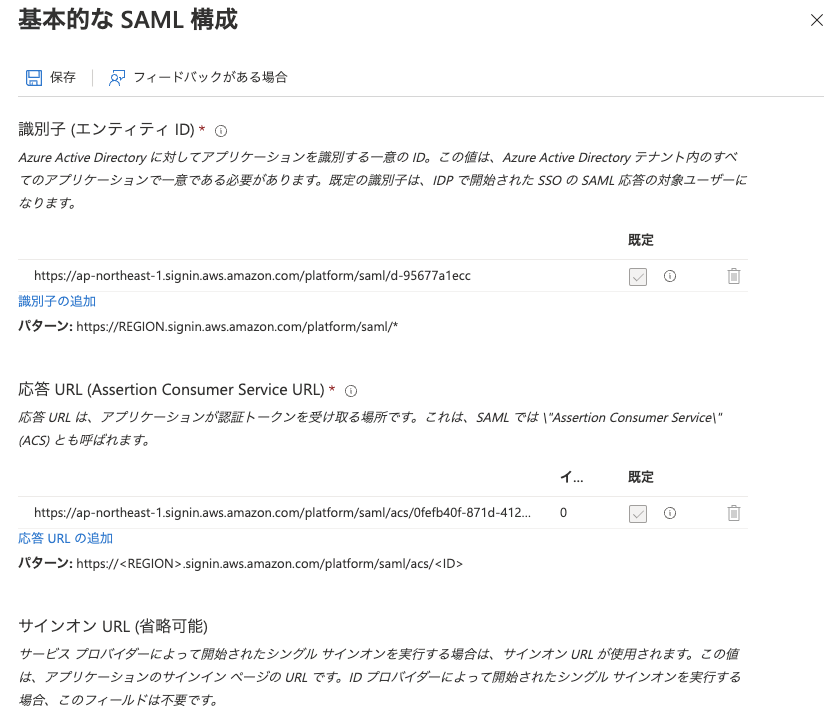
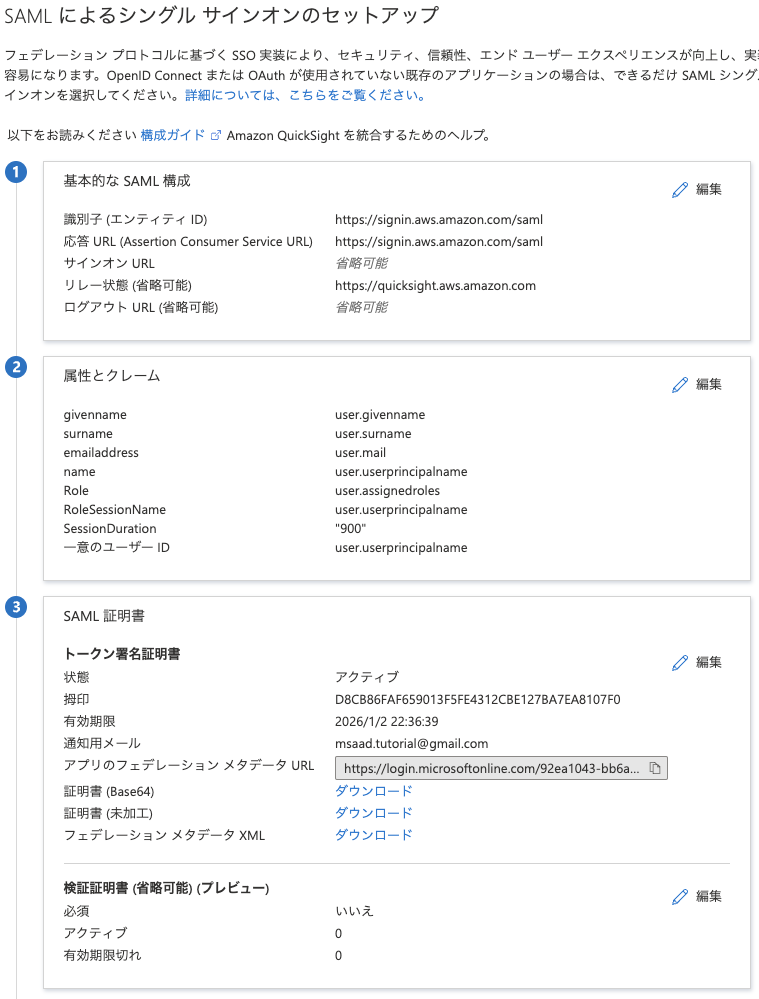
SAML アプリケーションを選択し、基本的な SAML 構成 のリレー状態に https://quicksight.aws.amazon.com を設定

設定後、画面をリロードして設定内容が反映されていることを確認
以降の作業は AWS こちら の作業が完了次第実施
各種Claimの作成
Role Claimの作成
以下、AWS で作成したロールとIdPのARNを設定する
arn:aws:iam::926381664530:role/QuickSightAdmin-AzureAD,arn:aws:iam::926381664530:saml-provider/AzureADforQuickSight
arn:aws:iam::926381664530:role/QuickSightAuthor-AzureAD,arn:aws:iam::926381664530:saml-provider/AzureADforQuickSight
arn:aws:iam::926381664530:role/QuickSightReader-AzureAD,arn:aws:iam::926381664530:saml-provider/AzureADforQuickSight
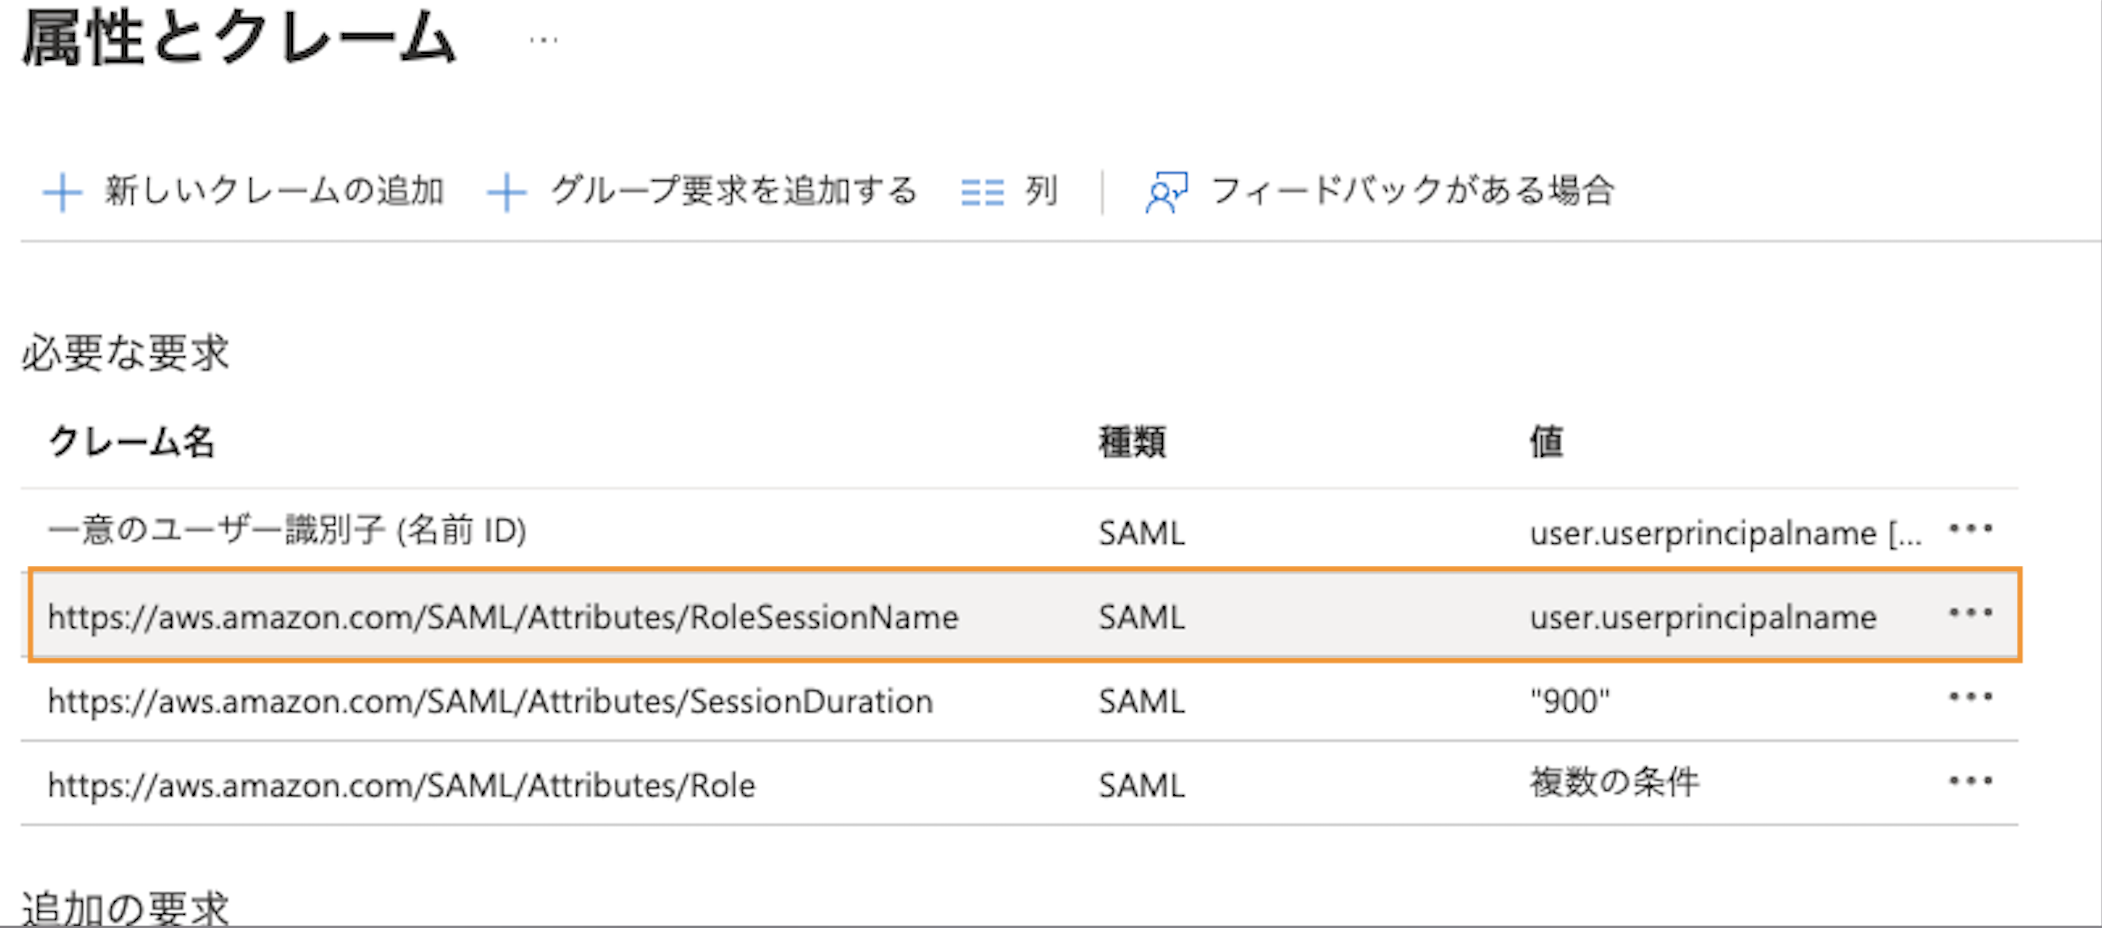
RoleSessionName Claim の作成
- Choose Add new claim.
- For Name, enter RoleSessionName.
- For Namespace, enter https://aws.amazon.com/SAML/Attributes.
- For Source, choose Transformation.
- For Transformation, enter ExtractMailPrefix().
- For Parameter 1, enter user.userprincipalname.
userprincipalname 属性から名前を抽出するには、ExtractMailPrefix() 関数を使用します。例えば、この関数はユーザ・プリンシパル名の値joe@example.com から名前joeを抽出します。IAMはRoleSessionNameを使用して、QuickSightにサインインするユーザのロールセッションIDを作成します。ロールセッションIDは、Role名とRoleSessionNameから構成され、Role/RoleSessionName形式となります。ユーザは、ロールセッションIDをユーザ名としてQuickSightに登録されます。
SAML_SUBJECT Claim の作成
ユーザー or グループ に対し claim を割り当てる
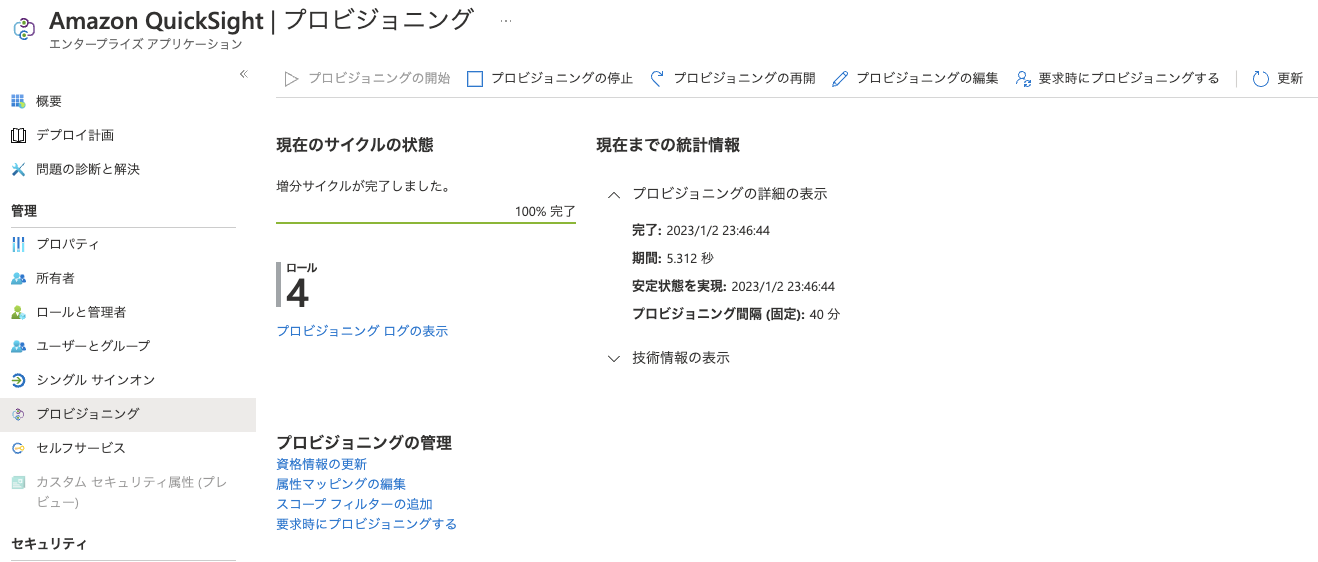
[Option] 自動プロビジョニング (SCIM)
SCIM 用のポリシーとプログラムユーザーの作成
{
    "Version": "2012-10-17",
    "Statement": [
        {
            "Effect": "Allow",
            "Action": [
            "iam:ListRoles"
            ],
            "Resource": "*"
        }
    ]
}
2. AWS 側の作業
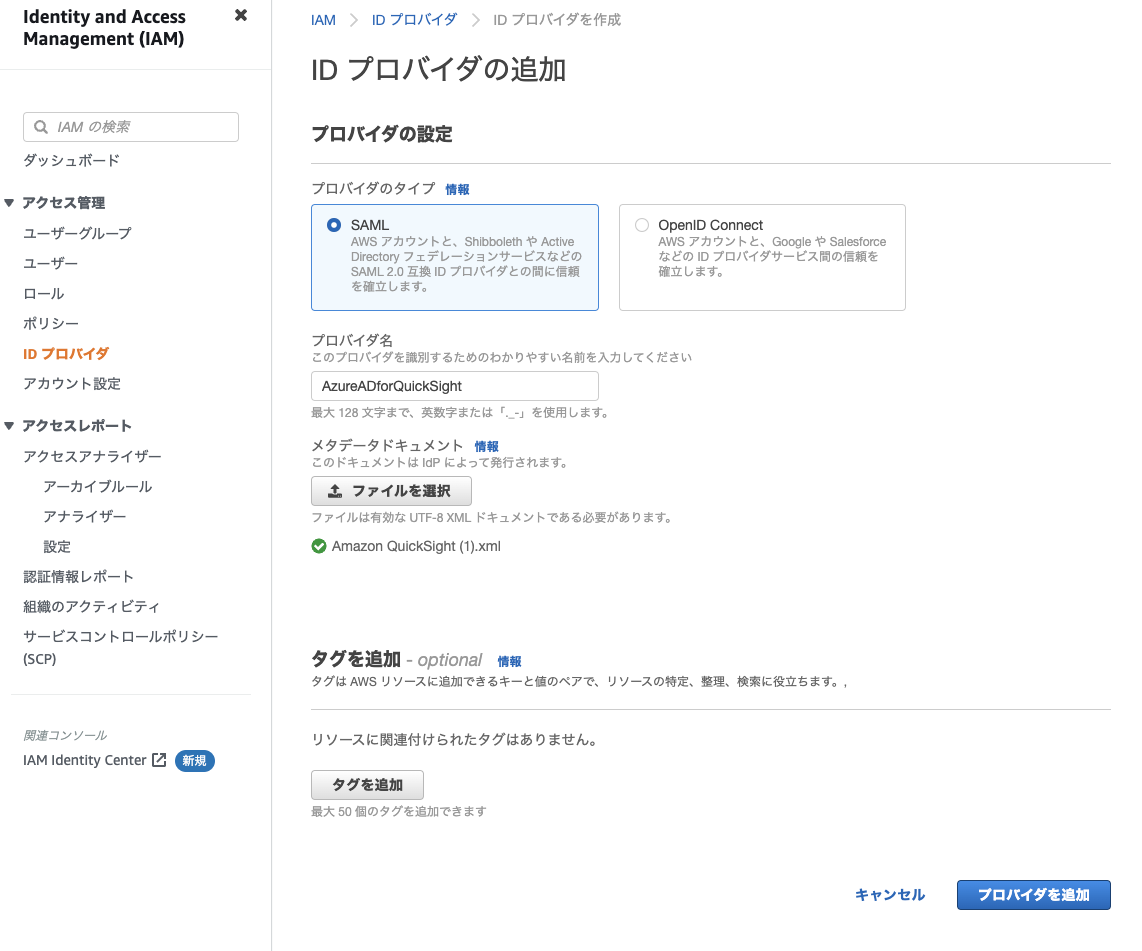
AWS IAM SAML IdP 登録
サマリページの ARN を控えておく
arn:aws:iam::926381664530:saml-provider/AzureADforQuickSight

自動プロビジョニング用 IAM ロール作成
以下、QuickSight 初回ログイン時に自動でQuickSight ユーザーをプロビジョニングするために3種類のロールを作成する
- QuickSight Admin
- QuickSight Author
- QuickSight Reader
IAM Policy / IAM Role の作成
こちら を参照し、3種類のポリシー作成し、ロール作成時にアタッチする。
Test
Division A
qs-admin-a@msaadtutorialgmail.onmicrosoft.com
qs-editor-a@msaadtutorialgmail.onmicrosoft.com
qs-reader-a@msaadtutorialgmail.onmicrosoft.com
Division B
qs-admin-b@msaadtutorialgmail.onmicrosoft.com
qs-editor-b@msaadtutorialgmail.onmicrosoft.com
qs-reader-b@msaadtutorialgmail.onmicrosoft.com
追加 QuickSight SP Initiated 連携
QuickSight の設定
- Status : ON
- IdP URL : 上で組み立てた URL を指定
- IdP redirect URL Parameter : RelayState を指定
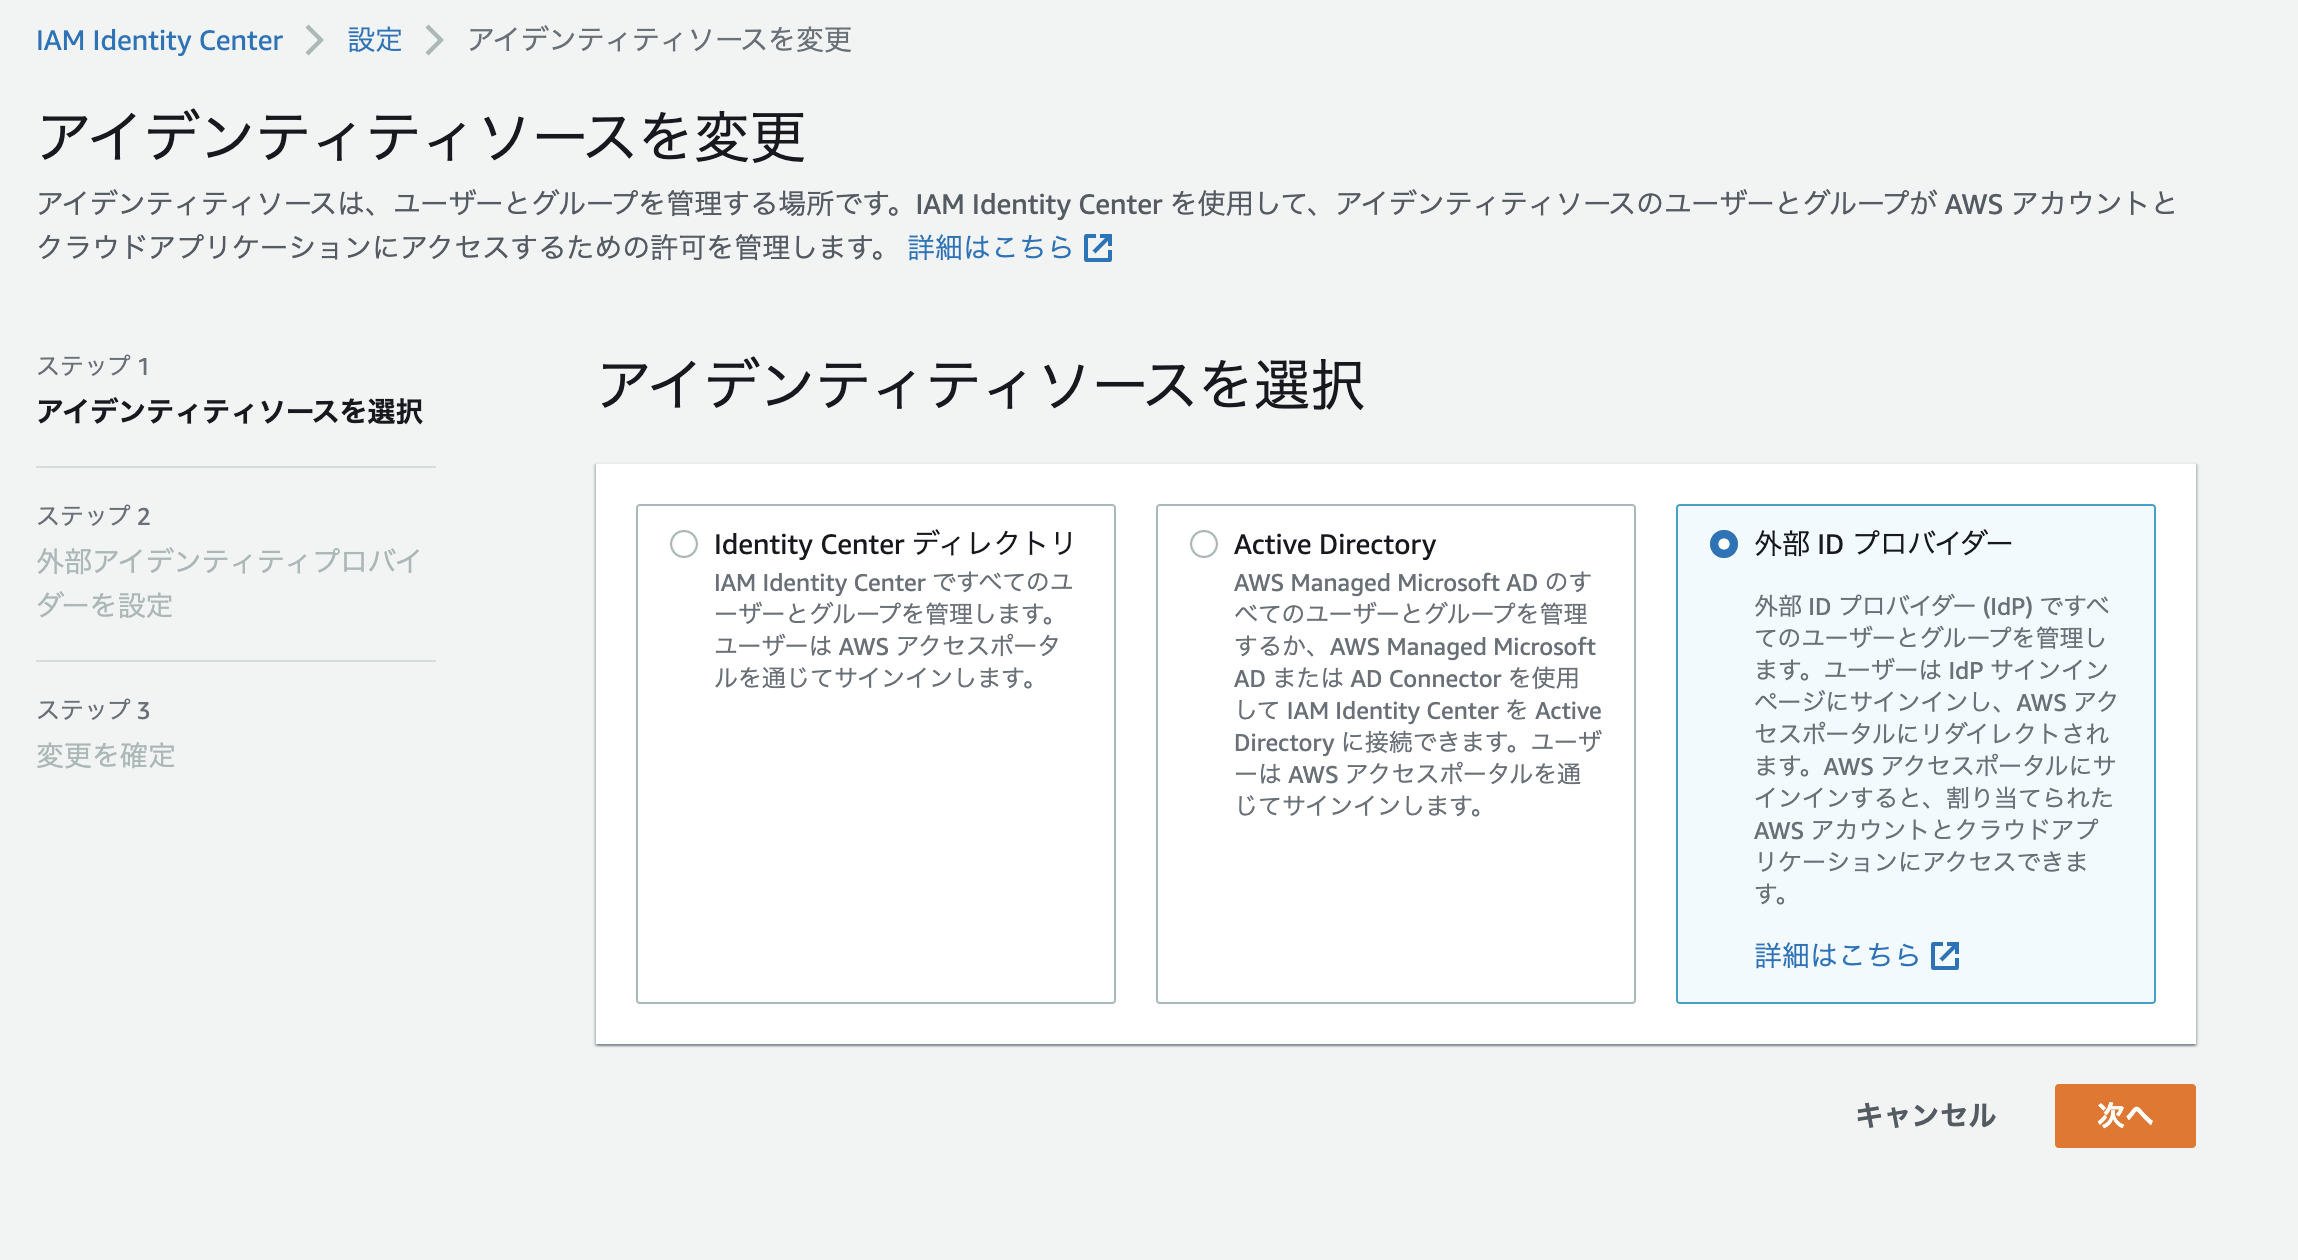
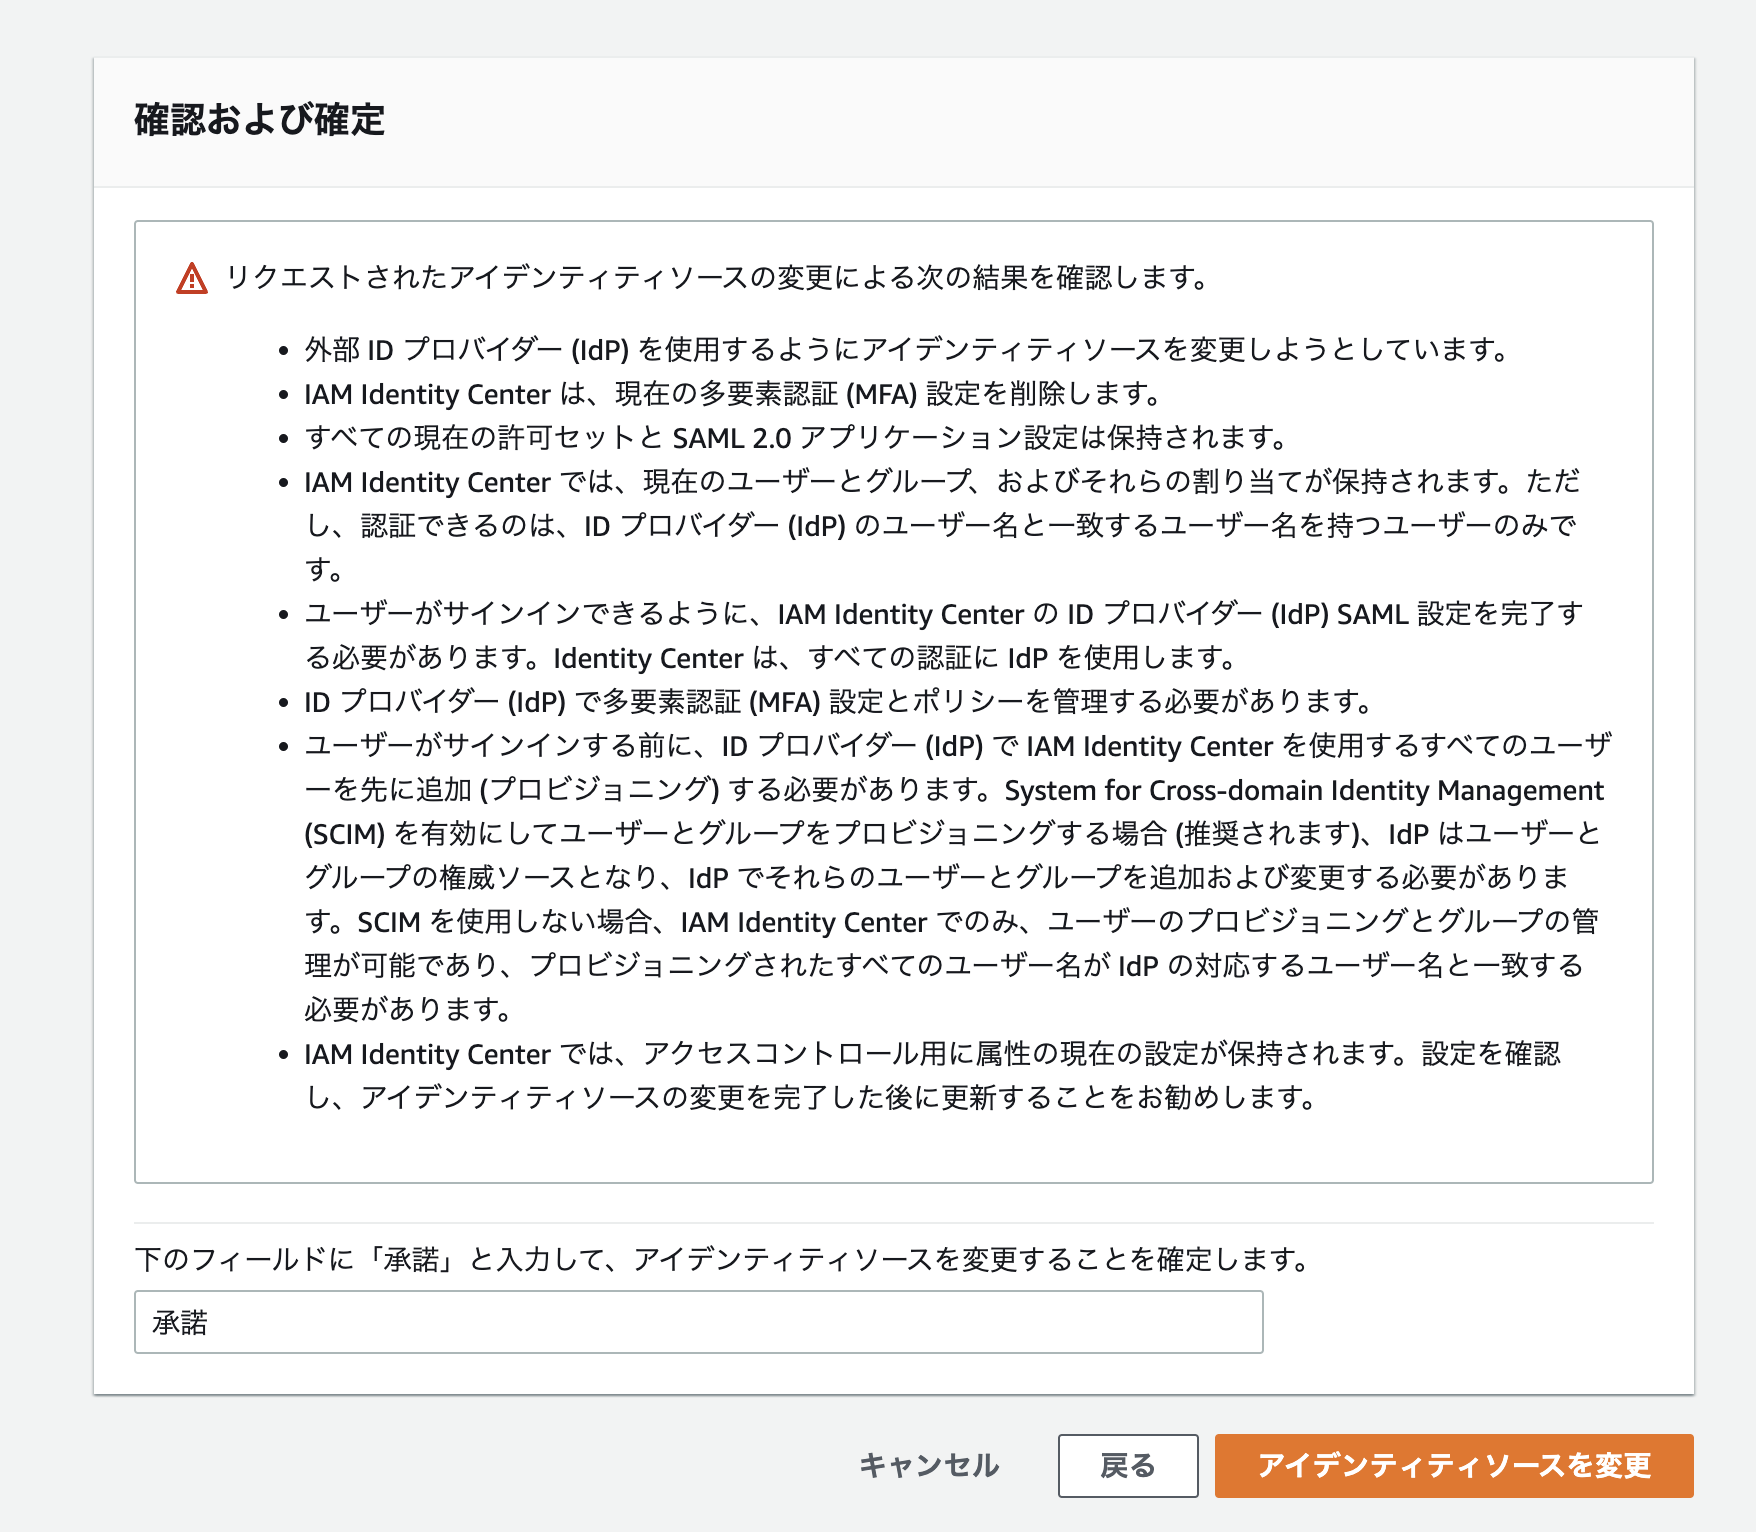
番外編 AWS IAM Identity Center 経由での認証を構成してみる。
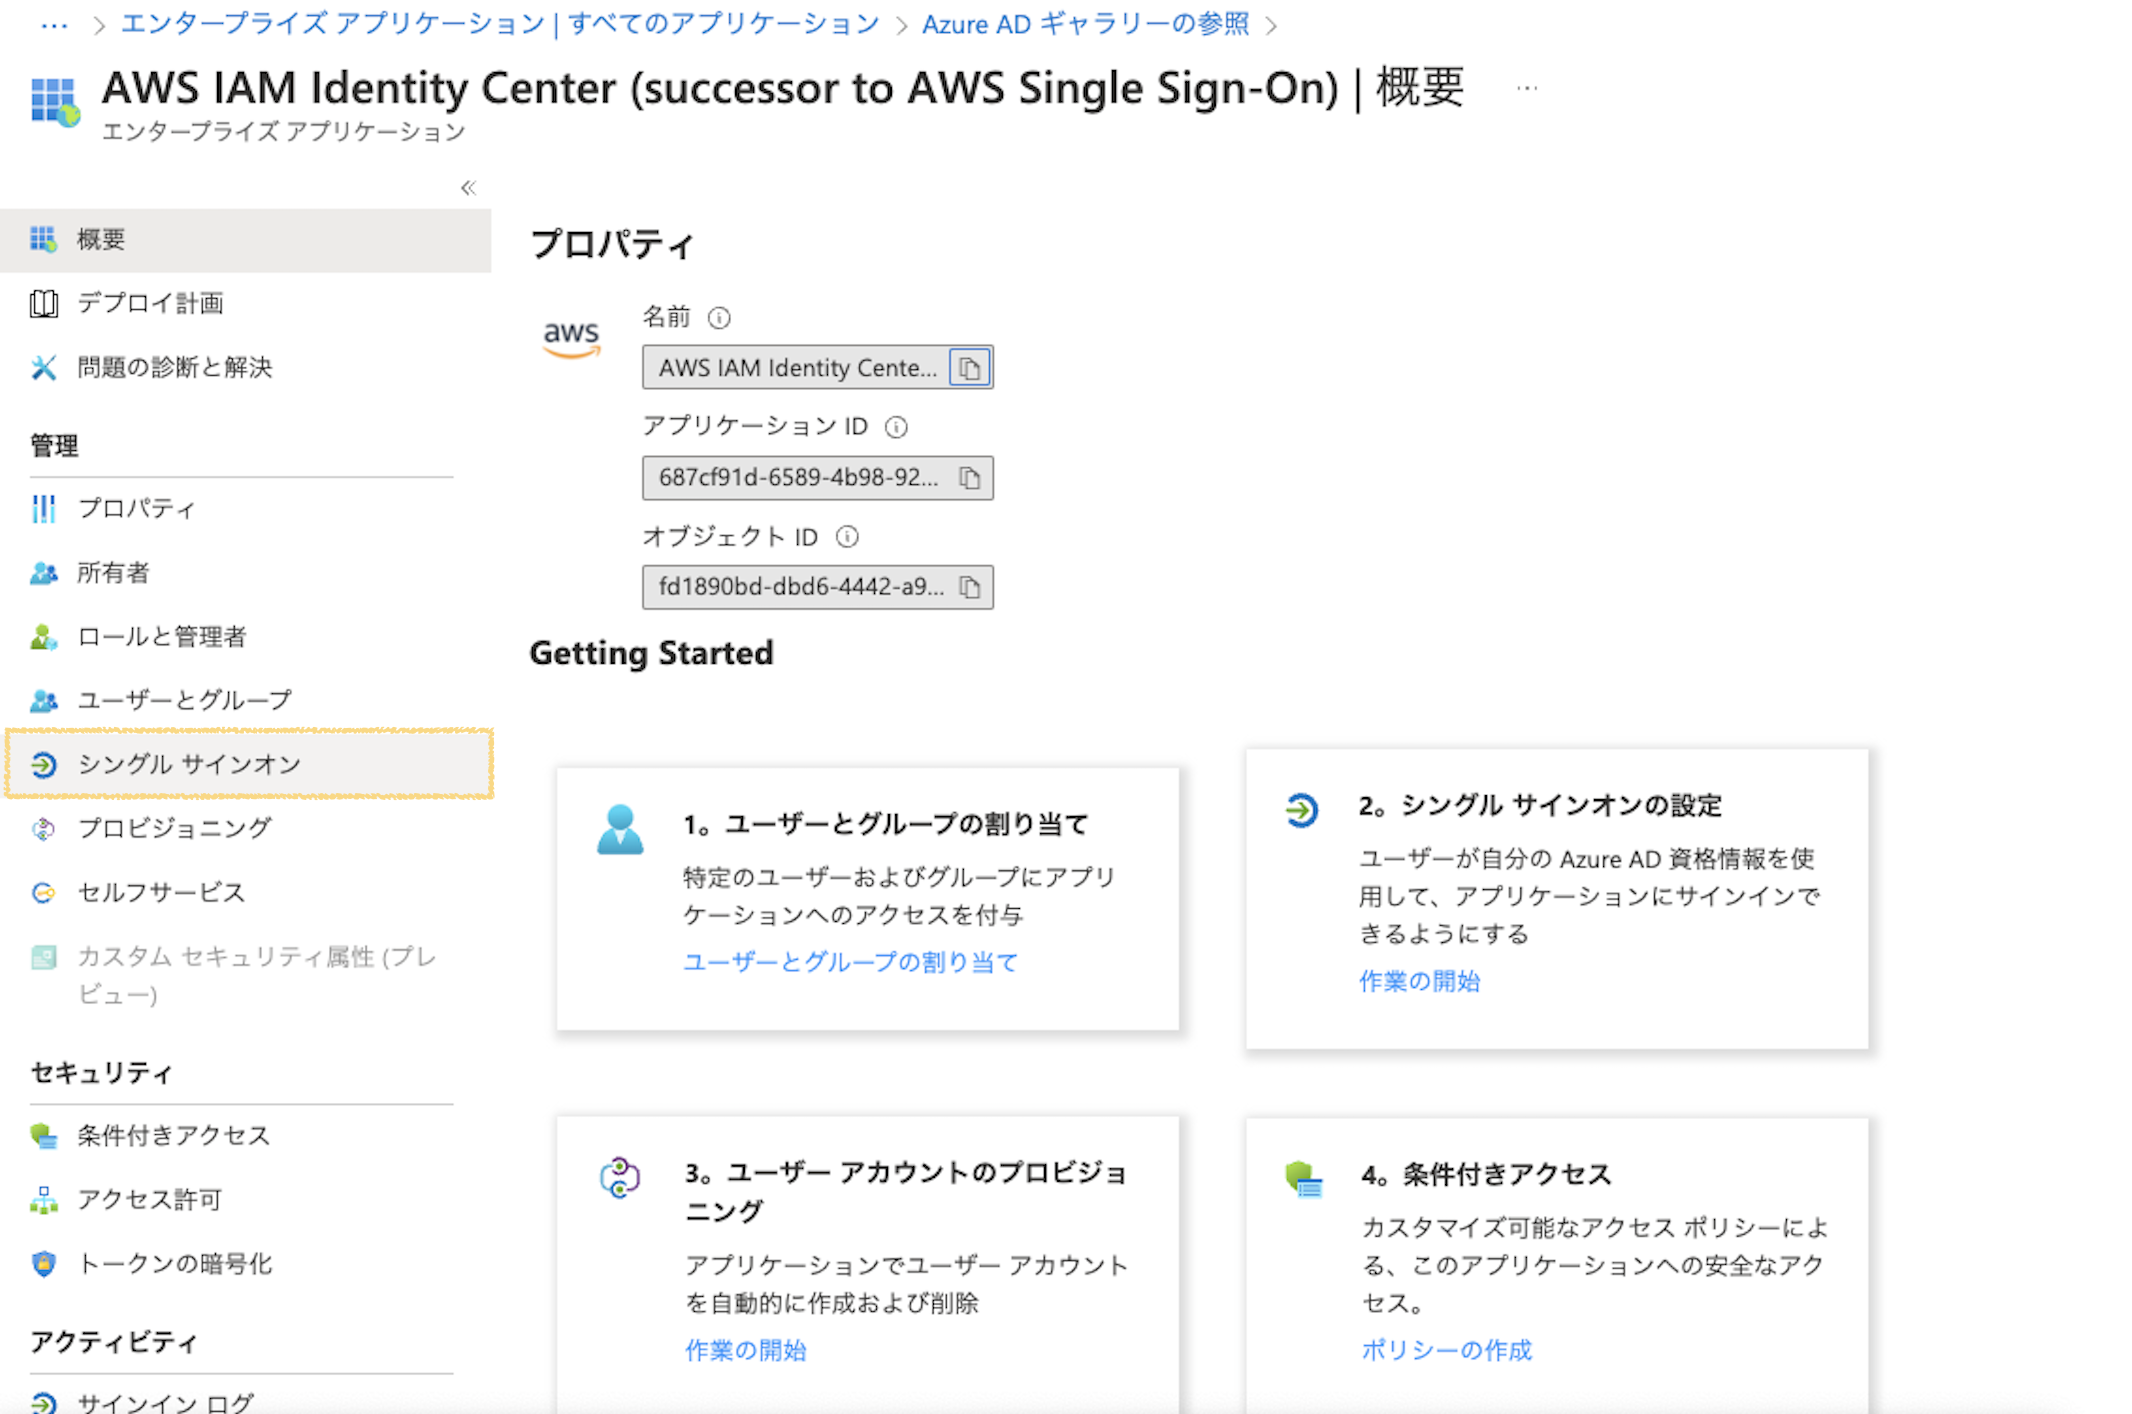
type AWS IAM Identity Center in the search box.

IAM Identity Center に遷移。(事前にAdmin 権限でログインしておく)

Yes をクリックしても自動でセットアップが始まらないので手動で入れていく。
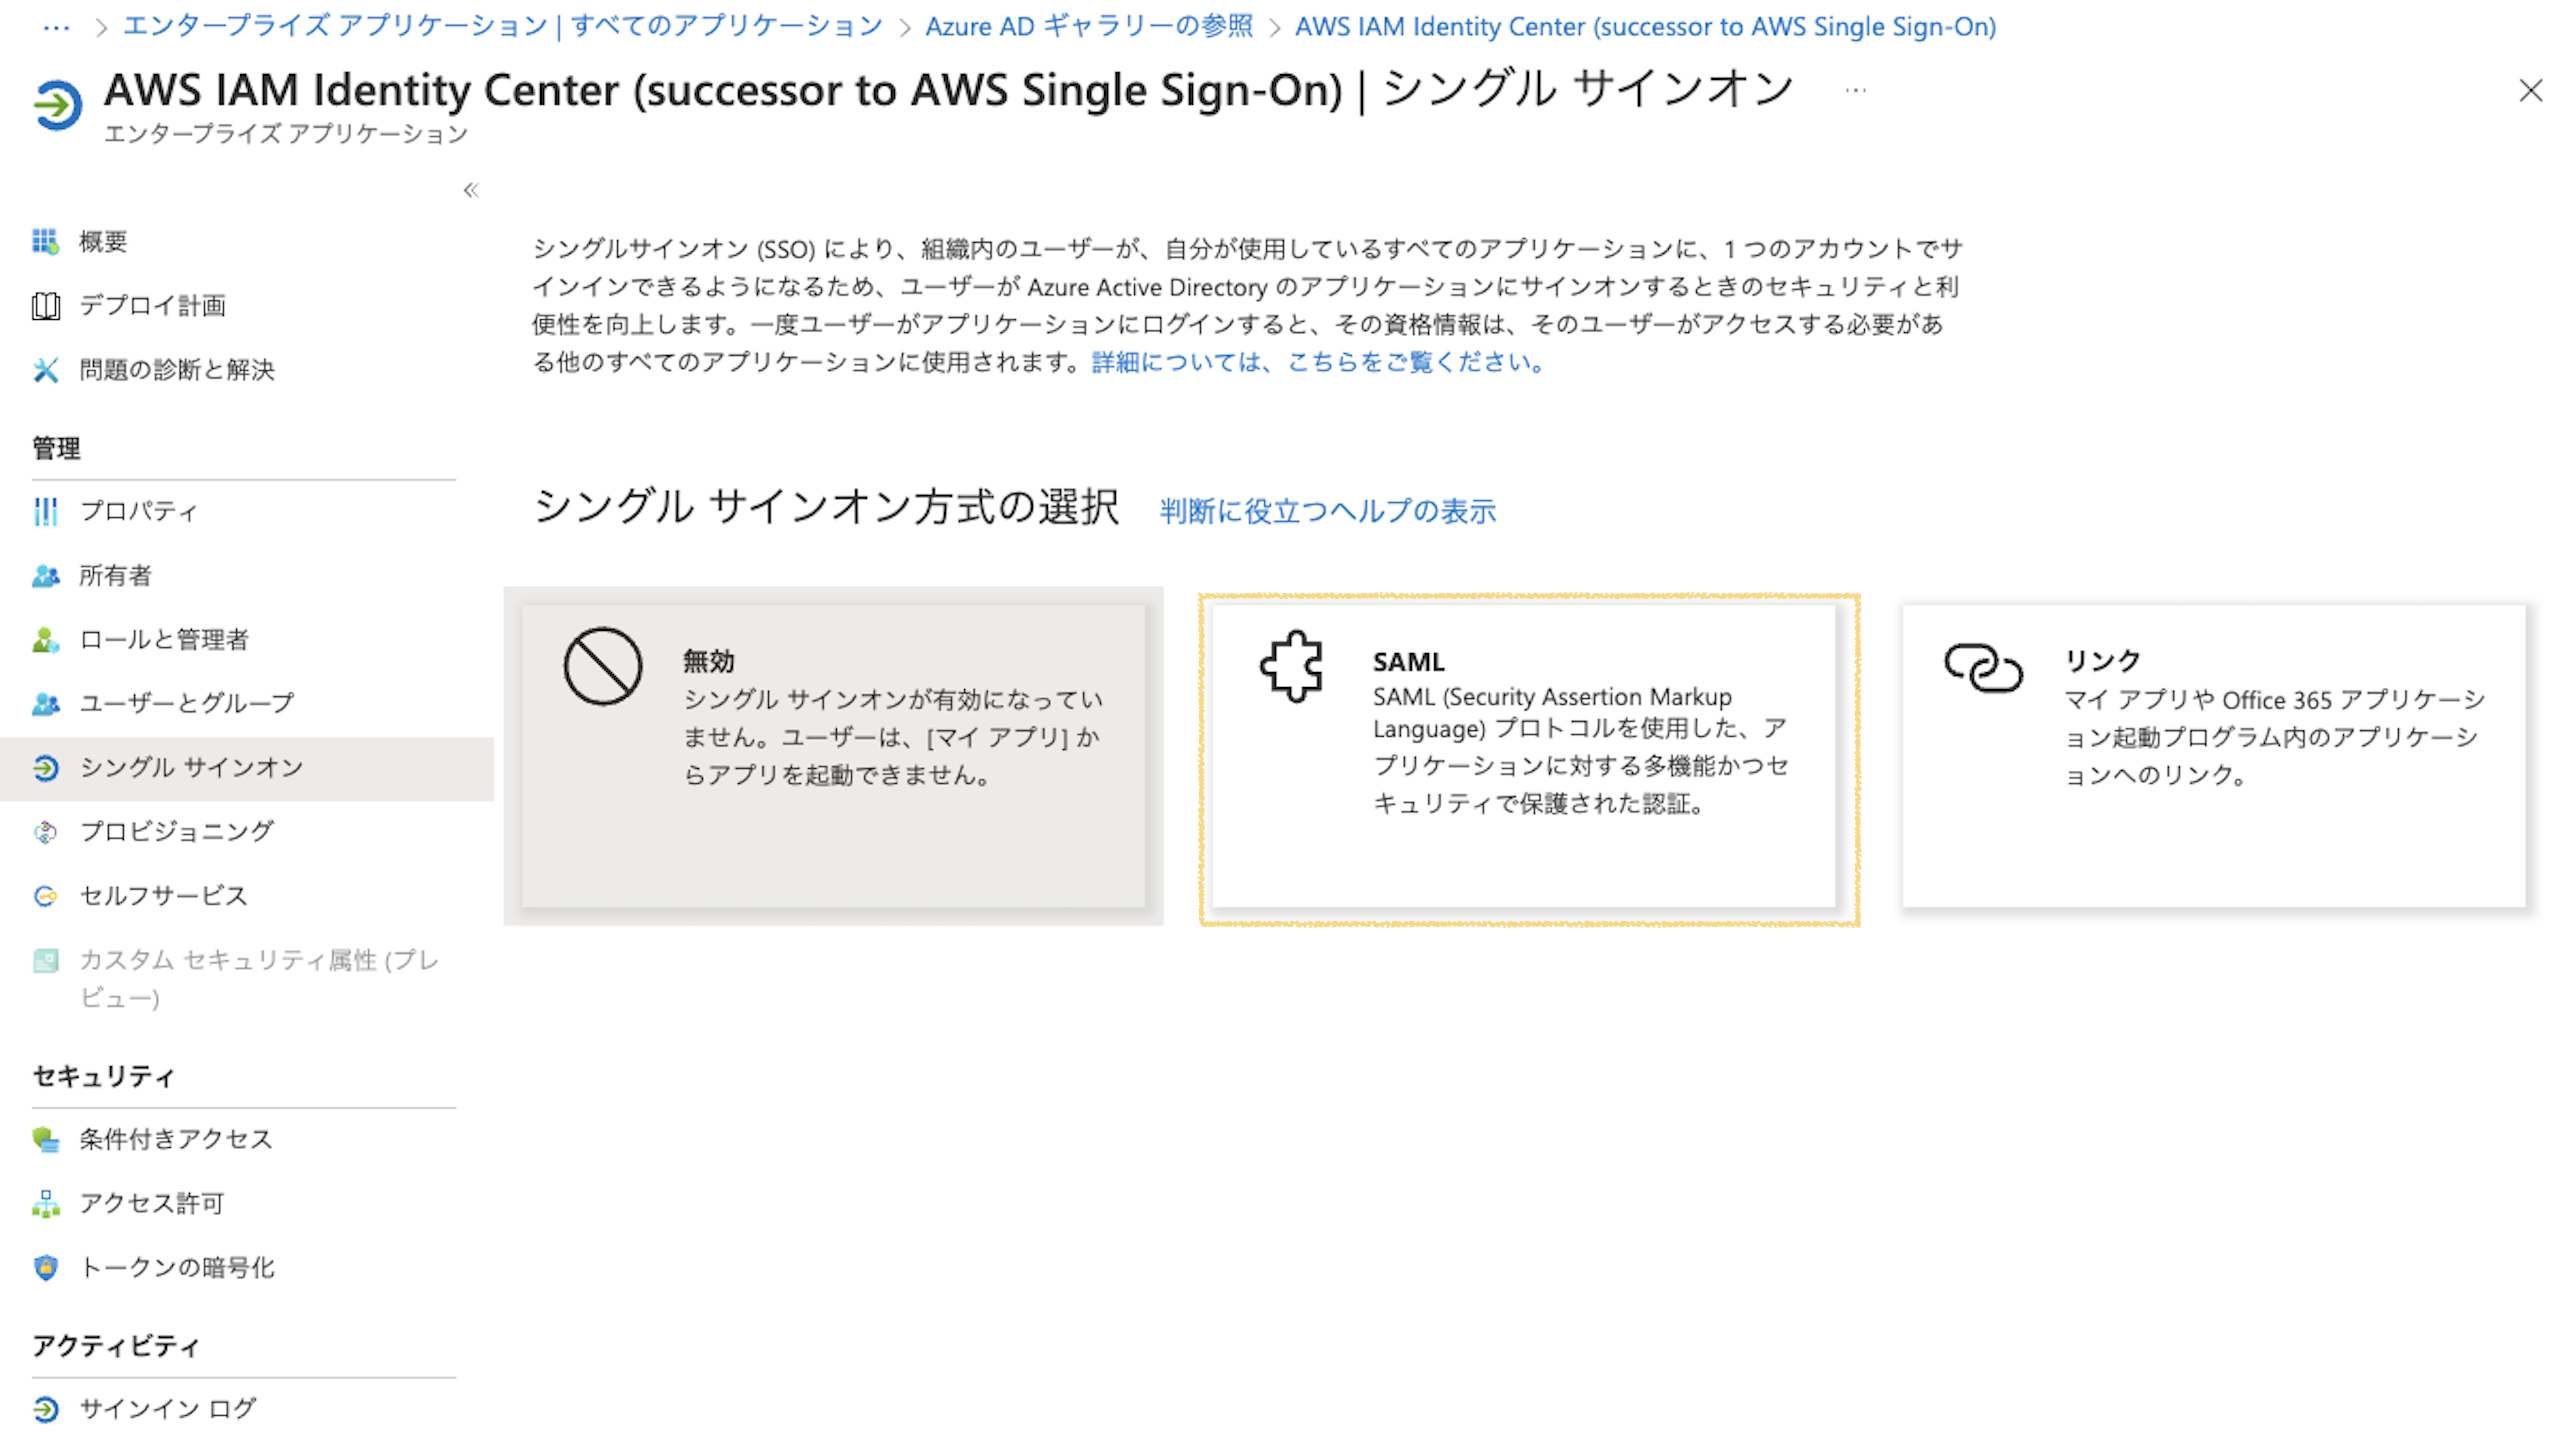
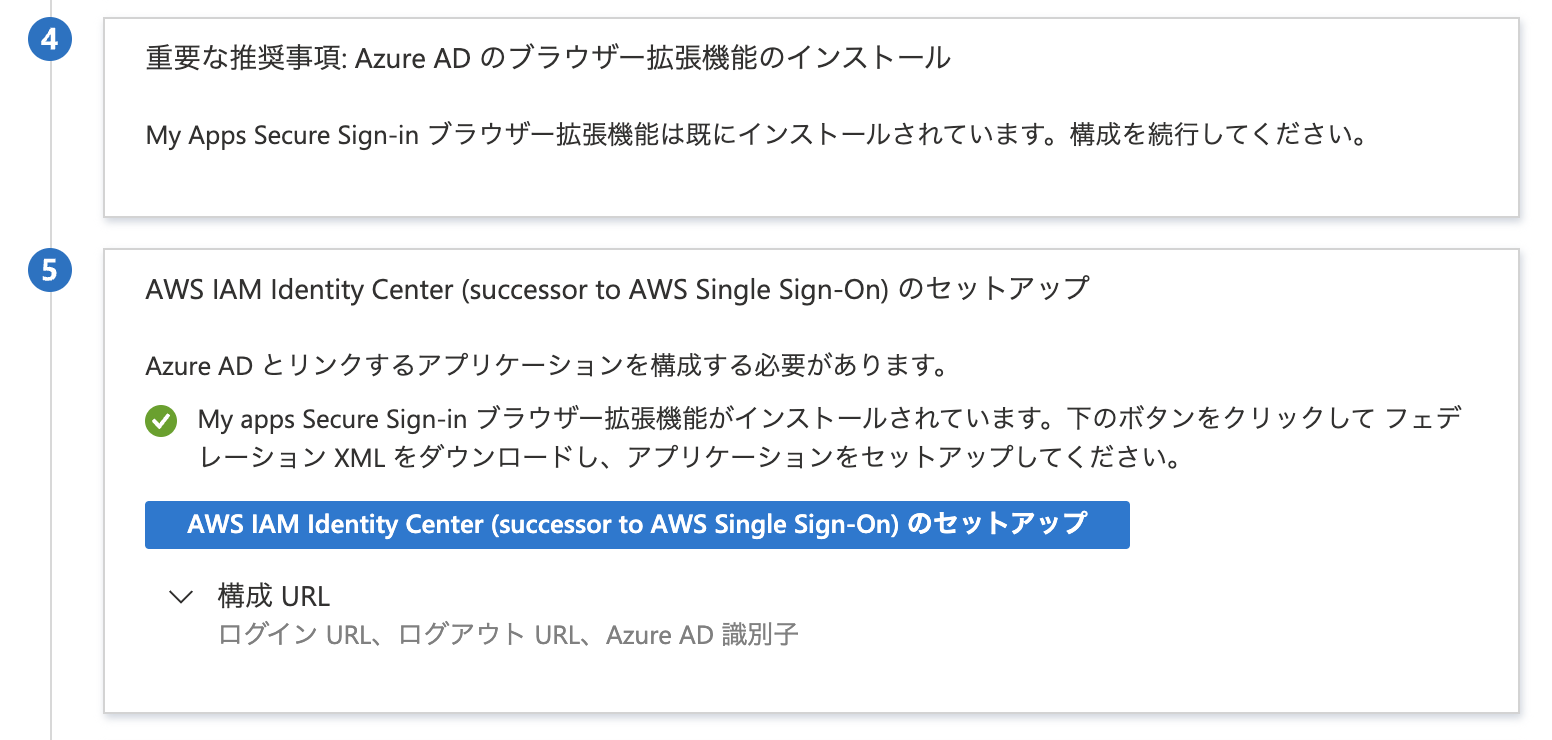
メタデータファイル → Azure AD
AWS アクセスポータルのサインイン URL → サイオンURL in Azure
https://d-95677a1ecc.awsapps.com/start
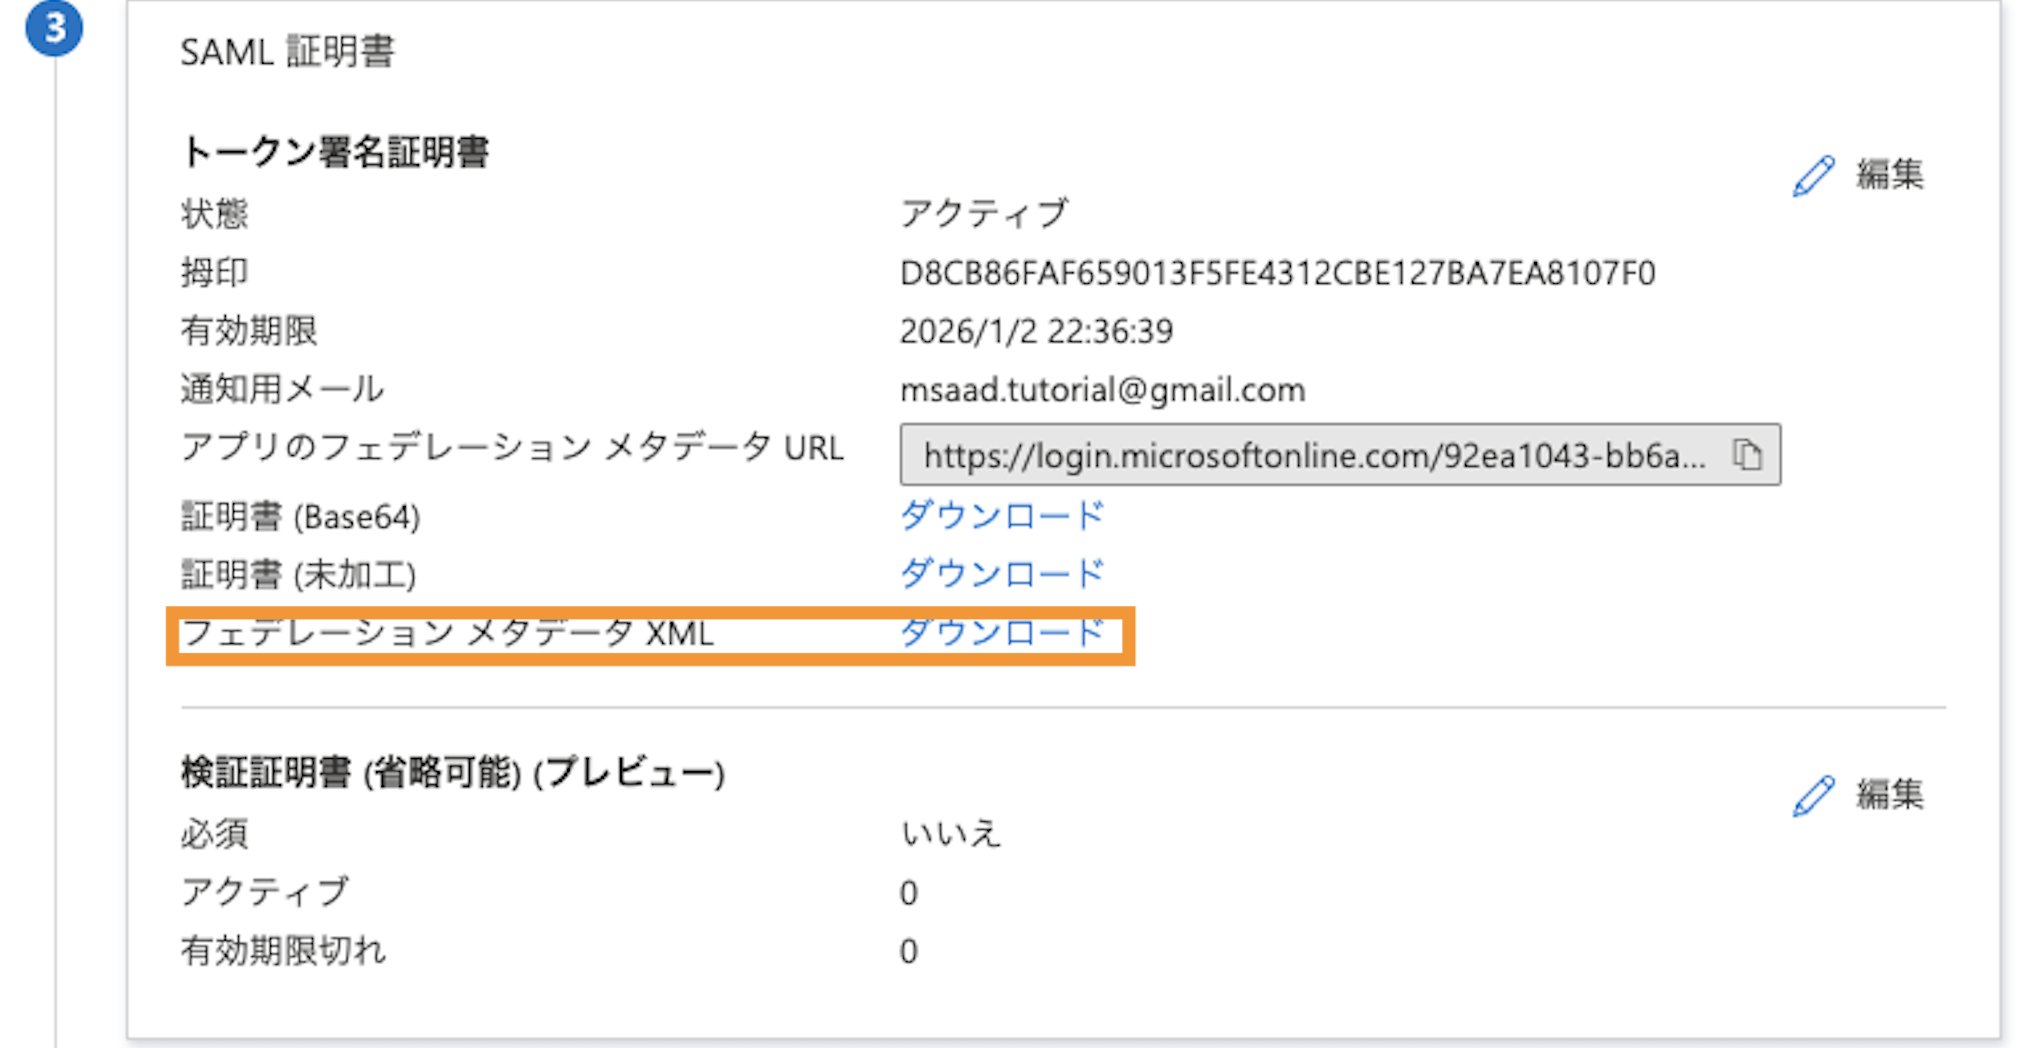
Azure から DL したフェデレーションメタデータ(XML)ファイルをアップロード

やはり、このタイミングでAzureに戻り、メタデータをアップする。
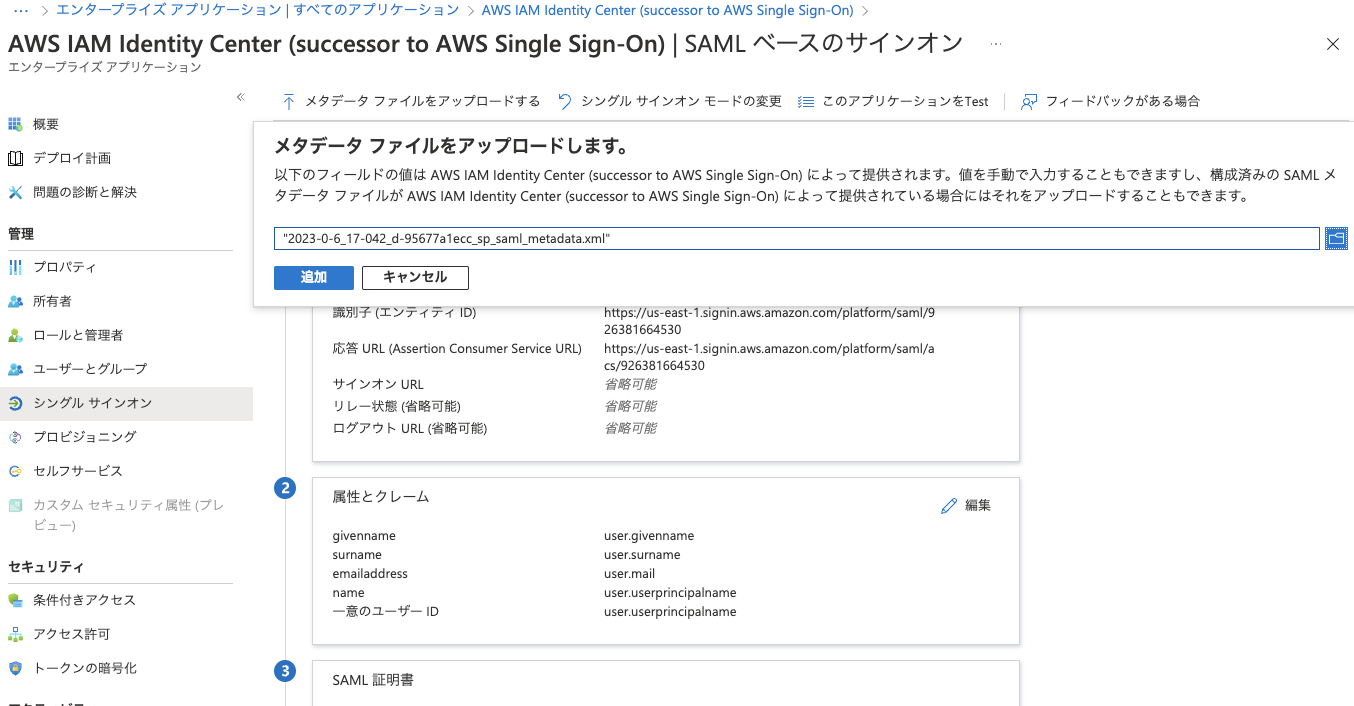
この状態で再度、フェデレーションメタデータをダウンロードしなおす。
マネコンに戻ってきて、アップデートされたメタデータをアップする。

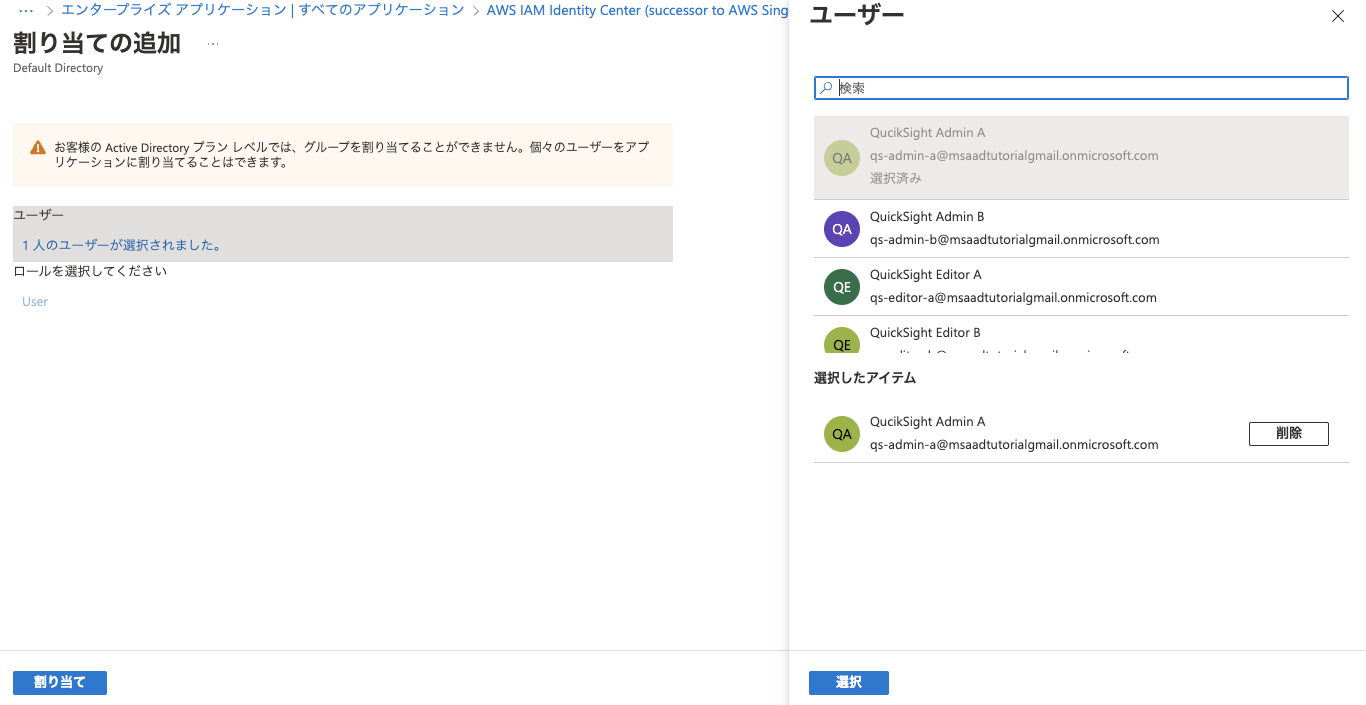
Identity Center 側で割当しないとダメか。
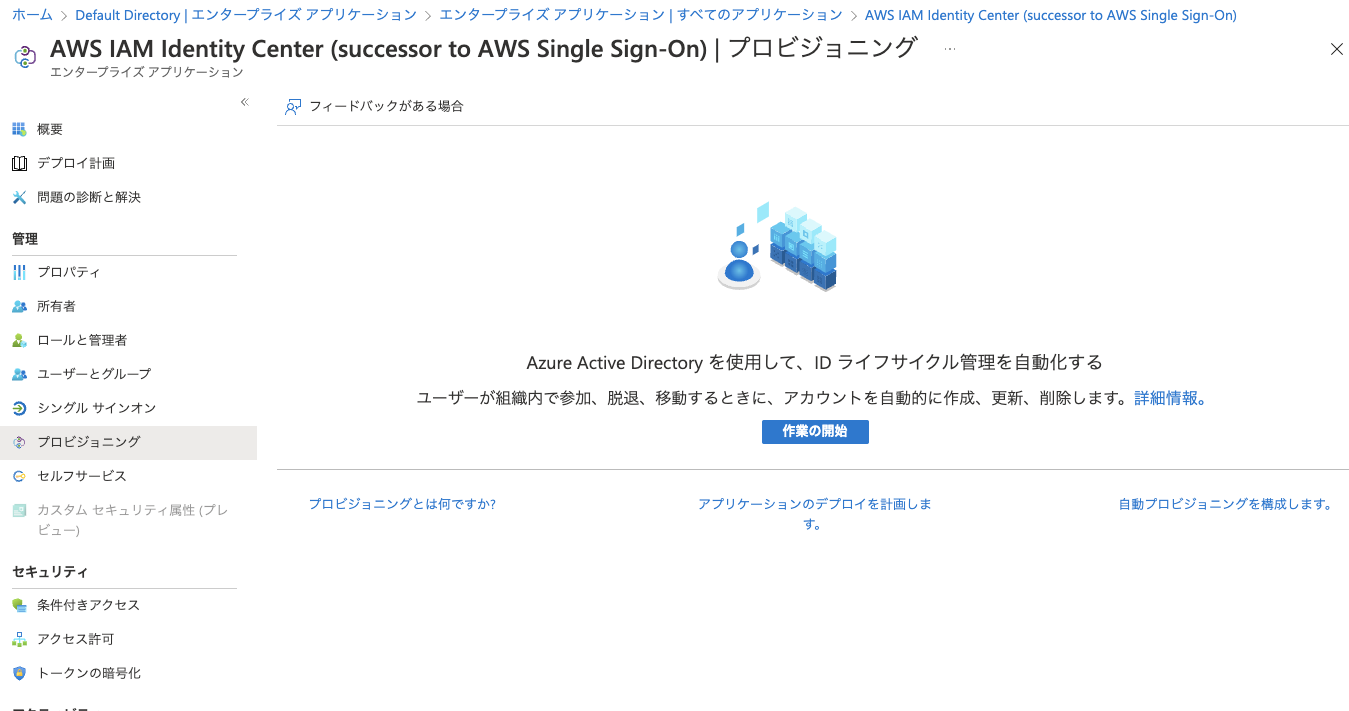
ってことで Identity Centerで 自動プロビジョニングを有効にしてみる。

SCIM エンドポイント と アクセストークン を控える
https://scim.ap-northeast-1.amazonaws.com/tEOf759056a-6cbf-4f7c-9d1b-46e52aacda00/scim/v2/
先程取得した、SCIM エンドポイントとアクセストークンを設定する

テスト接続して OK だったら保存する。
これにぶち当たる
https://docs.aws.amazon.com/ja_jp/singlesignon/latest/userguide/troubleshooting.html
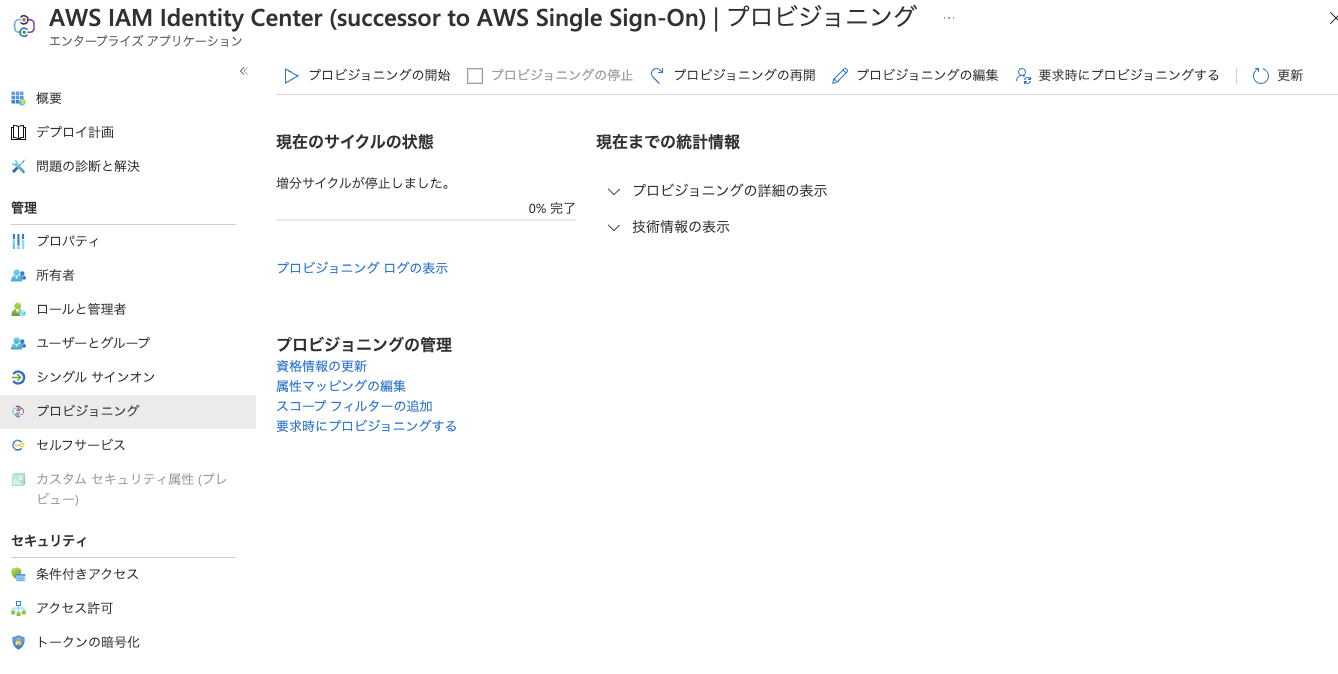
プロビジョニングの停止・開始をすると
参考
https://learn.microsoft.com/en-us/azure/active-directory/saas-apps/aws-single-sign-on-tutorial#configure-aws-iam-identity-center-sso
https://aws.amazon.com/jp/blogs/big-data/enabling-amazon-quicksight-federation-with-azure-ad/
https://qiita.com/itsuki3/items/3c9ddf27c4dfb7f0f9f7
https://qiita.com/sugimount-a/items/48e7fd23fc2565b4d2cb
https://qiita.com/sugimount-a/items/9fb1c7a204f372c2c95d
AD vs Azure AD


