背景・目的
AWS Cloud9を試してみたで構築した環境にJupyter labをインストールする。
内容
JupyterLabとは
JupyterLab is the next-generation user interface for Project Jupyter
- Project Jupyterの次世代ユーザーインターフェイスらしい。
JupyterLab will eventually replace the classic Jupyter Notebook.
- Jupyter Notebookから最終的に置き換わるようだ。
実践
インストール
- Installationを参考にインストールする。
$ pip install jupyterlab
起動
失敗
- 以下のコマンドを実行し、Preview>Preview Running Applicationを実行すると、以下の画面が表示された。
jupyter lab

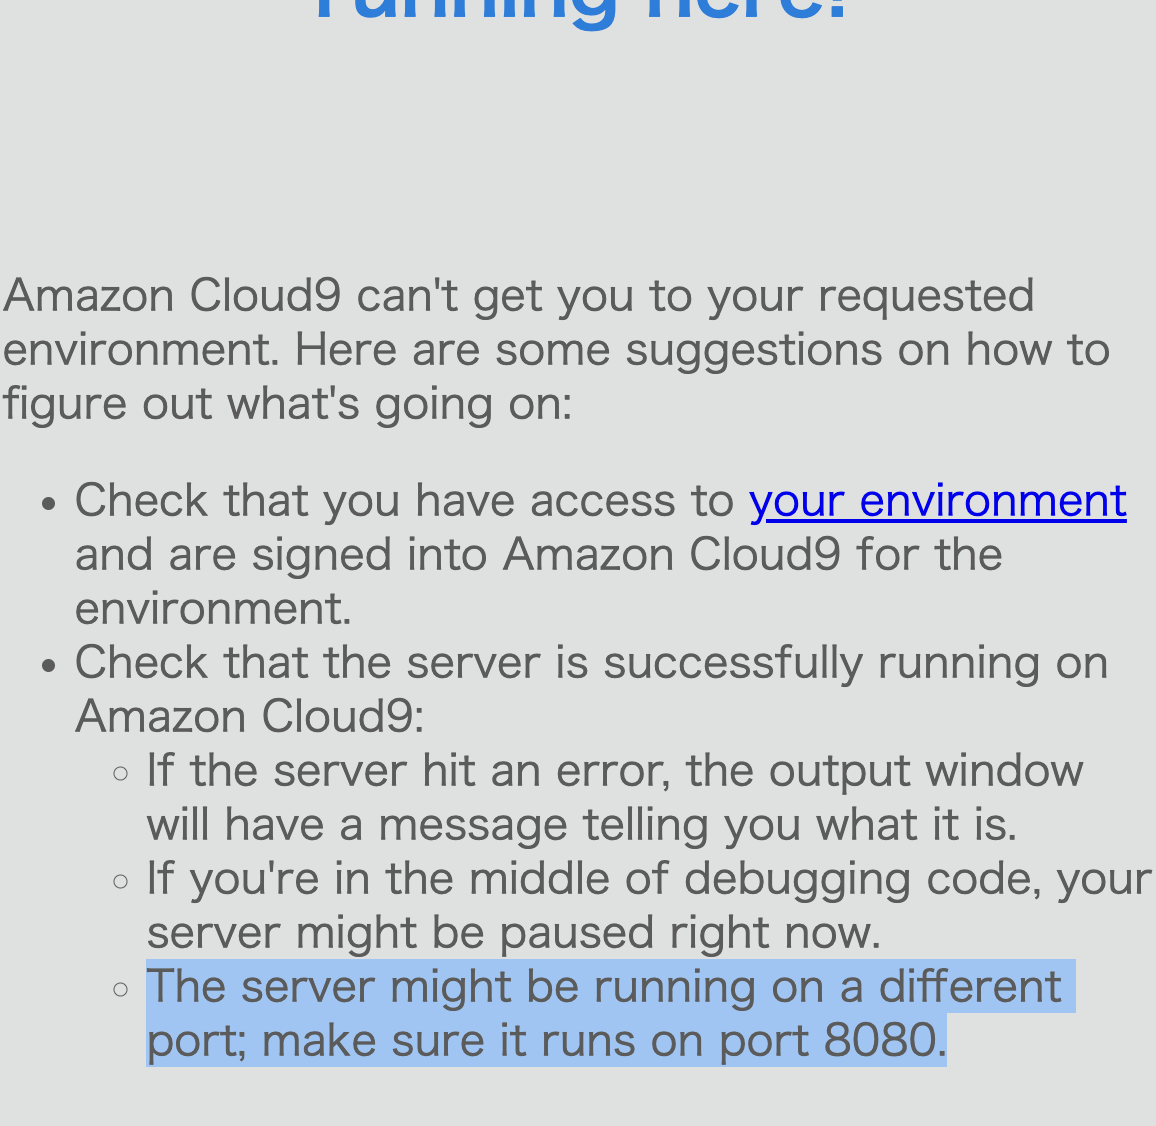
The server might be running on a different port; make sure it runs on port 8080.
- サーバは別のポートで実行されているかもしれない。8080で実行する必要があるようだ。
成功
- ポートとIPアドレスを指定し、Preview>Preview Running Applicationを実行すると、以下の画面が表示された。
jupyter lab --port $J_PORT --ip $J_IPADRESS

- Pop Out into New Windowをクリックすると画面が表示されました!
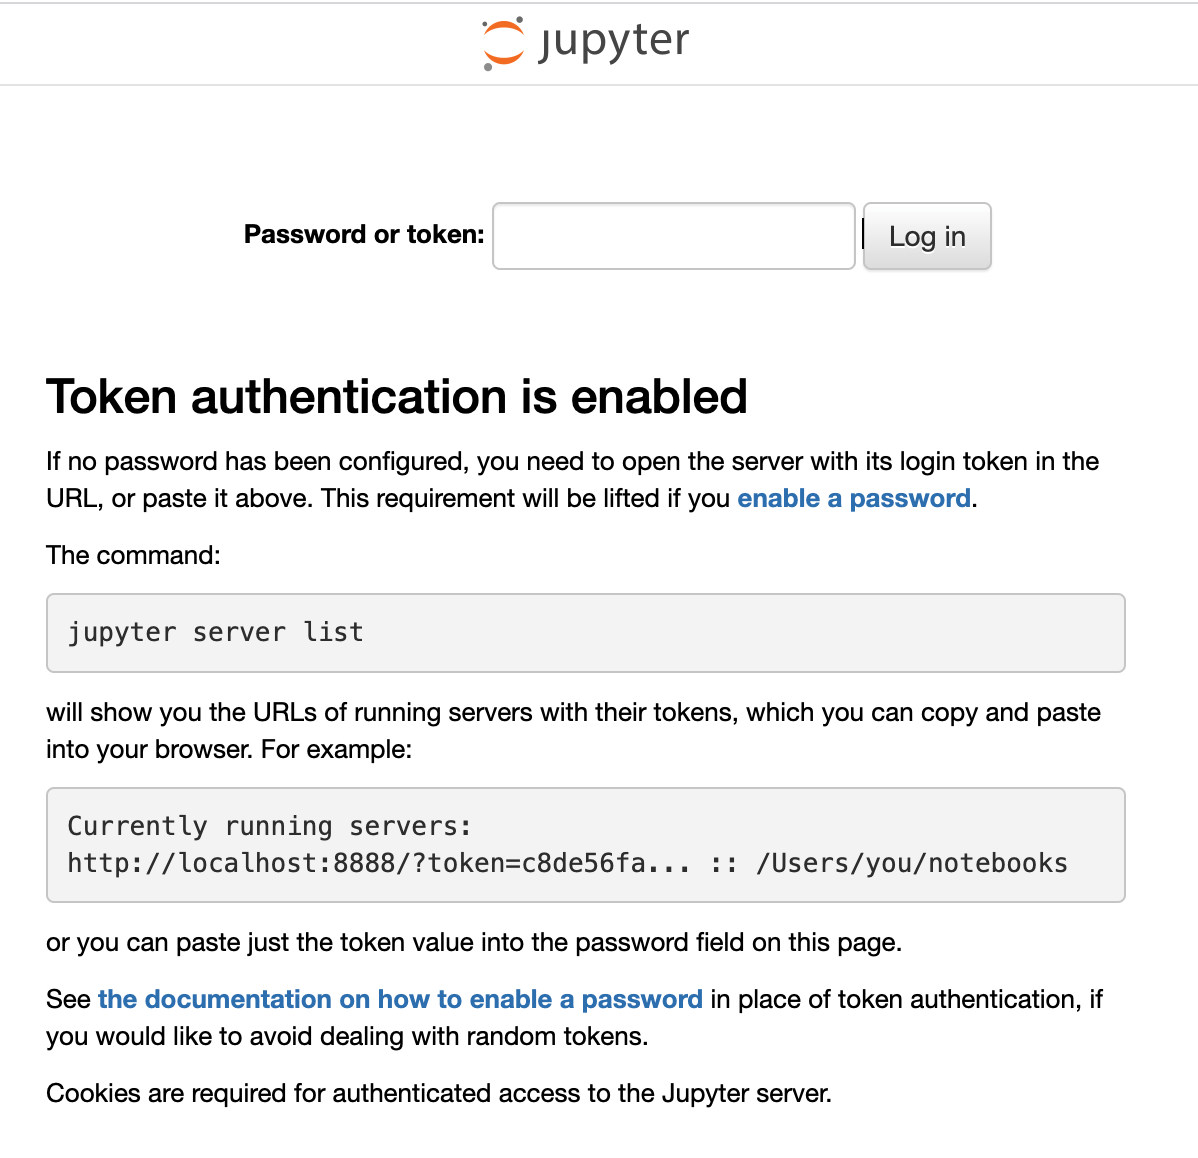
- Tokenを入力してLog inをクリックすると初期画面が表示されました!

参考