現在12月26日 AM5:56 クリスマスネタやります。間に合わなかった。。
やったこと
こんなの作りました。
哀愁のクリスマスツリーをデスクトップアプリにした。LINEアカウントでログオンできる認証機能付き。どれだけ機能を豪華にしてもツリーの寂しさは埋まらない。あと、クリスマス終わってた。。 pic.twitter.com/Laoo09NYlY
— j4amountain (@zsipparu) December 25, 2019
ログオンすると、ログオンしたユーザのアカウント名でメリークリスマス〇〇さんと表示されます。さらに、ダイソーで買った300円のツリー(ガラス製)が表示されます。
それだけではありません。右のボタンでツリーを自在に回転させることができます。右回転だろうと左回転にするかは、あなたの気分しだいです。
さらに、"荒ぶる"ボタンを押せば、ツリーがこれでもかと激しく回ります。
いかがでしょうか?
これってもしかしてクソアプリというやつでは?
実装したことと実装手段
実装した機能と実装手段を紹介します。今回は、①②の実装手順を紹介します。
| 実装した機能 | 実装手段 | |
|---|---|---|
| ① | 認証 | Auth0 |
| ② | アプリ化 | Electron |
| ③ | ツリー制御(回すとか) | obnizでモーター制御 |
| ④ | ツリー映像 | ラズパイ+カメラでストリーミング配信 |
実装手順の概要
フロー図にするとこんな感じです。認証機能付きWebサイトとデスクトップアプリを別に作成し、Webサイトをデスクトップアプリ側へ移植します。これで、認証機能付きのデスクトップアプリができます。作成したアプリに、クリスマスツリーの制御や映像の機能を追加します。

今回は、デスクトップアプリの作成までの手順を紹介します。

Auth0で認証機能付きのWebサイトを作ろう
Auth0 QuickStart から JavaScriptのサンプルをダウンロードします。


ダウンロードサンプルを解凍し、以下のコマンドを実行します。
npm install
これでセットアップ完了です。早速実行してみます。
npm start
実行したら、http://localhost:3000をブラウザで開きます。
このようなサイトが開くと成功です。右上のボタンからログインしてみます。

右上のLoginボタンがログインアカウントのアイコンになれば成功です。

もう少し確認します。
index.htmlをテキストエディタで開き、<h1 class="mb-4">JavaScript Sample Project</h1>の下あたりに以下を追記します。
<h1 class="mb-4">JavaScript Sample Project</h1>

<!-- add s -->
<div class="auth-visible hidden"><h1>log in</h1></div>
<div class="auth-invisible hidden"><h1>log out</h1></div>
<!-- add e -->

<p class="lead">
※豆ちしき※ classの設定でログオン/ログアウトで表示/非表示を設定できるようです。
| class | ログオン時 | ログアウト時 |
|---|---|---|
| auth-visible hidden | 表示 | 非表示 |
| auth-invisible hidden | 非表示 | 表示 |
http://localhost:3000をブラウザで開き、ログイン/ログアウトで表示が変わるかみてみます。

このように、ログイン/ログアウトで log in, log out と表示が切り替わりました。
Electoron でデスクトップアプリを作ろう
https://github.com/electron/electron-quick-start に従い作っていきます。
git clone https://github.com/electron/electron-quick-start
cd electron-quick-start
npm install
npm start
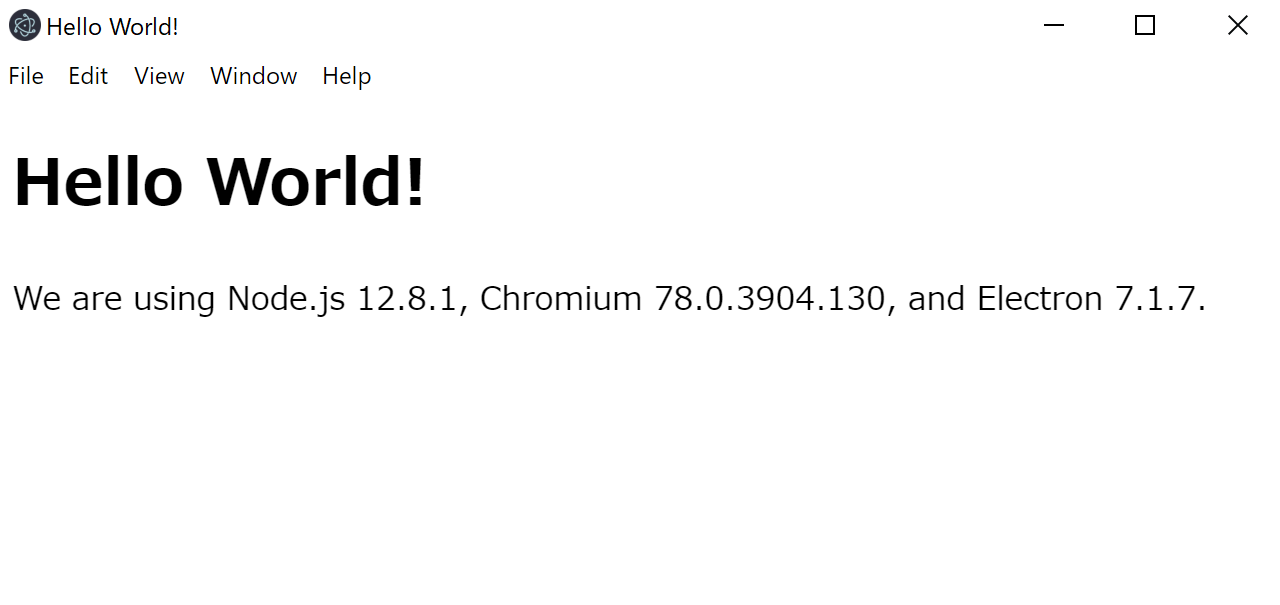
このような画面が開けば第1段階 成功です。
更に作りこんで行きます。expressをインストールします。
npm i express
morgan helmet をインストールします。(Auth0用)
npm i morgan helmet
public フォルダ作成します。
PS C:\Users\hoge\test\electron-quick-start> mkdir public


    ディレクトリ: C:\Users\hoge\test\electron-quick-start


Mode                LastWriteTime         Length Name
----                -------------         ------ ----
d-----       2019/12/26      5:06                public
public/index.html 作ります。中身はとりあえず以下のようにします。
<html>
  <head>
    <title>Hello Server!</title>
  </head>
  <body>
    <p>Hello, World!</p>
  </body>
</html>
main.js を以下に書き換えます。(丸々中身を置き換えます)
const {app, BrowserWindow} = require('electron')
const path = require('path')

const express = require('express');
const appExpress = express();
appExpress.use(express.static(__dirname + '/public'));
appExpress.listen(3000);

let mainWindow
function createWindow () {
  // Create the browser window.
  mainWindow = new BrowserWindow({
    width: 800,
    height: 600,
    webPreferences: {
      preload: path.join(__dirname, 'preload.js')
    }
  })

  // ログインページにアクセスして、画面に表示する
  mainWindow.loadURL("http://localhost:3000/" );

  mainWindow.on('closed', function () {
    mainWindow = null
  })
}

app.on('ready', createWindow)

// Quit when all windows are closed.
app.on('window-all-closed', function () {
  if (process.platform !== 'darwin') app.quit()
})

app.on('activate', function () {
  if (mainWindow === null) createWindow()
})
動作確認してみます。
npm start
このように表示されたら、Expressが組み込まれました。
デスクトップアプリへ、認証機能付きWebサイトを移植しよう
Auth0で認証機能を実装したWebサイトを、Electronでデスクトップアプリにします。
先ほどElectronで作成したデスクトップアプリをベースに作業を進めていきます。
以下3つを実施すれば完了です。
- Electron側の最上部のフォルダに、 Auth0サンプル側の auth_config.json を移動します。
- publicフォルダに、Auth0サンプル側のpublicフォルダにあるcss,images,jsフォルダを移植
- Electron側の public/index.html をAuth0側の index.html を上書きします。
動作確認します。
npm start
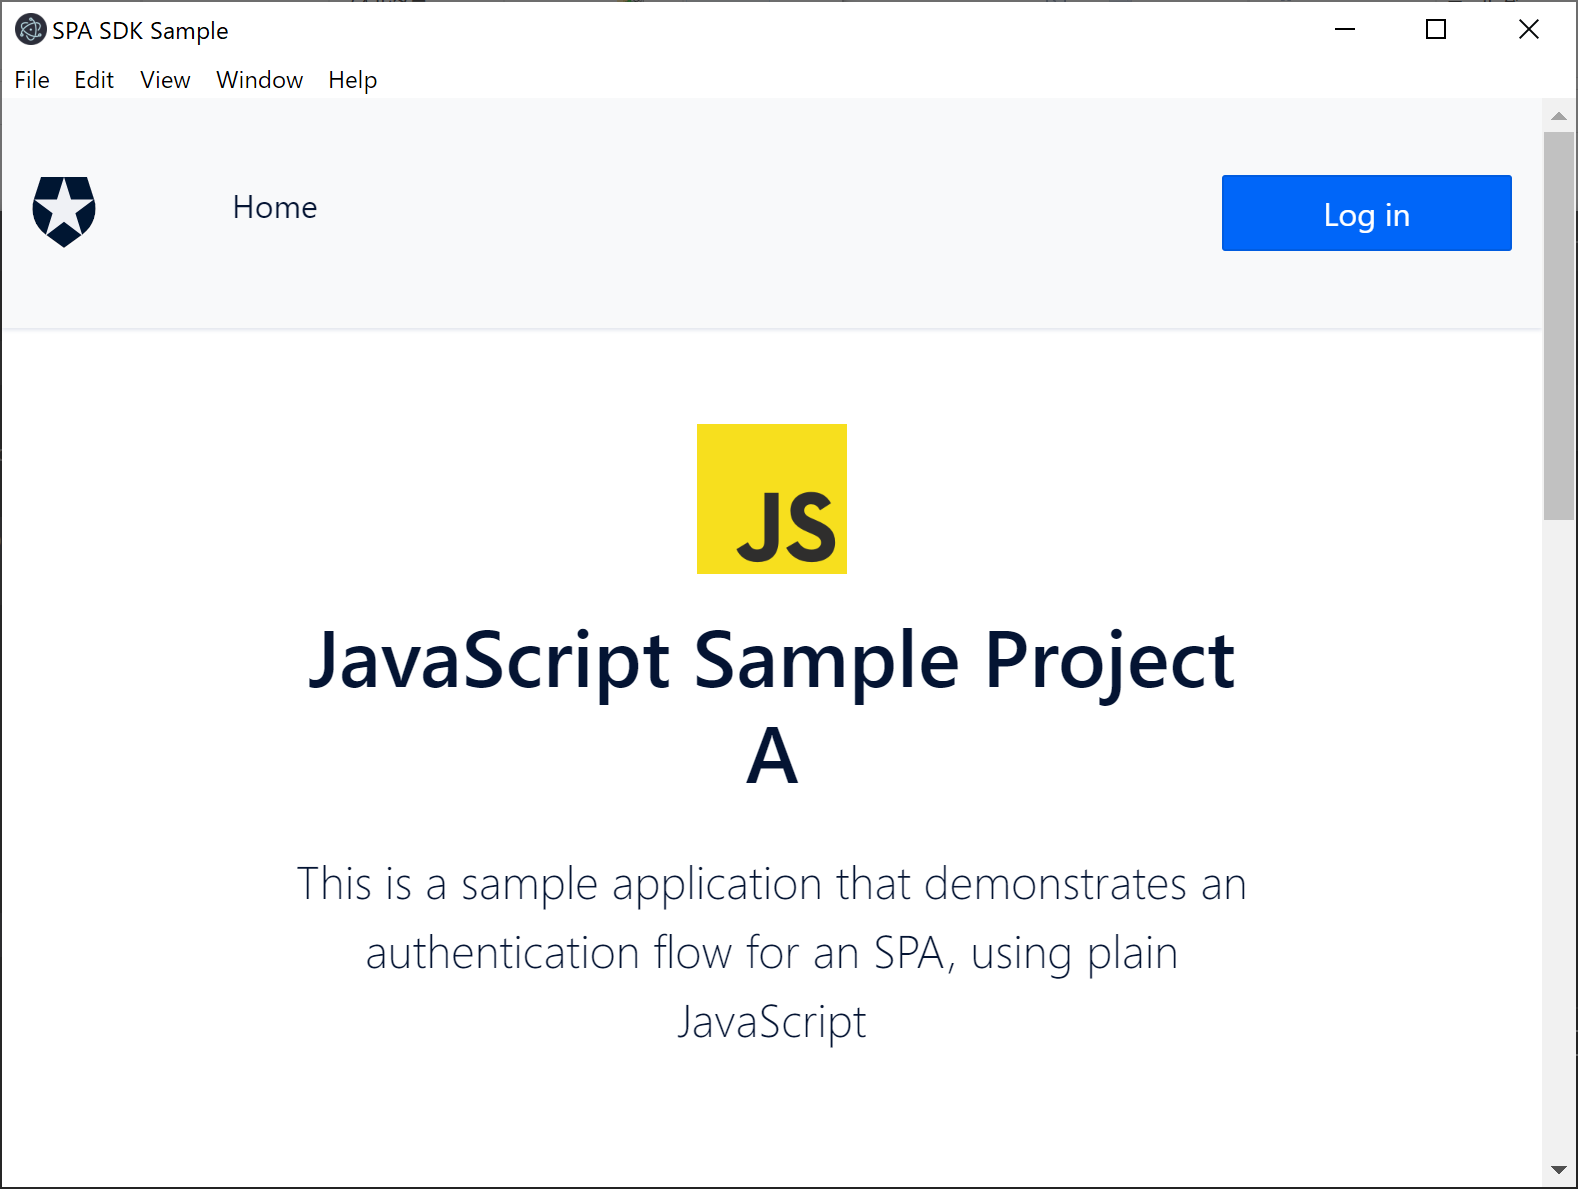
npm startコマンド実行後に、このような画面が表示されれば成功です。
以下を追記して『ログイン/ログアウトで表示が切り替わるか?』も検証します。
<h1 class="mb-4">JavaScript Sample Project</h1>

<!-- add s -->
<div class="auth-visible hidden"><h1>log in</h1></div>
<div class="auth-invisible hidden"><h1>log out</h1></div>
<!-- add e -->

<p class="lead">
検証時の画面とるの忘れました。。ログイン/ログアウトで log in, log out と表示が切り替われば成功です。
※Googleアカウントでは上手く動きませんでした※
後半につづく
認証機能付きのデスクトップアプリの作成までを紹介しました。クリスマスツリーの制御と映像は後編になります。
↓
ログインしたあなたが操る[リアル]クリスマスツリー(後編)
以前、こんなのも書きました。こちらはA-Frameでクリスマスツリーを描画しています。ログインしたあなたに贈るクリスマスツリー


