0
1

Delete article

Deleted articles cannot be recovered.

Draft of this article would be also deleted.

Are you sure you want to delete this article?

WSL+AlmaLinux10+Windows11+VSCodeをインストールする

0
Last updated at Posted at 2026-06-27

1.WSL環境として、AlmaLinux10がインストールされており、そして起動しておくこと。

2.wsl.confにデフォルトユーザとしてrootを設定しておくこと。
image.png

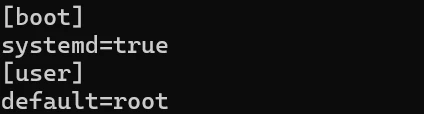
3.一旦AlmaLinux10を再起動する。

4.Windows11でVSCODEをインストールする。

5.VSCODEをインストールしたらWSL拡張パックをインストールする。
image.png

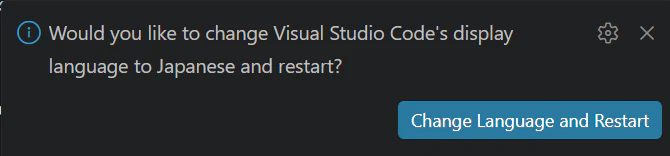
6.VSCODEをインストールしたら日本語拡張パックをインストールする。
image.png

7.日本語拡張パックをインストールすると右下に「Change Language and Restart」が表示されるのでクリックして、VSCODEを再起動して日本語表示に切り替える。
image.png

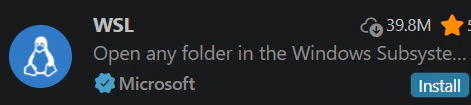
8.Ctrl+Shift+Pを押して、「WSL: WSLへの接続」を選択して、Linux環境をマウントする。

9.以上

※C/C++開発環境を整える場合は、下記手順を実行する。
1.「Remote Development」拡張パックをインストールする。
image.png

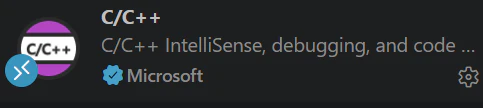
2.「C/C++」拡張パックをインストールする。
image.png

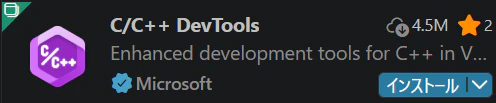
3.「C/C++ DevTools」拡張パックをインストールする。
image.png

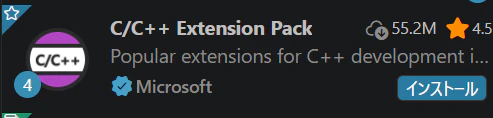
4.「C/C++ Extension Pack」拡張パックをインストールする。
image.png

5.「CMake Tools」拡張パックをインストールする。
image.png

6.AlmaLinux側で下記コマンドを実行して、開発ツールをインストールする。

コマンド
dnf install g++
dnf groupinstall "Development Tools"

7.以上

0
1
0

Register as a new user and use Qiita more conveniently

  1. You get articles that match your needs
  2. You can efficiently read back useful information
  3. You can use dark theme
What you can do with signing up
0
1

Delete article

Deleted articles cannot be recovered.

Draft of this article would be also deleted.

Are you sure you want to delete this article?