試した環境
Automation Anywhere Community Edition v11
Automation ANywhere A2019 Community Edition
Surface Pro 5 (Model 1796)
背景
Automation Anywhere Enterprise/Community Editionの次世代バージョン、
A2019はWebブラウザでBotが開発・実行できる、革新的なプラットフォームですが、
従来のバージョンv11からBotを移行するには、専用の移行ツールを使う必要があります。
今回は、その移行ツールがどんな風に使えるのか、まずはとてもシンプルなBotで試してみました。
手順(概要)
- Automation Anywhere Enterprise/Community EditionのBotのソースファイル(atmx)を用意する。
- A2019 Community Editionにログイン。Botを新規作成する。
- Bot Migrationのコマンドを置き、移行したいatmxファイルを選択する。
- Botを実行する。
- Control Room(A2019)に移行されたBotを開いて確認してみる。
手順(スクショ付き)
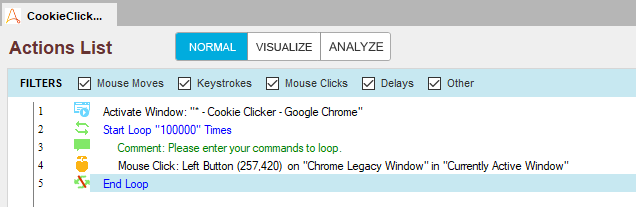
1. Automation Anywhere Enterprise/Community EditionのBotのソースファイル(atmx)を用意する。
今回用意したサンプルは、Cookie ClickerをひたすらClickする。というBotです。
2. A2019 Community Editionにログイン。Botを新規作成する。
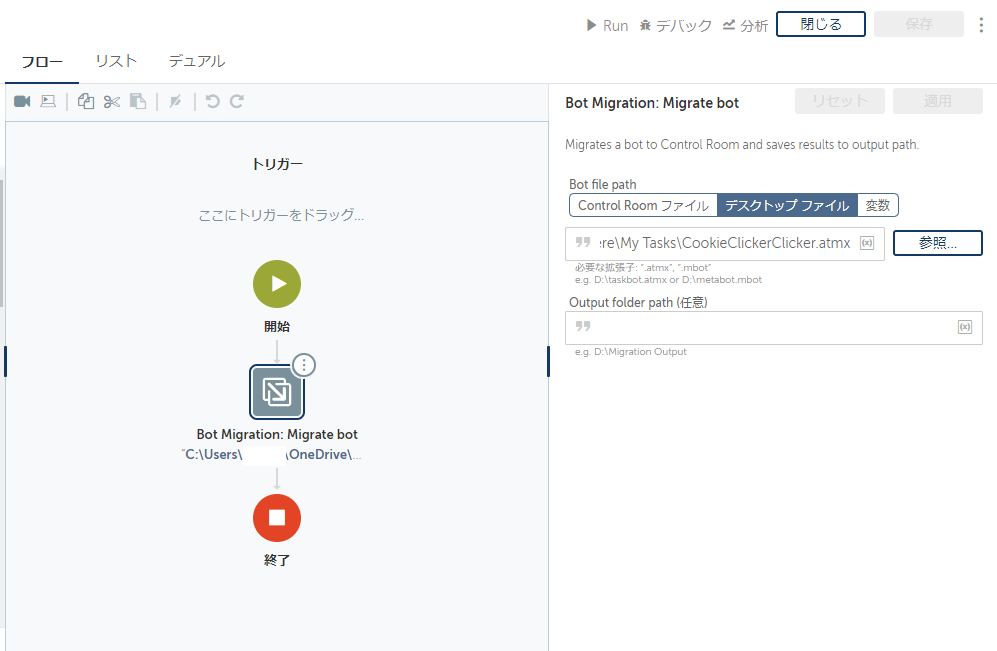
3. Bot Migrationのコマンドを置き、移行したいatmxファイルを選択する。
このアクションコマンドです。
こんな感じに設定します。
4. Botを実行する。
例のキラキラの画面が出たら、完了。
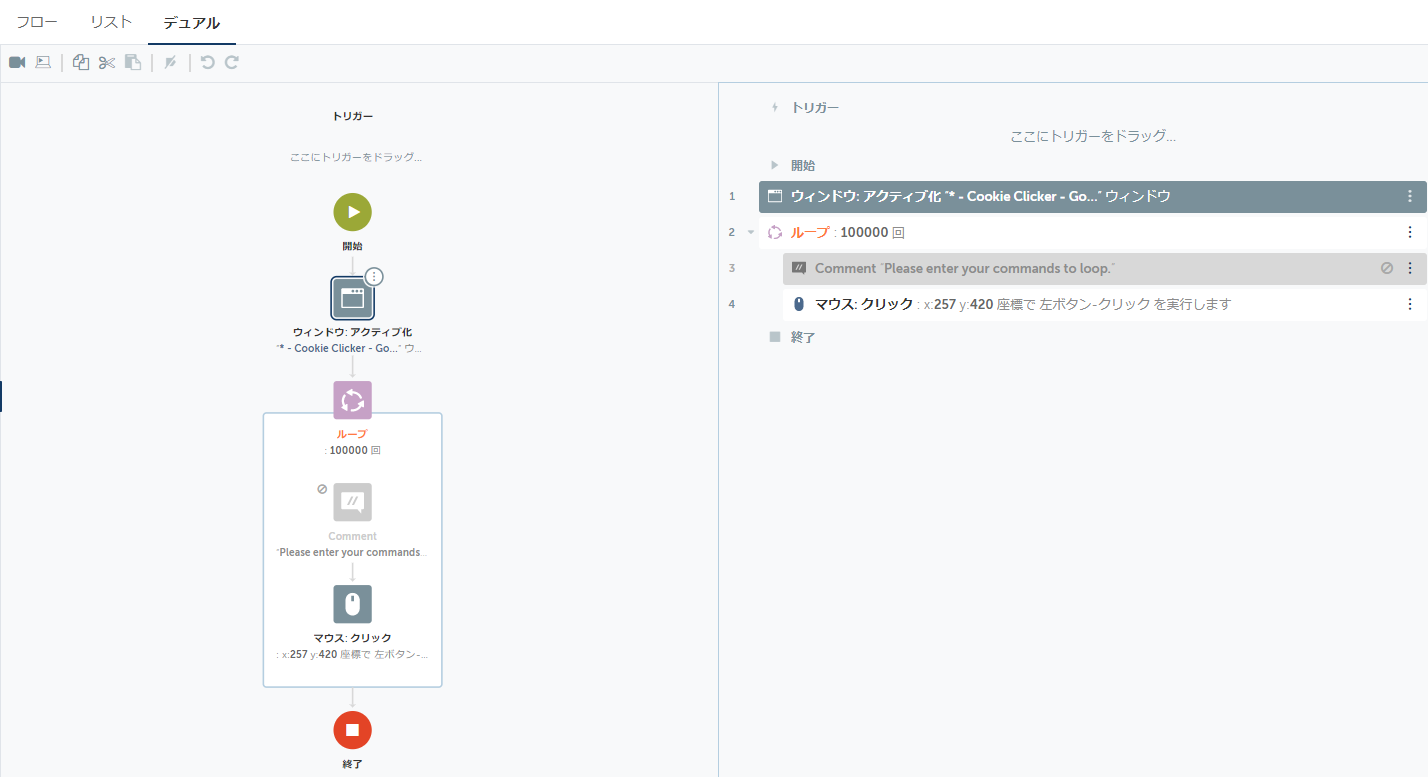
5. Control Room(A2019)に移行されたBotを開いて確認してみる。
無事、A2019へとBotが移行されました。
まとめ
割とシンプルな手順でv11からA2019へBotの移行ができることが確認できました。
また時間があるときに、今度は他の複数のBotを呼び出す仕組みのBotや、さらに複雑なものなどを移行してみたいと思います。