はじめに
前回の記事ではA-Frameを使って色々なオブジェクトを配置しました。今回はこれらに動きを加えていきたいと思います。
準備
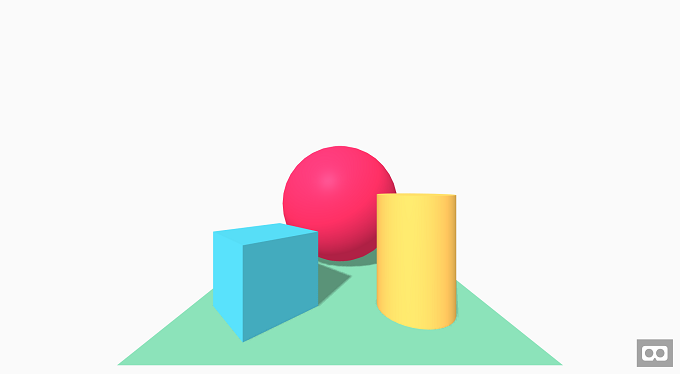
準備としてオブジェクトを配置します。前回と同様にデモからソースを引っ張ってきました。
<!DOCTYPE html>
<html>
  <head>
    <meta charset="utf-8">
    <title>Hello, WebVR! • A-Frame</title>
    <meta name="description" content="Hello, WebVR! • A-Frame">
    <script src="https://aframe.io/releases/0.9.2/aframe.min.js"></script>
  </head>
  <body>
    <a-scene background="color: #FAFAFA">
      <a-box position="-1 0.5 -3" rotation="0 45 0" color="#4CC3D9" shadow></a-box>
      <a-sphere position="0 1.25 -5" radius="1.25" color="#EF2D5E" shadow></a-sphere>
      <a-cylinder position="1 0.75 -3" radius="0.5" height="1.5" color="#FFC65D" shadow></a-cylinder>
      <a-plane position="0 0 -4" rotation="-90 0 0" width="4" height="4" color="#7BC8A4" shadow></a-plane>
    </a-scene>
  </body>
</html>
オブジェクトの色を変える
それでは早速イベントを追加していきます。クリックをした時に、視点の中心にあるオブジェクトの色を変えてみたいです。
まずは今のままでは視点の中心が分かりにくいのでカーソルを表示します。<a-scene>タグ内に以下を挿入します。
<a-camera>
  <a-cursor></a-cursor>
</a-camera>

色を変更するイベントを追加します。クリックの度に変更する色を赤、緑、青と変化させるようにしました。
イベントの書き方は公式のドキュメントを参考にしています。
https://aframe.io/docs/0.9.0/introduction/javascript-events-dom-apis.html
<script>
  var i = -1;
  var COLORS = ['red', 'green', 'blue'];
  AFRAME.registerComponent('camera-listener', {
    init: function () {
      this.el.addEventListener('click', function (evt) {
        i = (i + 1) % COLORS.length;
        this.setAttribute('material', 'color', COLORS[i]);
      });
    }
  });
</script>
各オブジェクトにこのイベントを割り当てます。"camera-listener"を追記するだけです。
<a-box camera-listener position="-1 0.5 -3" rotation="0 45 0" color="#4CC3D9" shadow></a-box>
<a-sphere camera-listener position="0 1.25 -5" radius="1.25" color="#EF2D5E" shadow></a-sphere>
<a-cylinder camera-listener position="1 0.75 -3" radius="0.5" height="1.5" color="#FFC65D" shadow></a-cylinder>
簡単ですね。
オブジェクトを移動させる
次にオブジェクトを移動させてみましょう。動かしたいオブジェクトをクリック、持っていきたい位置にマウスを動かし再度クリックしたらそこに配置します。
動かしやすいように床を大きくし、オブジェクトを一つだけにしました。
<a-scene background="color: #FAFAFA">
  <a-box position="0 0.5 -3" height="1" color="#4CC3D9" shadow></a-box>
  <a-plane position="0 0 -4" rotation="-90 0 0" width="10" height="10" color="#7BC8A4" shadow></a-plane>
</a-scene>
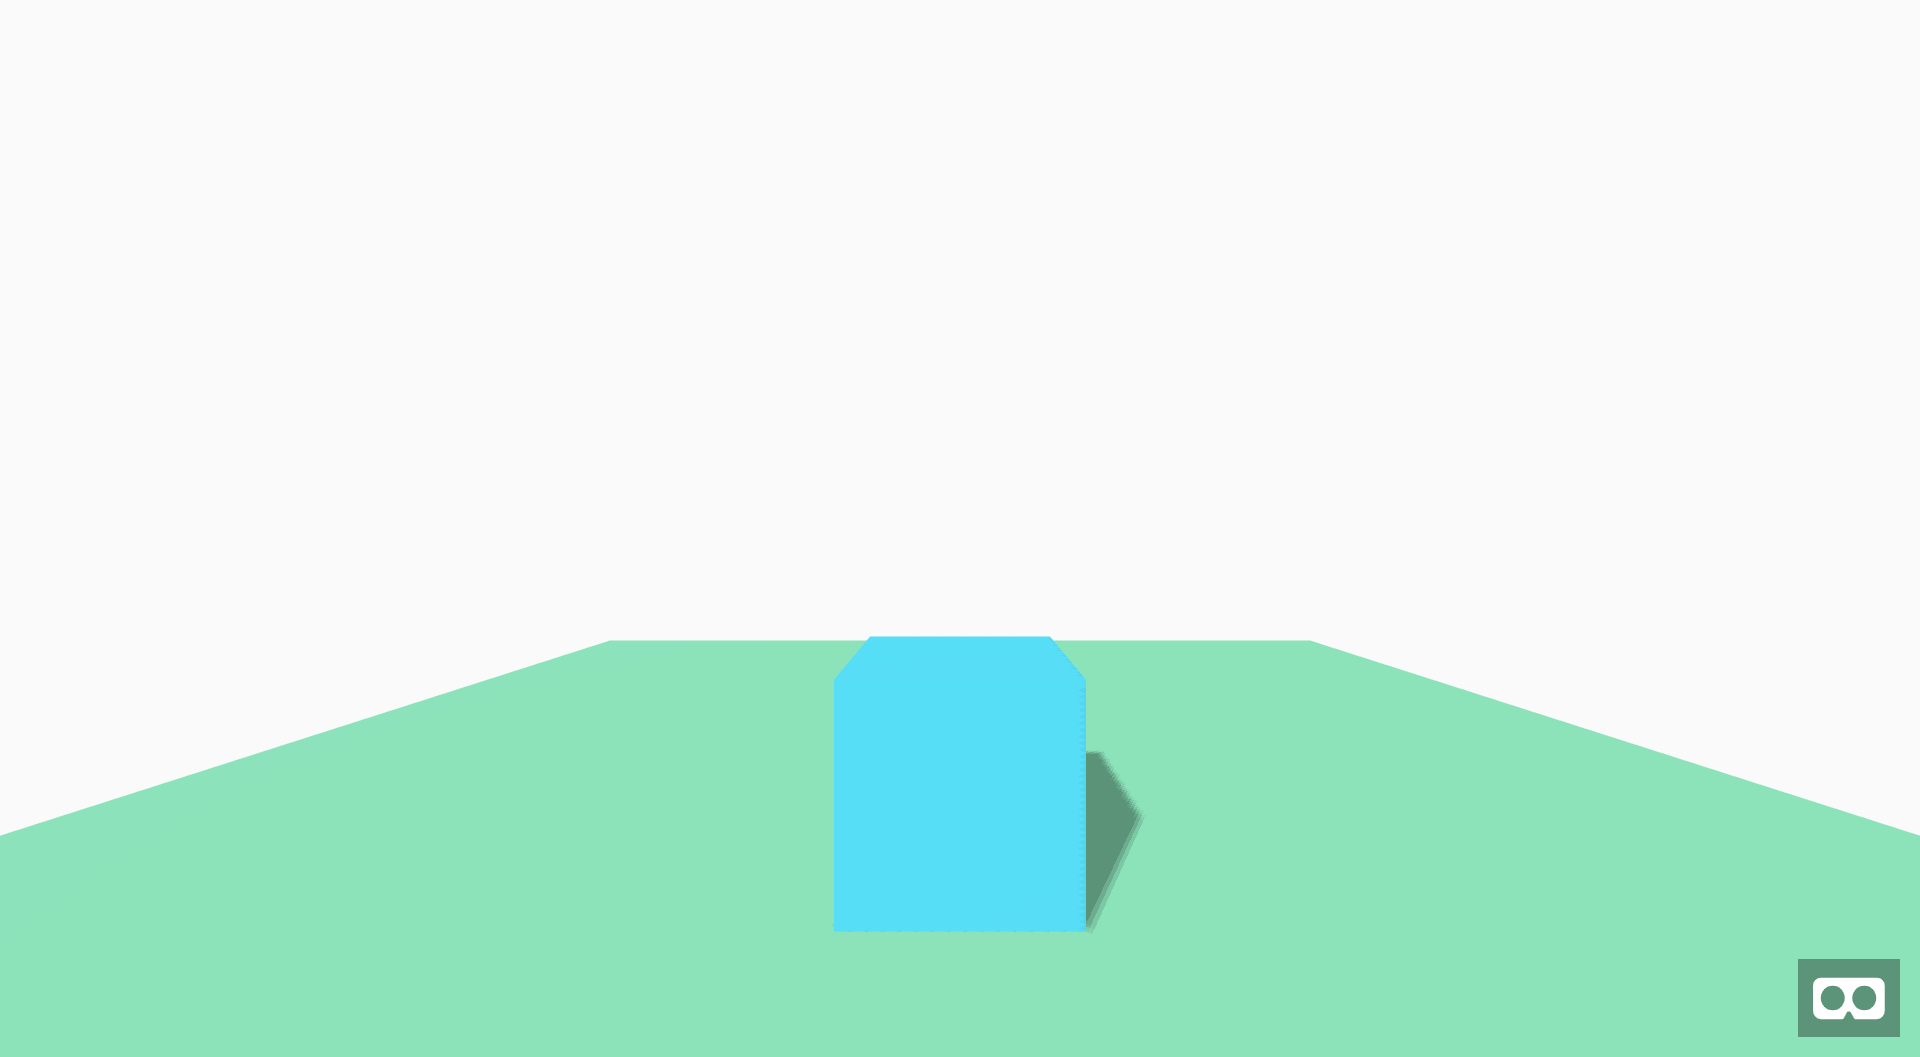
こちらの箱を動かしていきましょう。
<script>
  AFRAME.registerComponent('move', {
    init: function () {
      var isMove = false;
      this.el.addEventListener('click', function (evt) {
        var mode = document.getElementById("mode");
        isMove = !isMove;
        mode.setAttribute('visible', isMove);
      });

      var plane = document.getElementById('plane1');
      plane.addEventListener('mouseenter', function (evt) {
        var box = document.getElementById("box1");
        if(isMove) {
          evt.detail.intersection.point.y += box.getAttribute('height') / 2;
          box.setAttribute('position', evt.detail.intersection.point);
        }
      });
    }
  });
</script>
<a-camera cursor="rayOrigin: mouse;"></a-camera>
<a-box move id="box1" position="0 0.5 -3" height="1" color="#4CC3D9" shadow></a-box>
<a-plane id="plane1" position="0 0 -4" rotation="-90 0 0" width="10" height="10" color="#7BC8A4" shadow></a-plane>
<a-text id="mode" value="Move" color="#000" position="-0.9 2 -3" scale="1.5 1.5 1.5" visible="false"></a-text>
できました。
解説
var isMove = false;
this.el.addEventListener('click', function (evt) {
  var mode = document.getElementById("mode");
  isMove = !isMove;
  mode.setAttribute('visible', isMove);
});
これは箱をクリックした時のイベントです。クリックの度にisMoveを書き換えながら、"Move"の表示非表示を切り替えます。
var plane = document.getElementById('plane1');
  plane.addEventListener('mouseenter', function (evt) {
  var box = document.getElementById("box1");
  if(isMove) {
    evt.detail.intersection.point.y += box.getAttribute('height') / 2;
    box.setAttribute('position', evt.detail.intersection.point);
  }
});
これは地面にマウスカーソルが当たる度に呼ばれるイベントです。isMoveが真ならばマウスカーソルの位置に移動します。
<a-camera cursor="rayOrigin: mouse;"></a-camera>
これはマウスでオブジェクトを操作したかったので追加しています。詳細は公式のドキュメントをご確認ください。
https://aframe.io/docs/0.9.0/components/cursor.html
おわりに
今回はオブジェクトの色を変えたり、移動させたりしました。
次回はこれらを使った簡単なゲームを作ってみたいです。