はじめに
前回の記事ではオブジェクトの色を変えたり、移動させたりしました。そして、おわりには次回はゲームを作ると言いました。しかし簡単なゲームを作るにしても、まだまだ知識が足りません。A-Frameでできることをもっと知っておきたいです。
ですので、ゲームを作り始める前にオブジェクトの動的な追加について勉強しました。
ボタンをクリックでオブジェクトを追加
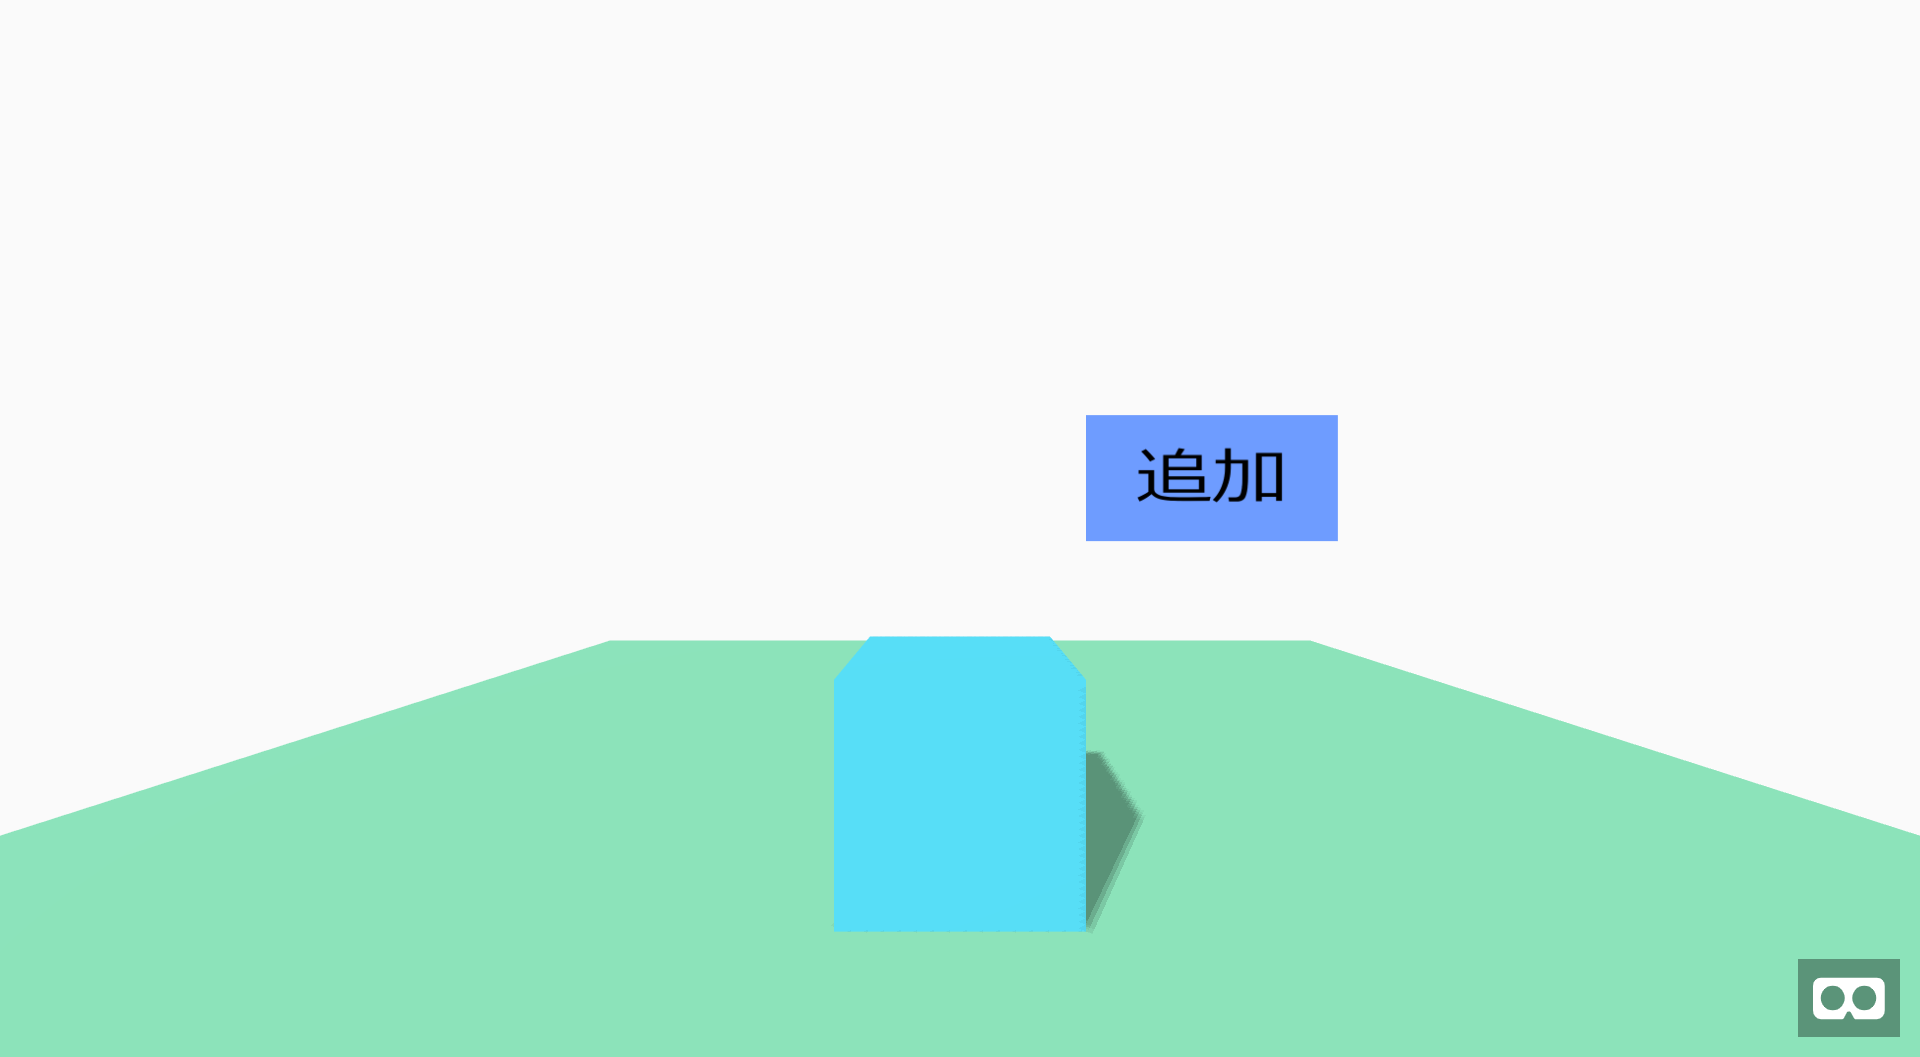
まずは超シンプルにボタンを押したら箱が縦に積みあがっていくものを作っていきます。
土台とボタンを用意します。
index.html
<head>
  <script src="https://aframe.io/releases/0.9.2/aframe.min.js"></script>
  <script src="./js/aframe-html-shader.min.js"></script>
  <script src="./js/jquery-3.4.1.min.js"></script>
  <link href="css/style.css" rel="stylesheet" type="text/css">
</head>

<body>
  <div id="target1" class="target">
    <p style="font-size:30em; text-align: center; margin: 0px;">追加</p>
  </div>
  <a-scene background="color: #FAFAFA">
    <a-camera cursor="rayOrigin: mouse;"></a-camera>
    <a-box position="0 0.5 -3" height="1" color="#4CC3D9" shadow></a-box>
    <a-plane position="0 0 -4" rotation="-90 0 0" width="10" height="10" color="#7BC8A4" shadow></a-plane>
    <a-plane position="2 2 -5" width="2" height="1" material="shader:html; target: #target1;" shadow></a-plane>
  </a-scene>
</body>
style.css
.target {
    position: absolute;
    width: 1600px;
    height: 1000px;
    background-color: rgb(110, 156, 255);
    display: hidden;
}
パネルに「追加」の文字の入れ方に関しては下記を参考にしました。
(参考)http://vr-lab.voyagegroup.com/entry/2016/11/16/122115
続いてイベントを追加します。
var i = -1;
var position = 0.5;
var COLORS = ['red', 'green', 'blue'];
AFRAME.registerComponent('add', {
  init: function () {
    this.el.addEventListener('click', function (evt) {
      position++;
      i = (i + 1) % COLORS.length;
      var html = '<a-box position="0 ' + position + ' -3" height="1" color="' + COLORS[i] + '" shadow></a-box>';
      $("a-scene").append(html);
    });
  }
});
<a-plane add position="2 2 -5" width="2" height="1" material="shader:html; target: #target1;" shadow></a-plane>

できた。
クリックで視点の中心にオブジェクトを追加
続いては任意の位置にオブジェクトを追加してみたいです。目指すはゲーム「MineCraft」のようなイメージです。
index.html
<html>
  <head>
    <script src="https://aframe.io/releases/0.9.2/aframe.min.js"></script>
    <script src="./js/jquery-3.4.1.min.js"></script>
  </head>
  <body>
    <a-scene background="color: #FAFAFA">
      <a-camera><a-cursor></a-cursor></a-camera>
      <a-box add id="box1" position="0 0.5 -3" height="1" color="#4CC3D9" shadow></a-box>
      <a-plane add id="plane1" position="0 0 -4" rotation="-90 0 0" width="10" height="10" color="#7BC8A4" shadow></a-plane>
    </a-scene>
  </body>
</html>
var i = -1;
var pX = 0;
var pY = 0.5;
var pZ = -3;
var COLORS = ['red', 'green', 'blue'];
AFRAME.registerComponent('add', {
  init: function () {
    this.el.addEventListener('click', function (evt) {
      var box = document.getElementById("box1");
      var x = evt.detail.intersection.point.x + evt.detail.intersection.face.normal.x * 0.1;
      var y = evt.detail.intersection.point.y + evt.detail.intersection.face.normal.y * 0.1;
      var z = evt.detail.intersection.point.z + evt.detail.intersection.face.normal.z * 0.1;

      pX = Math.round(x);
      pY = Math.floor(Math.round(y * 1000) / 1000) + box.getAttribute('height') * 0.5;
      pZ = Math.round(z);

      position = pX + " " + pY + " " + pZ;
      i = (i + 1) % COLORS.length;

      var html = '<a-box add position="'+ position + '" height="1" color="' + COLORS[i] + '" shadow></a-box>';
      $("a-scene").append(html);
    });
  }
});
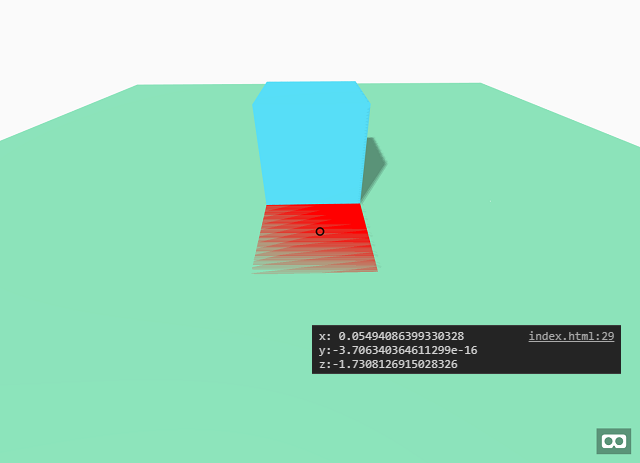
できた。
解説
配置方向の求め方
床の上、箱の上に視点がある場合はその上に、箱の側面に視点がある場合はその隣に箱を配置しています。
どの方向から見ているかは下記を参考に実装しました。
(参考)http://vr-lab.voyagegroup.com/entry/2016/11/02/101503
配置座標の求め方
視点と箱または床が交わる座標を(x, y, z)としたときに、x、zは小数第1位を四捨五入し、yは小数第1位を切り捨てます。
しかし、Y座標を求める際に、小数第4位を四捨五入してから切り捨てを行っています。
これは床に視点を合わせた時になぜか床の裏側から見ている判定になってしまっているのを防ぐためです。
おわりに
今回はオブジェクトの動的配置について勉強しました。
次回はアニメーションの勉強をしたいです。