この記事でわかること
- laravel8におけるログイン機能の実装
- ログイン機能周りの編集方法
- jetstreamとlivewireの使い方
- jetstreamが作成されたコンポーネントファイルの場所が分かる。
laravelでのMVCの基本構造が理解している人であればこの記事を効果的に使えるように書きました。
開発環境
docker-laravel
PHP 7.4.10
Laravel Framework 8.5.0
nginx version: nginx/1.18.0
mysql Ver 8.0.19 for Linux on x86_64 (MySQL Community Server - GPL)
node.js v12.18.4
npm v6.14.6
docker-laravelの記事「[https://qiita.com/ucan-lab/items/56c9dc3cf2e6762672f4]」
nodejsのインストール記事「https://www.softel.co.jp/blogs/tech/archives/6487」
Jetstream インストール
JetStreamのインストールは下記の記事を参考にしてやってみてください。インストールの方法については本記事では取り扱いません。
「https://blog.capilano-fw.com/?p=7827」
今回はjetstreamとlivewireをインストールしました。
login機能の編集
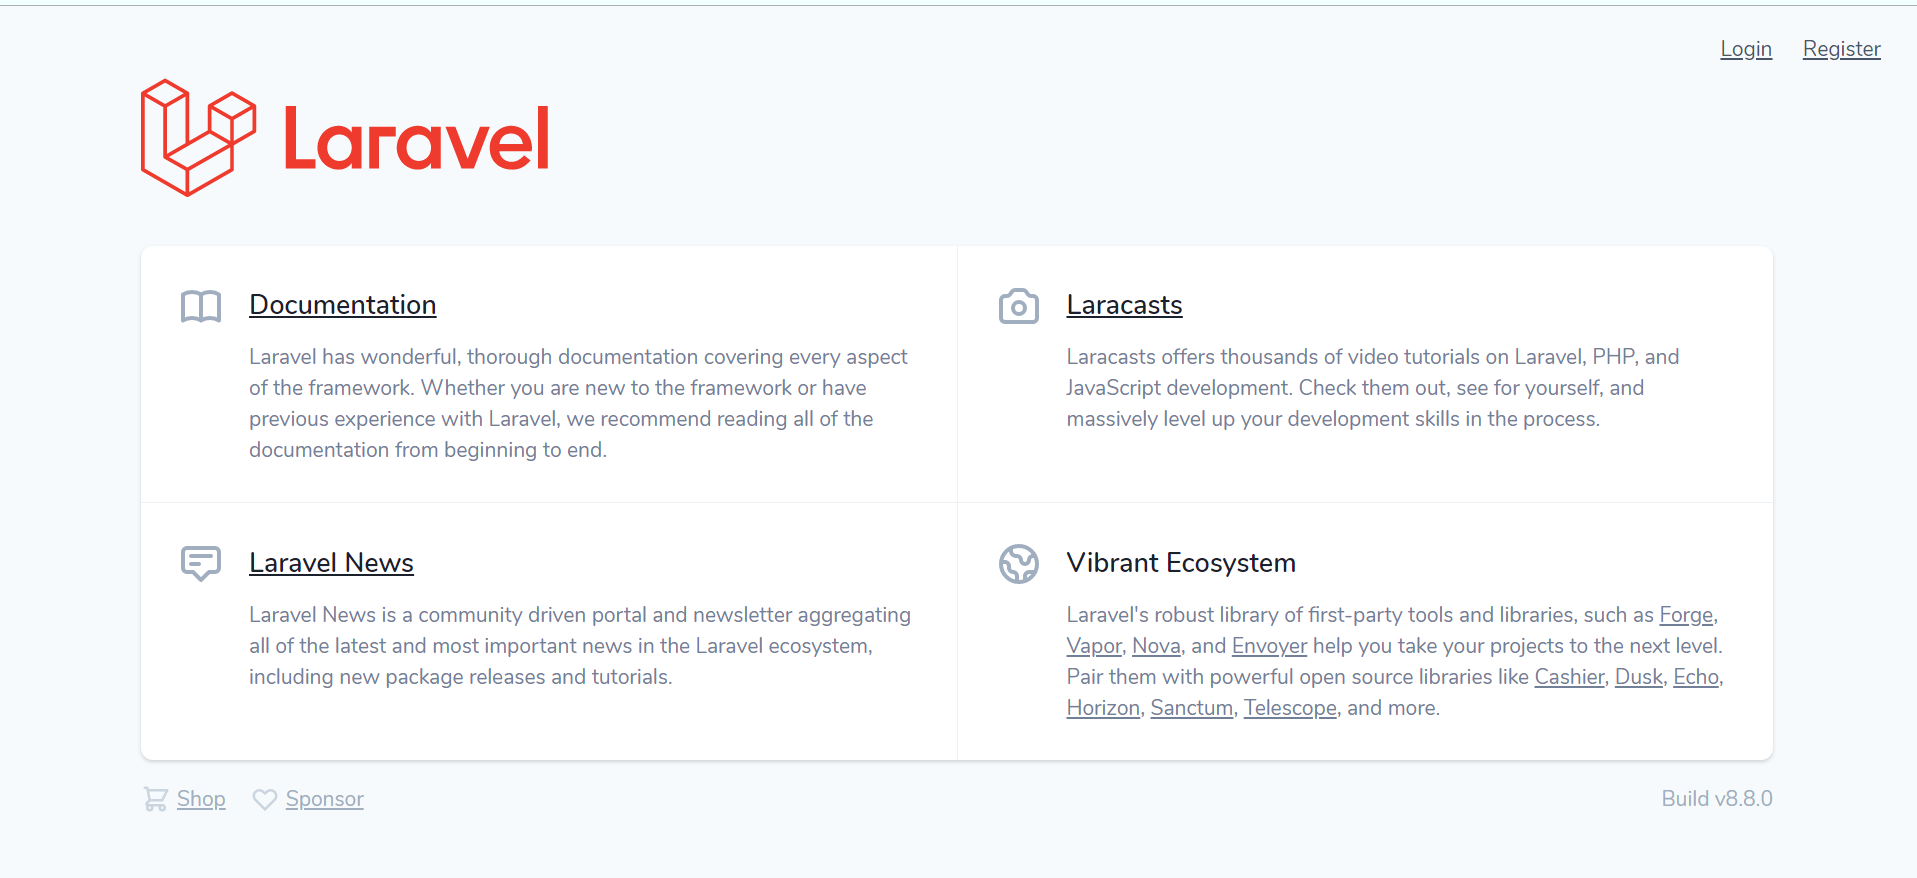
インストールが無事完了したら、resources/views/welcome.blade.phpにログイン機能が実装されているので、アクセスしてみましょう。

welcome.blade.phpの編集
resources/views/welcome.blade.phpに追加されたログイン機能の部分のコードを以下に示します。
@if (Route::has('login'))
    <div class="hidden fixed top-0 right-0 px-6 py-4 sm:block">
        @auth
            <a href="{{ url('/dashboard') }}" class="text-sm text-gray-700 underline">Dashboard</a>
        @else
            <a href="{{ route('login') }}" class="text-sm text-gray-700 underline">Login</a>

            @if (Route::has('register'))
                <a href="{{ route('register') }}" class="ml-4 text-sm text-gray-700 underline">Register</a>
            @endif
        @endif
    </div>
@endif
loginボタンを押すとroute('login')、registerボタンを押すとroute('register')のrouteメソッドが呼び出されていることが分かる。これらのメソッドはjetstreamをインストールした際に作成されていたものだと考えられる。
以下のコマンドでルート設定を確認できます。
php artisan route:list
login及びregisterのルートメソッドが定義されていることが分かる。
/vendor/laravel/fortify/routes/routes.phpを確認すると、jetstreamにより生成されたルーティングを確認することができる。
jetstreamのドキュメントにresources/views/authフォルダ内のテンプレートを編集するとviewを変更できるとの記載があったので、確認してみたところ、route(login)はresources/views/auth/login.blade.phpが、route(register)はresources/views/auth/register.blade.phpが返されていることが判明した。
login.blade.phpの編集
resources/views/auth/login.blade.phpのコードを以下に記載する。
<x-guest-layout>
    <x-jet-authentication-card>
        <x-slot name="logo">
            <x-jet-authentication-card-logo />

        </x-slot>

        <x-jet-validation-errors class="mb-4" />

        @if (session('status'))
            <div class="mb-4 font-medium text-sm text-green-600">
                {{ session('status') }}
            </div>
        @endif

        <form method="POST" action="{{ route('login') }}">
            @csrf

            <div>
                <x-jet-label value="{{ __('Email') }}" />
                <x-jet-input class="block mt-1 w-full" type="email" name="email" :value="old('email')" required autofocus />
            </div>

            <div class="mt-4">
                <x-jet-label value="{{ __('Password') }}" />
                <x-jet-input class="block mt-1 w-full" type="password" name="password" required autocomplete="current-password" />
            </div>

            <div class="block mt-4">
                <label class="flex items-center">
                    <input type="checkbox" class="form-checkbox" name="remember">
                    <span class="ml-2 text-sm text-gray-600">{{ __('Remember me') }}</span>
                </label>
            </div>

            <div class="flex items-center justify-end mt-4">
                @if (Route::has('password.request'))
                    <a class="underline text-sm text-gray-600 hover:text-gray-900" href="{{ route('password.request') }}">
                        {{ __('Forgot your password?') }}
                    </a>
                @endif

                <x-jet-button class="ml-4">
                    {{ __('Login') }}
                </x-jet-button>
            </div>
        </form>
    </x-jet-authentication-card>
</x-guest-layout>
1行目<x-guest-layout>
<x-guest-layout>というタグはjetstreamが作成した、コンポーネントで、ここでは、app/view/component/GuestLayout.phpを呼び出している。対応するviewファイルはresources/views/layouts/guest.blade.phpが呼び出されている。
guest.blade.phpでは、bodyタグ以外の内容が設定されている。
bodyタグは{{$slot}}とスロットにより追加のコンテンツを求めている。
slotの説明
※スロットの説明なので、不要な方は読み飛ばしてください。
スロットを用いることで、コンポーネント間でコンテンツの受け渡しが可能になる。
login.blade.phpを見ていただくと、1行目と最後の行とで<x-guest-layout>タグで囲われていることが分かる。resources/views/layouts/guest.blade.phpが呼び出されるのは前述したとおりである。このタグ内に記述されている内容がguest.blade.php内の{{$slot}}の場所に挿入される仕組みだ。
1つのコンポーネント内に複数のスロットを用意したい場合があるだろう。2つ目以降のスロットは名前を定義することで使用可能となる。logoという名前のスロットを作成したい場合には、{{$logo}}とコンポーネント内に記述することで2つ目のlogoという名前の付いたスロットを作成することができる。
logoというスロットの中身は、resources/views/auth/login.blade.phpの3行目にあるように、<x-slot name="logo">というように、<x-slot name=定義した名前>と記述することで、そのタグ内の内容がlogoスロットに渡される。
隠しファイルの表示
ここで、コマンドを一つ打っていただきたい。
php artisan vendor:publish --tag=jetstream-views
このコマンドにより、jetstreamが作成した、隠しファイルとなっているコンポーネントファイルを公開し、編集できるようにした。
resources/views/vender/jetstream/componentsフォルダ内にコンポーネントが表示され編集可能となる。
2行目<x-jet-authentication-card>
このタグでは、先ほどのコマンドで編集可能となった、resources/views/vender/jetstream/components/authentication-card.blade.phpを表示している。authentication-card.blade.phpでは、2つのスロットが定義されており、その中身をタグ内で記述している。
####10行目@if (session('status'))
if文内では、sessionを使ってフラッシュメッセージを表示するものらしいです。詳しくはわかりませんが、何か、伝えるべき情報があれば伝えられる?みたいな感じで特に編集する必要性はないかと。
####ログインページの編集し方まとめ
<x-jet-任意の文字列>でresources/views/vender/jetstream/components内のコンポーネントを呼び出して,
<x-slot name="定義されている名前">でスロットの情報を渡すことを理解すればだいたいの編集が可能だろう。
###新規登録ページ
新規登録ページのbladeテンプレートは、resources/views/auth/register.blade.phpである。ログインページを編集したサイトほとんど同じ要領で編集ができるだろう。
dashboardの編集
ログインが完了した後にリダイレクトするページを作成していく。

routes/web.phpの確認
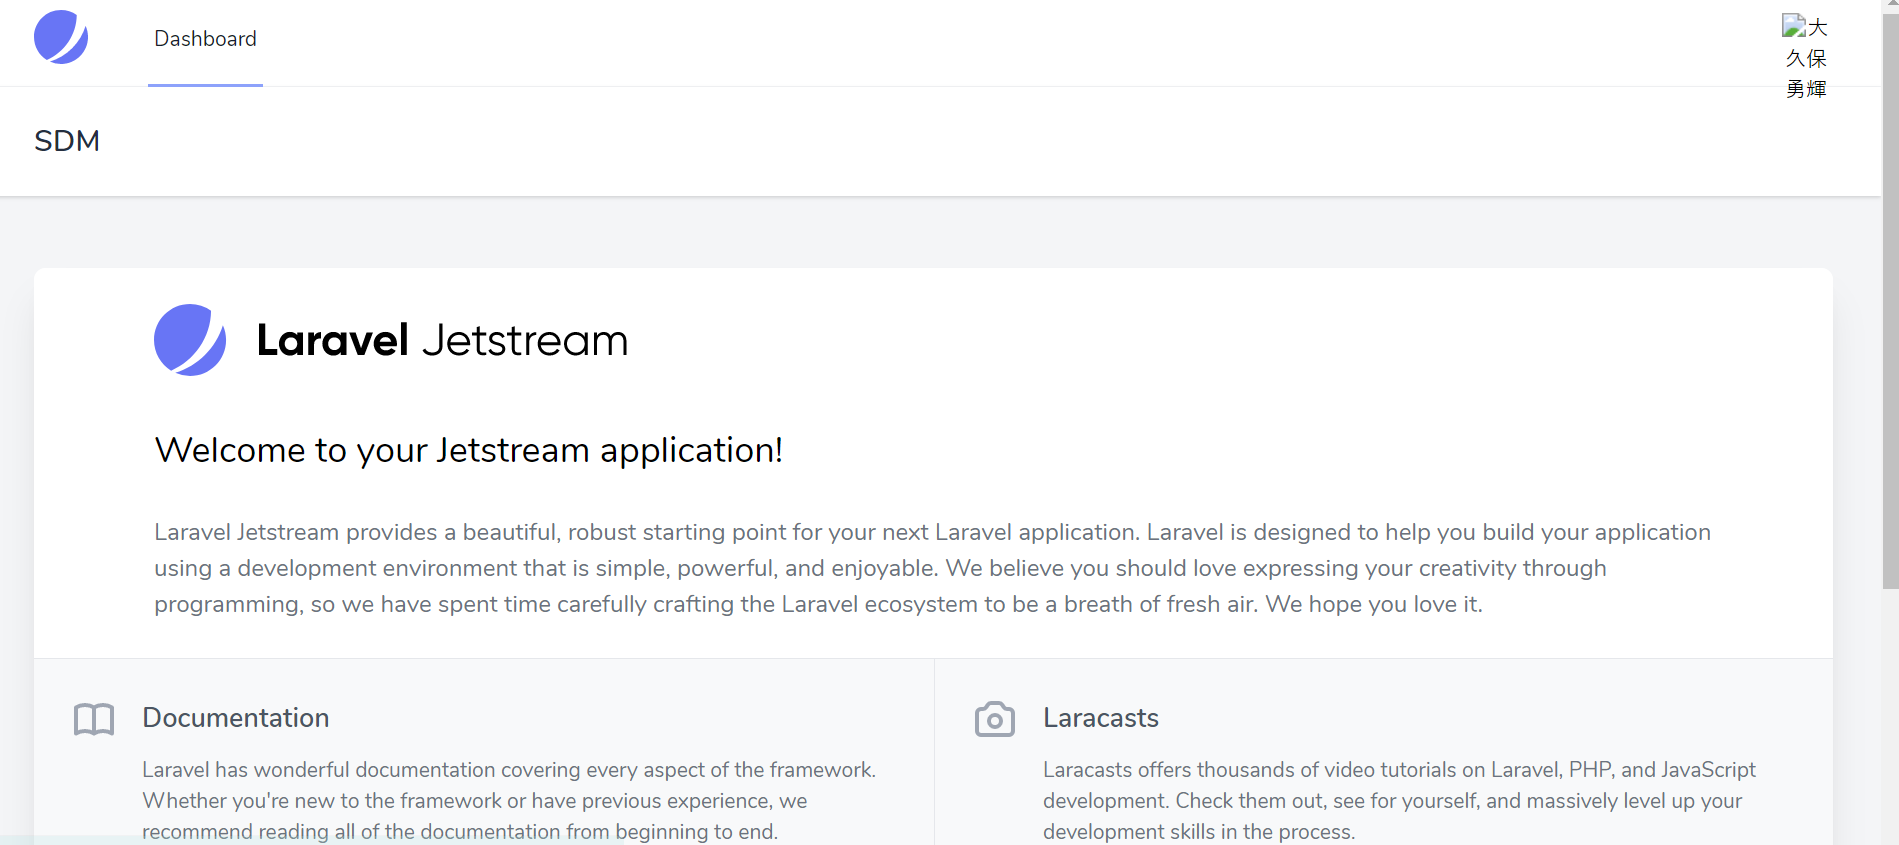
jetstreamをインストールした際に、ログイン後にリダイレクトされるページも生成されており、ご自身の環境でもログインしていただくと、dashboardという画面にリダイレクトされる。
web.phpにルーティングの内容が追記される。
laravel8から、コントローラーのルーティング方法が変更になったため、ルーティングを設定する際には、少し注意が必要です。
Route::middleware(['auth:sanctum', 'verified'])->get('/dashboard', function () {
    return view('dashboard');
})->name('dashboard');
resources/views/dashboard.blade.phpの編集
リダイレクトされるresources/views/dashboard.blade.phpの中身を見ていく。
基本的に、先述したログイン機能の編集方法が分かれば、dashboard.blade.php
<x-app-layout>
    <x-slot name="header">
        <h2 class="font-semibold text-xl text-gray-800 leading-tight">
            {{ __('dashboard') }}
        </h2>
    </x-slot>

    <div class="py-12">
        <div class="max-w-7xl mx-auto sm:px-6 lg:px-8">
            <div class="bg-white overflow-hidden shadow-xl sm:rounded-lg">
                <x-jet-welcome />
            </div>
        </div>
    </div>
</x-app-layout>
<x-app-layout>
resources/views/layouts/app.blade.phpを呼び出している。
resources/views/layouts/app.blade.phpの編集
<!DOCTYPE html>
<html lang="{{ str_replace('_', '-', app()->getLocale()) }}">
    <head>
        <meta charset="utf-8">
        <meta name="viewport" content="width=device-width, initial-scale=1">
        <meta name="csrf-token" content="{{ csrf_token() }}">

        <title>{{ config('app.name', 'Laravel') }}</title>

        <!-- Fonts -->
        <link rel="stylesheet" href="https://fonts.googleapis.com/css2?family=Nunito:wght@400;600;700&display=swap">

        <!-- Styles -->
        <link rel="stylesheet" href="{{ asset('css/app.css') }}">

        @livewireStyles

        <!-- Scripts -->
        <script src="https://cdn.jsdelivr.net/gh/alpinejs/alpine@v2.7.0/dist/alpine.js" defer></script>
    </head>
    <body class="font-sans antialiased">
        <div class="min-h-screen bg-gray-100">
            @livewire('navigation-dropdown')

            <!-- Page Heading -->
            <header class="bg-white shadow">
                <div class="max-w-7xl mx-auto py-6 px-4 sm:px-6 lg:px-8">
                    {{ $header }}
                </div>
            </header>

            <!-- Page Content -->
            <main>
                {{ $slot }}
            </main>
        </div>

        @stack('modals')

        @livewireScripts
    </body>
</html>
headタグ内の説明は省略する。bodyタグからみていく。
@livewire('navigation-dropdown')の説明
(/dashboard)の画面内で右上のドロップダウンのプロフィールボタンが@livewire('navigation-dropdown')に含まれているため、編集して再利用する価値が高い。(著者がフロントエンドが得意なわけではなく、ドロップダウンのメニューを作成するのに時間がかかってしまうため。)
スタブとして、返されているコンポーネントと同様なものである、vendor/laravel/jetstream/stubs/livewire/resources/views/navigation-dropdown.blade.phpを編集し、
$ php artisan jetstream:install livewire
$ npm-install
$ npm run dev
で反映される。
筆者のdashboard編集結果
headerのみ編集を行っただけだが、以下のようになった。

headerをカスタマイズしつつ、jetstreamのマイページボタンを導入した。
MyPageの編集
今回、マイページの編集手順は以下のように行う。
profile写真を更新しても反映されない?
mypageのプロフィールを編集しようとして、画像をアップロードしたけど画像が表示されないの現象に対しては、以下のコマンドで解決できる。
php artisan storage:link
これはシンボリックリンクという設定をするコマンド。
laravelアプリケーションでは、アプリを公開した際、publicフォルダの中に存在するファイルを公開しており、それ以外のフォルダにはアクセスできないような仕組みになっているのだそう。
storage/app/public内に保存されるプロフィール画像にアクセスするために、storageフォルダにアクセスする許可を設定する必要がある。
プロフィール画像のアップロードの仕組み
ここは、興味ある人以外、読み飛ばしてください。
筆者は保存場所をs3に変更したかったため、確認しました。
ブラックボックスの中身を見ていく。以下の2つのファイルを参照すると理解することができる。
\app\Actions\Fortify\UpdateUserProfileInformation.php
 public function update($user, array $input)
    {
        Validator::make($input, [
            'name' => ['required', 'string', 'max:255'],
            'email' => ['required', 'email', 'max:255', Rule::unique('users')->ignore($user->id)],
            'photo' => ['nullable', 'mimes:jpg,jpeg,png', 'max:1024'],
        ])->validateWithBag('updateProfileInformation');

        if (isset($input['photo'])) {
            $user->updateProfilePhoto($input['photo']);
        }

        if ($input['email'] !== $user->email &&
            $user instanceof MustVerifyEmail) {
            $this->updateVerifiedUser($user, $input);
        } else {
            $user->forceFill([
                'name' => $input['name'],
                'email' => $input['email'],
            ])->save();
        }
    }
その中でも、以下部分が、写真がアップロードされた際に行われる処理である。関数を呼び出しているので、次のファイルで、その関数を見てみる。
  if (isset($input['photo'])) {
            $user->updateProfilePhoto($input['photo']);
        }
\vendor\laravel\jetstream\src\HasProfilePhoto.php
以下がファイルの中身。
<?php

namespace Laravel\Jetstream;

use Illuminate\Http\UploadedFile;
use Illuminate\Support\Facades\Storage;
use Laravel\Jetstream\Features;

trait HasProfilePhoto
{
    /**
     * Update the user's profile photo.
     *
     * @param  \Illuminate\Http\UploadedFile  $photo
     * @return void
     */
    public function updateProfilePhoto(UploadedFile $photo)
    {
        tap($this->profile_photo_path, function ($previous) use ($photo) {
            $this->forceFill([
                'profile_photo_path' => $photo->storePublicly(
                    'profile-photos', ['disk' => $this->profilePhotoDisk()]
                ),
            ])->save();

            if ($previous) {
                Storage::disk($this->profilePhotoDisk())->delete($previous);
            }
        });
    }

    /**
     * Delete the user's profile photo.
     *
     * @return void
     */
    public function deleteProfilePhoto()
    {
        if (! Features::managesProfilePhotos()) {
            return;
        }

        Storage::disk($this->profilePhotoDisk())->delete($this->profile_photo_path);

        $this->forceFill([
            'profile_photo_path' => null,
        ])->save();
    }

    /**
     * Get the URL to the user's profile photo.
     *
     * @return string
     */
    public function getProfilePhotoUrlAttribute()
    {
        return $this->profile_photo_path
                    ? Storage::disk($this->profilePhotoDisk())->url($this->profile_photo_path)
                    : $this->defaultProfilePhotoUrl();
    }

    /**
     * Get the default profile photo URL if no profile photo has been uploaded.
     *
     * @return string
     */
    protected function defaultProfilePhotoUrl()
    {
        return 'https://ui-avatars.com/api/?name='.urlencode($this->name).'&color=7F9CF5&background=EBF4FF';
    }

    /**
     * Get the disk that profile photos should be stored on.
     *
     * @return string
     */
    protected function profilePhotoDisk()
    {
        return isset($_ENV['VAPOR_ARTIFACT_NAME']) ? 's3' : config('jetstream.profile_photo_disk', 'public');
    }
}
上記のコード上に存在するprofilePhotoDisk()の部分は\config\jetstream.phpのprofile_photo_diskに対応していることが調べて判明した。
jetstreamのプロフィール写真をS3に保存
\config\jetstream.phpのprofile_photo_diskを変更する。
'profile_photo_disk' => 'public',
このように指定した場合は、config/filesystem.phpで定義されているpublicのdiskがjetstreamのプロフィール写真のdiskとして設定される。
s3のdiskも定義されていることを確認する。
        's3' => [
            'driver' => 's3',
            'key' => env('AWS_ACCESS_KEY_ID'),
            'secret' => env('AWS_SECRET_ACCESS_KEY'),
            'region' => env('AWS_DEFAULT_REGION'),
            'bucket' => env('AWS_BUCKET'),
            'url' => env('AWS_URL'),
            'endpoint' => env('AWS_ENDPOINT'),
        ],
        'public' => [
            'driver' => 'local',
            'root' => storage_path('app/public'),
            'url' => env('APP_URL').'/storage',
            'visibility' => 'public',
        ],
profile_photo_diskでs3を指定してあげるとs3を使用できる。
'profile_photo_disk' => 's3',
ちなみに、筆者はenvから読み込むようにして、環境ごとにdiskを変更できる仕様にしている。
'profile_photo_disk' => config('app.PROFILE_PHOTO_DISK'),
終わりに
まだ、書ききれてない内容があるが、とりあえず、この段階で投稿します。
コメントや、Twitterでのメッセージ、お気軽にください。
laravel8、jetstream、livewireを用いた、アプリ作成に役立てたらと思い書きました。
laravel8の有用性だが、実際に触ってみて感じたことは、フロントエンドの開発になれていないバックエンドの人がフロントを開発する際に、laravel8,jetstream,livewireを用いて編集すれば、laravelのblade内で、フロントエンド開発が行える点が良い点だと感じた。