初書:2020/10/24 → 2020/12/6
PC:macOS 10.15.7
php 7.4.10
laravel 8.11.2
前提
・Laravelはインストール済み
前回 → 素のPHPしか触ってなかった人がlaravelを触ってみる - Qiita
公式サイト
英語 → Introduction | Laravel Jetstream
日本語 → イントロダクション 1.0 Laravel Jetstream
インストール
参考サイト:[Laravel8 : 新ログイン「jetstream」を早速試してみたメモ]
(https://qiita.com/daisu_yamazaki/items/607ea579a374c4187562)
Laravel8から「jetstream」という新しいパッケージができたらしいので、それを使う。
ちなみに「Livewire」と「inertia」という二種類をインストール時に選択できるらしいが、今回は「livewire」を選択する。なお違いはあまり分かってない。1
% composer require laravel/jetstream # jetstreamをインストール
% php artisan jetstream:install livewire # アプリケーションに追加
% npm install && npm run dev # これは実行しろと言われたので。
% php artisan migrate # データベースの設定
そしてトップページにアクセスしてみる
Illuminate\Database\QueryException
SQLSTATE[42S02]: Base table or view not found: 1146 Table (略)
何かエラーがでた。テーブルが設定されていないらしい。(さっきの4行目のデータベースを設定していないとこのエラーが起こる模様)
とりあえず、下の方にある「Run migrations」を実行してみる
The solution was executed succesfully. Refresh now.
いけた。右上にLoginとRegisterが出てきた。
↓ログイン画面
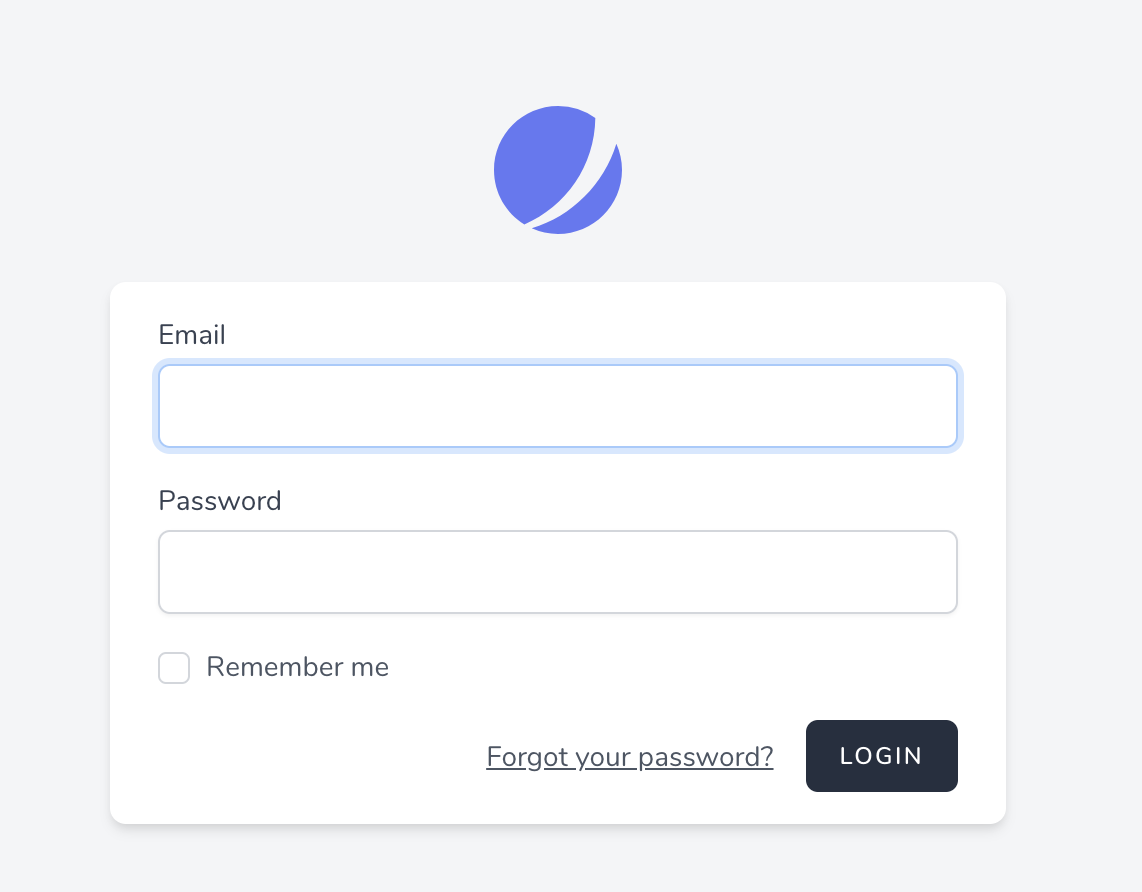
なるほど、メールアドレスとパスワードで登録するらしい。
ただ、見知らぬアプリにいきなりメールアドレスを登録するのは抵抗がある人は少なくないだろう
ということで、IDとパスワードでログインできるようにする
メールアドレス欄をIDに変更する
コードの書き換え
次の箇所を変更する
app/Actions/Fortify/CreateNewUser.php
public function create(array $input)
{
    Validator::make($input, [
        'name' => ['required', 'string', 'max:255'],
        'userid' => ['required', 'string', 'max:255', 'unique:users'], // ここと
        'password' => $this->passwordRules(),
    ])->validate();

    return User::create([
        'name' => $input['name'],
        'user_id' => $input['userid'],                 // ここ
        'password' => Hash::make($input['password']),
    ]);
}
app/Models/User.php
protected $fillable = [
    'name',
    'userid',  // ここ
    'email',   // これは任意で削除
    'password',
];
resources/views/auth/register.blade.php
<!-- この4行を、下の4行に変える。メールアドレスでも登録する場合は残す。任意にするならrequiredを消す
            <div class="mt-4">
                <x-jet-label for="email" value="{{ __('Email') }}" />
                <x-jet-input id="email" class="block mt-1 w-full" type="email" name="email" :value="old('email')" required />
            </div>
-->
            <div class="mt-4">
                <x-jet-label for="userid" value="{{ __('userid') }}" />
                <x-jet-input id="userid" class="block mt-1 w-full" type="text" name="userid" :value="old('userid')" required />
            </div>
resources/views/auth/login.blade.php
<!-- この4行を、下の4行に変える
            <div>
                <x-jet-label for="email" value="{{ __('Email') }}" />
                <x-jet-input id="email" class="block mt-1 w-full" type="email" name="email" :value="old('email')" required autofocus />
            </div>
-->
            <div>
                <x-jet-label for="userid" value="{{ __('userid') }}" />
                <x-jet-input id="userid" class="block mt-1 w-full" type="userid" name="userid" :value="old('userid')" required autofocus />
            </div>
config/fortify.php
-'username' => 'email',
+'username' => 'userid',
コード説明
公式サイトにて、
アプリケーションでユーザーが登録を更新すると、App\Actions\Fortify\CreateNewUserクラスが実行されます。このアクションは、入力の検証とユーザーの作成の責務を負います。
と記載されていたので、おそらく新規登録に関してはCreateNewUserが登録している。
そのため、CreateNewUser.phpのところで、メールアドレスで登録しているのを、ユーザーIDに変更した。
makeの第二引数についてはよく分かっていない。おそらく入力チェック
ここだけを変更してもエラーが発生するので、そもそもJetstreamに、「ユーザーIDとパスワードで登録する」ことを認識してもらう必要がある。
そこで、User.phpのところをemailからuseridに変更した。(ここを変更することもどこかに記載していたのだが、覚えていない。。)
データベースを変更
初期のデータベースでは、IDの項目が存在しないため、作成する必要がある。
またメールアドレスが必須ではないので、これも変更する必要があるが、Laravelではデフォルトでデータベースのcolumnを変更できないらしいので、まずは下記を実行しパッケージをインストールする。
参考サイト:Laravelのマイグレーションでカラムの名前と型を変更する|プログラムメモ
% composer require "doctrine/dbal:2.*"
※doctrine/dbalのver3.0にて、特定のクラスが削除されたために実行できないエラーがある様子。そのため、実行できない場合はver2を使用。(上記コードはver2で固定しています)
[laravel] doctrine/dbalを入れたのに「Class 'Doctrine\DBAL\Driver\PDOMySql\Driver' not found」と言われる - Qiita
次にデータベースを変更するためのコードを作成していく。
まずは下記を実行
% php artisan make:migration add_column_userid_at_users_table --table=users
add_column_userid_at_users_tableファイル名。分かればなんでもいい
実行できたら、database/migration/以下に日付_add_column_userid_at_users_table.phpがあるので、それを開ける。
その中のup関数、down関数を書き足していく。
public function up()
{
    Schema::table('users', function (Blueprint $table) {
        $table->string('userid')->unique()->after('name')->comment('ログインid');
        $table->dropUnique('users_email_unique'); // ユニークキーが重複するため
        $table->string('email')->unique()->nullable()->change(); // nullableに変更
    });
}

public function down()
{
    Schema::table('users', function (Blueprint $table) {
        $table->dropUnique('users_email_unique');
        $table->string('email')->unique()->change();
        $table->dropColumn('userid');
    });
}
コード説明
保存したら下を実行する
% php artisan migrate
※インデックスの削除を行うため、既にデータが存在している場合は注意すること。
日本語化する
今の状態だとエラーとか英語なので、日本語に変更する
参考サイト:Laravelのインストールと環境構築【初心者のLaravel超入門講座2】 | 40代からプログラミング!
で、ここ(github)から日本語訳が入ったフォルダをDLし、resource/lang/'以下にja`フォルダを入れます。
これだけだと一部日本語化されないので、更に手を加えていく
resources/lang/ja/validation.php
    'attributes' => [ // 下の方に'attributes' => []があるのでこの中に追記していく
        'email' => 'メールアドレス', // 追加
        'password' => 'パスワード', // 追加
    ],
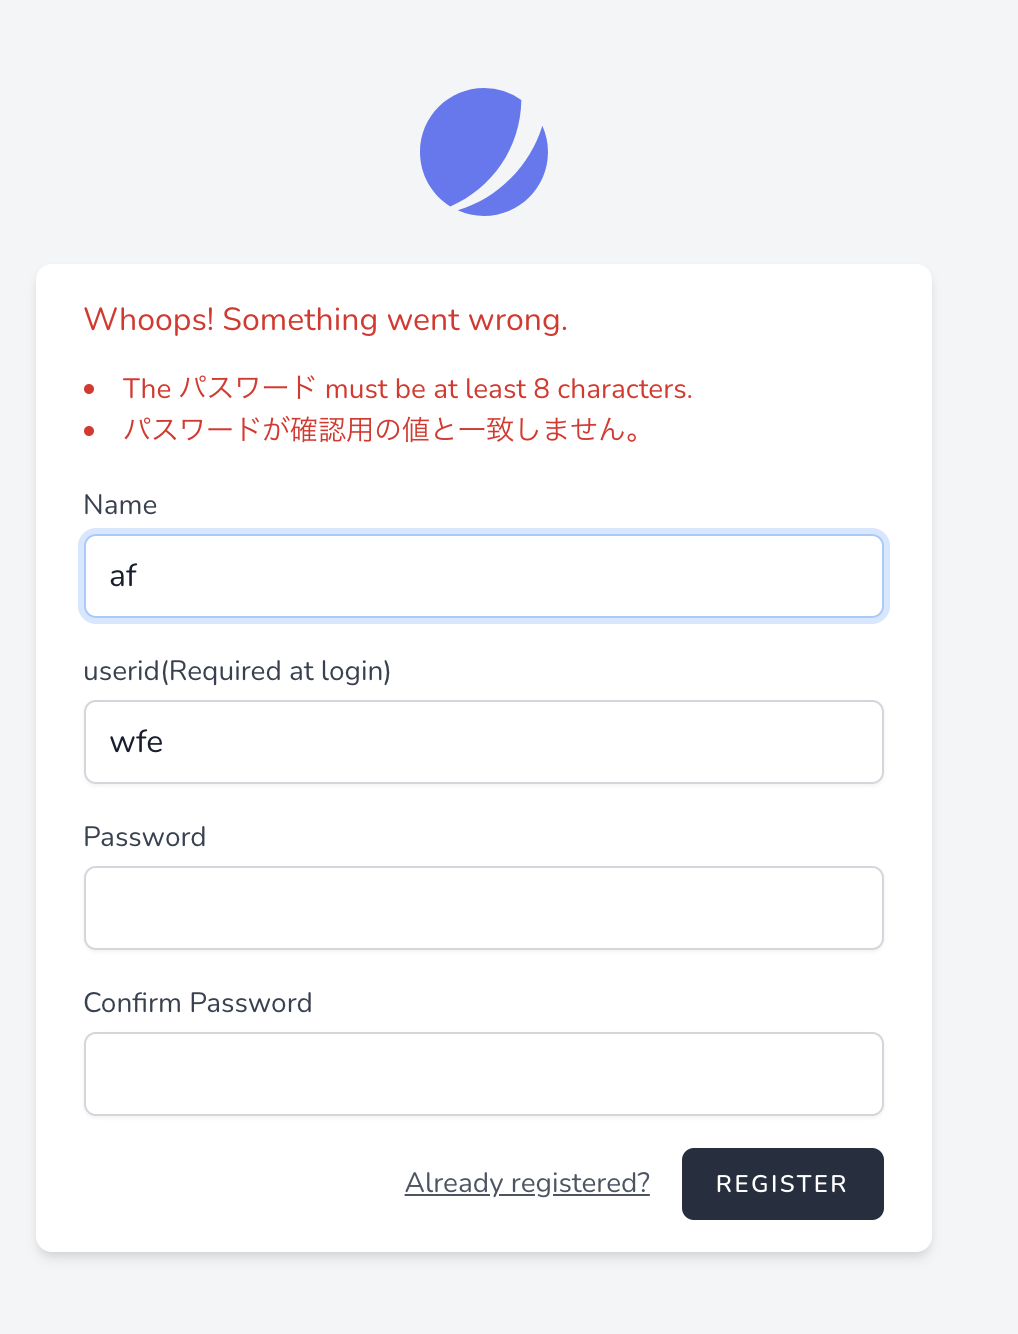
なぜか一部日本語にならない。
探してみると、パスワードの文字列チェックはvalidation.phpを使用しているのではなく、vendor/laravel/fortify/src/Rules/Password.phpに直接記述している。何故そうした。
ここを直接弄ってもいいのだが、アップデートするとリセットされる可能性があるので、普通に翻訳する方法を使う。
まず、resources/lang/ja.jsonファイルを作成する
その中に次のjsonをそのまま貼り付け(既にja.jsonを使用している場合は適宜追加)
{
    "Whoops! Something went wrong.": "以下のエラーが発生しました。",
    "The :attribute must be at least :length characters and contain at least one uppercase character.": ":attributeには:length文字以上の文字列を指定し、1つ以上の大文字を含んでください。",
    "The :attribute must be at least :length characters and contain at least one number.": ":attributeには:length文字以上の文字列を指定し、1つ以上の数字を含んでください。",
    "The :attribute must be at least :length characters and contain at least one special character.": ":attributeには:length文字以上の文字列を指定し、1つ以上の特殊文字を含んでください。",
    "The :attribute must be at least :length characters and contain at least one uppercase character and one number.": ":attributeには:length文字以上の文字列を指定し、1つ以上の大文字と、数字を含んでください。",
    "The :attribute must be at least :length characters and contain at least one uppercase character and one special character.": ":attributeには:length文字以上の文字列を指定し、1つ以上の大文字と、特殊文字を含んでください。",
    "The :attribute must be at least :length characters and contain at least one uppercase character, one number, and one special character.": ":attributeには:length文字以上の文字列を指定し、1つ以上の大文字と、数字、特殊文字を含んでください。",
    "The :attribute must be at least :length characters.": ":attributeには:length文字以上の文字列を指定してください。",
    "Name": "ユーザー名",
    "Email" : "メールアドレス",
    "userid": "ユーザーID",
    "Required at login" : "ログイン時に必要",
    "Password": "パスワード",
    "Confirm Password": "パスワード(確認用)",
    "Already registered?": "既に登録済みですか?",
    "Register": "登録する",
    "Remember me": "次回から自動ログインする",
    "Forgot your password?": "パスワードを忘れた場合",
    "Login": "ログイン"
}
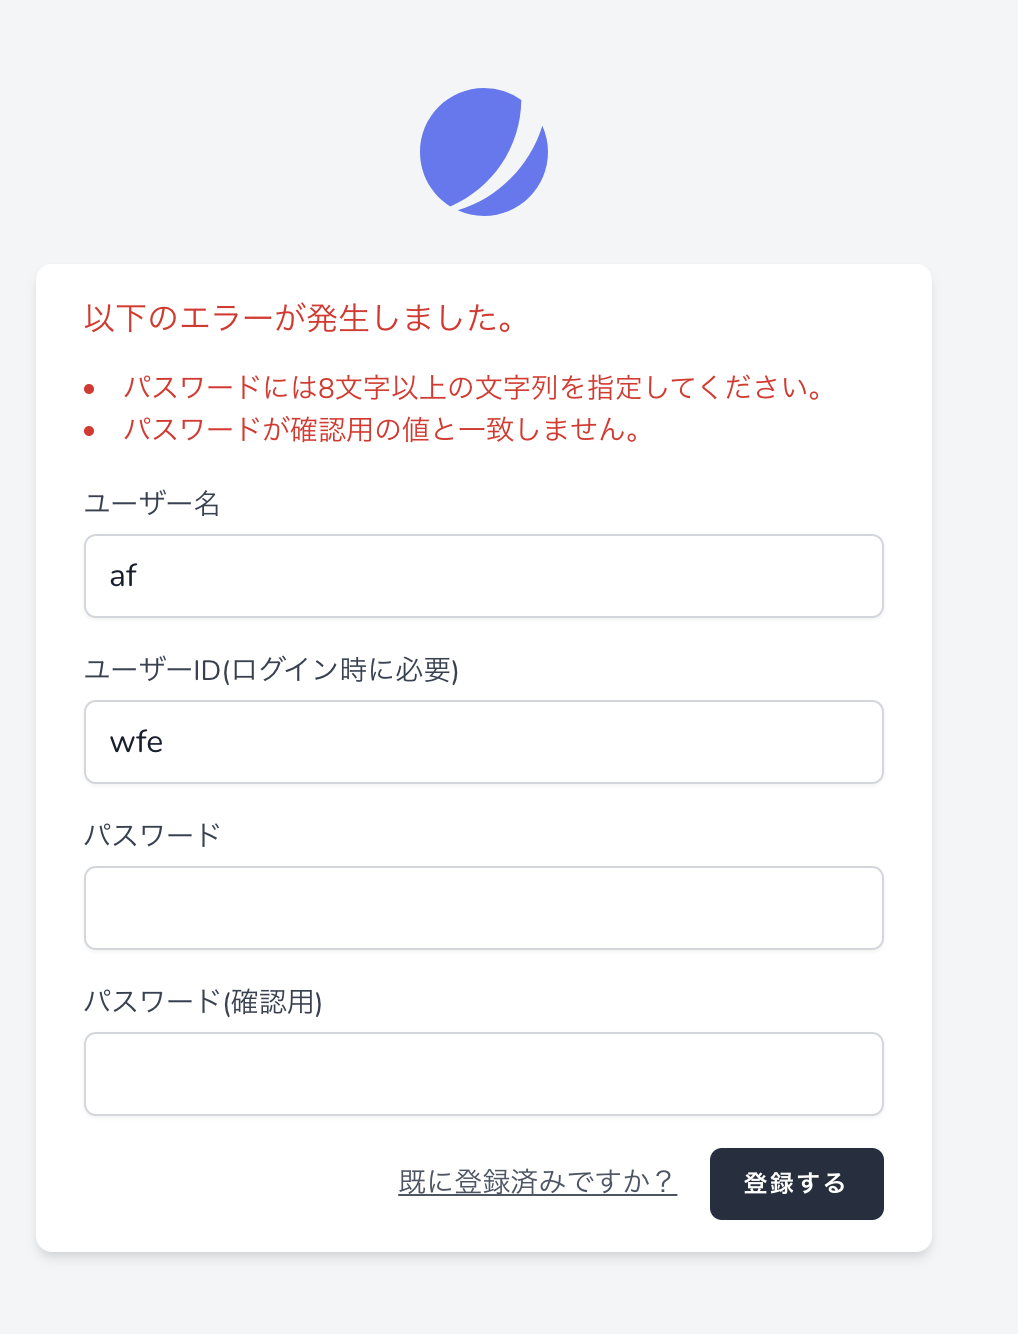
これでエラー文と、その周辺の文字全て日本語化することが出来た。
終わりに
前回の記事にurlだけ載せておいて2ヶ月以上404にして申し訳ない。。
記事の前半が10月に記述し、後半が12月に記述しているため、文章がおかしくなっている箇所や過不足があるかもしれないが、その時はコメントなどで教えてください。
参考サイト / 参考予定サイト
Laravel Jetstream インストールとロゴ変更・日本語化などカスタマイズ方法 | 40代からプログラミング!
Laravel5.6でバリデーションなどのエラーメッセージを日本語化する方法 | ふみのあるきかた
【実装編】Laravel 8(+jetstream, fortify)でマルチログイン - Qiita
-
Livewireはjsとphpをajaxで繋いで更新する場合、inertiaはjsフレームワークを使うときに使うような感じの説明に見えるが、いくつかのサイトを検索した結果の推測であるので、あくまで参考程度に。 ↩