はじめに
タイトルの通り XGBoost を Windows でビルドしたときの手順(2016年10月)です。正直、結構めんどくさかったので Linux でやったほうがよいと思います。環境は以下。
- Windows 2012 R2 64bit
- Anaconda3 4.2.1
- XGBoost 0.6
準備するもの
Chocolatey
Chocolatey というのは Windows のパッケージマネージャです。
なくても別に何とかなるのですが、あると何かと便利なので導入しておきます。
インストールは上記にもある通り、コマンドプロンプトにワンライナーをコピペ。
@powershell -NoProfile -ExecutionPolicy Bypass -Command "iex ((New-Object System.Net.WebClient).DownloadString('https://chocolatey.org/install.ps1'))" && SET "PATH=%PATH%;%ALLUSERSPROFILE%\chocolatey\bin"
MSYS2
Chocolatey を使って MSYS2 をインストールします。
choco install -y msys2
MSYS2 は C:\tools\msys64 にインストールされます。
Git と MinGW64
MSYS2 を起動し、MSYS2 のパッケージマネージャである pacman コマンドを使って Git と MinGW64 をインストールします。既に Git Windows などが入っている場合は、あらためて Git をインストールする必要はありません。
pacman -S git mingw-w64-x86_64-toolchain
ビルド作業
引き続き MSYS2 での作業になります。XGBoost のリポジトリをクローンしましょう。
git clone --recursive https://github.com/dmlc/xgboost
...
cd xgboost
git submodule init
git submodule update
make コマンドと g++ コマンドを使えるように、パスを通してエイリアス設定します。
そして MinGW64 用の makefile をコピって make 実行!
export PATH=${PATH}:/c/tools/msys64/mingw64/bin
alias make=mingw32-make.exe
cp make/mingw64.mk config.mk
make -j4
インストール
ビルドが終わったら Anaconda Prompt からインストールします。
cd C:\tools\msys64\home\Administrator\xgboost\python-package
python setup.py install
確認
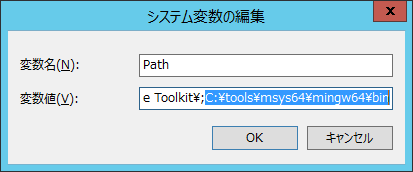
MinGW64 にパスが通っていないと Dynamic Link に失敗するので気をつけましょう。
環境変数 Path に MinGW64 の bin ディレクトリを追加しておけば OK です!
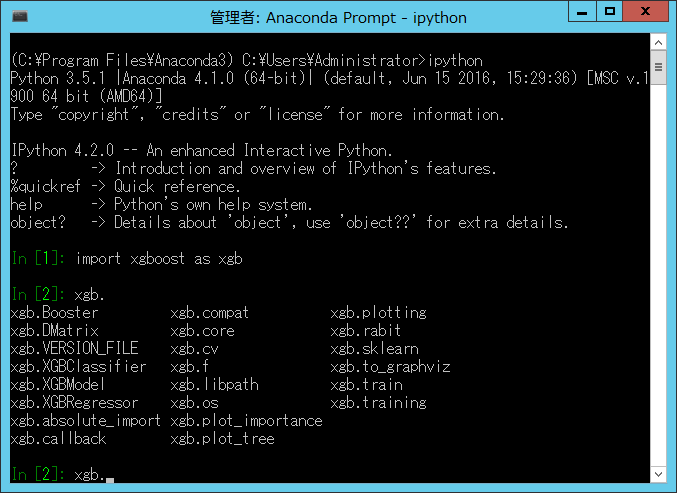
IPython か何かからインポートしてみて、エラーが出なければ成功です!お疲れ様でした!

