PlayCanvasについて
PlayCanvasはJavaScriptで記述されたWebGLのエンジンで、最近GitHubのスター数が7000を超えました。SaaS型のエディターを兼ね備えているゲームエンジンです。engineについては主にSnapのメンバーWill Eastcottを中心にOSSとして公開及び継続的に開発が進められています。Engine単体として利用する場合には、Three.js, Babylon.jsなどのWebGLライブラリと似た使い方を使用することができます。またビジュアルエディターとコードエディターが存在しており。エディターはクラウド上でプロジェクトの作成から公開までが出来ます。FBXやOBJといった3Dモデルの素材については、ブラウザへドラッグアンドドロップをすることでGUIから操作・配置ができるエディターがあります。
本記事では、PlayCanvasのExamplesを参考にGLB形式 / USDZ形式でエクスポートをするPlayCanvasエディターでも同様にダウンロードをする方法を紹介します。
エクスポーターについて
PlayCanva EngineのGitHubリポジトリには、Extrasといった、Gltfエクスポーター(GltfExpoter)やUSDZエクスポーター(UsdzExporter)のコードを含む、extras.jsというスクリプト集が本体とは別に存在しています。
ビルド済みのそれぞれの最新バージョンのコードはこちらからCDN経由で配信もされています。
- PlayCanvas Engine
https://code.playcanvas.com/playcanvas-latest.js
- PlayCanvas Engine Extras
https://code.playcanvas.com/playcanvas-extras-latest.js
PlayCanvasエディターを利用している場合には、開発中には自動的に読み込むファイルにextras.jsが読み込まれています。エディターを利用しない場合や開発したプロジェクトをホスティングをする場合には、別途extras.jsをプロジェクトに追加をしてください。
PlayCanvasエディターに組み込む
今回は、PlayCanvasエディターと親和性の高いpcuiライブラリを利用して、シーンをglb usdzに変換をしてダウンロードボタンを配置します。
1. pcuiをダウンロードてシーンに配置
こちらのリンク先はpcuiをビルドしたスクリプトとなります。
コードをpuci-bundle-min.jsなどの名前でエディターのプロジェクトに配置をしてください。
2. エクスポート用のスクリプトを追加
エディターから新規にexporter-ui.jsといった名前でスクリプトを作成します。
スクリプトを新規に作成しこちらを貼り付けてください。
const ExporterUi = pc.createScript('exporter-ui');

ExporterUi.prototype.initialize = function () {
    // HTML要素を作成してCSSを適用
    const wrapper = document.createElement("div");
    wrapper.id = "glb-exporter-wrapper"
    wrapper.style.position = "absolute"
    wrapper.style.zIndex = "5"
    wrapper.style.width = "300px"
    wrapper.style.height = "100vh"
    document.body.appendChild(wrapper);

    // pcuiのセットアップ
    const { Container, Button } = pcui;
    const container = new Container({ grid: true });
    wrapper.appendChild(container.dom)

    this.glbExportButton = new Button({ id: "glb-export-button", text: "Download GLB" });
    this.usdzExportButton = new Button({ id: "usdz-export-button", text: "Download USDZ" });
    container.append(this.glbExportButton);
    container.append(this.usdzExportButton);

    this.glbExportButton.on("click", () => this.exportGlb());
    this.usdzExportButton.on("click", () => this.exportUsdz());

};

ExporterUi.prototype.exportGlb = async function () {
    const exporter = new pcx.GltfExporter()
    const buffer = await exporter.build(this.app.root);
    const blob = new Blob([buffer], { type: "application/octet-stream", });
    const fileName = "model.glb";
    this.download(blob, fileName)
}


ExporterUi.prototype.exportUsdz = async function () {

 const exporter = new pcx.UsdzExporter()
    const buffer = await exporter.build(this.app.root);
    const blob = new Blob([buffer], { type: "application/octet-stream", });
    const fileName = "model.usdz";
    this.download(blob, fileName)
}

// モデルデータのダウンロード
ExporterUi.prototype.download = function (blob, fileName) {
    const  a = document.createElement("a");
    a.href = URL.createObjectURL(blob);
    a.download = fileName;
    document.body.appendChild(a);
    a.click();
    document.body.removeChild(a);
}
3. コードについて
これで、PlayCanvasエディター上には、2つのスクリプトが配置されている状態になります。

4. RootエンティティにScriptコンポーネントを追加して、exporter-uiスクリプトを追加
Scriptコンポーネントを作成して、スクリプト (exporter-ui)をエディタに追加します。

5. プロジェクトを起動
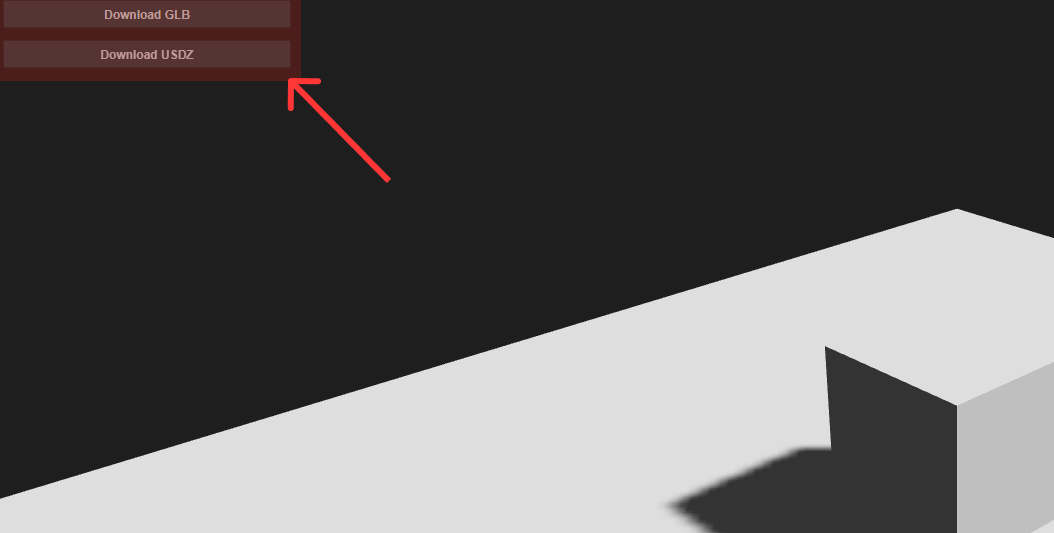
プロジェクトを起動するとDownload GLBボタンとDonwload USDZボタンが追加されています。
こちらをクリックするとそれぞれの方法でモデルをダウンロードできます。

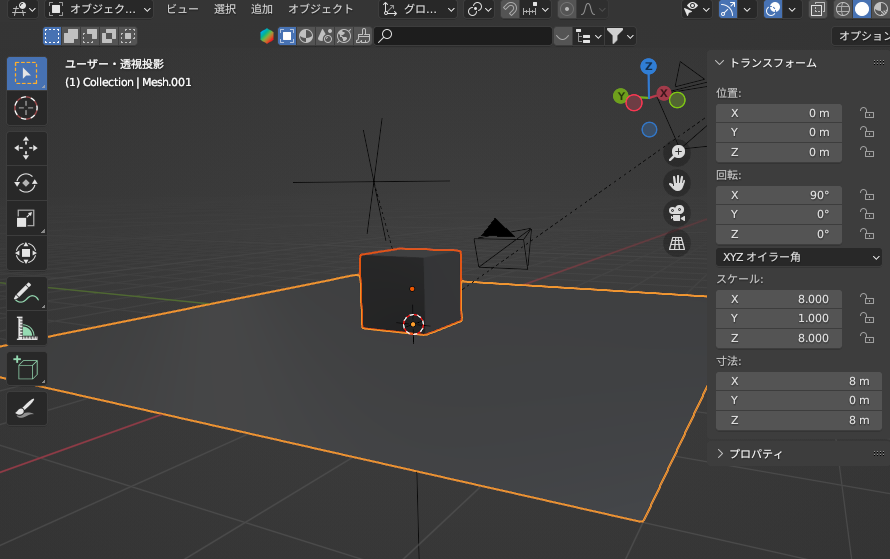
6. ダウンロードしたシーンをBlenderで読み込む
ダウンロードしたモデル(glb / usdz)は3Dモデリング用のツールで読み込む事ができます。

現在、こちらのUSDZエクスポーターについては開発中となっており、今後変更が加えられる可能性が高いです。