0
0

Delete article

Deleted articles cannot be recovered.

Draft of this article would be also deleted.

Are you sure you want to delete this article?

Figmaでボタンを作ってみる

Last updated at Posted at 2024-06-29

本日よりFigmaの勉強を始めます。自分の学習記録用。まずは手始めにマウスオーバーでカラーが変化するボタンのアニメーションを作ってみました。
Figmaでアプリのシュミレーターのようなことが行えるのは本当に素晴らしい機能です。

1.フレームを挿入する

image.png

画面左上のアイコンからフレームを挿入します。(ショートカットFキー)

2.テキストを挿入する

image.png
同じく画面上の「T」アイコンからテキストを挿入することができます。

3.フレームの中央にテキストを配置する

image.png
image.png
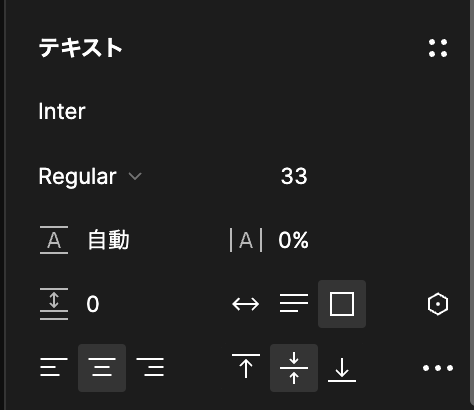
ここと、ここで中央に配置します。

4.フレームの角を丸くする

image.png

5.背景色をつける

image.png
塗りで背景色をつける

6.複製する

追記:コンポーネントで複製する 画面中央上アイコン→プラスが出たらさらに押下
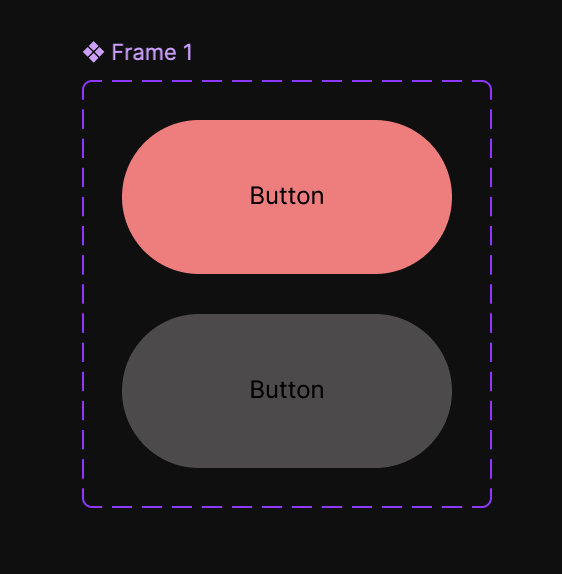
image.png

image.png

7.プロトタイプタブを選択して「+」アイコンをボタン2に繋ぐ

image.png

マウスオーバーを選択

image.png

右上「▶️」をクリック! 完成

image.png

0
0
0

Register as a new user and use Qiita more conveniently

  1. You get articles that match your needs
  2. You can efficiently read back useful information
  3. You can use dark theme
What you can do with signing up
0
0

Delete article

Deleted articles cannot be recovered.

Draft of this article would be also deleted.

Are you sure you want to delete this article?