はじめに##
フリーフォントを用意します。
FONT FREE(https://fontfree.me/)
フリーフォントケンサク(https://cute-freefont.flop.jp/)
他にも沢山ありますが、上記のサイトおすすめです。
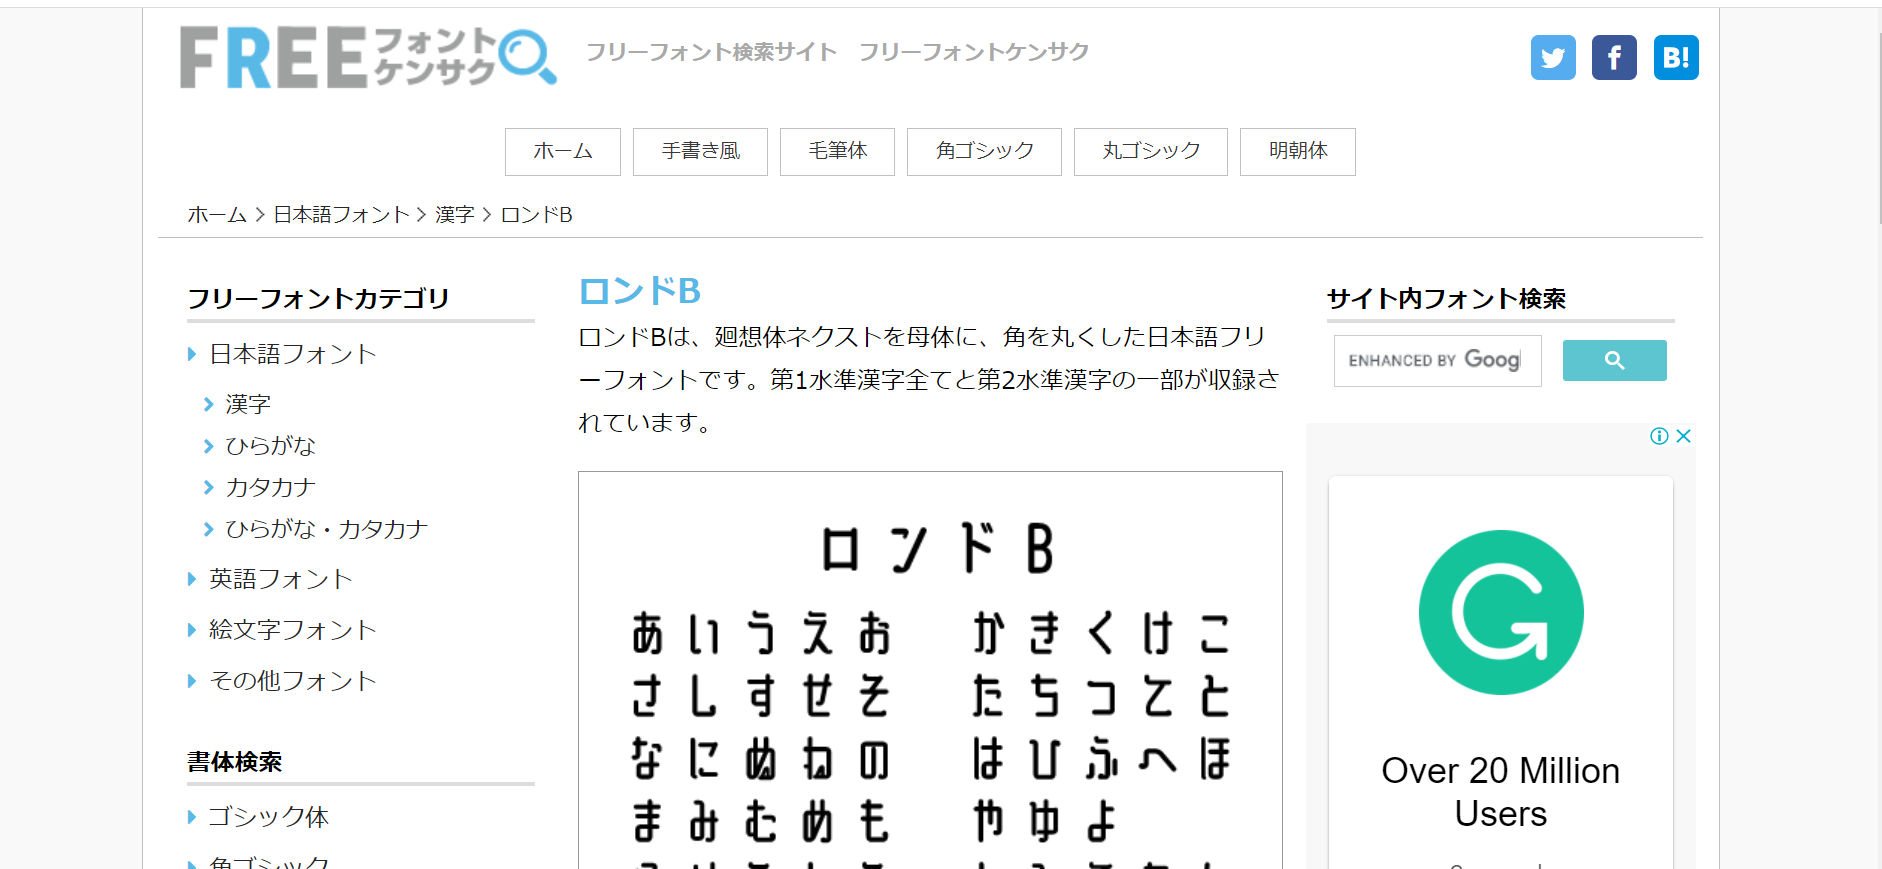
今回はこちら「ロンドB」を使用します。使用したいフォントをダウンロードしてください。
プロジェクトを用意します
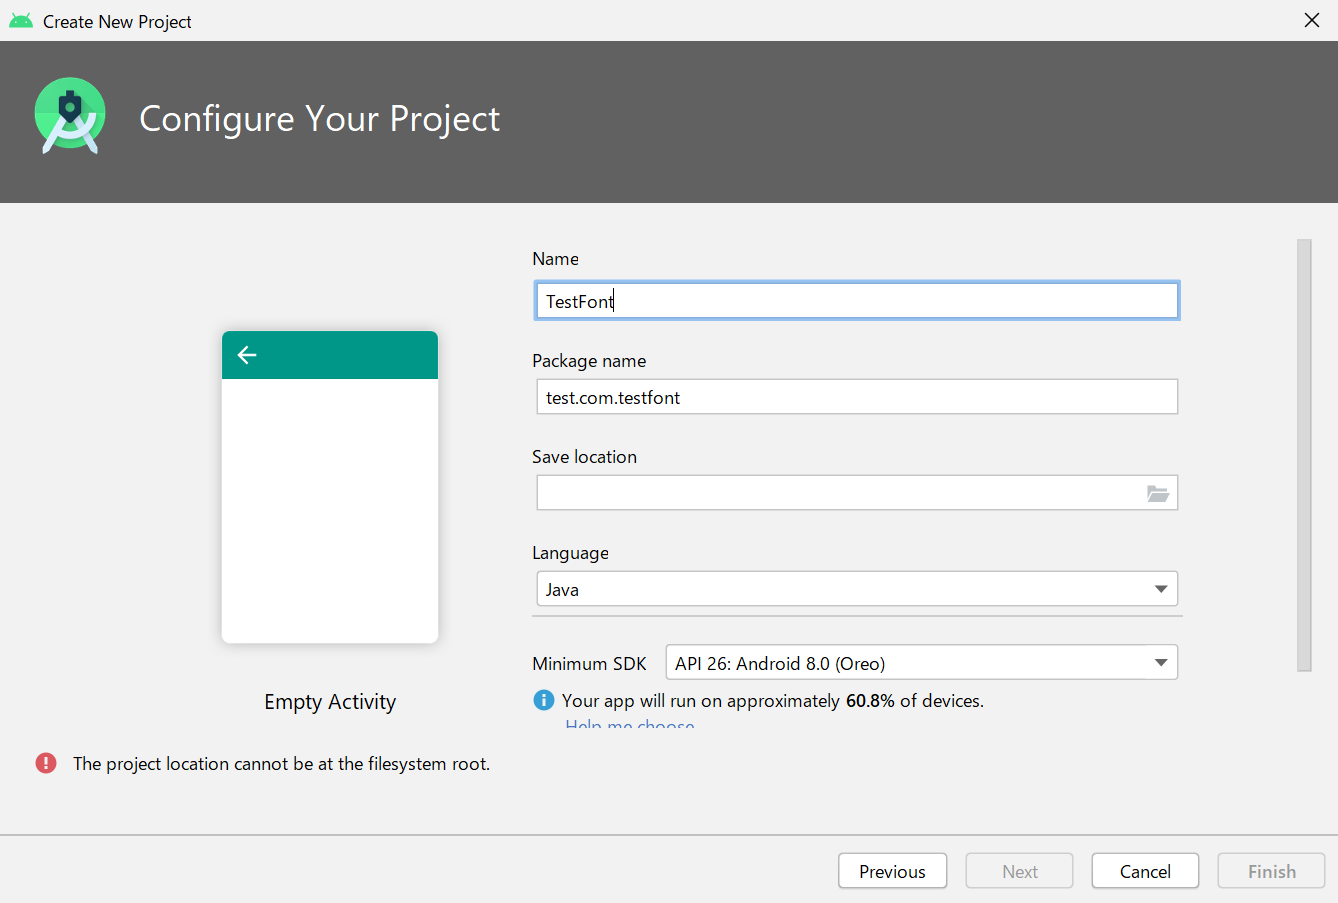
今回 TestFont という名前でプロジェクトを作成しました。
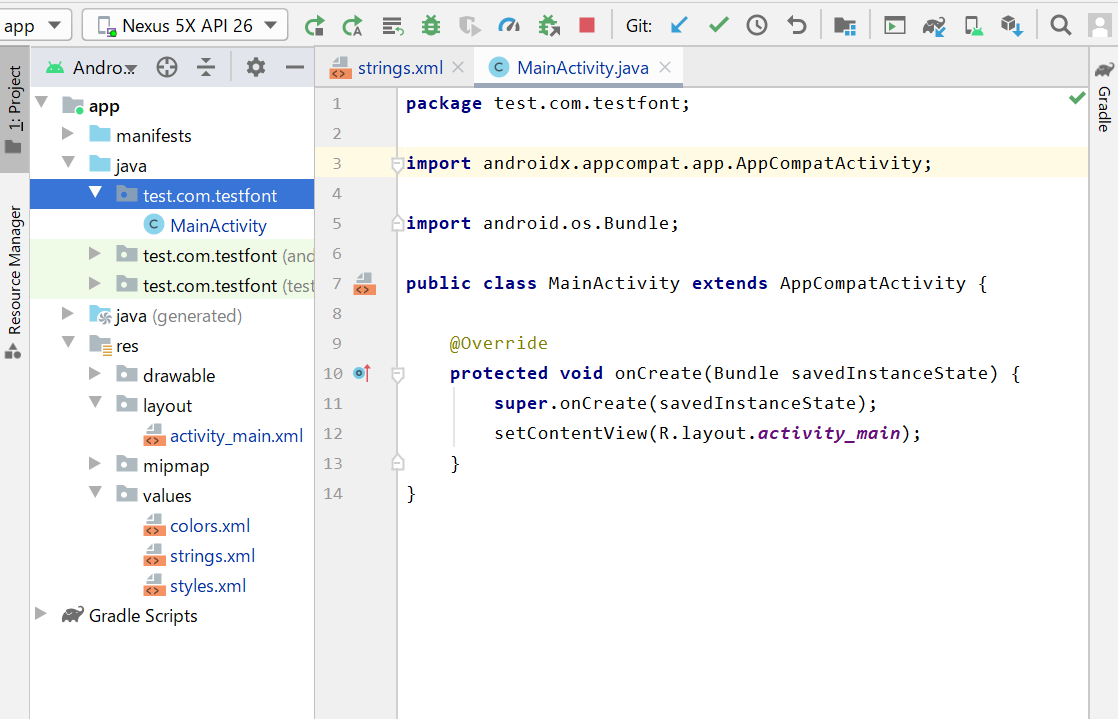
MainActivity.java と activity_main.xml があることを前提に進めていきます。
プロジェクト名や保存場所などは、ご自身のプロジェクトに合わせて変更してください。
assets フォルダを用意します##
フォントファイルは asset フォルダに置く必要がありますが、最初はありませんので作成します。
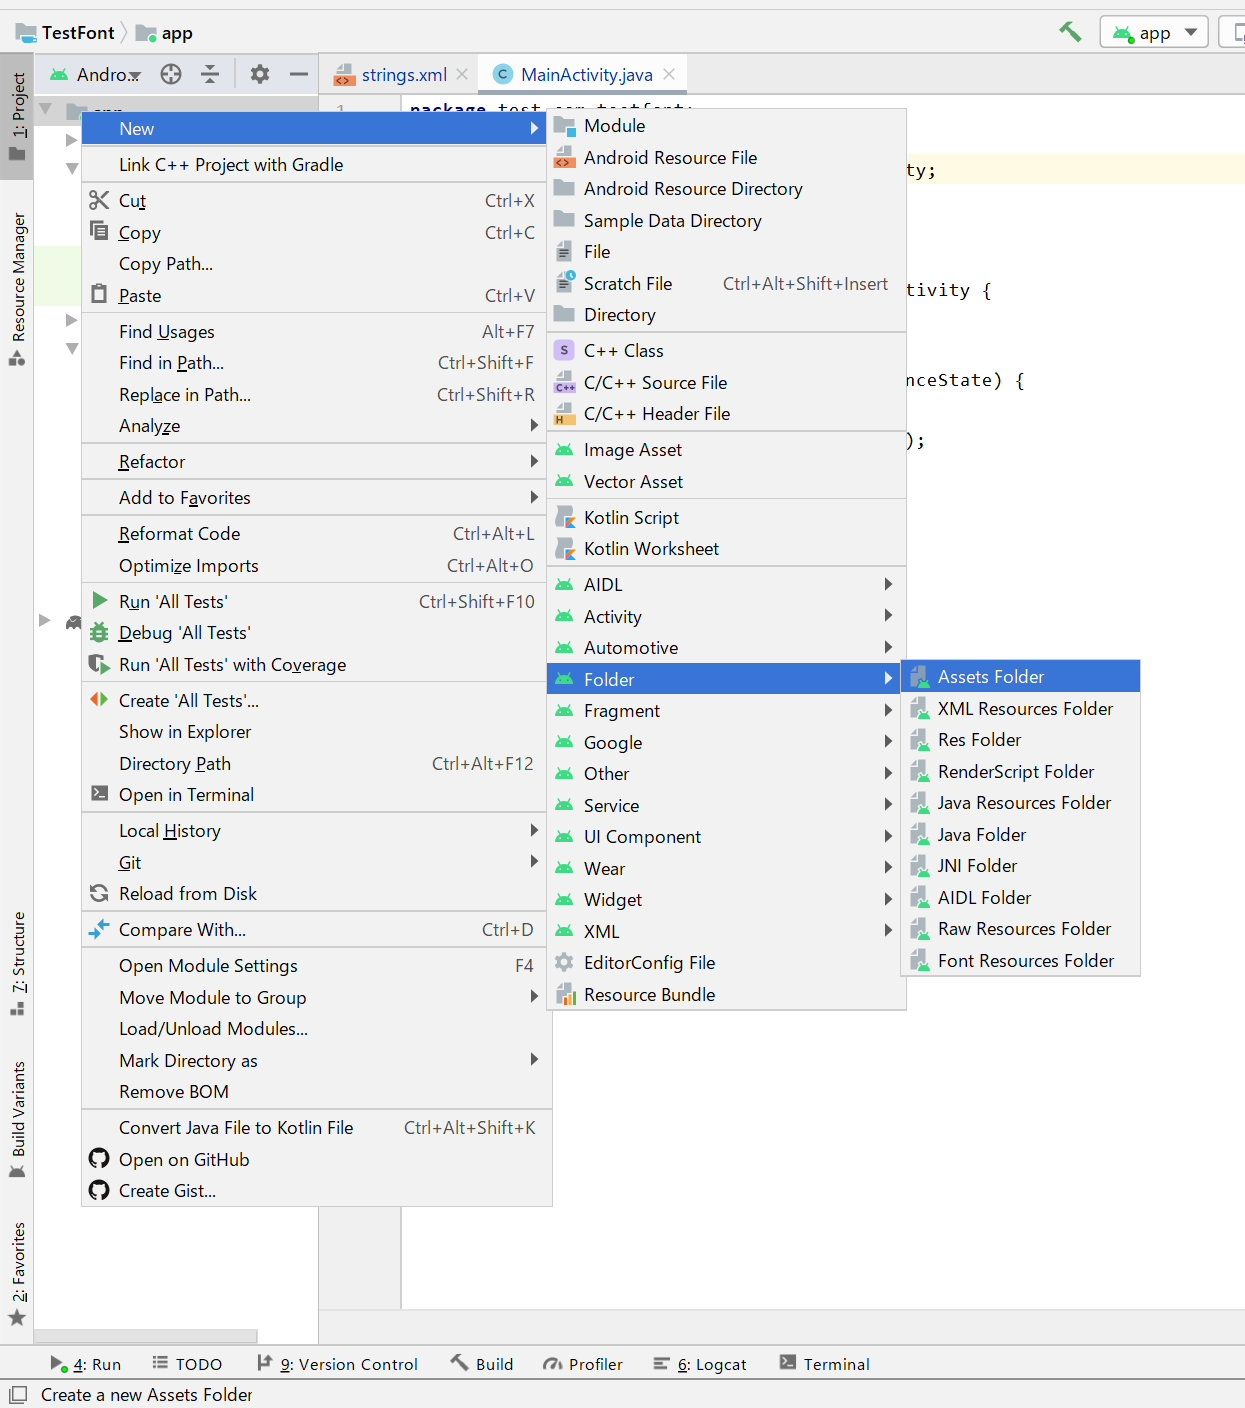
AndroidStudio 画面左上の app の上で右クリック、New → Folder → Asset Folder を選択します。
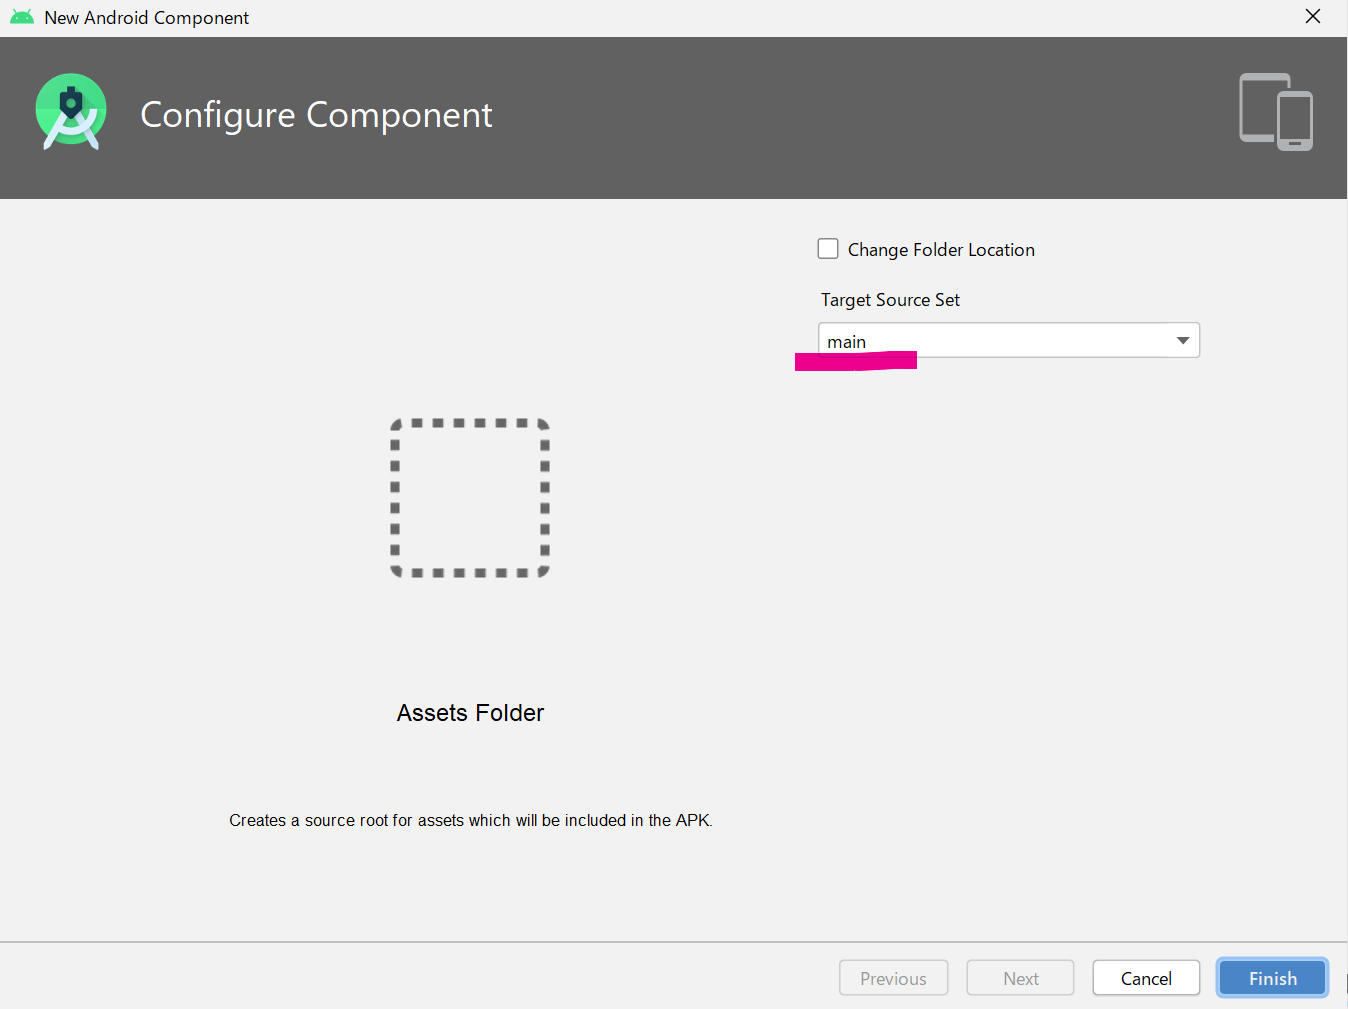
Target Source Set が main になっていることを確認して Finish を押します。
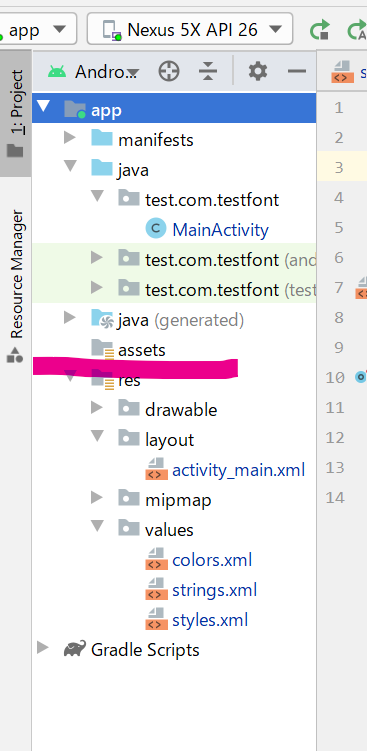
assets フォルダが作成されました。
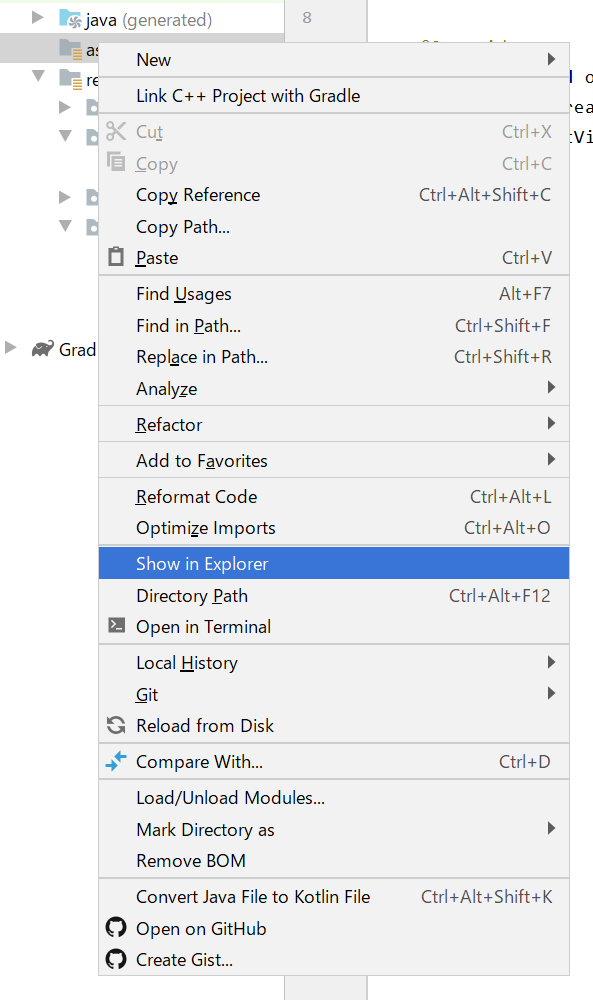
assets フォルダの上で右クリック、Show in Explorer を選択します。
(もちろんエクスプローラーを自身で展開していっても大丈夫です)
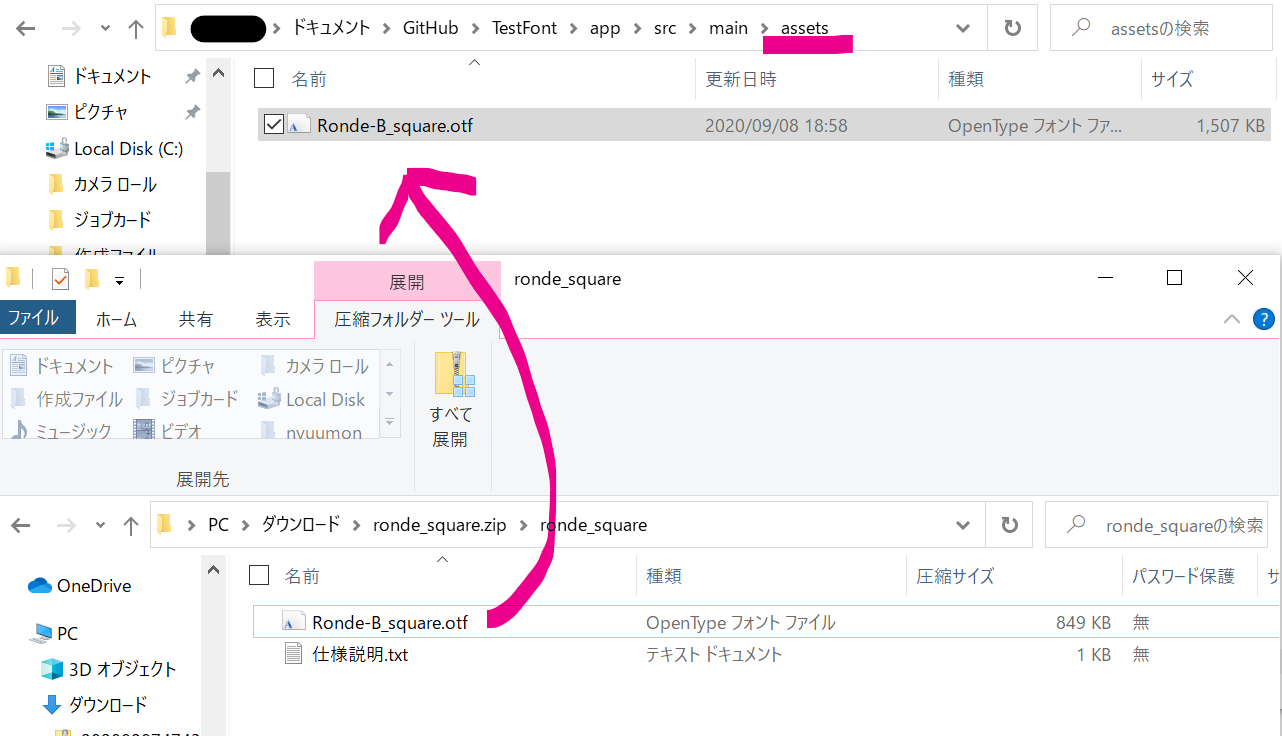
assets フォルダの中にダウウンロードしたフォントファイルを置きます。
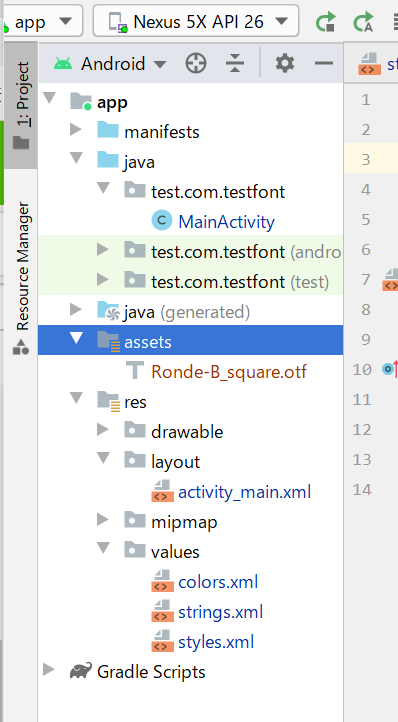
AndroidStudio の assets フォルダを開いたときフォントファイルが追加されていれば準備完了です。
.xmlファイルにタグ付け##
デフォルトから2行追加しました。
.java ファイルでタグを使用するので、 text="Hello World!" にタグをつけます。2行目です。
文字が小さくて見にくいので大きくしました。6行目です。
    <TextView
        android:id="@+id/text01"
        android:layout_width="wrap_content"
        android:layout_height="wrap_content"
        android:text="Hello World!"
        android:textSize="30sp"
        app:layout_constraintBottom_toBottomOf="parent"
        app:layout_constraintLeft_toLeftOf="parent"
        app:layout_constraintRight_toRightOf="parent"
        app:layout_constraintTop_toTopOf="parent" />
.javaファイルに導入##
デフォルトがこちら
package test.com.testfont;

import androidx.appcompat.app.AppCompatActivity;

import android.os.Bundle;

public class MainActivity extends AppCompatActivity {

    @Override
    protected void onCreate(Bundle savedInstanceState) {
        super.onCreate(savedInstanceState);
        setContentView(R.layout.activity_main);
    }
}
onCreateメソッドの3,4,5行目が追加した行です。 変数(rondeB,text など)は適宜変更してください。
import は自動追加されると思います。
(自動追加されないときは Alt + Enter で追加されます)
package test.com.testfont;

import androidx.appcompat.app.AppCompatActivity;

import android.graphics.Typeface;
import android.os.Bundle;
import android.widget.TextView;

public class MainActivity extends AppCompatActivity {

    @Override
    protected void onCreate(Bundle savedInstanceState) {
        super.onCreate(savedInstanceState);
        setContentView(R.layout.activity_main);
        Typeface rondeB = Typeface.createFromAsset(getAssets(), "Ronde-B_square.otf");
        TextView text = findViewById(R.id.text01);
        text.setTypeface(rondeB);
    }
}
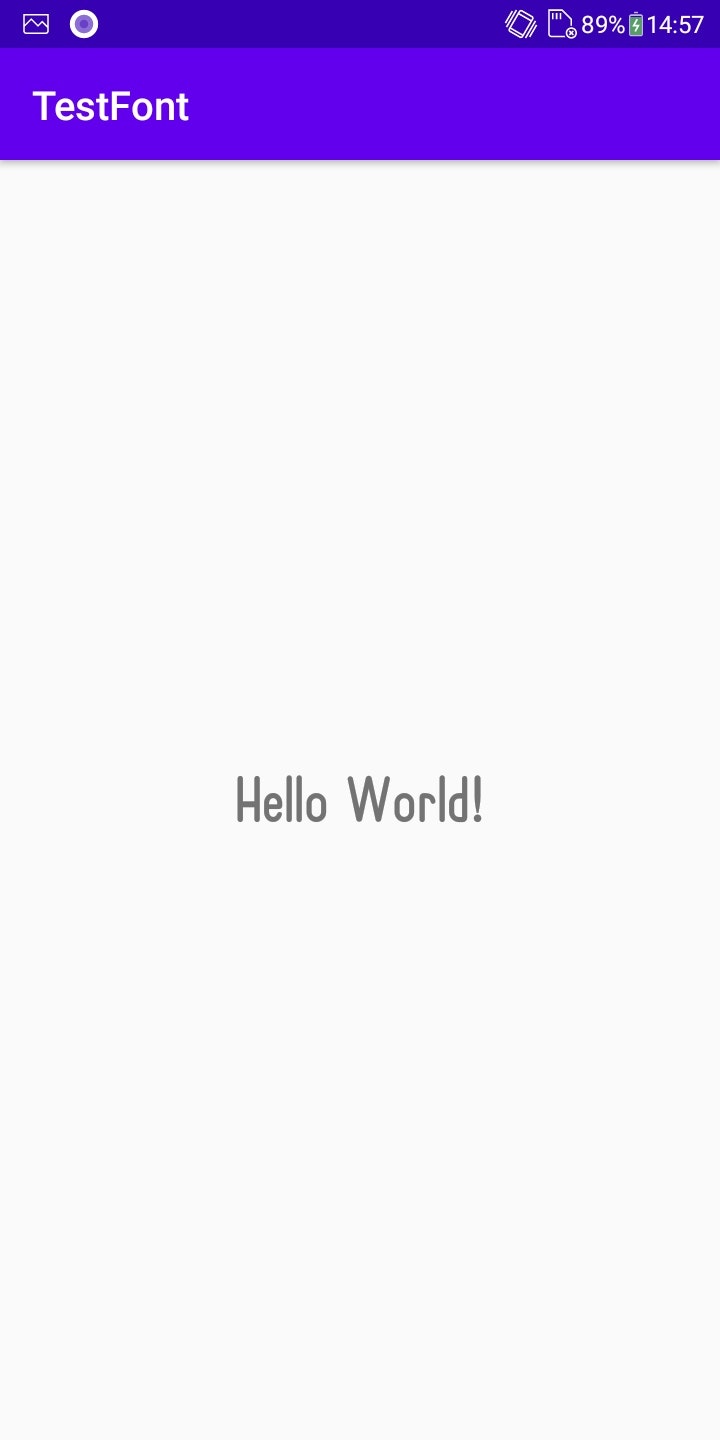
できあがったもの##
 ## 参考##
[【Android Studio】カスタムフォントを使用する方法(Javaコード編)](https://codeforfun.jp/android-studio-how-to-use-custom-fonts/)
