CubeやらImageやらの画像のスクリプトでの貼り付け方
ほとんど自分用です。
今回は色々考慮して画像リンクから画像をはりつけていきます。
PC内のpngファイルなどから直接読み取る場合は以下の記事を参考にしてみてください。
https://qiita.com/r-ngtm/items/6cff25643a1a6ba82a6c

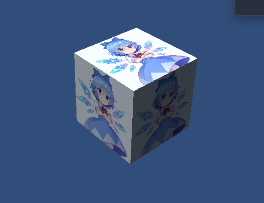
Cube(3Dオブジェクト)
以下画像を張り付けたいオブジェクトにアタッチするスクリプト
Test_Cube.cs
using System.Collections;
using System.Collections.Generic;
using UnityEngine;
using UnityEngine.Networking;

public class Cube : MonoBehaviour
{
	//画像リンクから画像をテクスチャにする
	Texture texture;
	//テクスチャをマテリアル化するので生成しておく
	[SerializeField]Material material;
	//画像リンク
	string url = "https://touhoucannonball.com/assets/img/character/img_008.jpg";
	void Start()
    {
		//先にマテリアルのシェーダを変更しておく
		string shader = "Legacy Shaders/Diffuse";
		material.shader = Shader.Find(shader);
		StartCoroutine(Connect());
}

    //テクスチャを読み込む
	private IEnumerator Connect()
	{
		UnityWebRequest www = UnityWebRequestTexture.GetTexture(url);

		yield return www.SendWebRequest();

		if (www.isNetworkError ||www.isHttpError)
		{
			Debug.Log(www.error);
		}
		else
		{
			//textureに画像が入るよ
			texture = ((DownloadHandlerTexture)www.downloadHandler).texture;
			//textureをマテリアルにセット
			material.SetTexture("_MainTex", texture);

			gameObject.GetComponent<Renderer>().material = material;
		}
	}
}
こんな感じでできるかと思います。
CubeのみでなくてSphere,Capsule,Cylineder,Plane,Quadもできます。

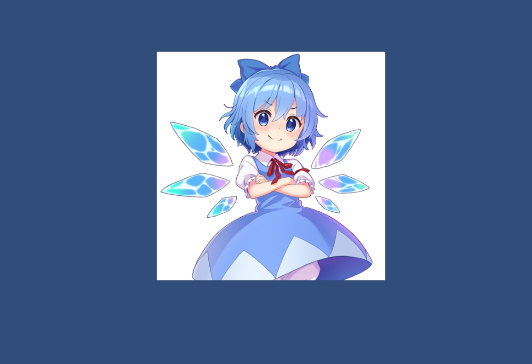
Image(子にImageがあるものも)
Spriteを使って画像の貼り付けを行えます。
以下画像を張り付けたいオブジェクトにアタッチするスクリプト
Test_Image.cs
using System.Collections;
using System.Collections.Generic;
using UnityEngine;
using UnityEngine.Networking;
using UnityEngine.UI;

public class Test_Image : MonoBehaviour
{
	//imageはスプライトを使って描画しているので
	Sprite sprite;
	//画像リンクから画像をテクスチャにする
	Texture2D texture;
	//画像リンク
	string url = "https://touhoucannonball.com/assets/img/character/img_008.jpg";

	void Start()
	{
		StartCoroutine(Connect());
	}

	//テクスチャを読み込む
	private IEnumerator Connect()
	{
		UnityWebRequest www = UnityWebRequestTexture.GetTexture(url);

		yield return www.SendWebRequest();

		if (www.isNetworkError || www.isHttpError)
		{
			Debug.Log(www.error);
		}
		else
		{
			//textureに画像格納
			texture = ((DownloadHandlerTexture)www.downloadHandler).texture;
			//textureからspriteに変換
			sprite = Sprite.Create(texture, new Rect(0.0f, 0.0f, texture.width, texture.height), Vector2.zero);
			//Imageにspriteを張り付ける
			gameObject.GetComponent<Image>().sprite = sprite;
		}
	}
}
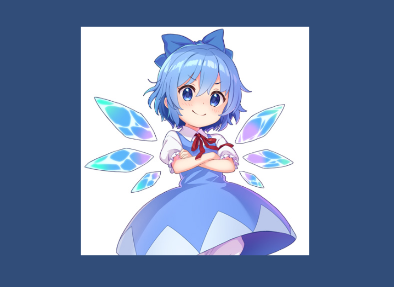
RawImage
こちらはTextureを使って画像の貼り付けを行います。
用途によって使い分けましょう。
Test_RawImage.cs
using System.Collections;
using System.Collections.Generic;
using UnityEngine;
using UnityEngine.Networking;
using UnityEngine.UI;

public class Test_RawImage : MonoBehaviour
{
	//画像リンクから画像をテクスチャにする
	Texture texture;
	//画像リンク
	string url = "https://touhoucannonball.com/assets/img/character/img_008.jpg";

	void Start()
	{
		StartCoroutine(Connect());
	}

	//テクスチャを読み込む
	private IEnumerator Connect()
	{
		UnityWebRequest www = UnityWebRequestTexture.GetTexture(url);

		yield return www.SendWebRequest();

		if (www.isNetworkError || www.isHttpError)
		{
			Debug.Log(www.error);
		}
		else
		{
			//textureに画像格納
			texture = ((DownloadHandlerTexture)www.downloadHandler).texture;
			//そのまま貼り付け
			gameObject.GetComponent<RawImage>().texture = texture;
		}
	}
}
見栄えは変わんないです。
おわり
3DオブジェクトはMaterial
ImageはSprite
RawImageはTexture
を変えて画像を変更させる。
ほかにもいろいろとやり方あると思いますけどとりあえずこれで表示はできると思います。

