0. はじめに
最近、自作アプリについて学んでいます。
この記事は、前回までの僕が書いた記事を元にしています。
最初からアプリを作りたい場合は、この記事をご覧になる前に、
【React Native】アプリ開発 〜プロジェクトのビルドから下準備まで〜
【React Native】アプリ開発 〜ディレクトリの構造化〜
【React Native】アプリ開発 〜React Navigationの環境構築〜
【React Native】アプリ開発 〜画面遷移に挑戦してみた〜
を参考にして、同じ状態まで揃えて頂きたいです。
自分で環境などが整っていて、画面の作り方の部分だけを参考にしたい場合は、
React.Component{}
や
StyleSheet.create()
の中だけを参考にしていただければ問題ないと思います。
1. 前回の状態
今回は、前回の続きから、実際にアプリの待ち受け画面( WelcomeScreen )を書いてみます。
前回は、React Navigation を使って複数のスクリーンのもとになる.jsファイル( WelcomeScreen.js, SettingScreen.js )だけを用意しました。ゆくゆくは、App.js の中でこれらの画面を切り替えようと画策しています。
そして、 WelcomeScreen.jsの記述は、
import React from 'react';
import { StyleSheet, Text, View } from 'react-native';

class WelcomeScreen extends React.Component {
  render() {
    return (
      <View style={styles.container}>
        <Text>Welcome!!</Text>
      </View>
    );
  }
}

const styles = StyleSheet.create({
  container: {
    flex: 1,
    backgroundColor: '#fff',
    alignItems: 'center',
    justifyContent: 'center',
  },
});

export default WelcomeScreen;
となっていました。
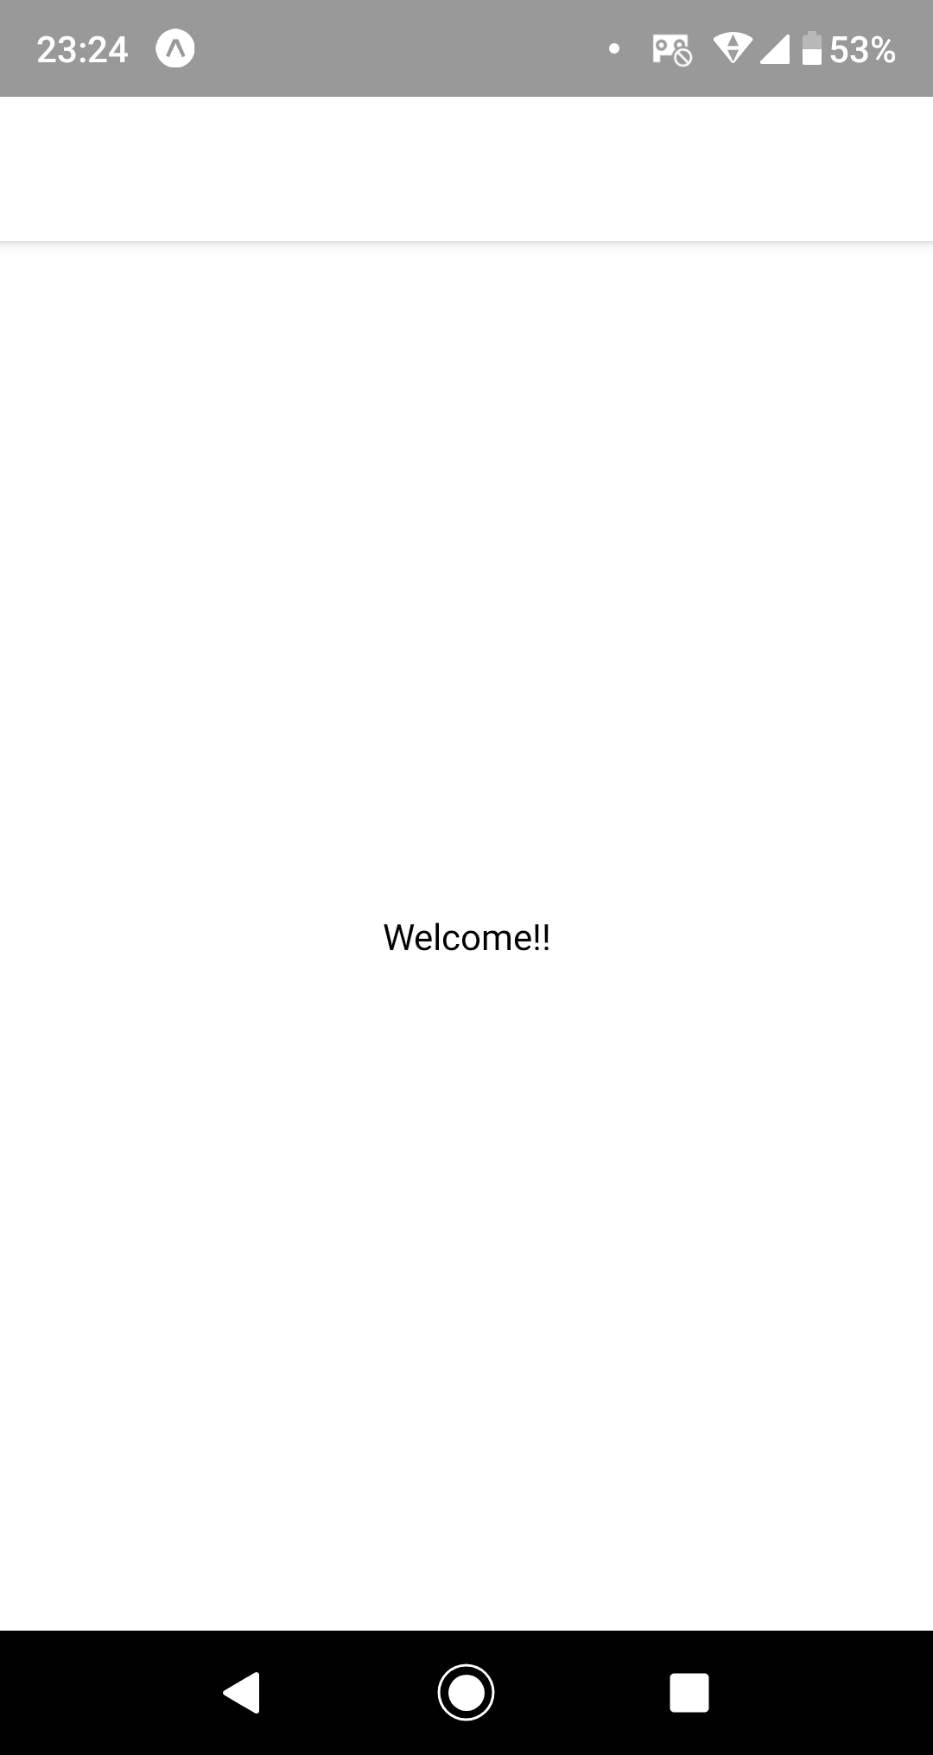
画面は、
となっていました。
では、ここから再開します。
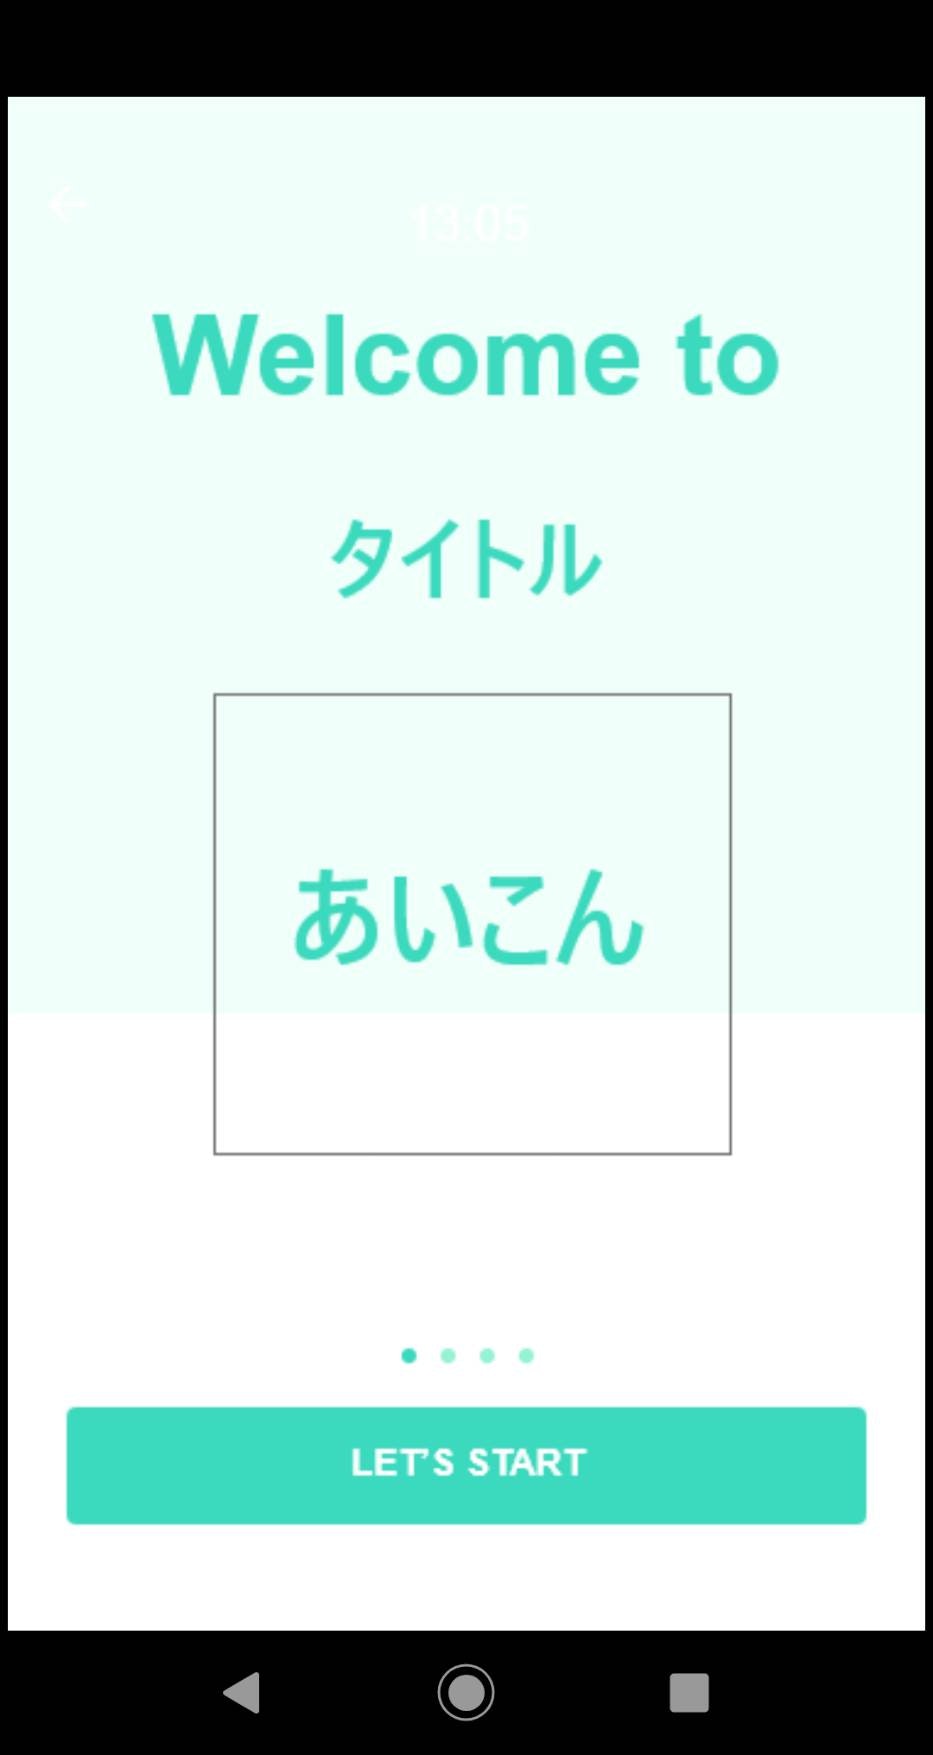
目標はこんな感じです。
これは友人がレイアウトしてくれた素敵なフラットデザインなのです。
おしゃれですね。
感謝しかない。
2. 構造化
大まかに構造を考えると、
-ベースのコンテナ
|
|---背景のコンテナ
|   |--上半分の薄緑色の背景
|   |--下半分の白色の背景
|
|---文字・アイコンのコンテナ
|   |--Welcome toとタイトルのbox
|   |--あいこんのbox
|   |--下のSTARTボタンのbox
みたいな感じになってますね。
これを、StyleSheet での装飾を最小限にして構造化してみると、
import React from 'react';
import { StyleSheet, Text, View } from 'react-native';

class WelcomeScreen extends React.Component {
  render() {
    return (
      <View style={styles.container}>

        <View style={[styles.backgroundContainer, StyleSheet.absoluteFillObject]}>
          <View style={[{flex:1}, styles.sampleBox]}>
          </View>
          <View style={[{flex:1}, styles.sampleBox]}>
          </View>
        </View>

        <View style={[styles.mainContainer]}>
          <View style={[{flex: 1}, styles.sampleBox]}>
            <View>
              <Text style={[styles.sampleText]}>Welcome to</Text>
            </View>
            <View>
              <Text style={[styles.sampleText]}>タイトル</Text>
            </View>
          </View>

          <View style={[{flex: 1,backgroundColor:'#aaa'}, styles.sampleBox]}>
            <View style={[styles.iconBox]}>
              <Text style={[styles.sampleText]}>あいこん</Text>
            </View>
          </View>

          <View style={[{flex: 1}, styles.sampleBox]}>
            <View>
              <Text style={[styles.sampleText]}>LET'S START</Text>
            </View>
          </View>
        </View>

      </View>
    );
  }
}

//StyleSheet--------------------------------

const styles = StyleSheet.create({

  container:{
    flex: 1,
    backgroundColor: '#fff',
    alignItems: 'center',
    justifyContent: 'center',
  },

  sampleBox:{
    alignItems: 'center',
    justifyContent: 'center',
    borderColor: "gray",
    borderWidth: 1,
  },

  sampleText: {
      fontSize: 35,
      textAlign: 'center',
      color: 'grey',
      fontWeight: 'bold',
    },

});

export default WelcomeScreen;
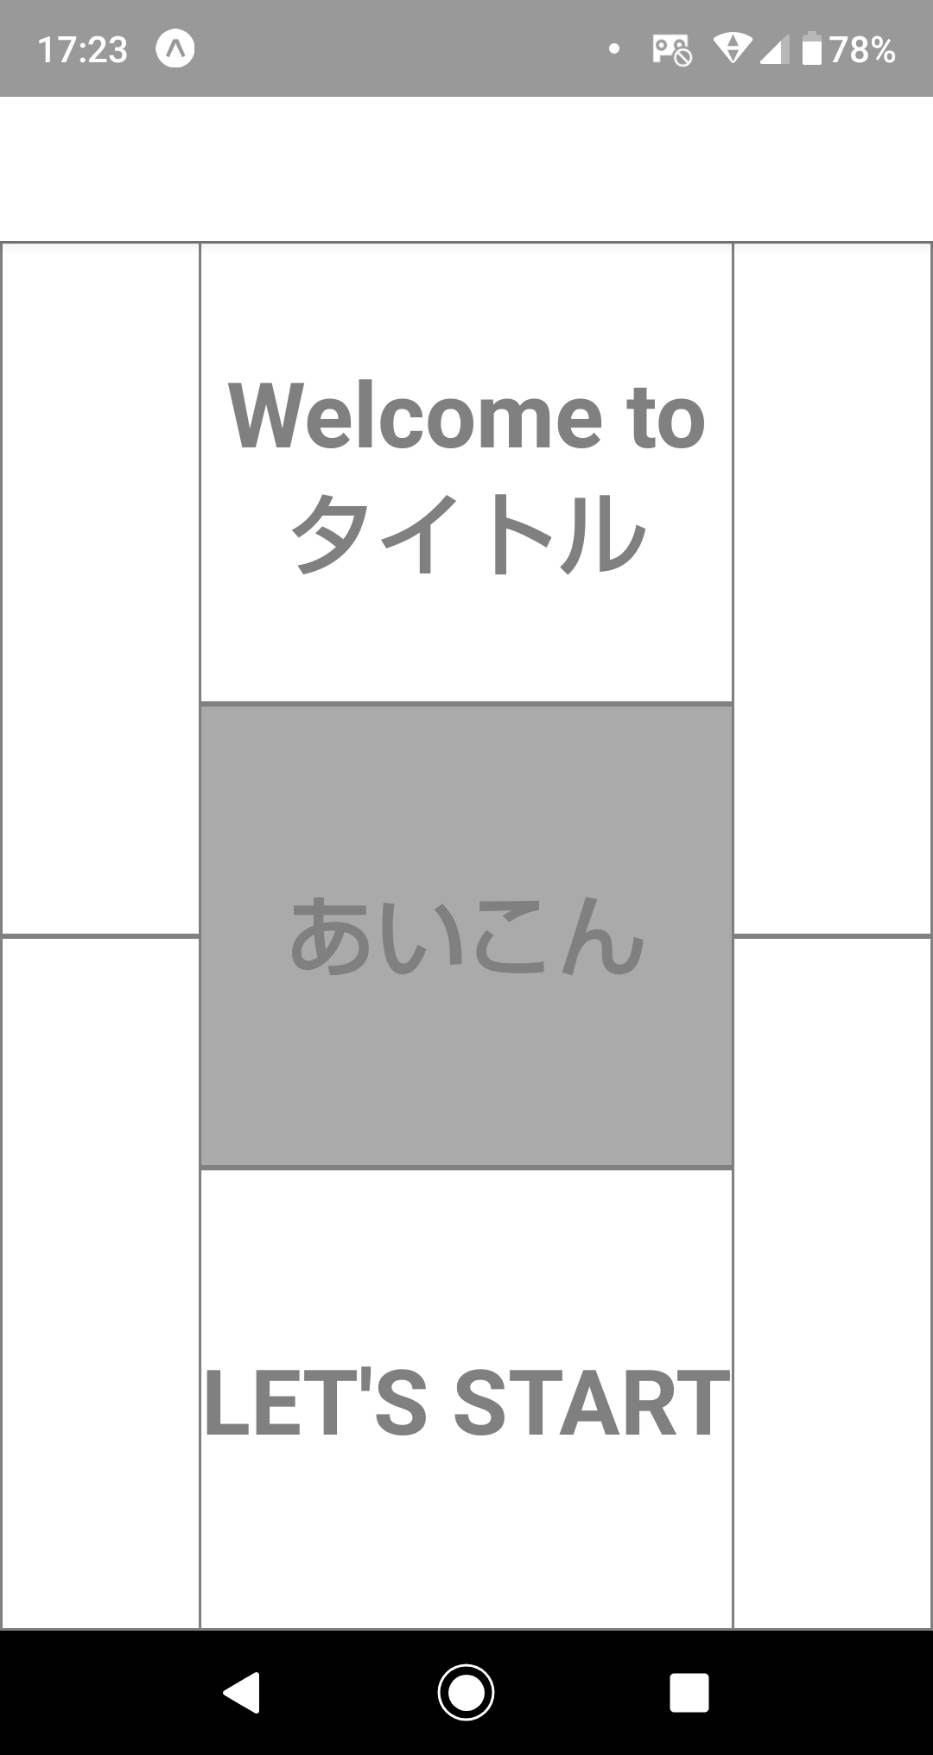
こんな感じになりました。
この時のスマホ画面はこんな感じです。

ポイントをあげていきます。
point1. 'style='の中の書き方
<View style={[{flex:1}, styles.sampleBox]}>
僕はこんな感じで書いています。外側に{ }を書いて、その中に[ ]を書きます。
[ ]の中の、
左側の{ }には、下のStyleSheetから持って来ずに、直書きするものを、
右側には下のStyleSheetから持って来るものを書きます。
もしかすると僕の我流かもしれないので、オススメなどありましたらご教示願います。
point2. flexの使い方
flexは同じコンテナ上の同じ階層にあるものの相対的な大きさを決めています。
現段階では、backgroundContainer も、mainContainer もその一段下の階層にある要素の大きさ(縦)の比を同じにしています。
point3. 存在しないスタイルも構造体の中に書ける。
<View style={[styles.mainContainer]}>
や、
<View style={[styles.iconBox]}>
など、下の StyleSheet で定義していないスタイルを含めていてもエラーを吐くことはありません。
「あとで、細かい大きさや色などを修正しようかな...」
などと考えている場合は、構造化の段階で暫定的に書いておいてもいいかもしれません。
というのも、return() の中にはコメントが書けません。
(書き方が分かる方は教えてください...)
ですので、スタイルの名前だけでも書いておけば、この構造体が何なのかが分かるため、コメントの代替として使えます。
point4. StyleSheet.absoluteFillObject
これは、背景を縦横目一杯に広げたい場合に使えます。
自分で下の StyleSheet でスタイルを定義しなくても使えるスタイルみたいです。
他にもいろいろ 'StyleSheet.hogehoge' みたいに引っ張って来れるのもありそうですね。
3. 装飾
編集中...

