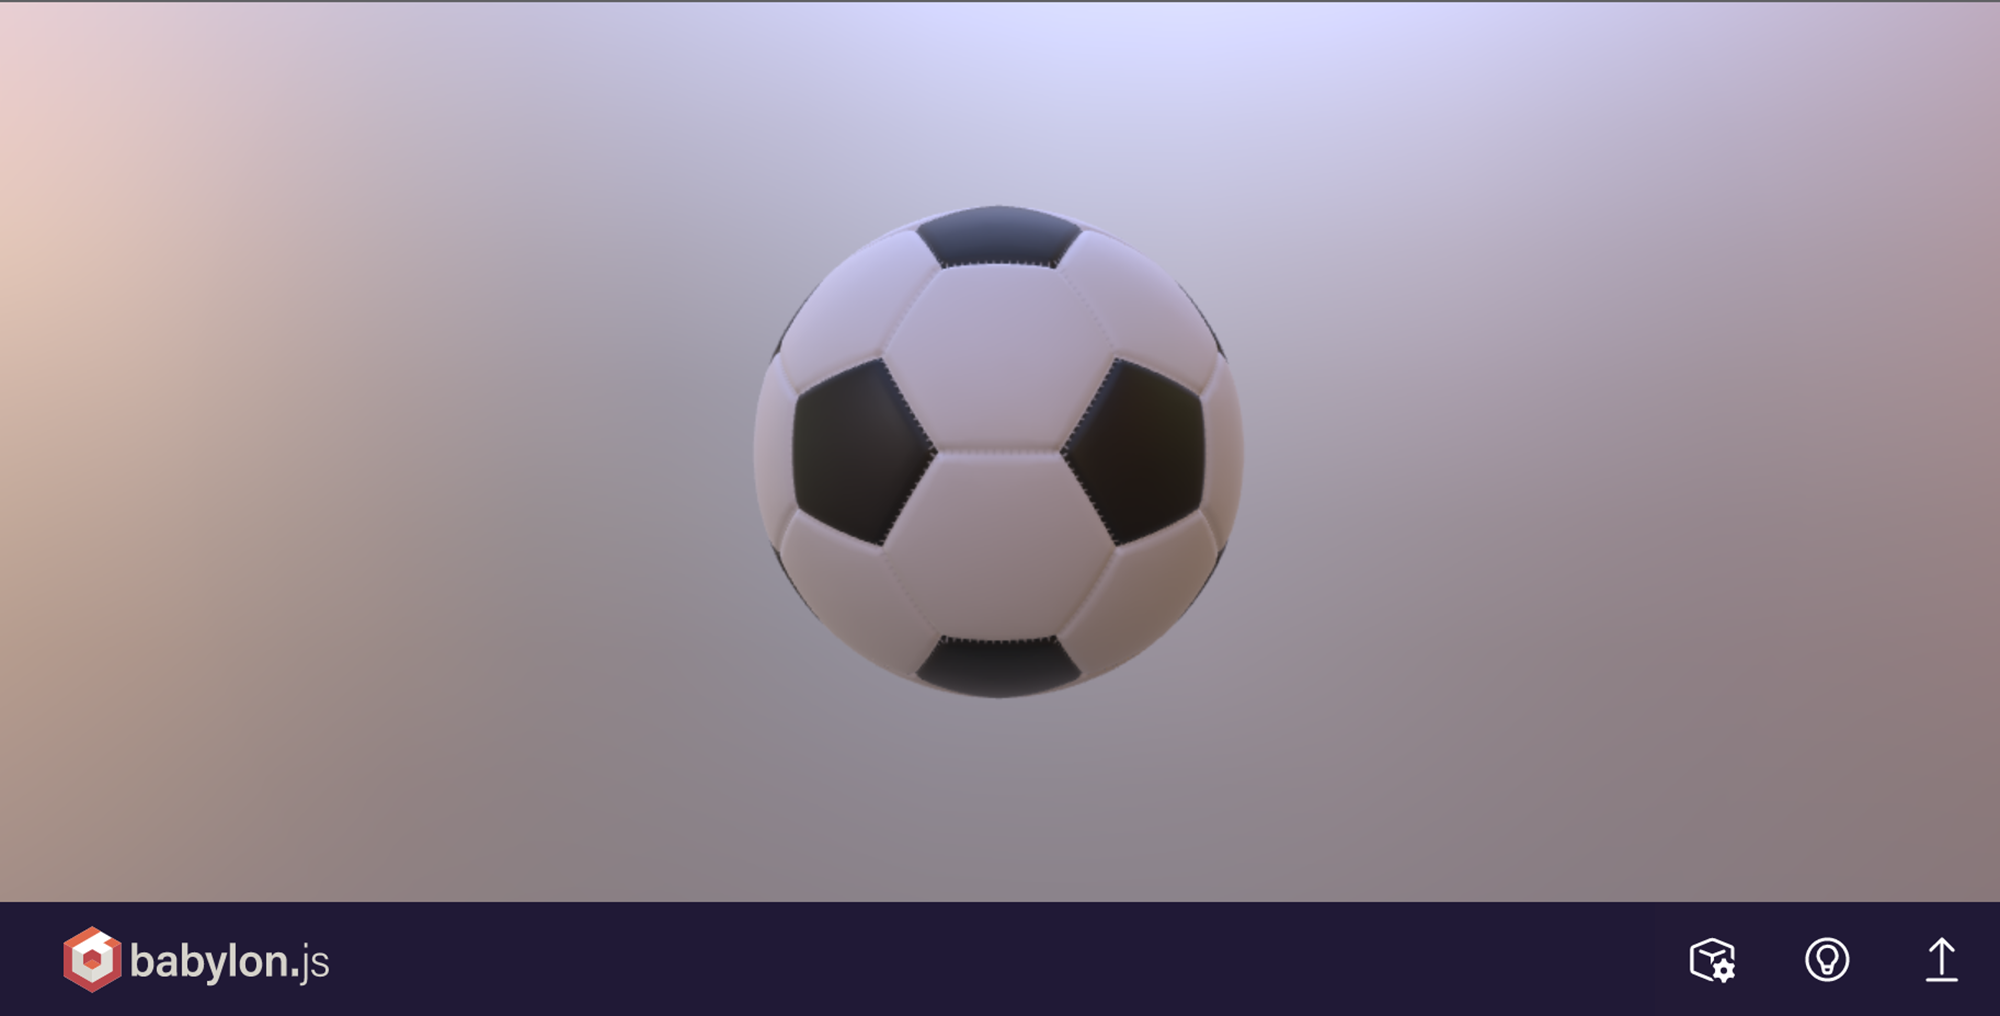
こんな感じでサッカーボールを表示してみました。
はじめに
ARIの土井です。前回【Babylon.js】Playgroundで遊んでみようという記事を書きました。今回はReactを使って実際にWebページに3Dモデルを表示してみたいと思います。
※ Reactの実行環境は、Web上で利用できる統合開発環境のCodeSandboxを使用しました。
準備
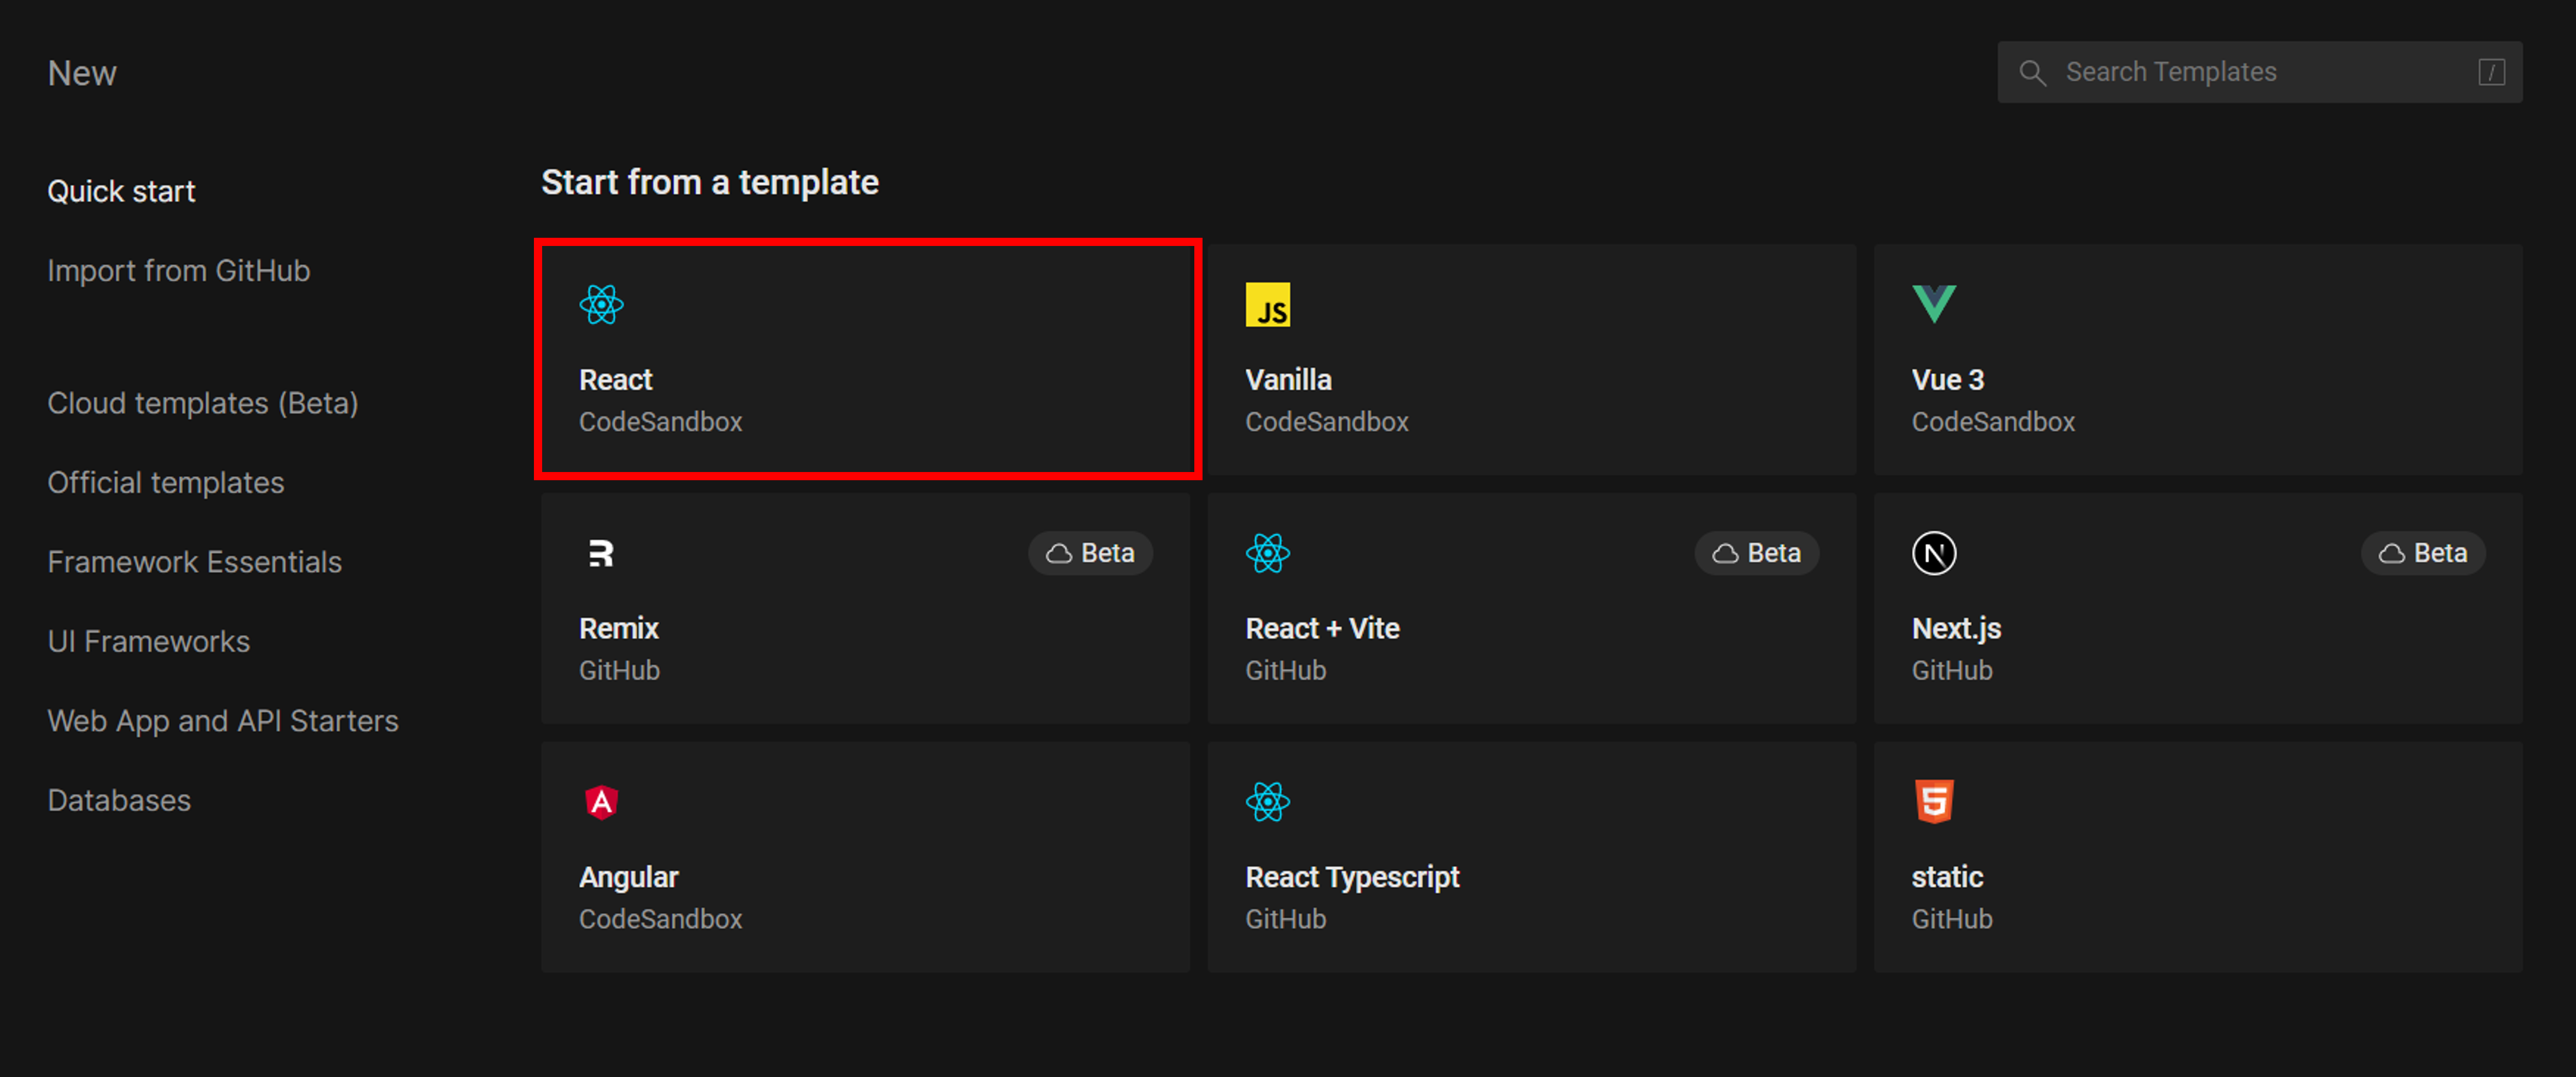
まず、https://codesandbox.io/s/ にアクセスしてSatrt from a templateからReactをクリックします。
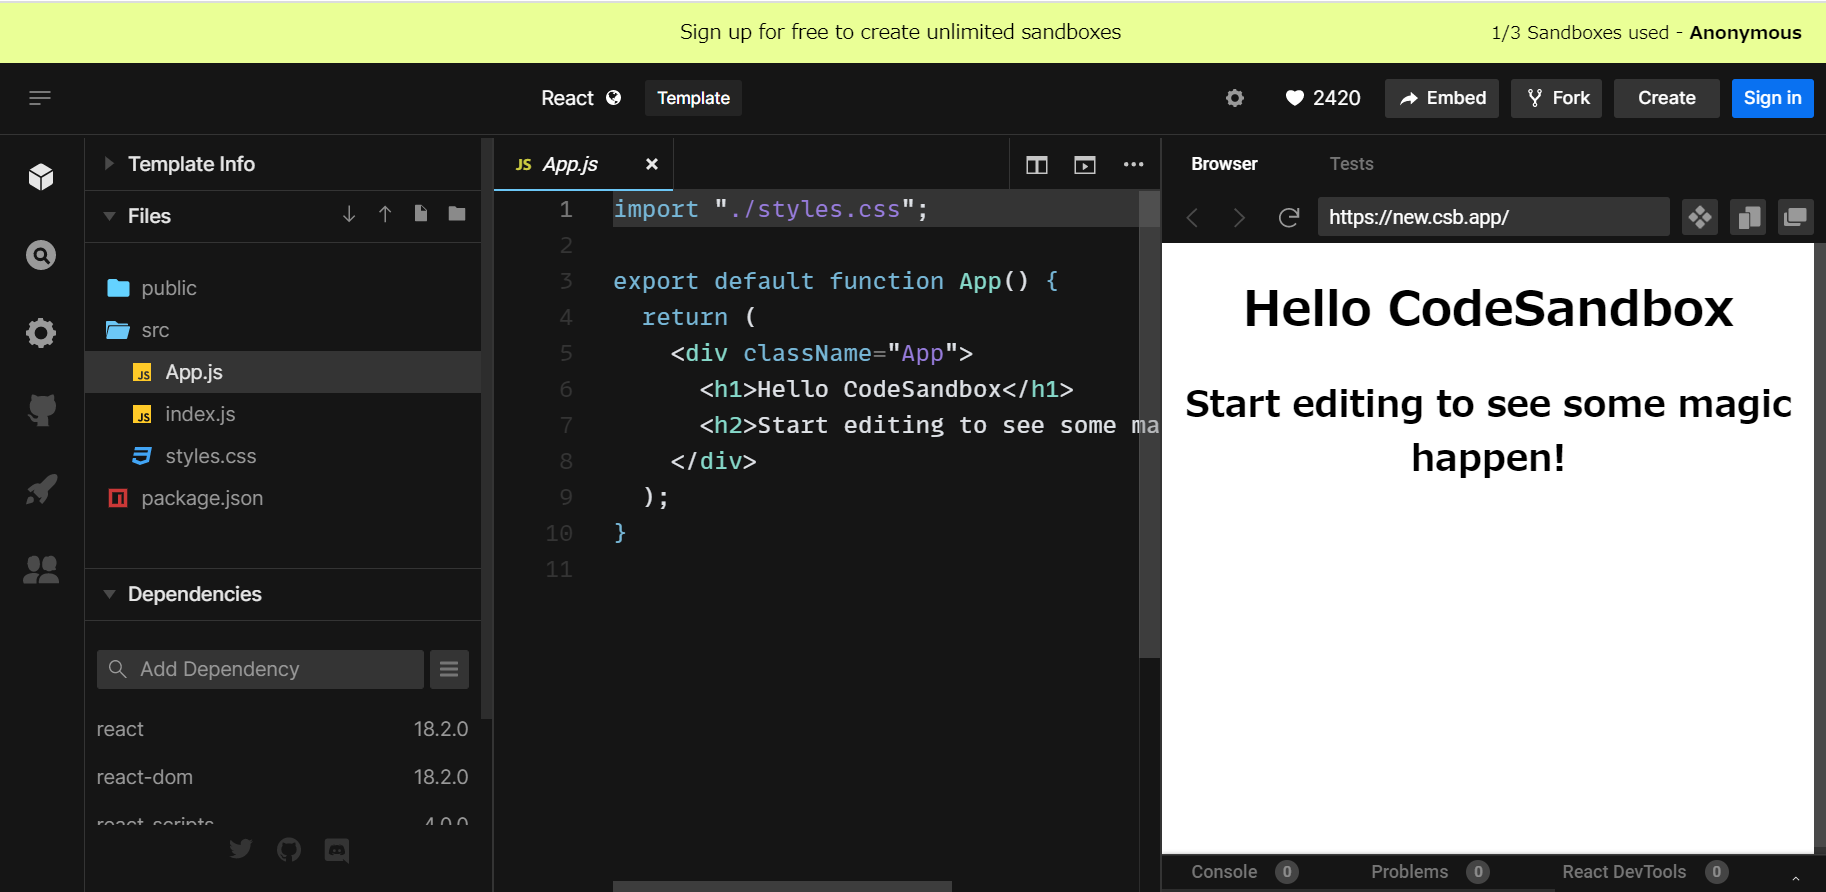
以下のようにReactのテンプレートから生成されたサンプルページが表示されます。
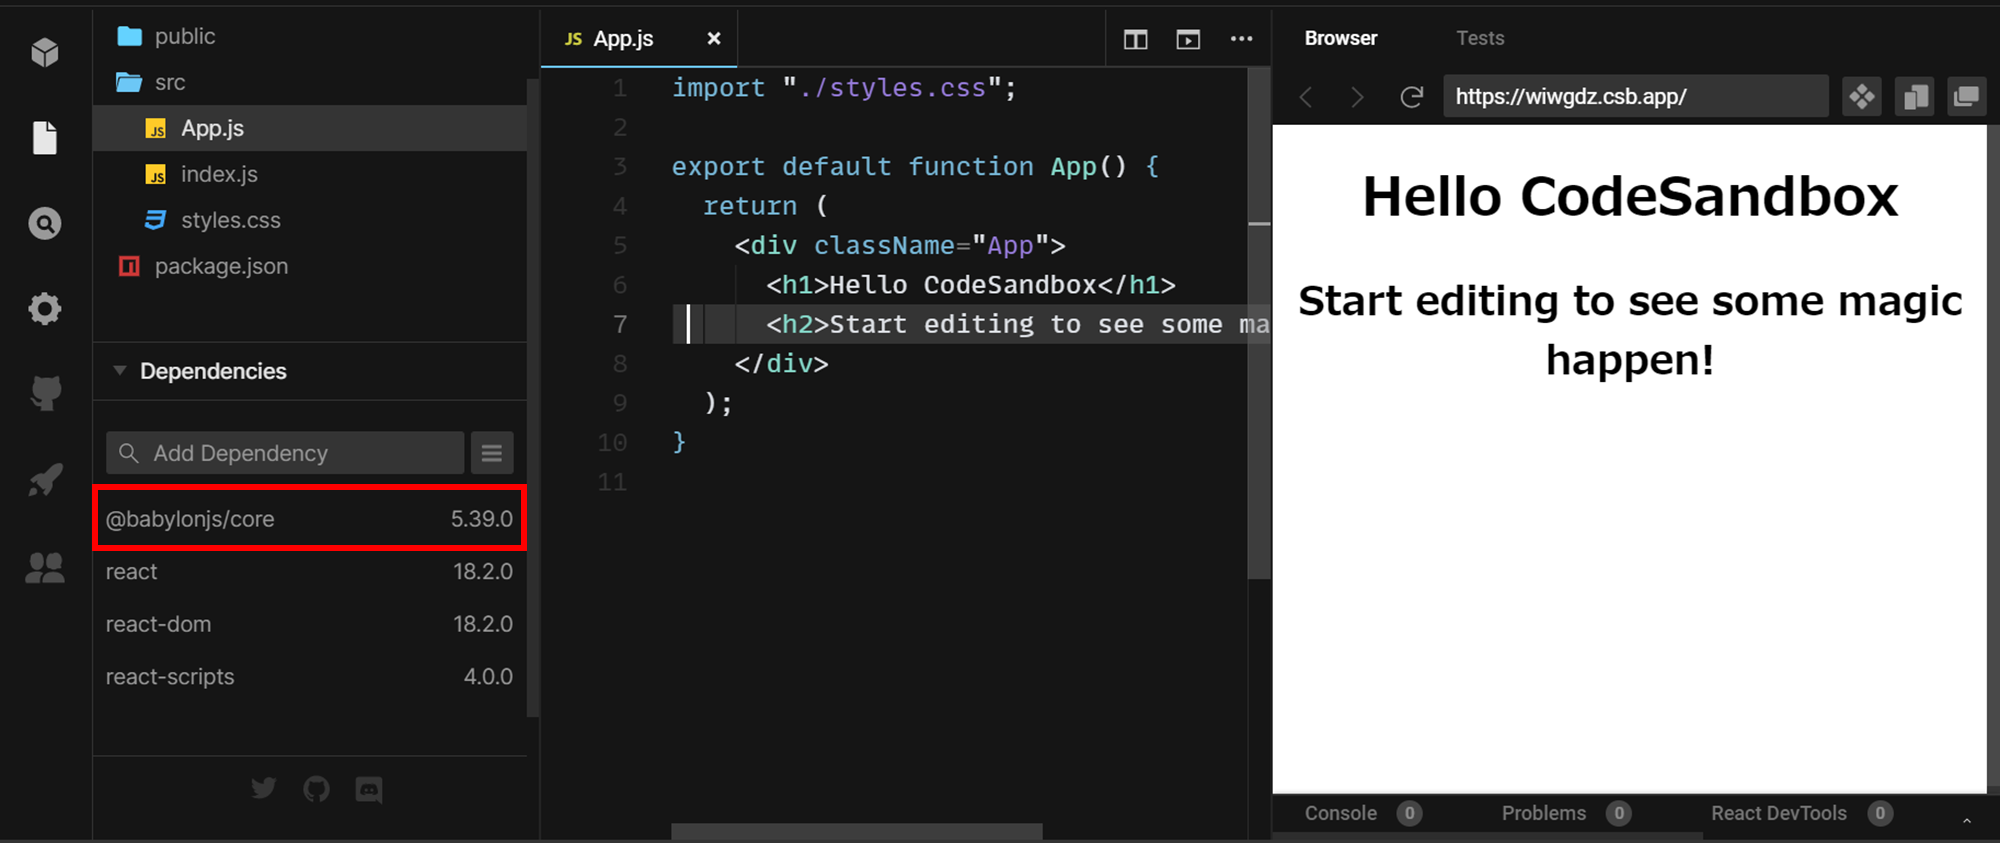
Dependenciesから@babylonjs/coreパッケージをインストールしておきます。
手順
ここからReactのテンプレートで生成されたディレクトリを以下のような構成にしていきます。
public/
 └ index.html
src/
 ├ assets/
 │  └ soccerBall.babylon
 ├ components/
 │  └ SceneComponent.js
 ├ App.js
 ├ index.js
 └ styles.css
package.json
SceneComponent.jsの作成
Babylon.jsの公式ドキュメントの通り、SceneComponent.jsを新規で作成します。srcフォルダの配下にcomponentsフォルダを新規作成して、SceneComponent.jsを作成します。
import { useEffect, useRef } from "react";
import { Engine, Scene } from "@babylonjs/core";

export default ({
  antialias,
  engineOptions,
  adaptToDeviceRatio,
  sceneOptions,
  onRender,
  onSceneReady,
  ...rest
}) => {
  const reactCanvas = useRef(null);

  // set up basic engine and scene
  useEffect(() => {
    const { current: canvas } = reactCanvas;

    if (!canvas) return;

    const engine = new Engine(
      canvas,
      antialias,
      engineOptions,
      adaptToDeviceRatio
    );
    const scene = new Scene(engine, sceneOptions);
    if (scene.isReady()) {
      onSceneReady(scene);
    } else {
      scene.onReadyObservable.addOnce((scene) => onSceneReady(scene));
    }

    engine.runRenderLoop(() => {
      if (typeof onRender === "function") onRender(scene);
      scene.render();
    });

    const resize = () => {
      scene.getEngine().resize();
    };

    if (window) {
      window.addEventListener("resize", resize);
    }

    return () => {
      scene.getEngine().dispose();

      if (window) {
        window.removeEventListener("resize", resize);
      }
    };
  }, [
    antialias,
    engineOptions,
    adaptToDeviceRatio,
    sceneOptions,
    onRender,
    onSceneReady
  ]);

  return <canvas ref={reactCanvas} {...rest} />;
};
.babylonファイルの作成
前回の記事で作成した.glbファイルを、.babylonファイルに変換します。
CodeSandboxに匿名投稿する際はファイルのアップロードができません。そのため今回はバイナリファイルである.glbを、.babylonというJSON形式に変換し、JSONの文字列をコピペでCodeSandBoxに反映するという方法をとりました。
.glb形式のファイル.babylonに変換するには、Babylon.jsが提供してくれているBabylon.js Sandboxを使用します。
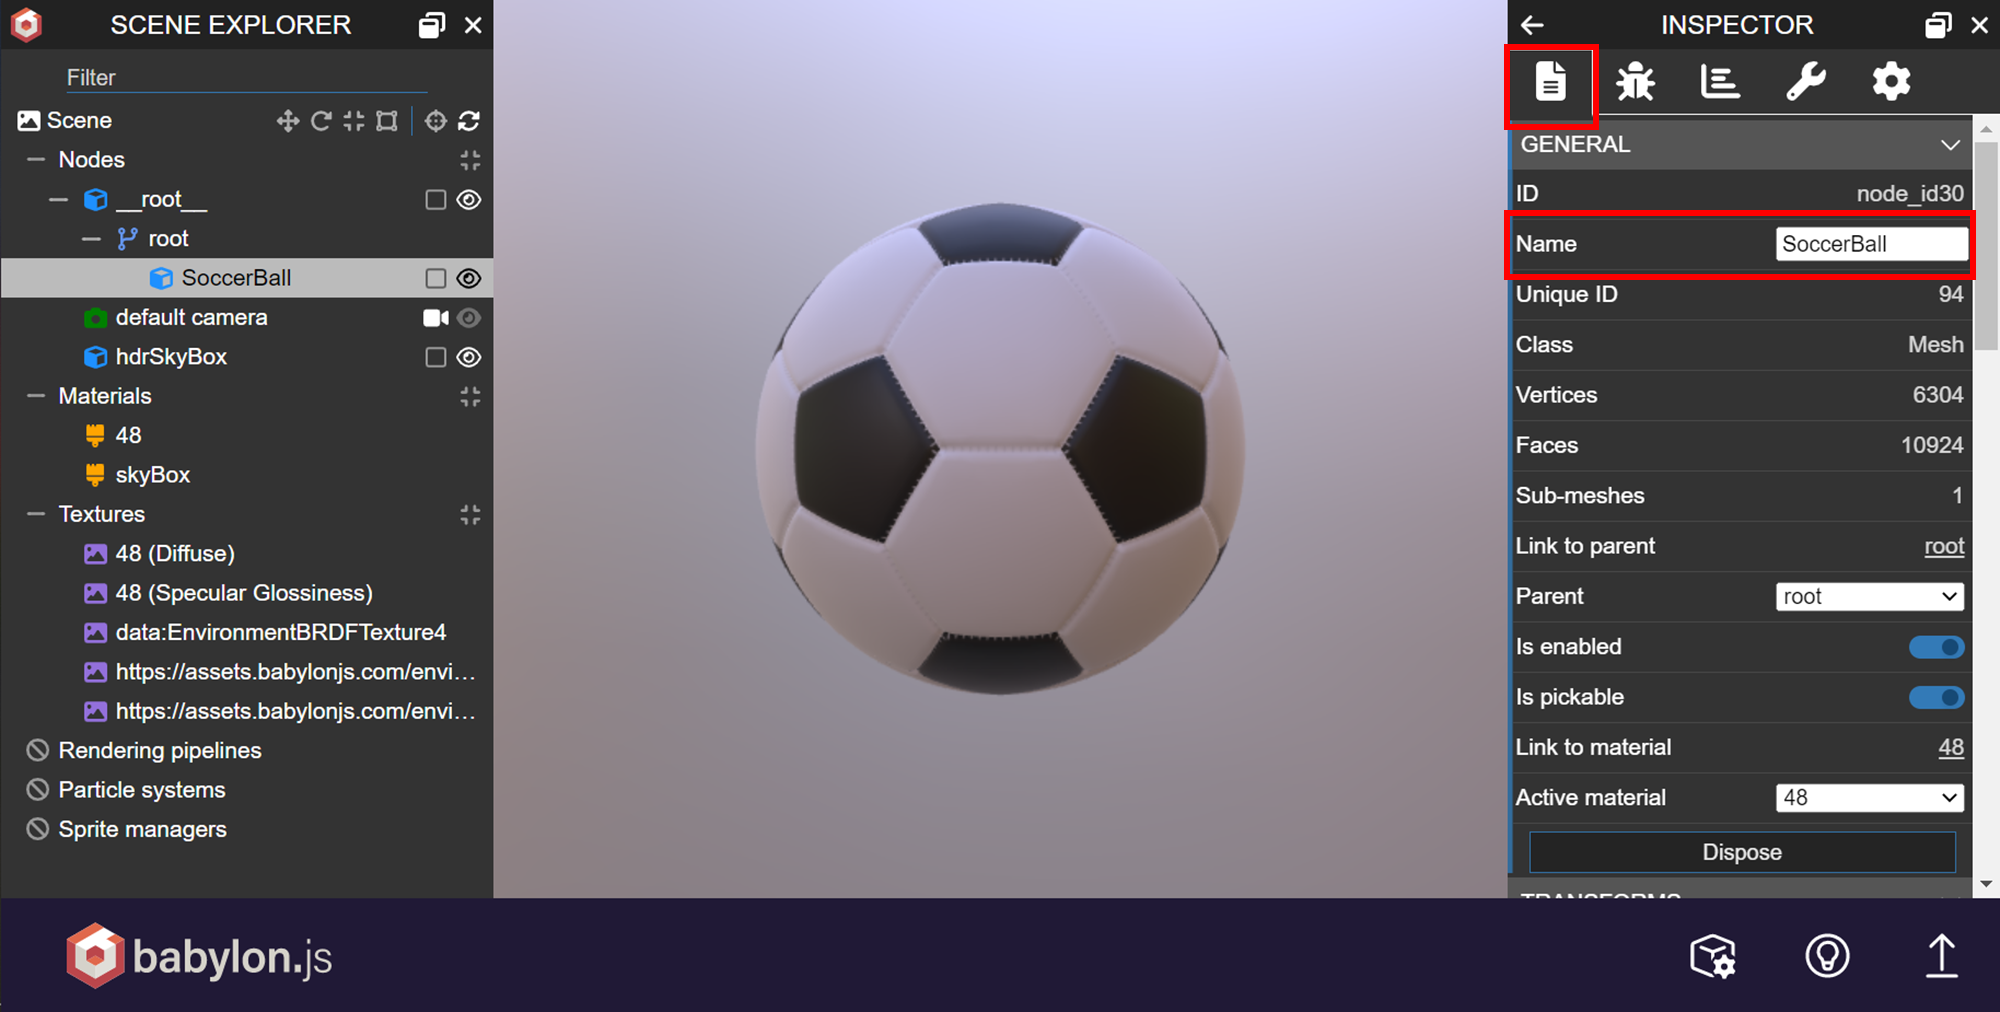
まず、Babylon.js Sandboxにアクセスして、.glbファイルをアップロードします。
次に、サッカーボールのノード名をプログラムからアクセスしやすくするために変更しておきます。Properties > Name で SoccerBallと入力します。
Tools > SCENE EXPORT > Export to Babylonをクリックすると、scene.babylonという名前でダウンロードできます。
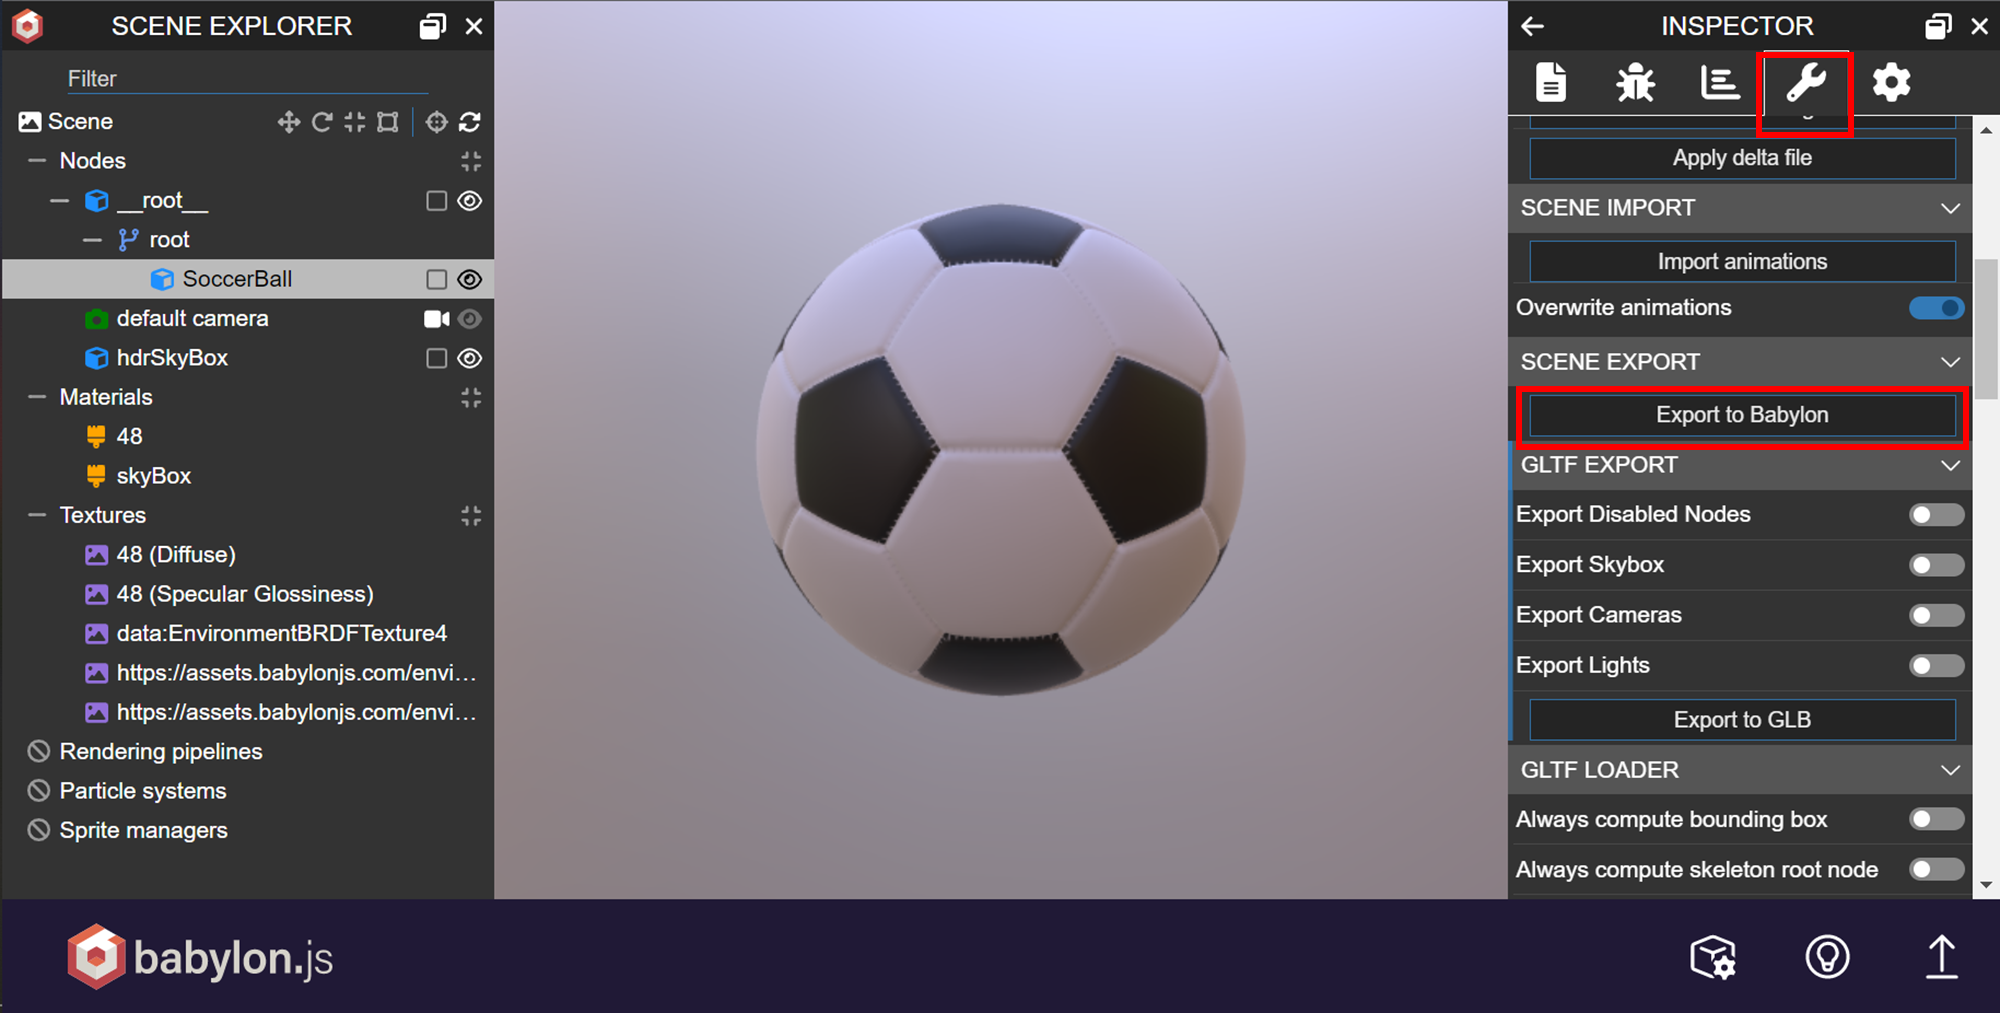
ダウンロードしたファイル内のJSON文字列をsrc/assets/SoccerBall.babylonにコピペで貼り付けます。
App.jsの修正
Reactのテンプレートから生成されたApp.jsを以下に置き換えます。
import * as BABYLON from "@babylonjs/core";
import SceneComponent from "./components/SceneComponent";
import SoccerBallAsset from "./assets/SoccerBall.babylon";

import "./styles.css";

const onSceneReady = (scene) => {
  // カメラの作成, 回転
  const camera = new BABYLON.ArcRotateCamera("camera", -2.5, 2, 1.5, new BABYLON.Vector3(0, 0, 0), scene);
  camera.useAutoRotationBehavior = true;
  camera.autoRotationBehavior.idleRotationSpeed *= 5;
  camera.attachControl(SceneComponent, true);

  // ライトの作成
  const light = new BABYLON.HemisphericLight("light", new BABYLON.Vector3(0, 1, 0), scene);
  light.intensity = 1.0;

  // SoccerBall.babylonからノードの読み込み
  const assetsManager = new BABYLON.AssetsManager(scene);
  assetsManager.addMeshTask("task", "SoccerBall", SoccerBallAsset); //scene.babylonのノード名SoccerBallを追加
  assetsManager.load();
};

export default function App() {
  return (
    <SceneComponent antialias onSceneReady={onSceneReady} id="my-canvas" />
  );
}
SceneComponentのプロパティとして渡すonSceneReady関数を作成します。この関数内でカメラやライト、3Dモデルなどを定義していきます。基本的にimport * as BABYLON from "@babylonjs/core";とすれば、あとはPlaygroundのcreateScene関数の内容を記載していけば良いのですが以下の点に注意してください。
- Playgroundで定義している
var scene = new BABYLON.Scene(engine);は、SceneComponent.js側で定義しているので不要 - Playgroundで参照している
canvas要素は、SceneComponentに置き換える- 上記のコードでいうと、
camera.attachControl(SceneComponent, true);の部分になります。
- 上記のコードでいうと、
まとめ
今回はReactを使ってBabylon.jsの3Dモデルを表示してみました。これからもBabylon.js関連の記事を書いていこうと思います。