【徹底的に解説!】Djangoの基礎をマスターして、3つのアプリを作ろう!(Django2版 / 3版を同時公開中です)を受けさせていただいております。
前回:djangoを使って新しくTODOアプリを作る3
https://qiita.com/inazawaKeisuke/items/68411d7028cb57548da1
とっくにUdemy応援キャンペーンは終わってしまいましたが、せっかく始めたので完成まで頑張っていこうと思います。
今回は,サインインのページの完成、listの完成を目指していきたいと思います。
今回の目標
1.サインインページの作成
2.サインインの機能の実装
3.listのページの作成
4.modelのサンプル作成
サインインの機能実装とlogin.html
サインインの機能は公式ドキュメントのコードを利用しましょう。
https://docs.djangoproject.com/ja/3.1/topics/auth/default/
from django.contrib.auth import authenticate, login

def my_view(request):
    username = request.POST['username']
    password = request.POST['password']
    user = authenticate(request, username=username, password=password)
    if user is not None:
        login(request, user)
        # Redirect to a success page.
        render(request,"list.html",{})
    else:
        # Return an 'invalid login' error message.
        render(request,"ligin.html",{"error","ログインに失敗しました"})
上のコードはほとんど公式ドキュメントを写しています。
redirect かrenderを使うのかは、好みというか、移動先のurlにそのurlのまま移動するのかどうかを選べるので、選んで使ってください。
htmlについては前回作ったhtmlファイルがそのまま引用できるので全コピペし、タイトルなどをLOGIN関係にします。
ログインページは以上で完成です。
listページ作成
テンプレート内にmodelを表示させるのってどうやるんだっけとど忘れしてしまったので検索に頼った結果、このような記事を見つけましたので個々のコードを使わせてもらうことに。
python,djangoでのデータのhtmlへの表示方法。(関数編&汎用ビュー編)
https://qiita.com/sr2460/items/8526f797256822f47648
DjangoでModelからTemplatesにデータを渡す方法と考え方
https://hiropon-progra.com/?p=113
from .model import モデル名

def 関数名(request)
    context = {
        'test_list': モデル名.objects.all(),
    }
    return render(request, 'アプリケーション名':html名.html', context)
今回はこのような感じにしました。
def listfunc(request):
    todoModels = {'todo': todoModel.objects.all()}

    return render(request,'list.html',todoModels)
このリストを表示するために、listページにもコードを書いてあげなければなりません。
いつも通りの{% extends "base.html" %}など書いてあげて、
    <main class="flex-shrink-0">
        <div class="container">
            {% for test in todo %}
            <h1>{{ test.title }}</h1>
            {{ test.content }}
            {{ test.author }}
            {{ test.dateline }}
            {{ test.now_date }}
            {{ test.priority }}
            {% endfor %}
        </div>
    </main>
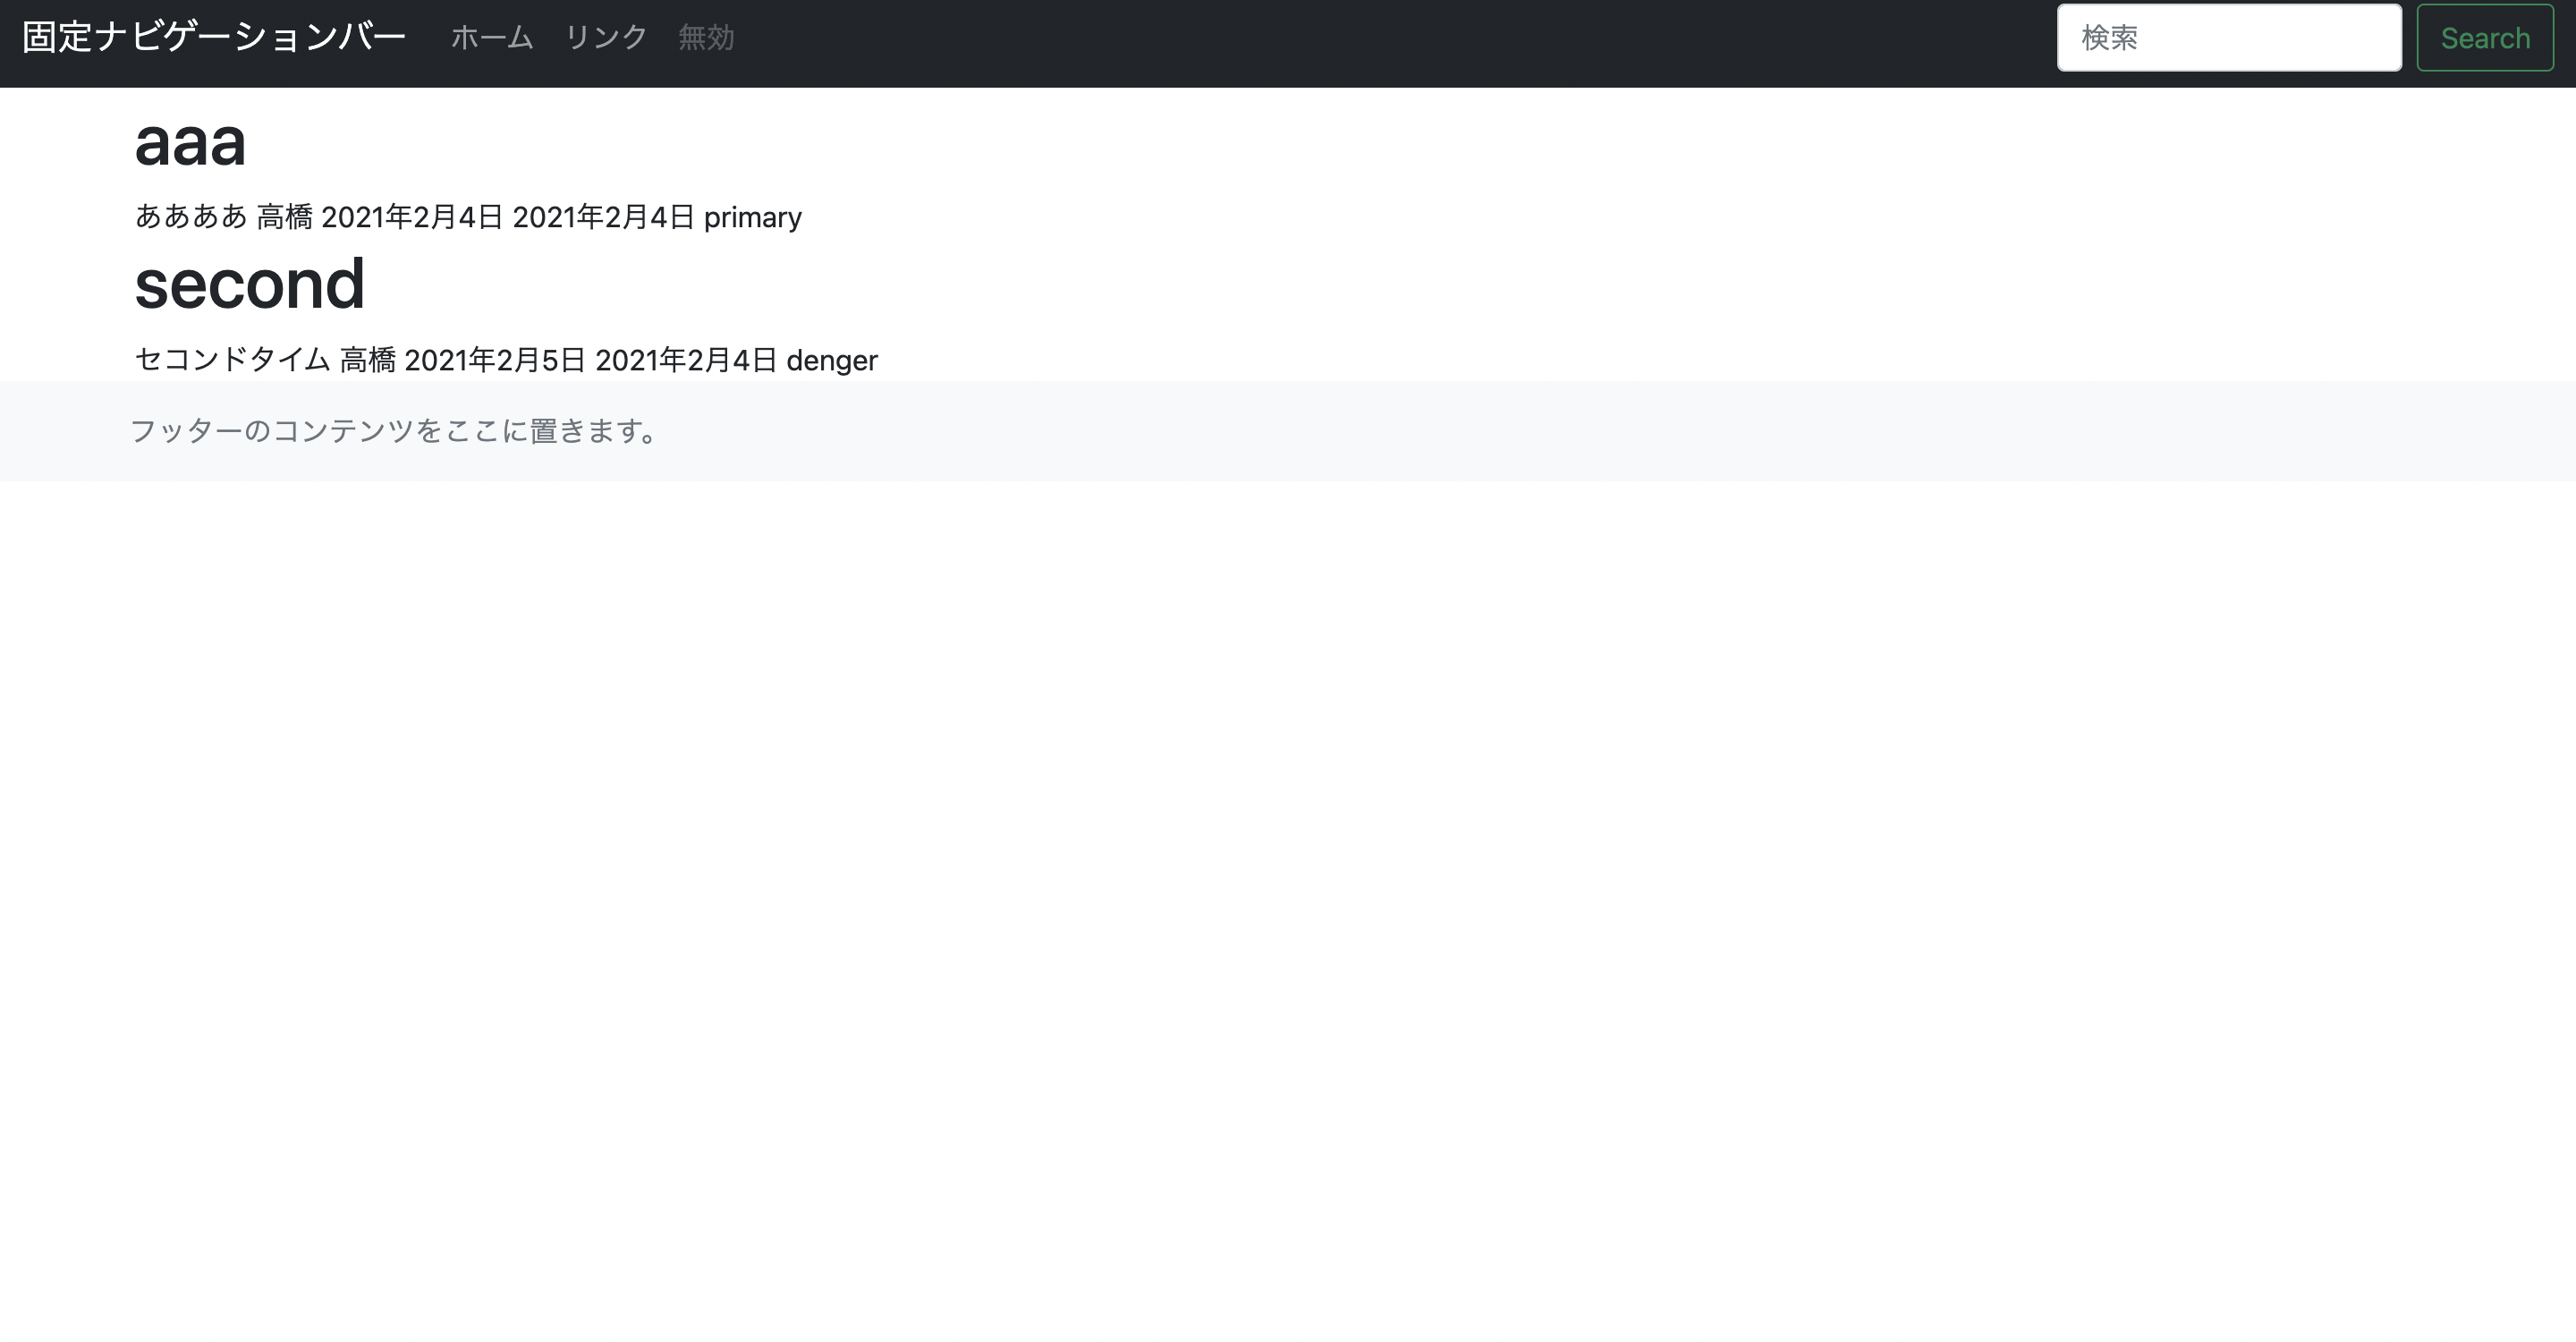
を中身に入れてあげると、modelの表示ができました。
どんな表示の方法(CSS等)にするかは後で考えることにし、とりあえずこのような感じで表示することができました。

modelのサンプル作成方法
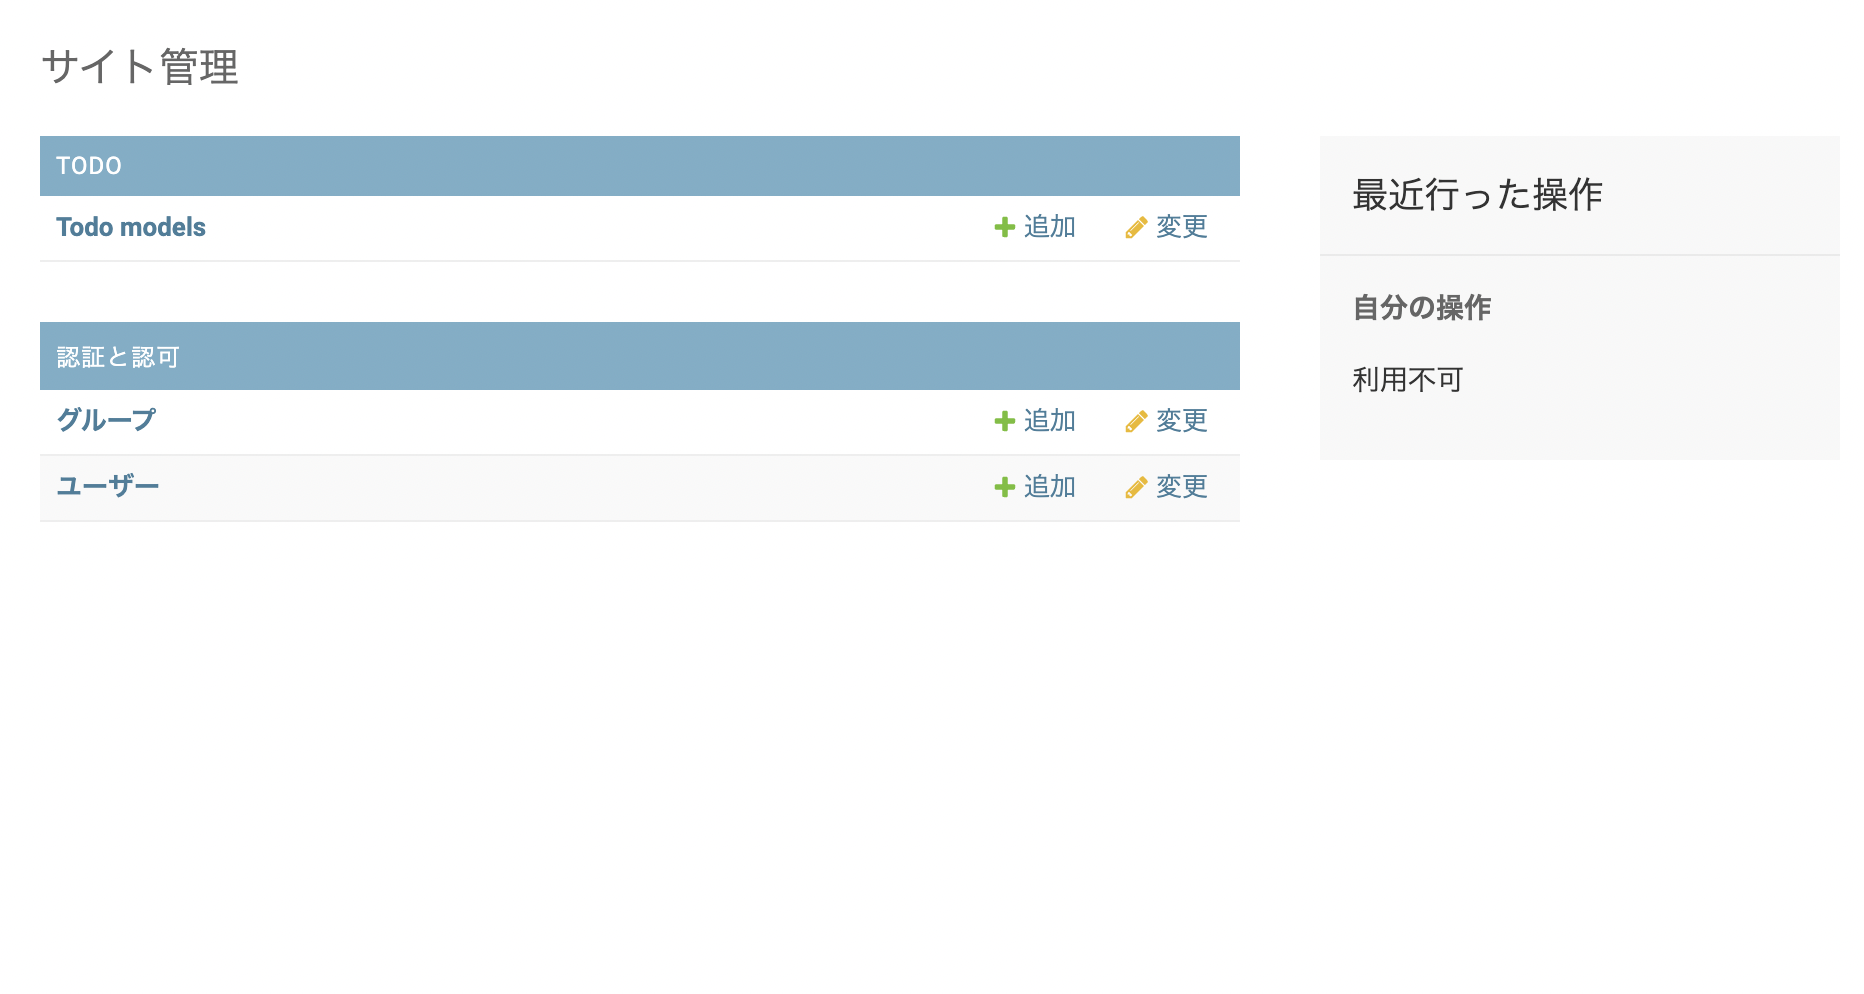
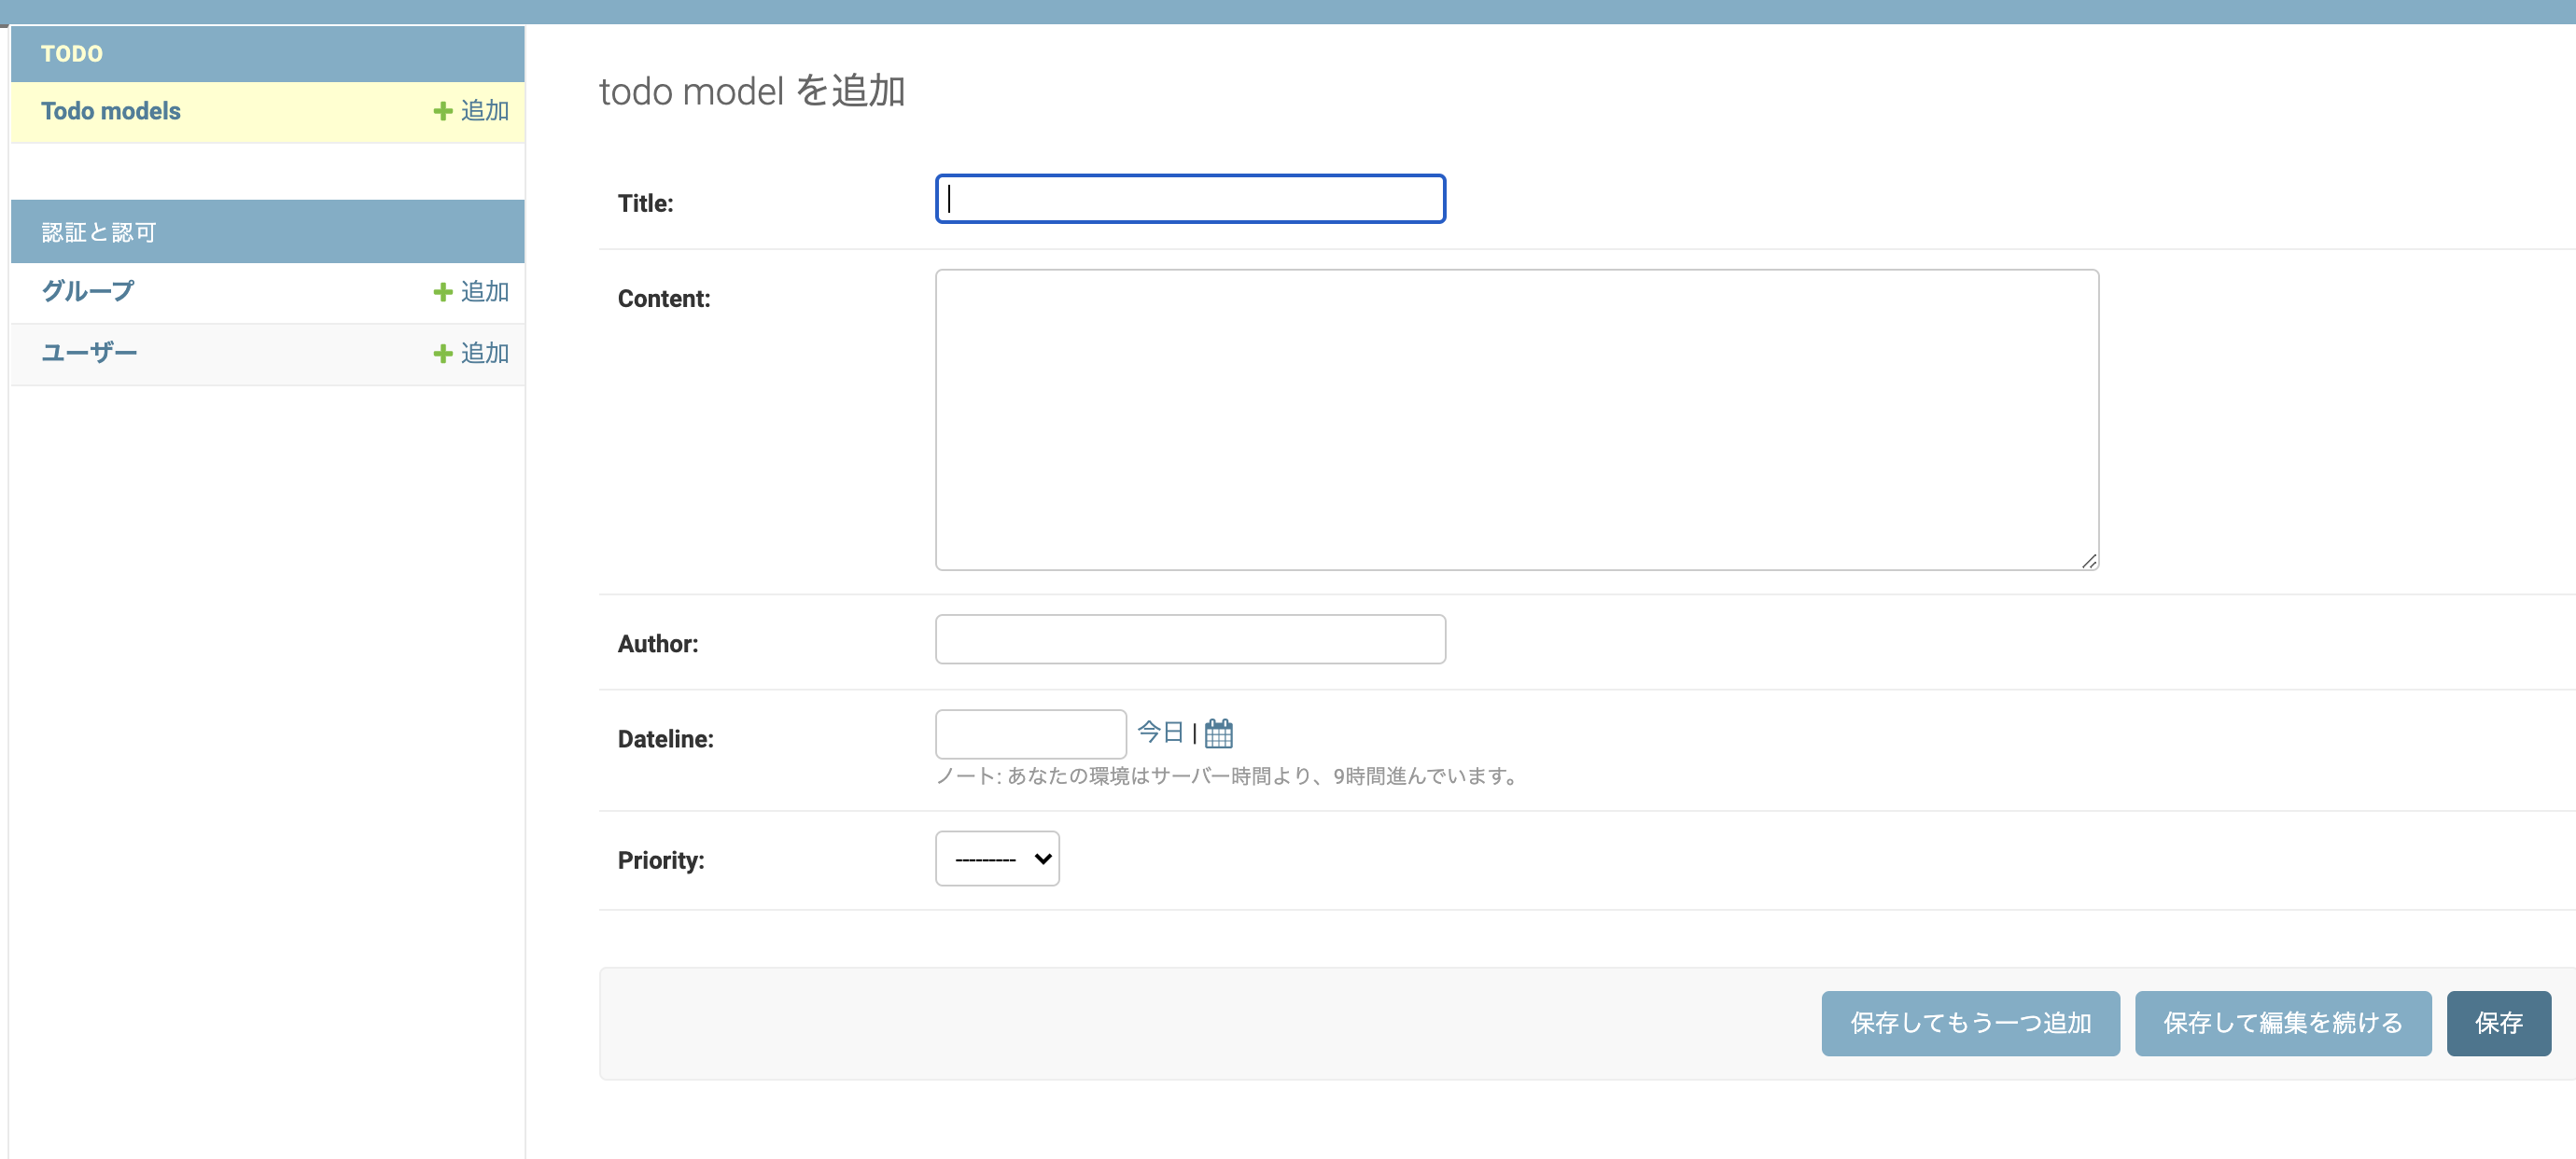
前回の記事で実装した、modelのサンプル作成方法をど忘れして困っていましたが、adminの管理画面からmodelのdbをいじる方法があったようです。
方法はadmin.pyに追記するもので、
from django.contrib import admin
from .models import todoModel
# Register your models here.

admin.site.register(todoModel)
とすれば良いようです。
このような画面が出るようになります。


次の記事では
listページのデザイン決め、detailページの作成を行いたいと思います。