1. 概要
以前の記事(Raspberry Pi 3でopenFrameworksのサンプルプログラムを動かす - Qiita)に書いた続きですが、展示用のMacをRaspberry Piで置き換えようという試みです。
前回はRaspberry PiにoFをインストールしてサンプルプログラム動かしたところまでだったので、今回はRaspbery PiにNFCリーダを接続してpythonのプログラムから読んだNFCのデータをOSCでopenFrameworksに送ります。
2. 作業環境
- Raspberry Pi 3 + 2016-09-23-raspbian-jessie
- RFID-RC522 Amazon 検索:RC522
3. 参考サイト
- Raspberry Pi 3 Model Bに SPI通信方式の NFCリーダライタ RFID-RC522を接続して NFCタグを読む方法 (ラズパイ3に NXP MFRC522 RFIDリーダライタを接続して非接触で NFCカードを読み込む方法)
- mxgxw/MFRC522-python: A small class to interface with the NFC reader Module MFRC522
- Python OSC (pyOSC) | アンドロイドな日々
- pyOSC 0.3.5b-5294 : Python Package Index
- Raspberry Pi2 で ofxFaceTracker を実現させる - Take’s diary
4. Raspberry Pi 3でNFCリーダを使う
参考サイト1.を頼りにNFCリーダを使えるようにしました。
動かしたプログラムは参考サイト2.のRead.pyです。
参考サイト通りだったので省略しています。
最初に試したときはプログラムを走らせても、NFCタグに反応しませんでした。サイトにはDevice Treeを無効にしないといけないと書いてありましたが、sudo raspi-configしてもAdvanced Optionの中にDevice Treeが見当たりませんでした。
よく分かりませんでしたがRaspbianを再インストールしたら治りました。Raspbian 2016-02-26がプリインストールされているmicro SDカードを買ったのですが、プリインストールされているものが良くなかったのかもしれません。
5. pyOSCを導入する
4.で動かしたpythonのサンプルプログラムをopenFrameworksに持っていくのにoscを使いました。
oFから直接NFCリーダを読めればいいと思ったのですが、どうすれば良いのか分からなかったのでこの方法を採っています。
参考サイト3. (Python OSC (pyOSC) | アンドロイドな日々)を見ながらpyOSCを試してみました。
pyOSCのインストール
git clone https://gitorious.org/pyosc/devel.git
cd devel
sudo python setup.py install
失敗
参考サイト3.に書いてあったサンプルプログラムを試してみようと思いましたが、うまく行きませんでした。
git clone https://github.com/conanxin/Arduino-Meets-Blender-OSC.git
ターミナル2つ立ち上げてサンプルプログラムを動かしてみる。
cd Arduino-Meets-Blender-OSC/pyOSC_examples
python basic_receive.py
cd Arduino-Meets-Blender-OSC/pyOSC_examples
python basic_send.py
send.pyを実行すると以下のようなエラーがでました。
Traceback (most recent call last):
  File "basic_send.py", line 28, in <module>
    client.sendto(msg, ('127.0.0.1', 2014)) # note that the second arg is a tupple and not two arguments
  File "/usr/local/lib/python2.7/dist-packages/OSC.py", line 1174, in sendto
    ret = select.select([],[self._fd], [], timeout)
AttributeError: 'OSCClient' object has no attribute '_fd'
ちょっと私には分かりませんでした。
成功
気を取り直して別のサンプルを試してみます。
pyOSCをダウンロードしたdevelフォルダにあったサンプルを実行します。
cd devel/examples
python knect-rcv.py
cd devel/examples
python knect-snd.py
knect-snd.pyを実行するとknect-rcv.pyの画面に以下の表示がでました。
('Now do something with', 'user1', 3.0, 1.0, -1.0)
('Now do something with', 'user2', 4.0, 2.0, -2.0)
('Now do something with', 'user3', 3.0999999046325684, 2.0, -2.0)
('Now do something with', 'user4', 6.0, 3.200000047683716, -2.4000000953674316)
6. RFIDのプログラムにOSCの処理を加える
Dump.pyにknect-snd.pyのプログラムを挟み込んでいきました。
# !/usr/bin/env python
# -*- coding: utf8 -*-

import RPi.GPIO as GPIO
import MFRC522
import signal

# OSC setting
from OSC import OSCClient, OSCMessage
client = OSCClient()
client.connect(("localhost", 7110))

continue_reading = True

# Capture SIGINT for cleanup when the script is aborted
def end_read(signal,frame):
    global continue_reading
    print "Ctrl+C captured, ending read."
    continue_reading = False
    GPIO.cleanup()

# Hook the SIGINT
signal.signal(signal.SIGINT, end_read)

# Create an object of the class MFRC522
MIFAREReader = MFRC522.MFRC522()

# This loop keeps checking for chips. If one is near it will get the UID and authenticate
while continue_reading:

    # Scan for cards
    (status,TagType) = MIFAREReader.MFRC522_Request(MIFAREReader.PICC_REQIDL)

    # If a card is found
    if status == MIFAREReader.MI_OK:
        print "Card detected"

    # Get the UID of the card
    (status,uid) = MIFAREReader.MFRC522_Anticoll()

    # If we have the UID, continue
    if status == MIFAREReader.MI_OK:

        # Print UID
        print "Card read UID: "+str(uid[0])+","+str(uid[1])+","+str(uid[2])+","+str(uid[3])

        # Send OSC
        client.send( OSCMessage("/user/1", [uid[0], uid[1], uid[2], uid[3]] ) )

        # This is the default key for authentication
        key = [0xFF,0xFF,0xFF,0xFF,0xFF,0xFF]

        # Select the scanned tag
        MIFAREReader.MFRC522_SelectTag(uid)
7. openFrameworksでOSCを受信するプログラムを作る
こちらもサンプルプログラムを流用します。
サンプルプログラムoscReceiveExampleをopenFrameworks/apps/myApps/にコピーします。
cd openFrameworks/examples/addons
cp -r oscReceiveExample /home/pi/openFrameworks/apps/myApps/
ofApp.hを開きます。
cd /home/pi/openFrameworks/apps/myApps/oscReceiveExample/src
vim ofApp.h
ポート番号が設定されている7行目の#define PORT 12345を#define PORT 7110に変更して保存します。
一つ上のフォルダに戻ってmakeします。コンパイルが終了したらmake runします。
cd ..
make
make run
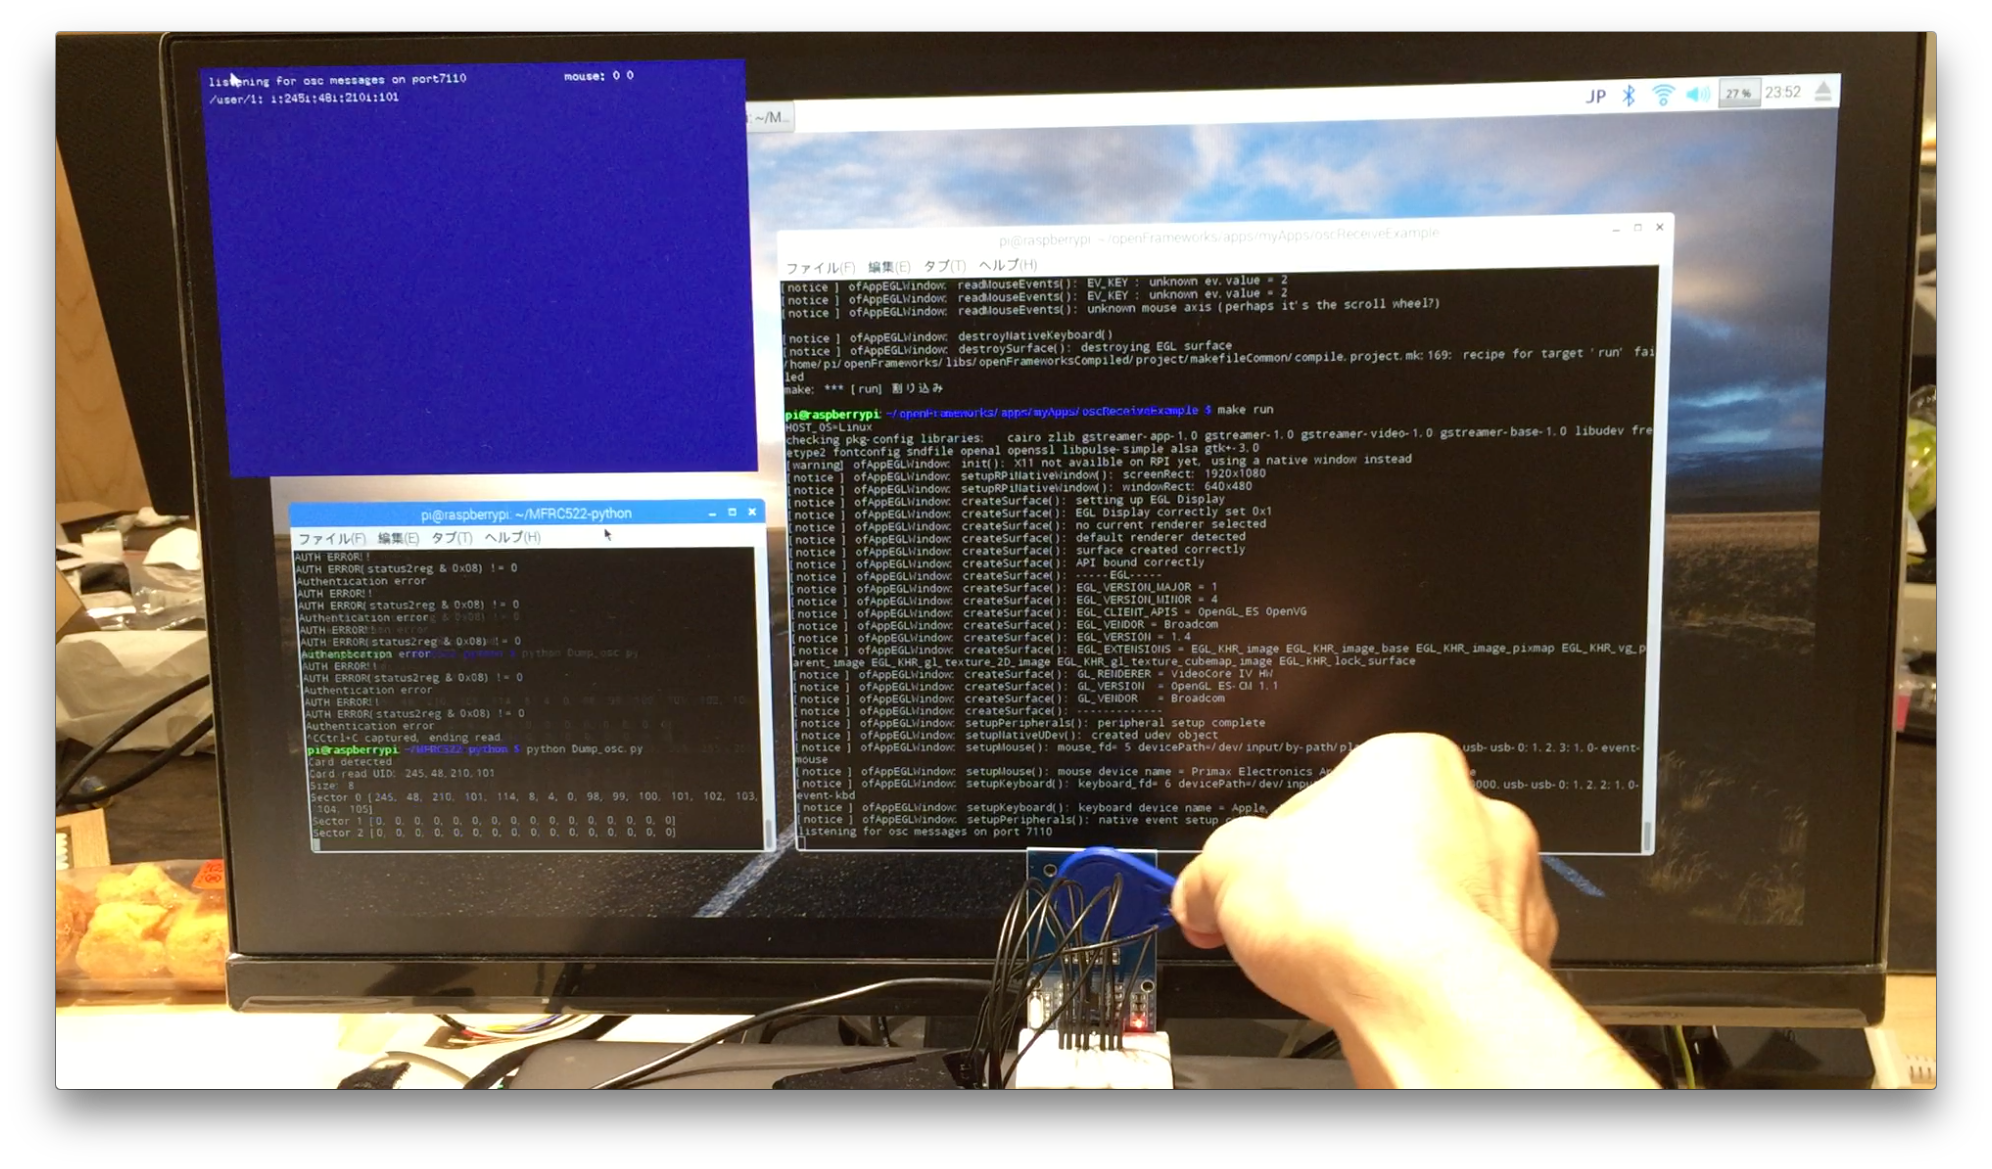
画面右上に青色のウィンドウが開きます。
別のターミナルを立ち上げて6.で作成したDump_osc.pyを立ち上げます。
cd MFRC522-python
python Dump_osc.py
NFCリーダに付属のNFCキーホルダをかざすと青色の画面にもNFCのUIDが表示されています。
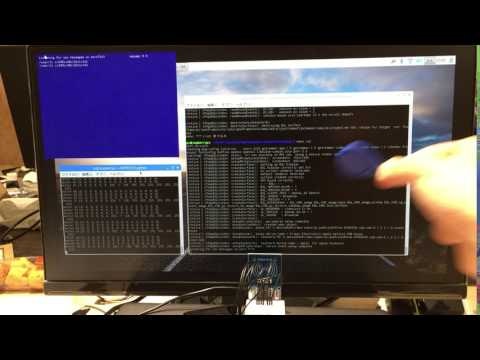
動画はこんな感じです。(画像をクリックするとYouTubeに移動します)
ここまでできたので、あとはoFで受け取ったUIDに応じた処理をしていけば良さそうです。