はじめに
Azure Active Directory(Azure AD)とGoogle Workspace(旧GSuite)のアカウント連携を調べると、
「Azure ADをIdPとし、Google Workspaceにサインイン(SSO)する」というドキュメントがほとんどです。
※ちなみに上記パターンの設定手順を一つ一つ詳細に解説したおすすめ記事はこちら
https://qiita.com/Shinya-Yamaguchi/items/f90a70a035c243b25e9d
じゃあ逆のパターン「Google WorkspaceをIdPとし、Azure ADにサインイン(SSO)する」はどうやって設定するの?ということで試してみました。
設定方法
今回はAzure AD B2Bの直接フェデレーションを使用して、Google WorkspaceとSAML 連携を行います。
直接フェデレーションは2020年12月現在でプレビュー機能となります。
詳細については下記のドキュメントを参照してください。
https://docs.microsoft.com/ja-jp/azure/active-directory/external-identities/direct-federation
作業概要および前提条件
- SAML メタデータの取得(Google Workspace側)
- 直接フェデレーションの設定(Azure AD側)
- SAML アプリケーション設定(Google Workspace側)
- ゲストユーザーの招待(Azure AD側)
- 動作確認
※Google Workspaceの契約は終了し管理者権限を保持していることが前提
SAML メタデータの取得(Google Workspace側)
-
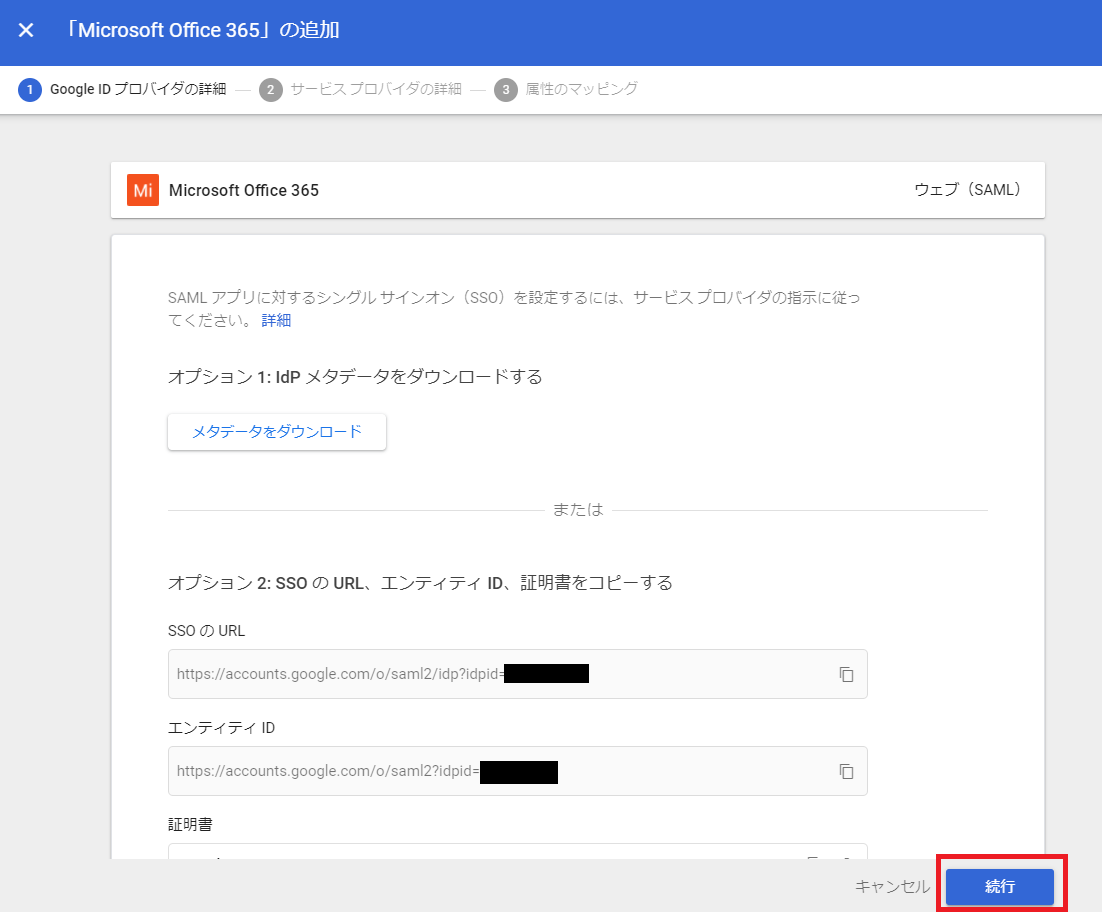
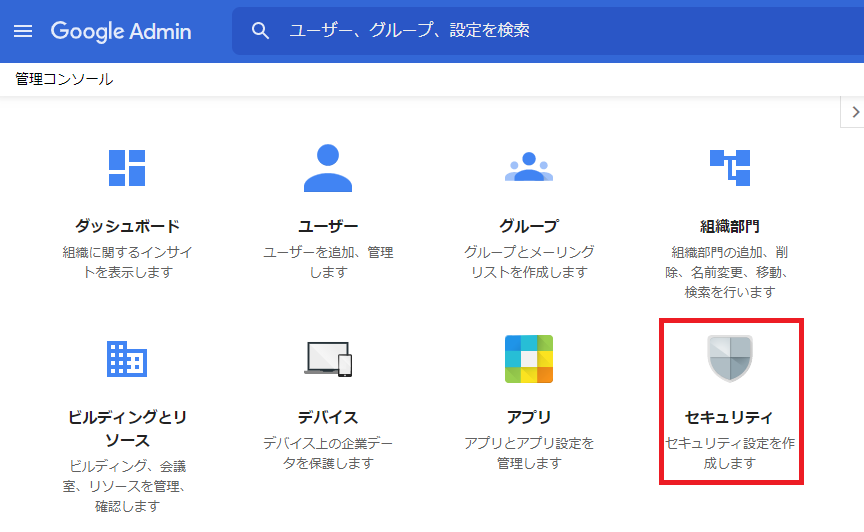
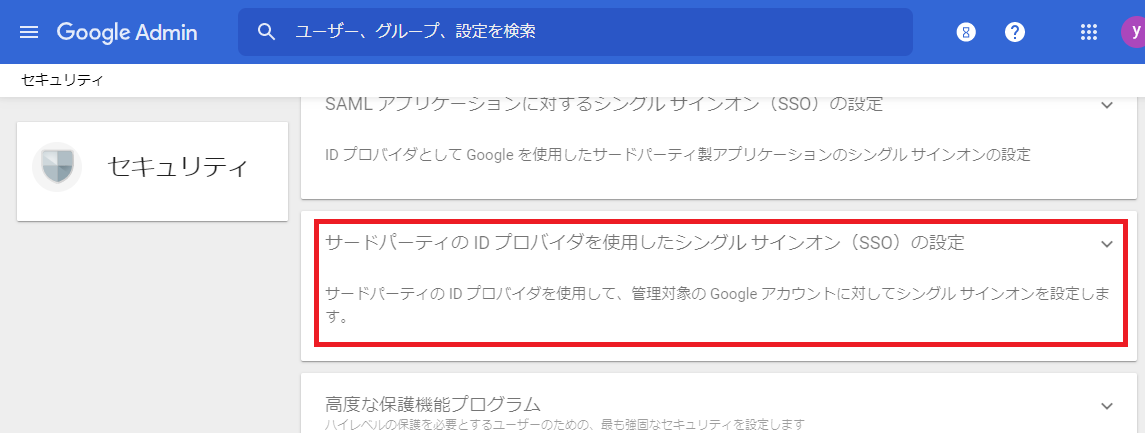
Google Workspaceの管理者ページ (https://admin.google.com) にログインし、「セキュリティ」⇒「SAML アプリケーションに対するシングル サインオン(SSO)の設定」に進む
-
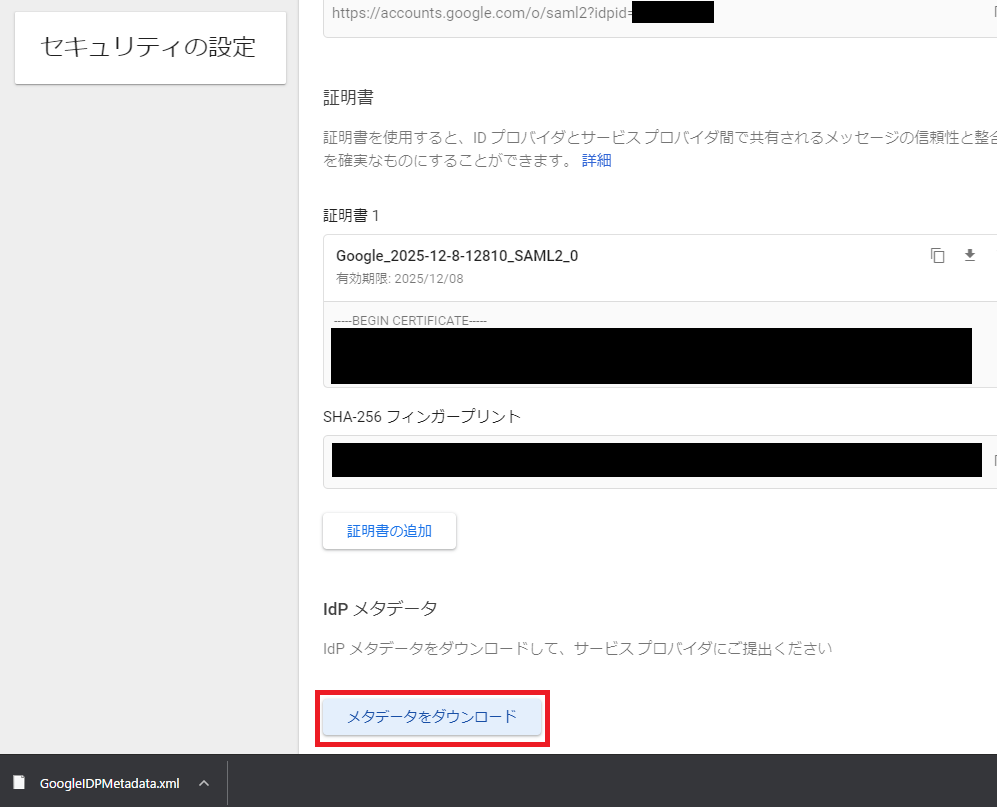
画面下の「メタデータをダウンロード」をクリックし、SAML メタデータ(GoogleIDPMetadata.xml)をローカルに保存する
直接フェデレーションの設定(Azure AD側)
-
Azure AD ポータル (https://aad.portal.azure.com/) にログインし、「Azure Active Directory」⇒「External Identities」⇒「すべての ID プロバイダー」に進み、「新しい SAML/WS-Fed IdP」をクリックする
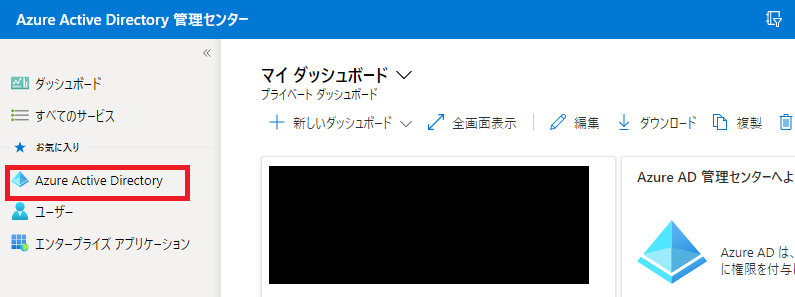
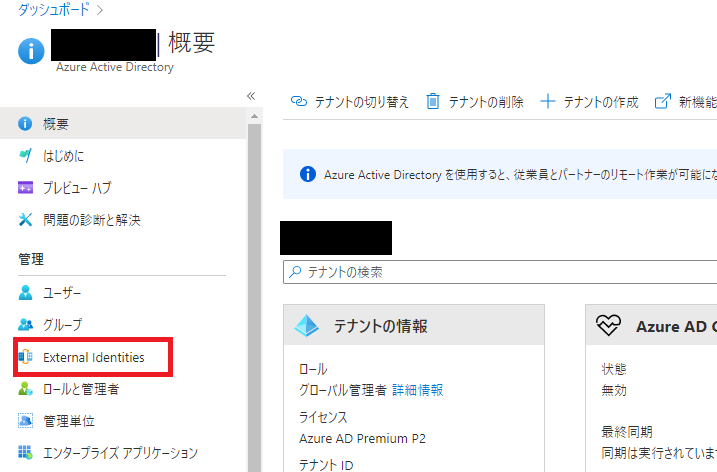
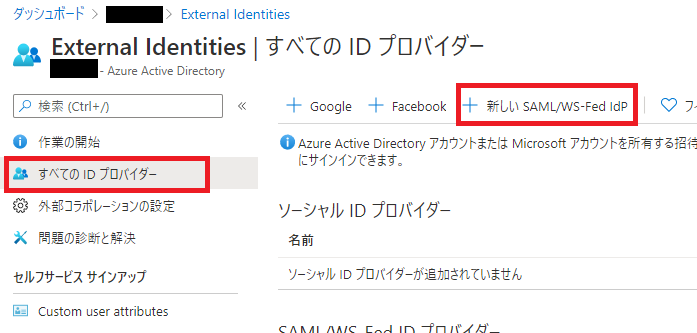
-
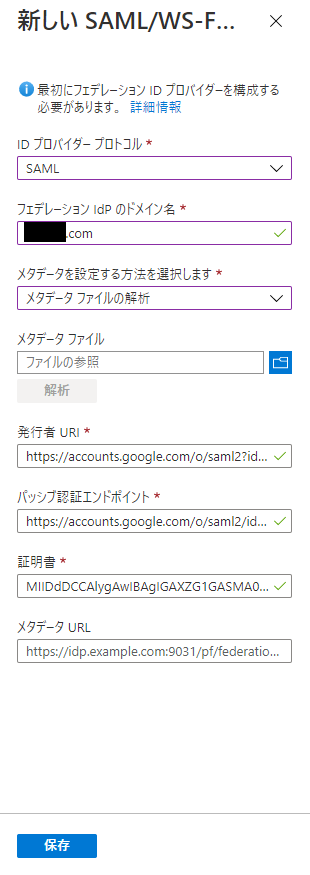
新しい SAML/WS-Fed IdP登録画面にて、以下の情報を入力および選択し「保存」をクリックする
- ID プロバイダー プロトコル:「SAML」を選択する
- フェデレーション IdP のドメイン名:Google Workspaceに登録したドメイン名を入力する
- メタデータを設定する方法を選択します:「メタデータファイルの解析」を選択する
- メタデータ ファイル:ダウンロードしたメタデータファイル(GoogleIDPMetadata.xml)を選択し「解析」ボタンをクリックする
SAML アプリケーション設定(Google Workspace側)
-
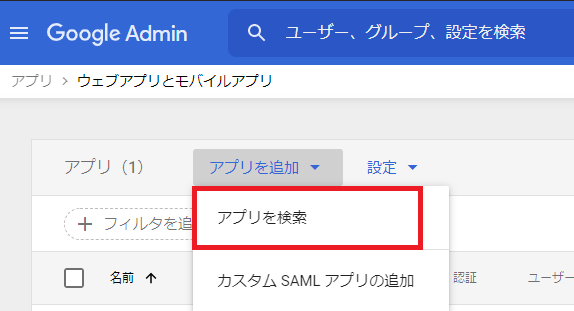
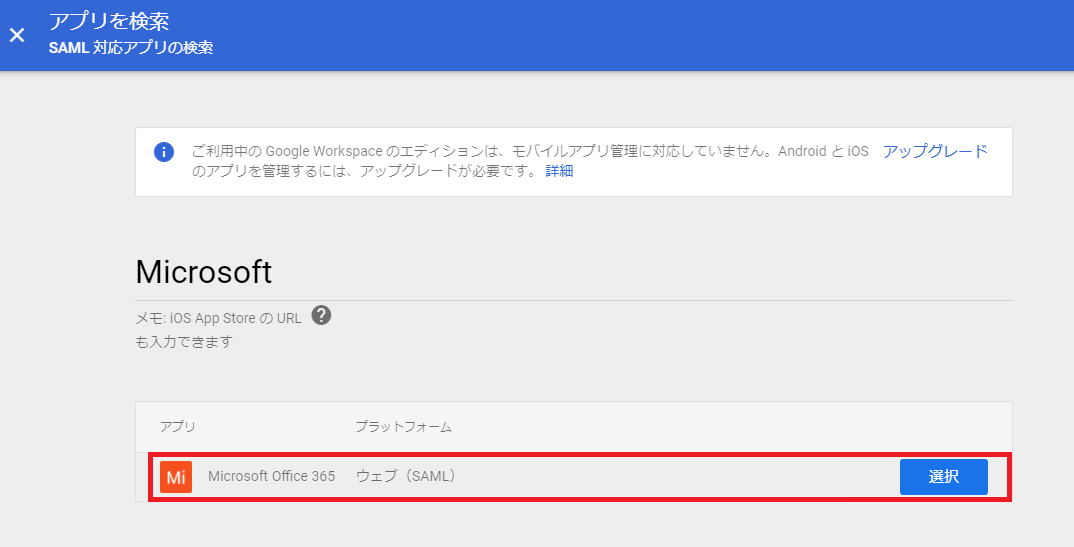
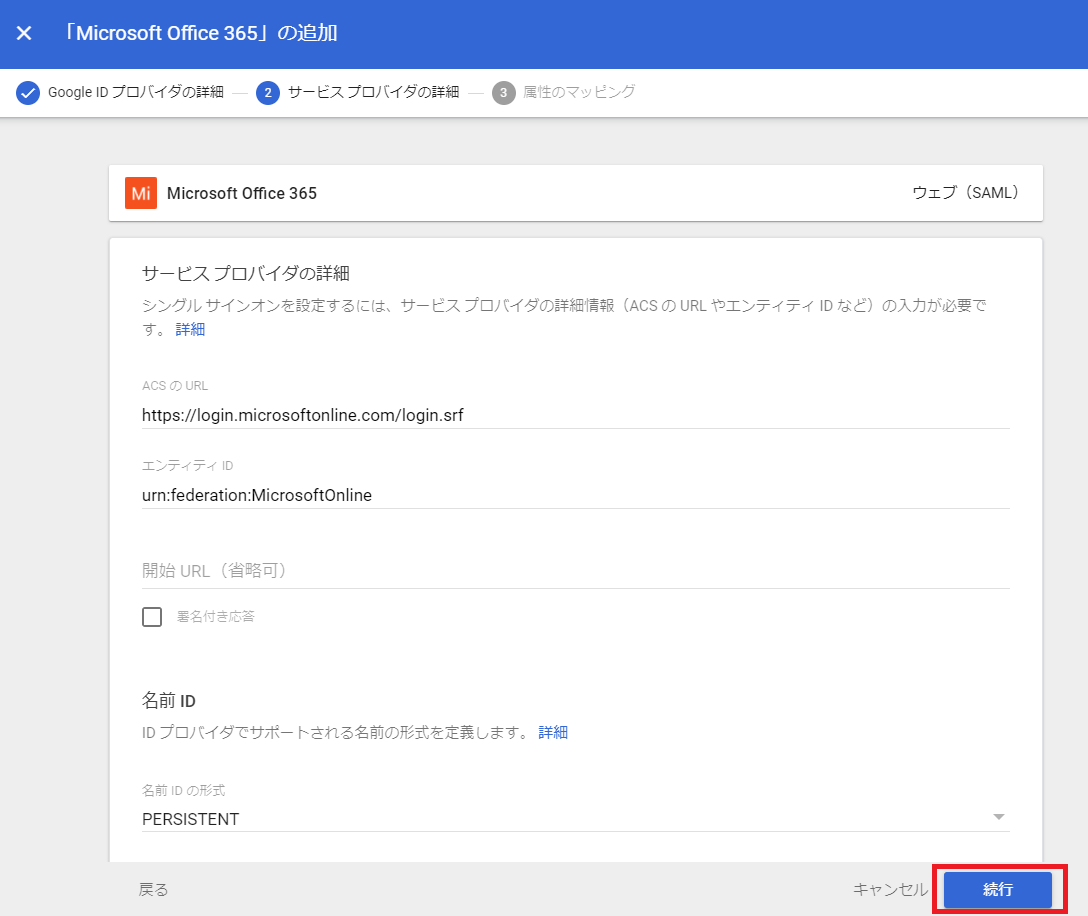
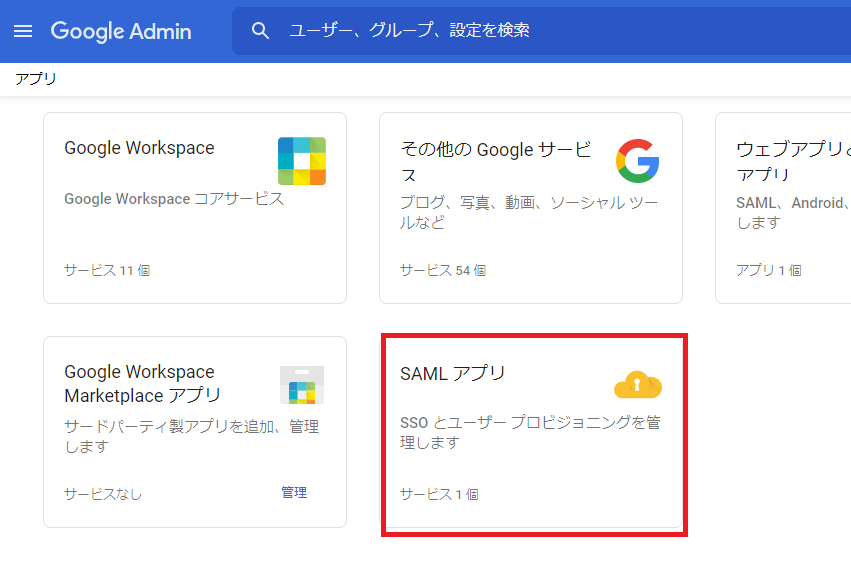
Google Workspaceの管理者ページ (https://admin.google.com) にログインし、「アプリ」⇒「SAML アプリ」をクリックする
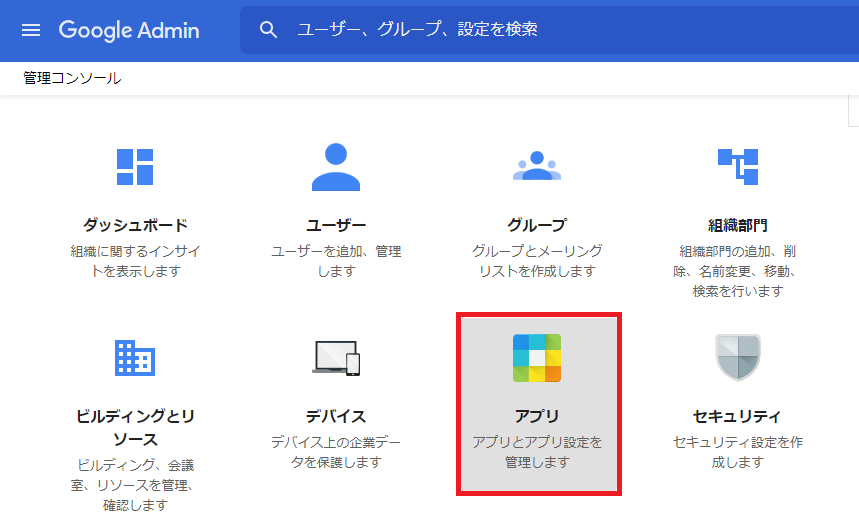
-
属性のマッピングで下記のマッピングを追加し「完了」をクリックする
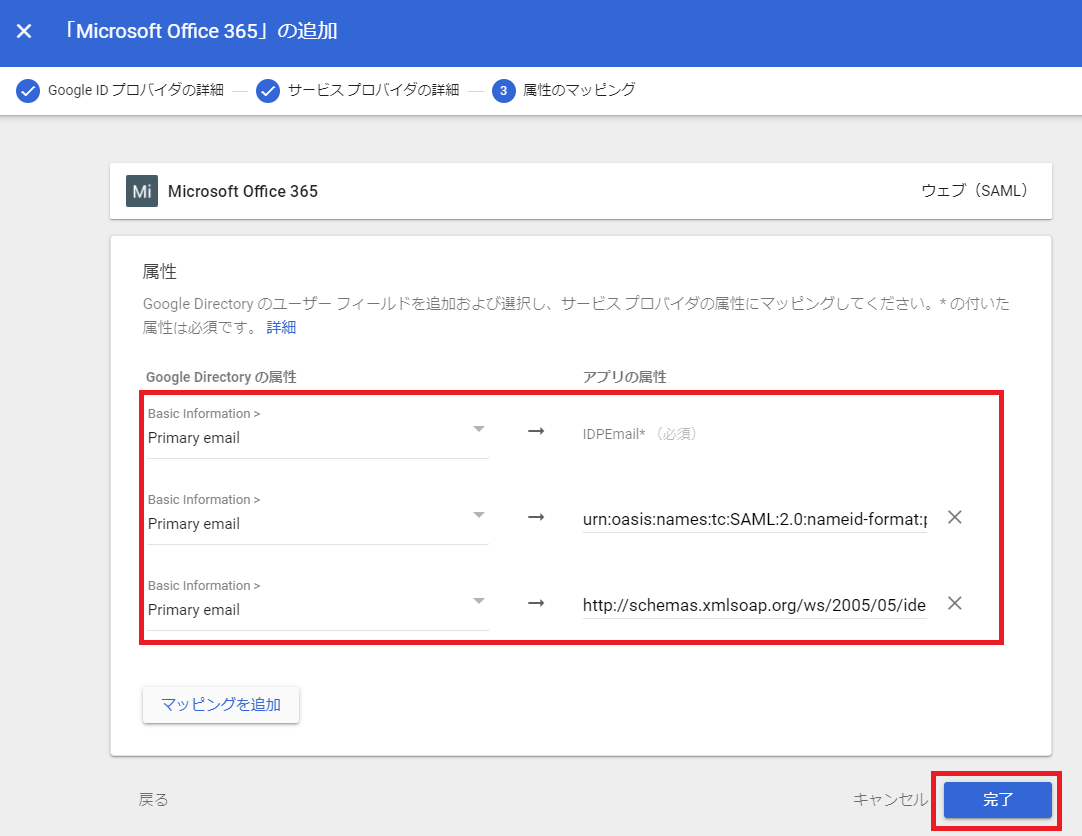
Basic Information > PRimary email :IDPEmail
Basic Information > PRimary email :urn:oasis:names:tc:SAML:2.0:nameid-format:persistent
Basic Information > PRimary email :http://schemas.xmlsoap.org/ws/2005/05/identity/claims/emailaddress -
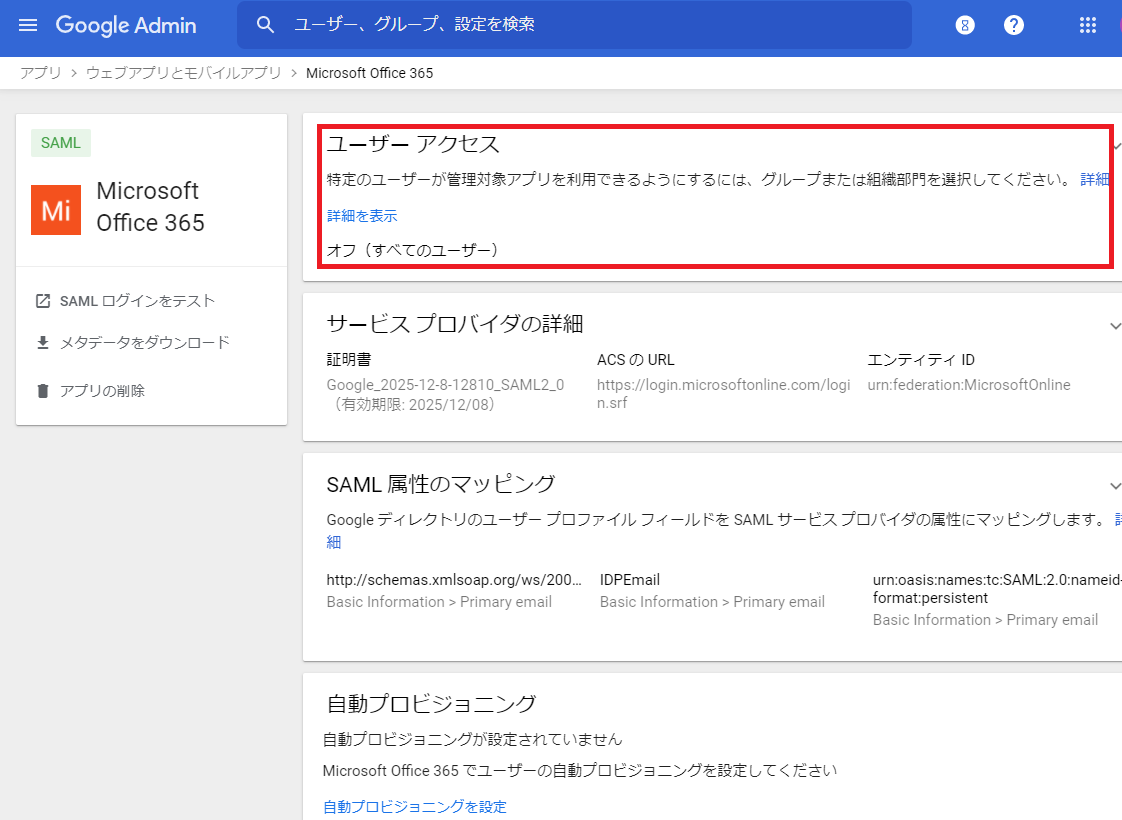
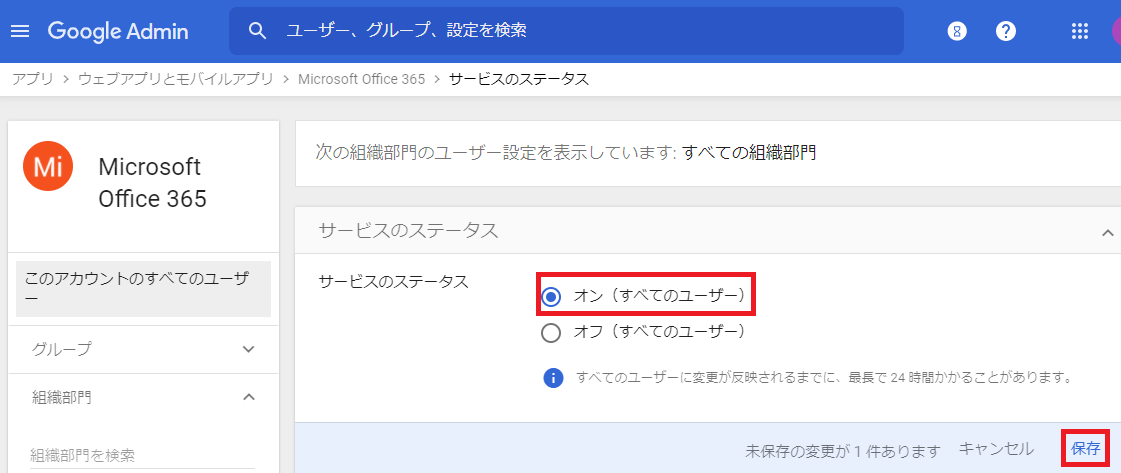
アプリケーションの詳細画面にて「ユーザーアクセス」をクリックし、サービスのステータスを「オン (すべてのユーザー)」に変更し、「保存」をクリックする
ゲストユーザーの招待(Azure AD側)
-
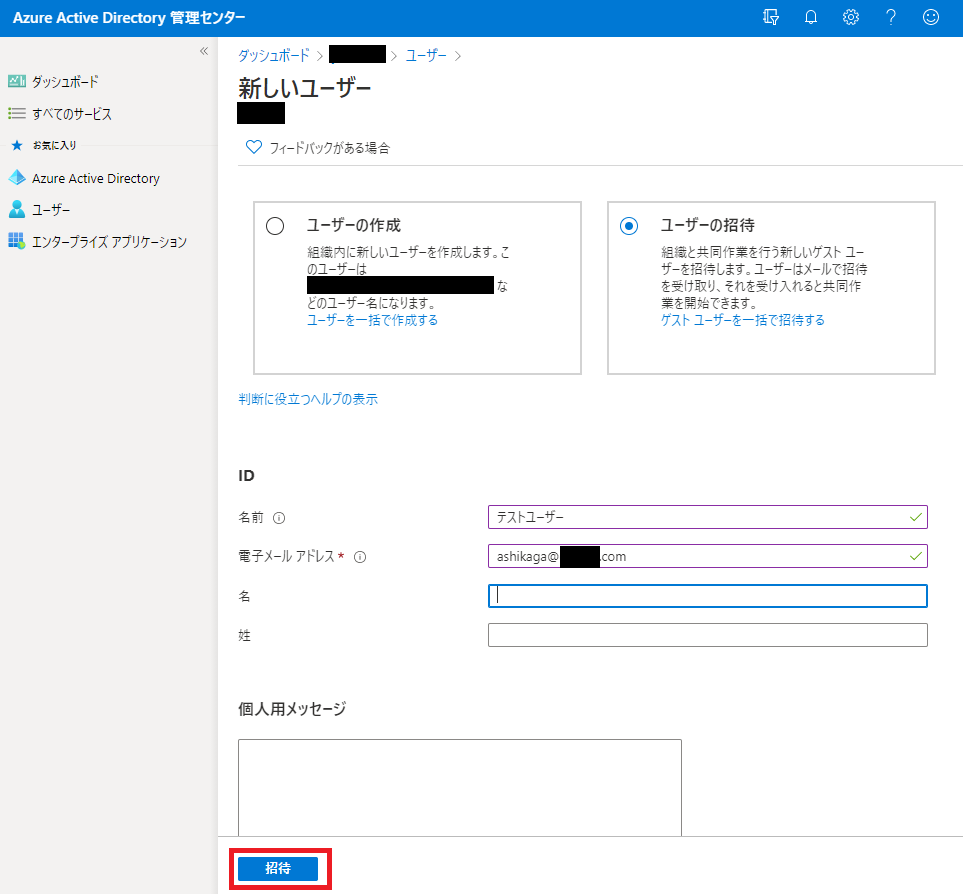
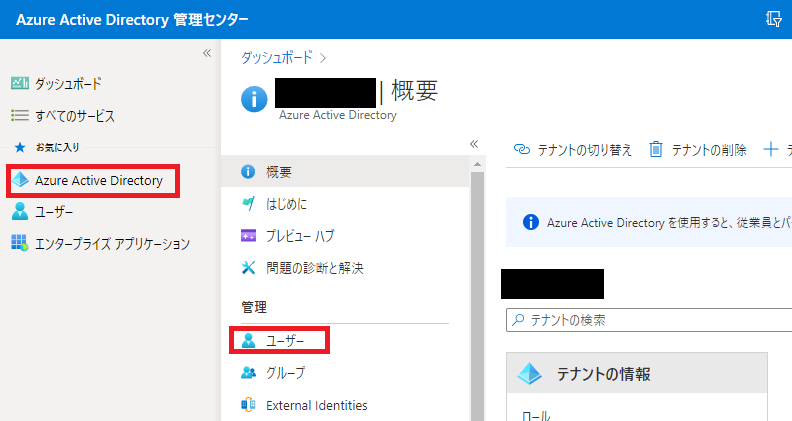
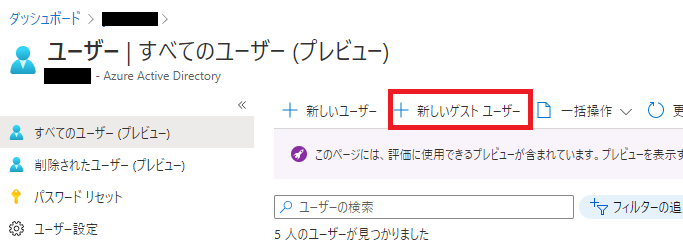
Azure AD ポータル (https://aad.portal.azure.com/) にログインし、「Azure Active Directory」⇒「ユーザー」⇒「すべてのユーザー」⇒「新しいゲストユーザー」をクリックする
動作確認
実際にGoogle Workspaceにフェデレーションされるかを検証します
-
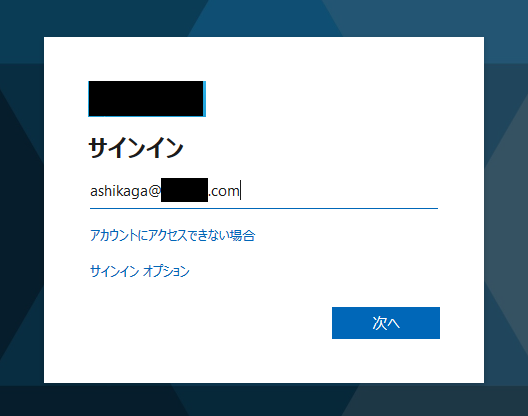
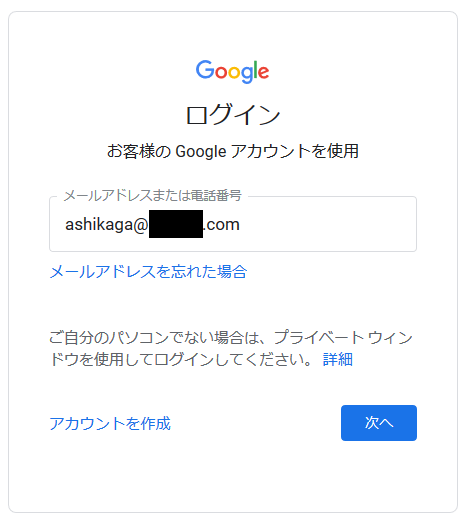
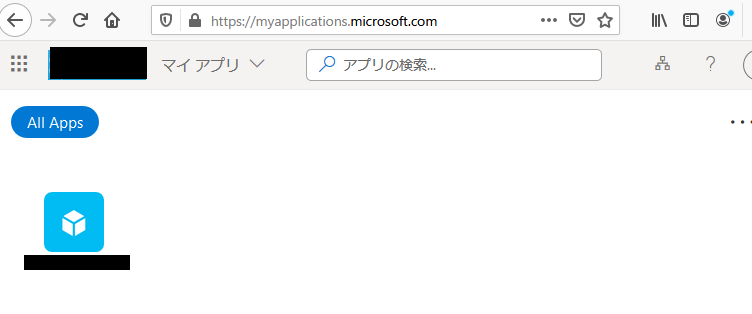
マイアプリ (https://myapps.microsoft.com/?tenantid=[テナントID]) にアクセスし、ユーザー名に招待したGoogle Workspaceユーザーを入力する
