#はじめに
この記事はプログラミング学習の備忘録です。
現在習慣化アプリを実装中です。その中でsimple_calendarを使って簡単にカレンダー機能を実装する方法について学んだので紹介します。
#実装の目標
①以下のようなカレンダーを導入する
②タスクを記録したら、カレンダーが緑色になるようにする

#gemfileを導入
・gemfileに以下の記述をします。
gem 'simple_calendar', '~> 2.0'
その後忘れずに、bundleinstallしましょう。
これでgemfileの導入は完了です。
#モデルの設定をする
以下のようにモデルを設定します。今回はテストなのでシンプルな形で作ります。
マイグレーションファイルに以下のように記述して、「rails db:migrate」します。
t.string :title
t.text :content
t.datetime :start_time
t.timestamps
注意点としては、t.datetime :start_timeの部分です。
start_timeで入力された日時をもとにカレンダーと紐付けます。
従って、「投稿内容をカレンダーに反映させる処理」を実装する場合には、
datetime型のstart_timeカラムを作る必要があります。
#viewに表示させる
次にsimple_calendarの保有するメソッド「month_calendarメソッド」を使って、月毎のカレンダーを表示させます。
<%= month_calendar do |date| %>
  <%= date.day %>
<% end %>
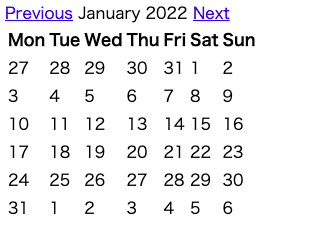
すると以下のようなカレンダーが表示されます。
デフォルトなのでシンプルです。
#投稿フォームを作る
次に投稿を行うためのフォームを作ります。
<%= form_with(model: @event, local: true) do |form| %>

  <div class="title">
    <%= form.label :title %>
    <%= form.text_field :title %>
  </div>

  <div class="time">
    <%= form.label :start_time %>
    <%= form.datetime_select :start_time %>
  </div>

  <div class="content">
    <%= form.label :content %>
    <%= form.text_field :content %>
  </div>


  <div class="submit">
    <%= form.submit %>
  </div>

<% end %>
注目して欲しいのは、 **<%= form.datetime_select :start_time %>**です。
この記述でカレンダーと紐づけるための日時用のフォームを作っています。
#カレンダーと投稿を紐づける
次にviewのカレンダーを修正します。
<%= month_calendar events: @events do |date, events| %>
  <%= date.day %>

  <% events.each do |event| %>
    <div>
      <%= event.title %>
    </div>
  <% end %>
<% end %>
datetime型のstart_timeカラムをもとにカレンダーと紐付けます。
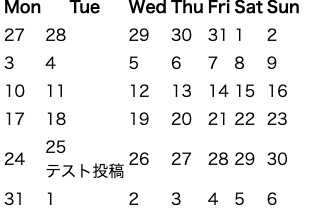
実行すると以下の表示になります。
無事25日の場所に、無事に投稿内容を出現させる事ができました。
#レイアウトを整える
次にデフォルト表示のレイアウトを整えます。
ターミナルで以下のコマンドを実行します。
rails g simple_calendar:views
するとレイアウトを整えるためのviewファイルが生成されます。
このままだと特に何も変化はないので、
stylesheets/application.cssに以下のコードを追記します。
*= require simple_calendar
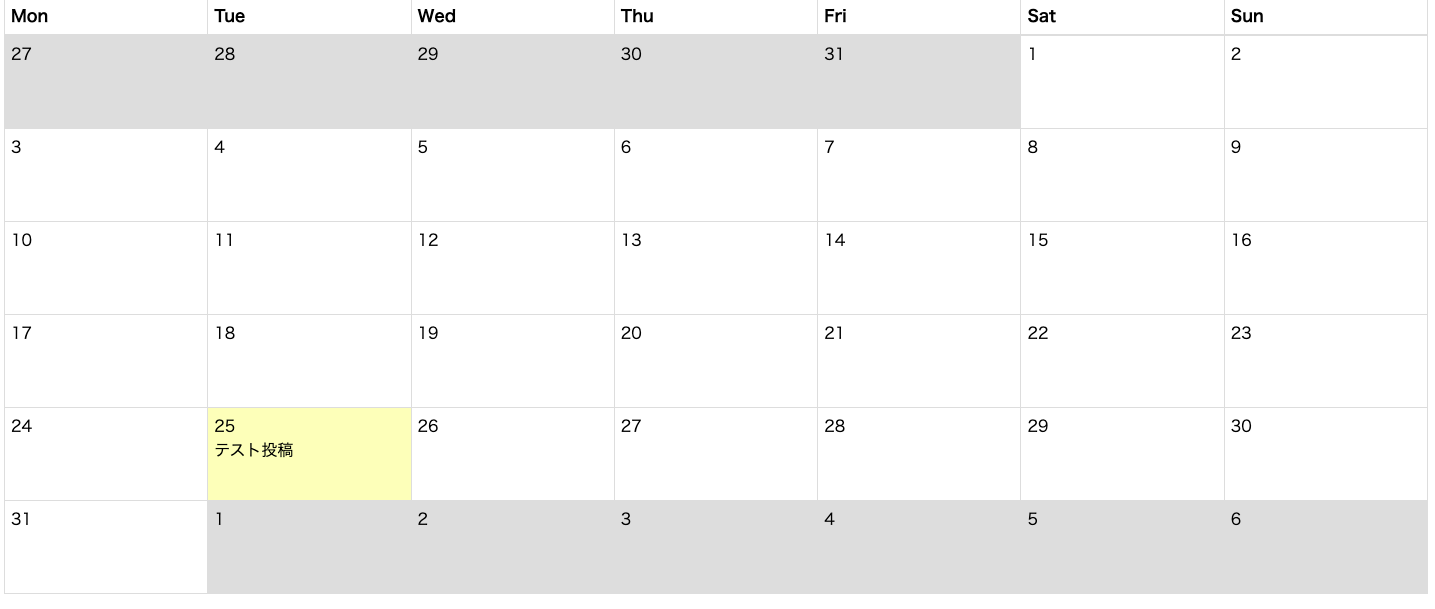
レイアウトを整える事ができました!
ここまでで、基本的なカレンダーの実装は完了です。
#投稿すると緑色になる実装
最後に投稿すると緑色になり、継続率が分かるようにします。(習慣化アプリなどでよく実装されているものです)
scssファイルに以下のように記述します。
このフォーマットはsimple_calendarのreadmeからコピペできます。
https://github.com/excid3/simple_calendar/blob/master/README.md
.simple-calendar {
 .day {}
 .wday-0 {}
 .wday-1 {}
 .wday-2 {}
 .wday-3 {}
 .wday-4 {}
 .wday-5 {}
 .wday-6 {}
 .today {}
 .past {}
 .future {}
 .start-date {}
 .prev-month {}
 .next-month { }
 .current-month {}
 .has-events {
   background: #98fb98;
 }
}
注目して欲しいのは、.has-events に背景色を指定しているところです。
この記述によって背景色が変化します。
これで、継続率が分かる実装ができました!
#まとめ
今回はsimple_calendarを使ってカレンダー機能を導入する方法についてまとめました。
最初は難しそうだなと思っていたのですが、想像以上に簡単に実装する事ができました。
カスタマイズすれば、更に使いやすいカレンダーができると思うので、進展があればまた記事にまとめます。


