Dockerで立てたUbuntu Desktop 20.04にRDP接続を行う.
目次
- コンテナの作成
- Microsoft Remote Desktopで接続
- 動作結果
- 補足
作業環境
- Ubuntu20.04
コンテナの作成
はじめに以下のコマンドでDockerfileをダウンロードします.
これは,Gistに置かれているDockerfileをダウンロードするコマンドです.
$ wget https://gist.githubusercontent.com/ysenkun/3871e58d189f2dd0da66927b4c66076c/raw/13d5849beabbbadeb8f4755ba74091be4653909a/Dockerfile
ダウンロードしたDockerfileを用いてbuildします.
{image_name}_は適宜変更をしてください.
$ docker build -f ./Dockerfile -t {image_name} .
最後にdocker runをすれば,コンテナの完成です.
{hostname}, {container_name}, {image_name}_は適宜変更してください.
また,すでに13389のポートを使用している場合も13388など適宜変更してください.
$ docker run -itd --privileged -p 13389:3389 --hostname {hostname} --name {container_name} {image_name} /sbin/init
Microsoft Remote Desktopで接続
Microsoft Remote Desktopを用いてDocker上のUbuntuに接続していきます.
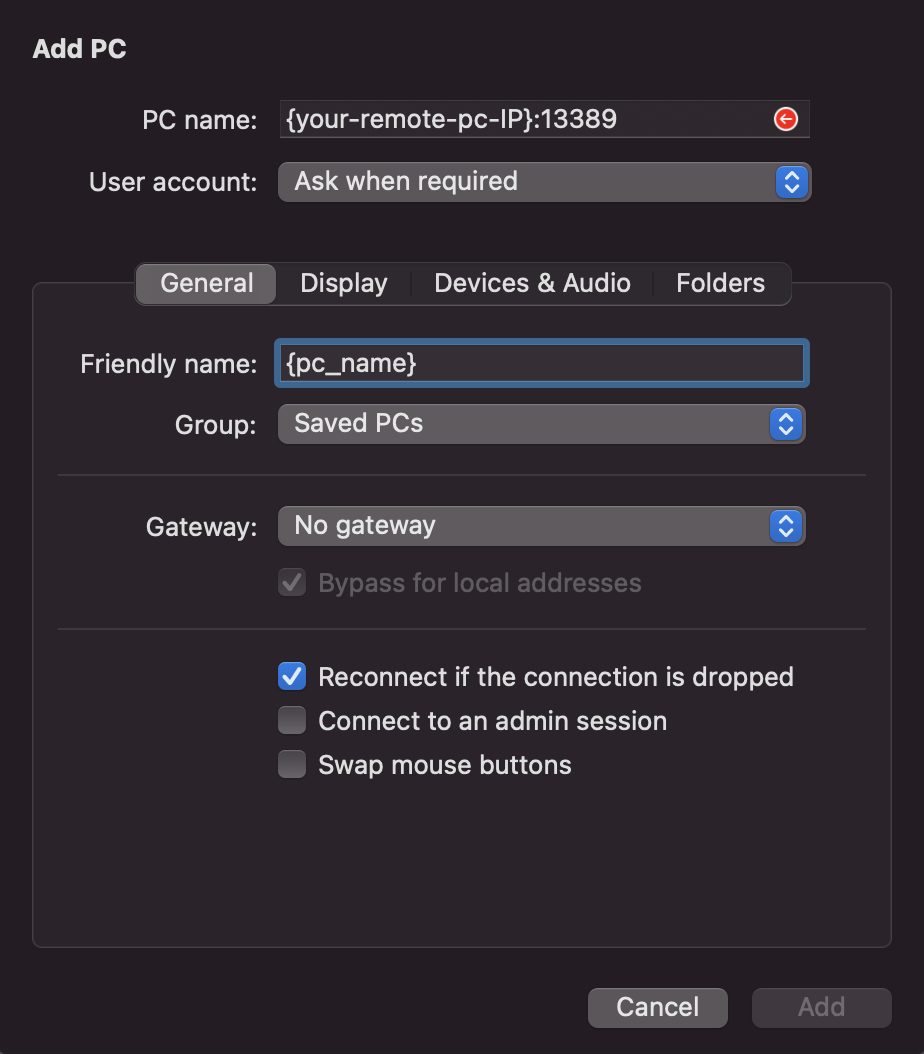
使用しているRmeote PCのIPと先ほど設定したport番号を指定し,追加することで接続が出来るようになります.


動作結果
それでは,実際に接続した様子を見ていきます.
接続後,少し時間が経つとWelcomeメッセージが表示されます.

Terminalを開いてみると,bashが動いていないのでbashと入力し実行することで,以下のように表示されるようになります.

以上で一通り終了です!!!
補足
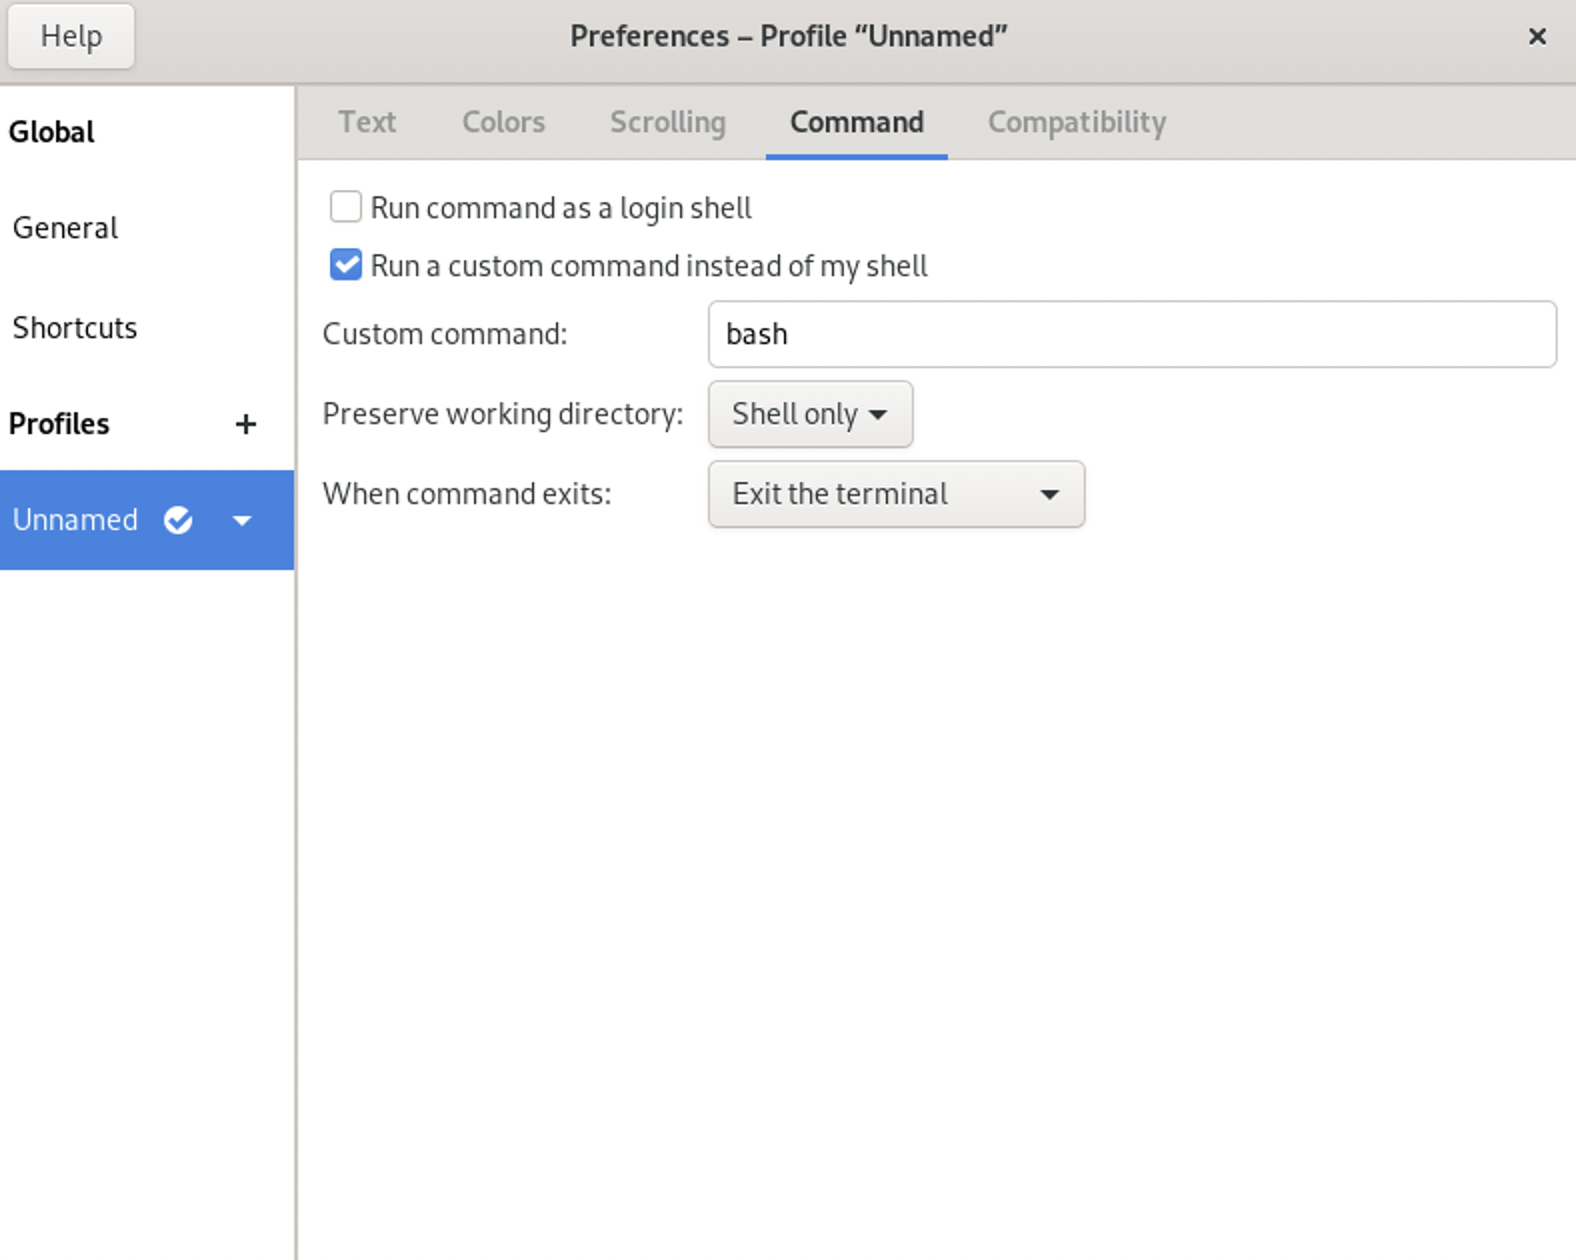
terminalを新しく開く度にbashを打つのが嫌な方は,下の図のように Terminal => Preferencesを開き,チェックを入れてCustom Commandにbashと入力してください.
設定が完了すると以降から,新しくterminalを開いてもbashが動くようになります.

さいごに
今回は,Dockerで立てたUbuntuにRDP接続を行いました.
次回は,さらにCUDAの設定を加えて,GPUを使えるようにしていきたいと思います.