はじめに
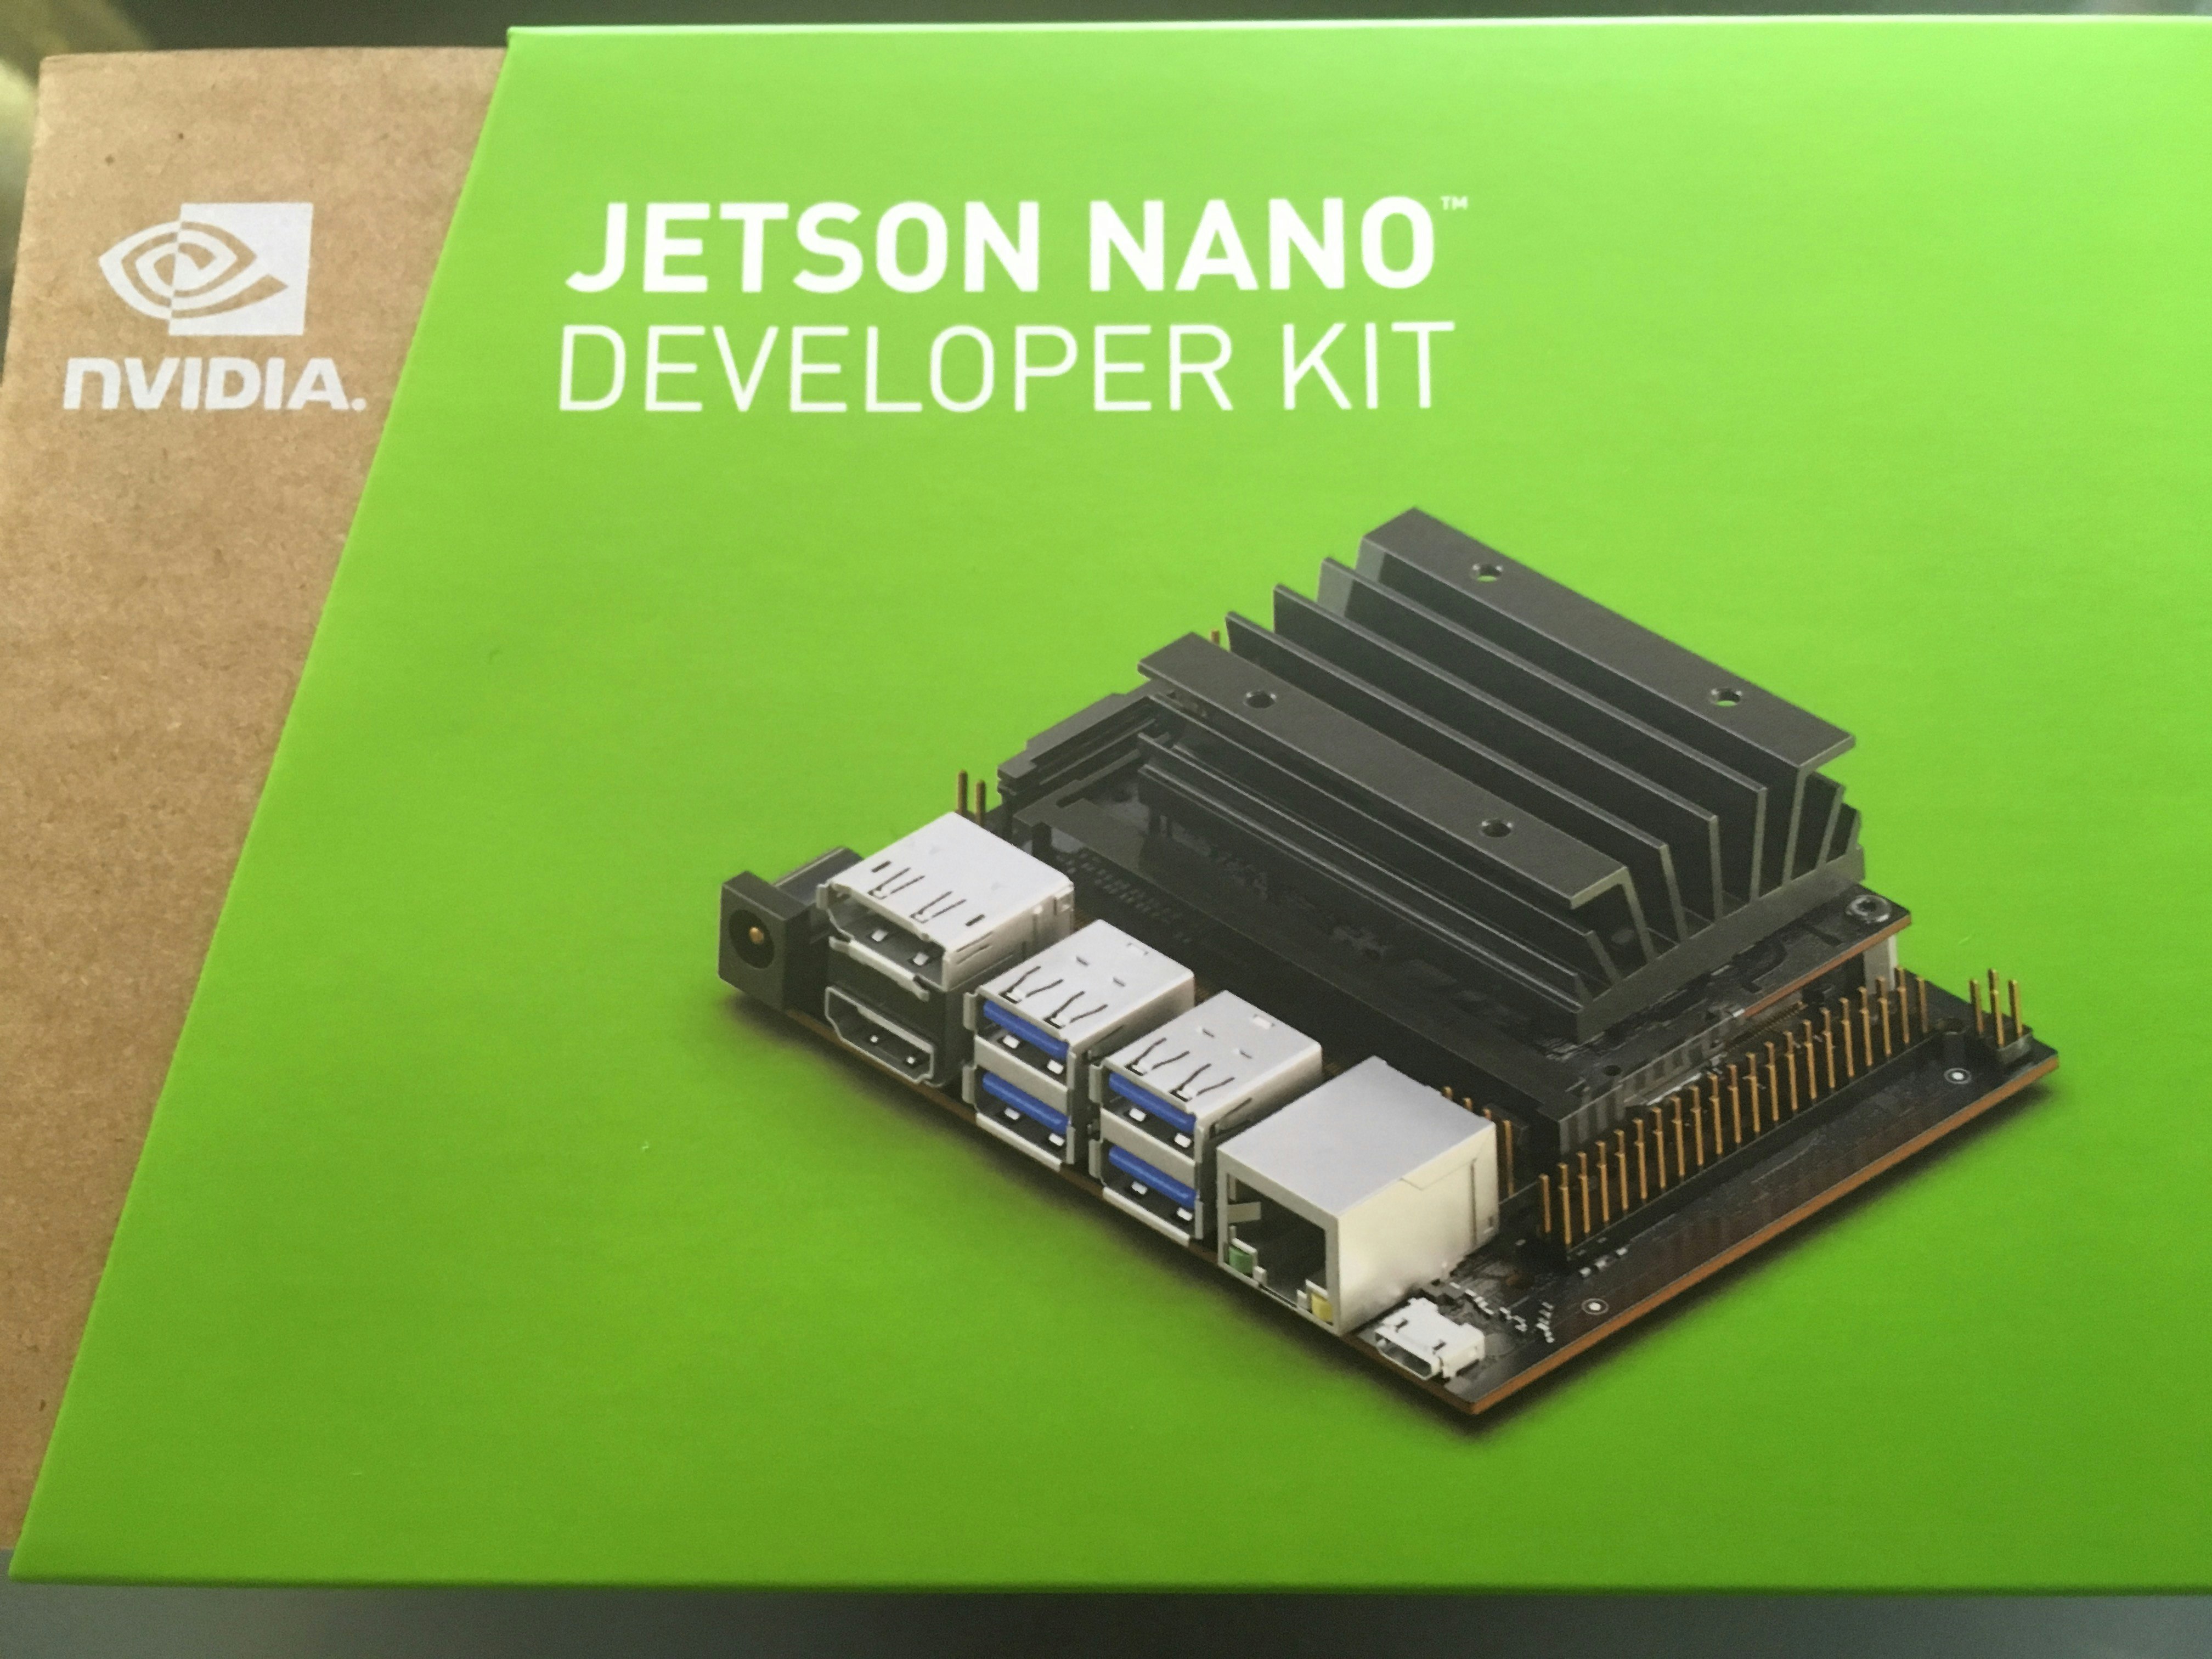
この検証では、NVIDIA社のエッジコンピューティング向けのデバイスNVIDIA Jetson NanoをKubernetesのWorkerノードとして追加しコンテナからGPUを利用できるようにします。
Jetson NanoとはRaspberry Piとほぼ同等サイズの小型コンピュータでありながら128 基の NVIDIA CUDAコアを実装した NVIDIA MaxwellアーキテクチャのGPUを搭載しています。CPUはクアッドコア ARM Cortex-A57 MPCoreプロセッサです。
詳細な仕様は、NVIDIA社の公式ページを参照してください。
セットアップ環境
[NVIDIA Jetson Nano]
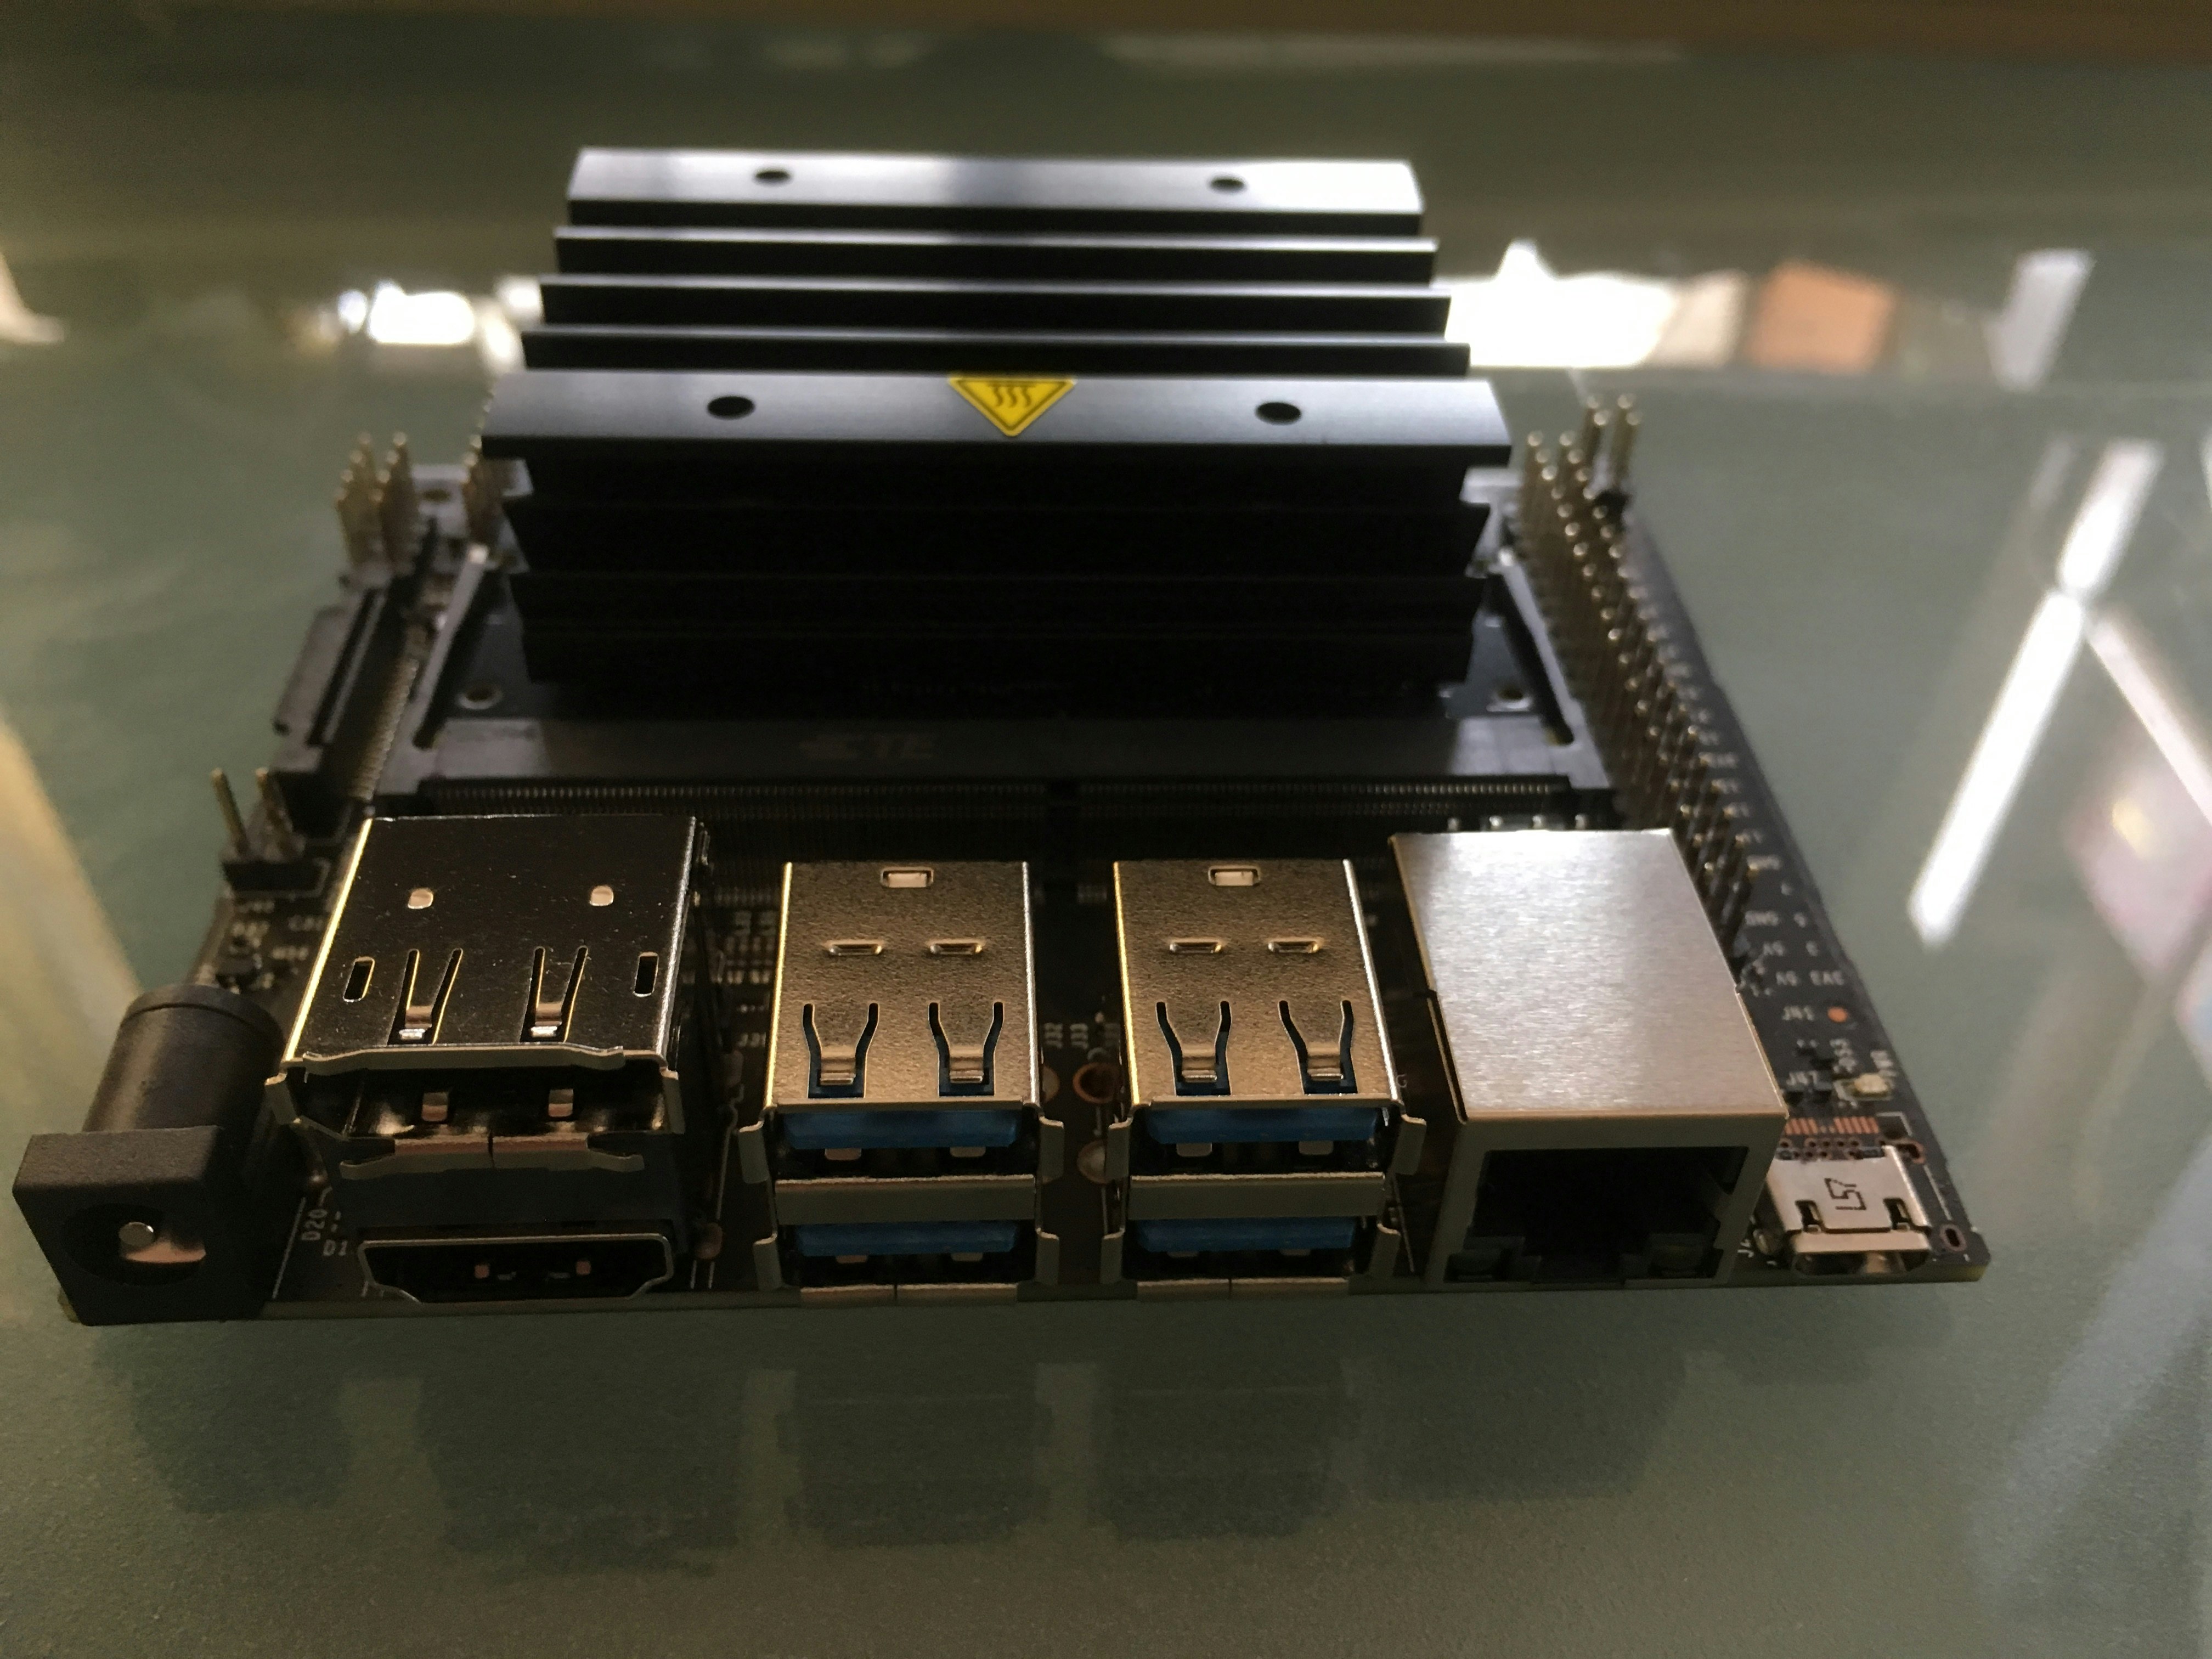
- Jetson Nano開発者キット
- micro SD カード(128GB)
- 電源(SUCCUL ACアダプター 5V 4A※)
- OSイメージ: Jetson Nano Developer Kit (JetPack 4.2.1)
※ USB Micro-Bによる電源供給も可能です。また、ACアダプターを利用する際は、ジャンパーでの切り替えが必要なため、ジャンパーも準備してください。
[セットアップ環境]
- Mac Book Air (OSイメージの書き込みに利用)
- モニター(HDMI端子)
- USBキーボード
[Kubernetes]
- Kubernetes v1.15.2 (kubeadmを使いセットアップ済み: Master x 1, Worker x 2)
- CNI: weave-net
Jetson Nanoのセットアップ
まず初めに、Jetson NanoのOSイメージをSDカードに書き込みます。
この作業は、Mac Book Airで実施しています。
ブラウザでJetson Download Centerにアクセスし、Jetson Nano Developer Kit SD Card Image をダウンロードし解凍します。
次に、ダウンロードしたイメージをSDカードに書き込みます。
この例では、SDカードのデバイスは/dev/disk2 (rdisk2)ですが、各自の環境で異なりますので、注意してデバイスを指定してください。
$ diskutil list external | fgrep '/dev/disk'
/dev/disk2 (external, physical):

$ sudo diskutil partitionDisk /dev/disk2 1 GPT "Free Space" "%noformat%" 100%

$ sudo dd if=sd-blob-b01.img of=/dev/rdisk2 bs=1m
以上で、Jetson NanoのOSイメージを書き込んだSDカードの準備が終わりました。
Jetson Nano Developer KitはUbuntuライクのOSにGPU向けのドライバやライブラリ、サンプルコードを入れたものになります。
SDカード、モニタ、USBキーボード、ネットワークケーブルをJetson Nanoに接続した後、淵源を接続します。
OSセットアップ
初回の起動では、セットアップ用のUIが起動しますので、言語やキーボードなどの設定を行います。それらが終わるとOSが起動します。
OSが起動した後、UIのシステム設定からネットワーク設定も済ませておくと、楽かもしれません。(当方はホスト名はjetsonとして設定しました)
次に、コンソールを開き、まずはパッケージを最新にアップグレードしておきます。
なお、初期状態でsshは立ち上がっていますので、以降の作業はssh経由でリモートマシンからJetson Nanoに接続して実行しても構いません。
$ sudo apt-get update
$ sudo apt-get upgrade -y
アップグレードが完了したら、一度Rebootします。
ベアメタル上でのサンプルプログラム(deviceQuery)の実行
次に、GPUが正しく認識しているかを、CUDAの動作確認用のサンプルプログラムdeviceQueryを使って確認します。
まずは、deviceQueryをコンパイルします。
$ cp -a /usr/local/cuda-10.0/samples/ ~/deviceQuery
$ cd ~/deviceQuery
$ make
コンパイルが完了後、出来上がったdeviceQueryのプログラムを実行します。
$ ./deviceQuery
./deviceQuery Starting...

 CUDA Device Query (Runtime API) version (CUDART static linking)

Detected 1 CUDA Capable device(s)

Device 0: "NVIDIA Tegra X1"
  CUDA Driver Version / Runtime Version          10.0 / 10.0
  CUDA Capability Major/Minor version number:    5.3
  Total amount of global memory:                 3964 MBytes (4156665856 bytes)
  ( 1) Multiprocessors, (128) CUDA Cores/MP:     128 CUDA Cores
  GPU Max Clock rate:                            922 MHz (0.92 GHz)
  Memory Clock rate:                             13 Mhz
  Memory Bus Width:                              64-bit
  L2 Cache Size:                                 262144 bytes
  Maximum Texture Dimension Size (x,y,z)         1D=(65536), 2D=(65536, 65536), 3D=(4096, 4096, 4096)
  Maximum Layered 1D Texture Size, (num) layers  1D=(16384), 2048 layers
  Maximum Layered 2D Texture Size, (num) layers  2D=(16384, 16384), 2048 layers
  Total amount of constant memory:               65536 bytes
  Total amount of shared memory per block:       49152 bytes
  Total number of registers available per block: 32768
  Warp size:                                     32
  Maximum number of threads per multiprocessor:  2048
  Maximum number of threads per block:           1024
  Max dimension size of a thread block (x,y,z): (1024, 1024, 64)
  Max dimension size of a grid size    (x,y,z): (2147483647, 65535, 65535)
  Maximum memory pitch:                          2147483647 bytes
  Texture alignment:                             512 bytes
  Concurrent copy and kernel execution:          Yes with 1 copy engine(s)
  Run time limit on kernels:                     Yes
  Integrated GPU sharing Host Memory:            Yes
  Support host page-locked memory mapping:       Yes
  Alignment requirement for Surfaces:            Yes
  Device has ECC support:                        Disabled
  Device supports Unified Addressing (UVA):      Yes
  Device supports Compute Preemption:            No
  Supports Cooperative Kernel Launch:            No
  Supports MultiDevice Co-op Kernel Launch:      No
  Device PCI Domain ID / Bus ID / location ID:   0 / 0 / 0
  Compute Mode:
     < Default (multiple host threads can use ::cudaSetDevice() with device simultaneously) >

deviceQuery, CUDA Driver = CUDART, CUDA Driver Version = 10.0, CUDA Runtime Version = 10.0, NumDevs = 1
Result = PASS
実行の結果、128 CUDA Coresとして認識しているのが確認できます。
DockerでdeviceQueryを実行
Jetson Nano Developer Kitでは、Docker(18.09.2)がセットアップされています。
まずは、コンテナからGPUが認識できるかを確認します。
sudoをつけずにdockerコマンドが実行できるように設定します。
$ sudo gpasswd -a $USER docker
$ sudo systemctl restart docker.service
次に、ubuntuのコンテナイメージを実行し、コンテナに入ります。
$ docker run -it --rm ubuntu /bin/sh
#
続いて、/dev配下にGPUが認識されているかを確認します。
# ls /dev
console  full	 null  pts     shm     stdin   tty	zero
fd	 mqueue  ptmx  random  stderr  stdout  urandom
そのままでは、NVIDIAのデバイス(/dev/nv****)が認識されていないようです。
コンテナからJetson Nanoのハードウェアの情報を確認するためにlshwコマンドをインストールし確認します。
# apt-get update
# apt-get install lshw -y
# lshw
...
     *-pci
          description: PCI bridge
          product: NVIDIA Corporation
          vendor: NVIDIA Corporation
          physical id: 2
          bus info: pci@0000:00:02.0
          version: a1
          width: 32 bits
          clock: 33MHz
          capabilities: pci normal_decode bus_master cap_list
          configuration: driver=pcieport
          resources: irq:84 ioport:1000(size=4096) memory:13000000-130fffff
...
ハードウェアとしては、GPUが認識されています。
/dev/nv***をコンテナから見えるようにしてあげれば良さそうです。
先ほどのサンプルプログラムdeviceQueryのコンテナイメージをビルドします。
まずはDockerfileを作ります。
$ cd ~/deviceQuery
$ vi Dockerfile
作成したDockerfileは以下です。
FROM arm64v8/ubuntu:18.04

ENV LD_LIBRARY_PATH=/usr/lib/aarch64-linux-gnu/tegra
RUN mkdir /cudaSamples
COPY deviceQuery /cudaSamples/

CMD /cudaSamples/deviceQuery
コンテナイメージをビルドします。
$ docker build -t ysakashita/device_query:latest .
コンテナイメージをDockerHubにPushしておきます。
$ docker push ysakashita/device_query:latest
作成したコンテナイメージを使って、サンプルプログラムをDocker上で実行します。
docker runでコンテナを実行する際、deviceとして/dev/nv****を指定するのと、関連ライブラリをマウントします。
$ docker run --device=/dev/nvhost-ctrl --device=/dev/nvhost-ctrl-gpu --device=/dev/nvhost-prof-gpu --device=/dev/nvmap --device=/dev/nvhost-gpu --device=/dev/nvhost-as-gpu -v /usr/lib/aarch64-linux-gnu/tegra:/usr/lib/aarch64-linux-gnu/tegra ysakashita/device_query
/cudaSamples/deviceQuery Starting...

 CUDA Device Query (Runtime API) version (CUDART static linking)

Detected 1 CUDA Capable device(s)

Device 0: "NVIDIA Tegra X1"
  CUDA Driver Version / Runtime Version          10.0 / 10.0
  CUDA Capability Major/Minor version number:    5.3
  Total amount of global memory:                 3964 MBytes (4156665856 bytes)
  ( 1) Multiprocessors, (128) CUDA Cores/MP:     128 CUDA Cores
  GPU Max Clock rate:                            922 MHz (0.92 GHz)
  Memory Clock rate:                             13 Mhz
  Memory Bus Width:                              64-bit
  L2 Cache Size:                                 262144 bytes
  Maximum Texture Dimension Size (x,y,z)         1D=(65536), 2D=(65536, 65536), 3D=(4096, 4096, 4096)
  Maximum Layered 1D Texture Size, (num) layers  1D=(16384), 2048 layers
  Maximum Layered 2D Texture Size, (num) layers  2D=(16384, 16384), 2048 layers
  Total amount of constant memory:               65536 bytes
  Total amount of shared memory per block:       49152 bytes
  Total number of registers available per block: 32768
  Warp size:                                     32
  Maximum number of threads per multiprocessor:  2048
  Maximum number of threads per block:           1024
  Max dimension size of a thread block (x,y,z): (1024, 1024, 64)
  Max dimension size of a grid size    (x,y,z): (2147483647, 65535, 65535)
  Maximum memory pitch:                          2147483647 bytes
  Texture alignment:                             512 bytes
  Concurrent copy and kernel execution:          Yes with 1 copy engine(s)
  Run time limit on kernels:                     Yes
  Integrated GPU sharing Host Memory:            Yes
  Support host page-locked memory mapping:       Yes
  Alignment requirement for Surfaces:            Yes
  Device has ECC support:                        Disabled
  Device supports Unified Addressing (UVA):      Yes
  Device supports Compute Preemption:            No
  Supports Cooperative Kernel Launch:            No
  Supports MultiDevice Co-op Kernel Launch:      No
  Device PCI Domain ID / Bus ID / location ID:   0 / 0 / 0
  Compute Mode:
     < Default (multiple host threads can use ::cudaSetDevice() with device simultaneously) >

deviceQuery, CUDA Driver = CUDART, CUDA Driver Version = 10.0, CUDA Runtime Version = 10.0, NumDevs = 1
Result = PASS
Docker上でも正しくCUDAとしてGPUを認識してしているのが確認できます。
KubernetesのWorkerノードとして追加
kubeadm, kubeletをインストール
次にKubernetesのWorkerノードとして追加します。
事前準備としてSwapをoffにします。Swapがonだとkubeletが起動しないためです。
Jetson Nano Developer Kitではswapはzramで構成されています。
zramのサービス(nvzramconfig)を無効化しておきます。
$ sudo zramctl
NAME       ALGORITHM DISKSIZE DATA COMPR TOTAL STREAMS MOUNTPOINT
/dev/zram3 lzo         495.5M   4K   76B   12K       4 [SWAP]
/dev/zram2 lzo         495.5M   4K   76B   12K       4 [SWAP]
/dev/zram1 lzo         495.5M   4K   76B   12K       4 [SWAP]
/dev/zram0 lzo         495.5M   4K   76B   12K       4 [SWAP]

$ sudo swapoff -a
$ sudo systemctl disable nvzramconfig
Removed /etc/systemd/system/multi-user.target.wants/nvzramconfig.service.
次にkubeadm, kubeletをインストールします。
$ sudo bash
# apt-get update && apt-get install -y apt-transport-https curl
# curl -s https://packages.cloud.google.com/apt/doc/apt-key.gpg | apt-key add -
# cat <<EOF >/etc/apt/sources.list.d/kubernetes.list
deb https://apt.kubernetes.io/ kubernetes-xenial main
EOF
# apt-get update
# apt-get install -y kubelet kubeadm
# apt-mark hold kubelet kubeadm
ノード追加のトークンを取得
次に、KubernetesのWorkerとしてjoinさせるためのトークンを取得します。
KubernetesのMasterノードにログインし、トークンとca.crtのハッシュを取得します。
$ kubeadm token create
XXXXXXX
$ openssl x509 -pubkey -in /etc/kubernetes/pki/ca.crt | openssl rsa -pubin -outform der 2>/dev/null | \
   openssl dgst -sha256 -hex | sed 's/^.* //'
YYYYYYYYYYYYYYYYYYYY
次に、再度Jetson Nanoに接続しkubeadmコマンドを使い、KubernetesのWorkerノードとしてJetson Nanoを追加します。
$ sudo kubeadm join 192.168.0.23:6443 --token XXXXXXX --discovery-token-ca-cert-hash sha256:YYYYYYYYYYYYYYYYYYYY
kubetctlコマンドが実行できるマシンでノードを確認します
$ kubectl get node |grep jetson
jetson       NotReady      <none>   1d    v1.15.3
ホスト名jetsonのノードは追加されているもののNotReadyの状態です。
$ kubectl get pod -n kube-system -o wide |grep jetson
kube-proxy-q25ng                     1/1     Running            1          1d    192.168.0.110   jetson       <none>           <none>
weave-net-mrz2k                      0/2     CrashLoopBackOff   43         1d    192.168.0.110   jetson       <none>           <none>
kube-systemネームスペース配下のPodを確認するとweave-netのPodが正しく動いていません。ログを確認します。
$ kubectl logs weave-net-mrz2k  weave
...
modprobe: module xt_set not found in modules.dep
Ignore the error if "xt_set" is built-in in the kernel
ipset v6.32: Kernel error received: Invalid argument
ipsetで利用しているxt_setがKernelで有効になっていないことが原因でした。
それで、対応策としては大きく以下の3つあります。
- ipsetを利用しないCNIを選択(コンテナネットワーク再作成)
- Jetson Nano Developer Kitを使わず他のOS+GPU関連ライブラリをインストール
- カーネルをコンパイル
1は、armで簡単に使えるCNIとして選択肢として、FlannelやCalicoがぱっと候補にあがるかと思います。Flannelは開発が鈍化しているのでパス。Calicoを調べて見るとSystem requirementsにKernelで"xt_set"が必須となっているため見送りました。次に、2 or 3で悩みましたが、GPU周りのライブラリはまだまだバージョンの依存関係が強くハマると時間を取られるため、3を選択しました(半分趣味です)。
カーネルのコンパイル
Jetson Nano Developer KitはKernelのソースも提供されているため、これを使ってカーネルをコンパイルします。
Jetson Nanoにログインし、カーネルのソースを展開します。
カーネルのソースはJetson Download CenterからはL4T Sourcesとしてダウンロードすることもできます。
$ mkdir -p nano-src
$ cd nano-src
$ wget https://developer.nvidia.com/embedded/dlc/public_sources_Nano
$ mv public_sources_Nano pubcli_source.tbz2
$ tar xvf pubcli_source.tbz2 public_sources/kernel_src.tbz2
$ cd public_sources/kernel/kernel-4.9
つづいて、現在のKernerlのconfig情報を元にKernelのコンパイル時のコンフィグファイル(.config)を作成します。
$ zcat /proc/config.gz > .config.org
$ cp .config.org .config
$ vi .config
コンフィグファイル(.config)の変更箇所は以下です。
IP Setとxt_set関連を有効にします。
(その他も少し変えていますが、当方の趣味です)
--- .config.org	2019-08-21 08:41:56.352256049 +0900
+++ .config	2019-08-21 08:53:03.308785008 +0900
@@ -339,7 +339,7 @@
 CONFIG_IOSCHED_NOOP=y
 # CONFIG_IOSCHED_DEADLINE is not set
 CONFIG_IOSCHED_CFQ=y
-# CONFIG_CFQ_GROUP_IOSCHED is not set
+CONFIG_CFQ_GROUP_IOSCHED=y
 CONFIG_DEFAULT_CFQ=y
 # CONFIG_DEFAULT_NOOP is not set
 CONFIG_DEFAULT_IOSCHED="cfq"
@@ -855,6 +855,7 @@
 CONFIG_NETFILTER_XT_TARGET_NFQUEUE=m
 # CONFIG_NETFILTER_XT_TARGET_NOTRACK is not set
 # CONFIG_NETFILTER_XT_TARGET_RATEEST is not set
+CONFIG_NETFILTER_XT_SET=m
 CONFIG_NETFILTER_XT_TARGET_REDIRECT=m
 # CONFIG_NETFILTER_XT_TARGET_TEE is not set
 CONFIG_NETFILTER_XT_TARGET_TPROXY=m
@@ -913,7 +914,23 @@
 # CONFIG_NETFILTER_XT_MATCH_TCPMSS is not set
 CONFIG_NETFILTER_XT_MATCH_TIME=m
 CONFIG_NETFILTER_XT_MATCH_U32=m
-# CONFIG_IP_SET is not set
+CONFIG_IP_SET=m
+CONFIG_IP_SET_MAX=256
+CONFIG_IP_SET_BITMAP_IP=m
+CONFIG_IP_SET_BITMAP_IPMAC=m
+CONFIG_IP_SET_BITMAP_PORT=m
+CONFIG_IP_SET_HASH_IP=m
+CONFIG_IP_SET_HASH_IPMARK=m
+CONFIG_IP_SET_HASH_IPPORT=m
+CONFIG_IP_SET_HASH_IPPORTIP=m
+CONFIG_IP_SET_HASH_IPPORTNET=m
+CONFIG_IP_SET_HASH_MAC=m
+CONFIG_IP_SET_HASH_NETPORTNET=m
+CONFIG_IP_SET_HASH_NET=m
+CONFIG_IP_SET_HASH_NETNET=m
+CONFIG_IP_SET_HASH_NETPORT=m
+CONFIG_IP_SET_HASH_NETIFACE=m
+CONFIG_IP_SET_LIST_SET=m
 CONFIG_IP_VS=m
 # CONFIG_IP_VS_IPV6 is not set
 # CONFIG_IP_VS_DEBUG is not set
@@ -1838,8 +1855,11 @@
 # CONFIG_DM_MQ_DEFAULT is not set
 # CONFIG_DM_DEBUG is not set
 CONFIG_DM_CRYPT=y
+CONFIG_DM_BUFIO=m
+CONFIG_DM_BIO_PRISON=m
+CONFIG_DM_PERSISTENT_DATA=m
 # CONFIG_DM_SNAPSHOT is not set
-# CONFIG_DM_THIN_PROVISIONING is not set
+ CONFIG_DM_THIN_PROVISIONING=m
 # CONFIG_DM_CACHE is not set
 # CONFIG_DM_ERA is not set
 # CONFIG_DM_MIRROR is not set
@@ -6415,3 +6435,4 @@
 CONFIG_ARCH_TEGRA_18x_SOC=y
 CONFIG_ARCH_TEGRA_19x_SOC=y
 CONFIG_ARCH_TEGRA_23x_SOC=y
カーネルとモジュールをコンパイルします。
$ make prepare
$ make modules_prepare
$ make -j5 Image
$ make -j5 modules
コンパイルには数時間かかります。
コンパイルが終わったら、カーネル(Bootイメージ)を置き換えます。
もしものために、オリジナルのファイルをImage.orgとしてバックアップしておきます。
$ sudo cp /boot/Image /boot/Image.org
$ sudo cp arch/arm64/boot/Image /boot/Image
次にモジュールもインストールします。
$ sudo make modules_install
カーネルの置き換えとモジュールのインストールが終わったら、Rebootします。
$ sudo reboot
起動後、Jetson Nanoにログインしカーネルが置き換わっているかを確認します。
$ uname -a
Linux jetson 4.9.140 #2 SMP PREEMPT Wed Aug 21 10:36:21 JST 2019 aarch64 aarch64 aarch64 GNU/Linux
カーネルの日付が変わっていることを確認します。
KubernetesのWorkerノードを確認する
再度、kubetctlコマンドが実行できるマシンでノードを確認します。
$ kubectl get node |grep jetson
jetson       Ready      <none>   2d    v1.15.3
KubernetesのWorkerノードとして追加されました。
もし、Readyに変わっていない場合は、kube-systemネームスペースのweave-netのPodを一度削除してみてください。再度DaemonSetによってJetson Nanoのノード上にweave-netのPodがデプロイされます。
$ kubectl delete pod weave-net-mrz2k -n kube-system

$ kubectl get pod -n kube-system -o wide |grep jetson
kube-proxy-q25ng                     1/1     Running       2          2d     192.168.0.110   jetson       <none>           <none>
weave-net-cz6pw                      2/2     Running       1          5m44s   192.168.0.110   jetson       <none>           <none>
KubernetesでdeviceQueryを実行
Kubernetesに追加したJetson NanoのノードでdeviceQueryのPodをデプロイしてみます。
deviceQueryのPodのManifest(devicequery.yaml)を作成します。
apiVersion: apps/v1
kind: Deployment
metadata:
  name: devicequery
spec:
  replicas: 1
  selector:
    matchLabels:
      app: devicequery
  template:
    metadata:
      name: devicequery
      labels:
        app: devicequery
    spec:
      nodeSelector:
        kubernetes.io/hostname: jetson
      containers:
      - name: devicequery
        image: ysakashita/device_query:latest
        volumeMounts:
        - mountPath: /dev/nvhost-ctrl
          name: nvhost-ctrl
        - mountPath: /dev/nvhost-ctrl-gpu
          name: nvhost-ctrl-gpu
        - mountPath: /dev/nvhost-prof-gpu
          name: nvhost-prof-gpu
        - mountPath: /dev/nvmap
          name: nvmap
        - mountPath: /dev/nvhost-gpu
          name: nvhost-gpu
        - mountPath: /dev/nvhost-as-gpu
          name: nvhost-as-gpu
        - mountPath: /usr/lib/aarch64-linux-gnu/tegra
          name: lib
        securityContext:
          privileged: true
      volumes:
      - name: nvhost-ctrl
        hostPath:
          path: /dev/nvhost-ctrl
      - name: nvhost-ctrl-gpu
        hostPath:
          path: /dev/nvhost-ctrl-gpu
      - name: nvhost-prof-gpu
        hostPath:
          path: /dev/nvhost-prof-gpu
      - name: nvmap
        hostPath:
          path: /dev/nvmap
      - name: nvhost-gpu
        hostPath:
          path: /dev/nvhost-gpu
      - name: nvhost-as-gpu
        hostPath:
          path: /dev/nvhost-as-gpu
      - name: lib
        hostPath:
          path: /usr/lib/aarch64-linux-gnu/tegra
NVIDIA関連のデバイス/dev/nv***と、関連ライブラリはhostpathでマウントしています。
また、Jetson NanoのノードにPodがデプロイされるようにnodeSelectorでjetsonのノードを指定しています。
作成したManifest(devicequery.yaml)をデプロイします。
$ kubectl apply -f devicequery.yaml
デプロイされたPodのログを確認します。
$ kubectl get pod -l app=devicequery
NAME                           READY   STATUS      RESTARTS   AGE
devicequery-574cd8f556-5g9g6   0/1     Completed   0          10s

$ kubectl logs devicequery-574cd8f556-5g9g6
/cudaSamples/deviceQuery Starting...

 CUDA Device Query (Runtime API) version (CUDART static linking)

Detected 1 CUDA Capable device(s)

Device 0: "NVIDIA Tegra X1"
  CUDA Driver Version / Runtime Version          10.0 / 10.0
  CUDA Capability Major/Minor version number:    5.3
  Total amount of global memory:                 3964 MBytes (4156665856 bytes)
  ( 1) Multiprocessors, (128) CUDA Cores/MP:     128 CUDA Cores
  GPU Max Clock rate:                            922 MHz (0.92 GHz)
  Memory Clock rate:                             13 Mhz
  Memory Bus Width:                              64-bit
  L2 Cache Size:                                 262144 bytes
  Maximum Texture Dimension Size (x,y,z)         1D=(65536), 2D=(65536, 65536), 3D=(4096, 4096, 4096)
  Maximum Layered 1D Texture Size, (num) layers  1D=(16384), 2048 layers
  Maximum Layered 2D Texture Size, (num) layers  2D=(16384, 16384), 2048 layers
  Total amount of constant memory:               65536 bytes
  Total amount of shared memory per block:       49152 bytes
  Total number of registers available per block: 32768
  Warp size:                                     32
  Maximum number of threads per multiprocessor:  2048
  Maximum number of threads per block:           1024
  Max dimension size of a thread block (x,y,z): (1024, 1024, 64)
  Max dimension size of a grid size    (x,y,z): (2147483647, 65535, 65535)
  Maximum memory pitch:                          2147483647 bytes
  Texture alignment:                             512 bytes
  Concurrent copy and kernel execution:          Yes with 1 copy engine(s)
  Run time limit on kernels:                     Yes
  Integrated GPU sharing Host Memory:            Yes
  Support host page-locked memory mapping:       Yes
  Alignment requirement for Surfaces:            Yes
  Device has ECC support:                        Disabled
  Device supports Unified Addressing (UVA):      Yes
  Device supports Compute Preemption:            No
  Supports Cooperative Kernel Launch:            No
  Supports MultiDevice Co-op Kernel Launch:      No
  Device PCI Domain ID / Bus ID / location ID:   0 / 0 / 0
  Compute Mode:
     < Default (multiple host threads can use ::cudaSetDevice() with device simultaneously) >

deviceQuery, CUDA Driver = CUDART, CUDA Driver Version = 10.0, CUDA Runtime Version = 10.0, NumDevs = 1
Result = PASS
Podからも正しくCUDAとしてGPUを認識してしているのが確認できます。
TensorFlow+MNISTをJetson NanoのWorkerノードで実行
次は、Kubernetesに追加したJetson NanoのGPUノードにて、TensorflowのPod上でMLのサンプルとして有名なMNISTを動かします。
Jetson Nano用のTensorFlowのコンテナをビルド
まずは、Jetson Nanoにログインし、Jetson Nano用にTensorFlowのコンテナをビルドします。
Jetson Nano Developer KitではJetPack 4.2.1からnvidia-dockerがBeta機能としてサポートされています。詳細はNVIDIA Container Runtime on Jetson (Beta)
をご参照ください。
本検証では、NVIDIA社はJetson Nano用にTensorflowのバイナリファイルを用意してくれていますので、これを使い独自にTensorflowのコンテナを作成します。
なお、下記で作成したコンテナは、ysakashita/tensorflow-jetson-nano:latest でDockerHubにて公開してありますので、コンテナのビルドをスキップしたい方はご利用ください。
まずは、コンテナのビルドを行うディレクトリを作成し、必要なライブラリの設定ファイルをコピーしておきます。
$ mkdir tensorflow-jetson-nano
$ cd tensorflow-jetson-nano
$ mkdir conf
$ cp /etc/ld.so.conf.d/cuda-10-0.conf conf/
$ cp /etc/ld.so.conf.d/nvidia-tegra.conf conf/
続いて、Dockerfileを作成します。
作成するDockerfileは以下です。
なお、必要なパッケージなどの情報については、NVIDIA社のTensorFlow For Jetson Platformを参考にしながら作成します。
FROM arm64v8/ubuntu:18.04

RUN apt-get update && \
    apt-get upgrade -y && \
    apt-get install -y pkg-config libhdf5-serial-dev hdf5-tools libhdf5-dev zlib1g-dev zip libjpeg8-dev python3-pip

RUN pip3 install -U pip
RUN pip3 install -U numpy grpcio absl-py py-cpuinfo psutil portpicker six mock requests gast h5py astor termcolor protobuf keras-applications keras-preprocessing wrapt google-pasta setuptools testresources

RUN pip3 install --pre --extra-index-url https://developer.download.nvidia.com/compute/redist/jp/v42 tensorflow-gpu

COPY conf/cuda-10-0.conf /etc/ld.so.conf.d/
COPY conf/nvidia-tegra.conf /etc/ld.so.conf.d/

ENV LD_LIBRARY_PATH /usr/local/cuda-10.0/targets/aarch64-linux/lib:/usr/lib/aarch64-linux-gnu/tegra
ENV CUDA_PATH /usr/local/cuda-10.0

ARG USER=tf
ARG UID=1000
ARG UID=1000
ARG GID=1000

RUN groupadd -g $GID $USER \
 && useradd -u $UID -g $GID -G video $USER \
 && mkdir -p /home/$USER \
 && chown -R $USER /home/$USER

USER $USER
WORKDIR /home/$USER

CMD ["/bin/bash"]
作成したDockerfileを使いコンテナをビルドします。
作成したコンテナをDockerHubへPushしておきます。
$ docker build -t ysakashita/tensorflow-jetson-nano:latest .
$ docker push ysakashita/tensorflow-jetson-nano:latest
Jetson NanoのWorkerノードでMNISTを実行
kubectlが実行できるマシンにログインしMNISTを実行するためのManifest(mnist.yaml)を作成します。
apiVersion: v1
kind: ConfigMap
metadata:
  name: mnist-script
data:
  mnist.py: |
    #!/usr/bin/env python3

    import tensorflow as tf
    mnist = tf.keras.datasets.mnist

    (x_train, y_train),(x_test, y_test) = mnist.load_data()
    x_train, x_test = x_train / 255.0, x_test / 255.0

    model = tf.keras.models.Sequential([
      tf.keras.layers.Flatten(input_shape=(28, 28)),
      tf.keras.layers.Dense(512, activation=tf.nn.relu),
      tf.keras.layers.Dropout(0.2),
      tf.keras.layers.Dense(10, activation=tf.nn.softmax)
    ])
    model.compile(optimizer='adam',
            loss='sparse_categorical_crossentropy',
            metrics=['accuracy'])

    model.fit(x_train, y_train, epochs=5)
    model.evaluate(x_test, y_test)

---

apiVersion: apps/v1
kind: Deployment
metadata:
  name: mnist
spec:
  replicas: 1
  selector:
    matchLabels:
      app: mnist
  template:
    metadata:
      name: mnist
      labels:
        app: mnist
    spec:
      nodeSelector:
        kubernetes.io/hostname: jetson
      containers:
      - name: mnist
        image: ysakashita/tensorflow-jetson-nano:latest
        volumeMounts:
        - mountPath: /mnt/script
          name: script
        - mountPath: /dev/nvhost-ctrl
          name: nvhost-ctrl
        - mountPath: /dev/nvhost-ctrl-gpu
          name: nvhost-ctrl-gpu
        - mountPath: /dev/nvhost-prof-gpu
          name: nvhost-prof-gpu
        - mountPath: /dev/nvmap
          name: nvmap
        - mountPath: /dev/nvhost-gpu
          name: nvhost-gpu
        - mountPath: /dev/nvhost-as-gpu
          name: nvhost-as-gpu
        - mountPath: /usr/lib/aarch64-linux-gnu/tegra
          name: lib
        - mountPath: /usr/local/cuda-10.0
          name: cuda10-0
        - mountPath: /usr/lib/aarch64-linux-gnu/libcudnn.so.7
          name: cudnn
        securityContext:
          privileged: true
        command:
        - /bin/bash
        - -ic
        - python3 /mnt/script/mnist.py
      volumes:
      - name: script
        configMap:
          name: mnist-script
      - name: nvhost-ctrl
        hostPath:
          path: /dev/nvhost-ctrl
      - name: nvhost-ctrl-gpu
        hostPath:
          path: /dev/nvhost-ctrl-gpu
      - name: nvhost-prof-gpu
        hostPath:
          path: /dev/nvhost-prof-gpu
      - name: nvmap
        hostPath:
          path: /dev/nvmap
      - name: nvhost-gpu
        hostPath:
          path: /dev/nvhost-gpu
      - name: nvhost-as-gpu
        hostPath:
          path: /dev/nvhost-as-gpu
      - name: lib
        hostPath:
          path: /usr/lib/aarch64-linux-gnu/tegra
      - name: cuda10-0
        hostPath:
          path: /usr/local/cuda-10.0
      - name: cudnn
        hostPath:
          path: /usr/lib/aarch64-linux-gnu/libcudnn.so.7
MNISTのPythonのプログラムはConfigMap(mnist-script)に作成しています。
mnist.yamlをデプロイし、動作を確認します。
$ kubectl create -f mnist.yaml

$ kubectl get pod |grep mnist
mnist-7f5fbc7576-ft6kx   1/1     Running       0          15s

$ kubectl logs -f mnist-7f5fbc7576-ft6kx
...
2019-09-04 04:04:33.922118: I tensorflow/compiler/xla/service/service.cc:168] XLA service 0x2465ef90 executing computations on platform Host. Devices:
2019-09-04 04:04:33.922179: I tensorflow/compiler/xla/service/service.cc:175]   StreamExecutor device (0): <undefined>, <undefined>
2019-09-04 04:04:33.958013: I tensorflow/stream_executor/platform/default/dso_loader.cc:42] Successfully opened dynamic library libcuda.so.1
2019-09-04 04:04:34.038424: I tensorflow/stream_executor/cuda/cuda_gpu_executor.cc:972] ARM64 does not support NUMA - returning NUMA node zero
2019-09-04 04:04:34.038763: I tensorflow/compiler/xla/service/service.cc:168] XLA service 0x2580cac0 executing computations on platform CUDA. Devices:
2019-09-04 04:04:34.038814: I tensorflow/compiler/xla/service/service.cc:175]   StreamExecutor device (0): NVIDIA Tegra X1, Compute Capability 5.3
2019-09-04 04:04:34.039272: I tensorflow/stream_executor/cuda/cuda_gpu_executor.cc:972] ARM64 does not support NUMA - returning NUMA node zero
2019-09-04 04:04:34.039437: I tensorflow/core/common_runtime/gpu/gpu_device.cc:1640] Found device 0 with properties:
name: NVIDIA Tegra X1 major: 5 minor: 3 memoryClockRate(GHz): 0.9216
pciBusID: 0000:00:00.0
2019-09-04 04:04:34.039513: I tensorflow/stream_executor/platform/default/dso_loader.cc:42] Successfully opened dynamic library libcudart.so.10.0
2019-09-04 04:04:34.109218: I tensorflow/stream_executor/platform/default/dso_loader.cc:42] Successfully opened dynamic library libcublas.so.10.0
2019-09-04 04:04:34.183250: I tensorflow/stream_executor/platform/default/dso_loader.cc:42] Successfully opened dynamic library libcufft.so.10.0
2019-09-04 04:04:34.273634: I tensorflow/stream_executor/platform/default/dso_loader.cc:42] Successfully opened dynamic library libcurand.so.10.0
2019-09-04 04:04:34.346579: I tensorflow/stream_executor/platform/default/dso_loader.cc:42] Successfully opened dynamic library libcusolver.so.10.0
2019-09-04 04:04:34.352498: I tensorflow/stream_executor/platform/default/dso_loader.cc:42] Successfully opened dynamic library libcusparse.so.10.0
2019-09-04 04:04:34.383868: I tensorflow/stream_executor/platform/default/dso_loader.cc:42] Successfully opened dynamic library libcudnn.so.7
2019-09-04 04:04:34.384243: I tensorflow/stream_executor/cuda/cuda_gpu_executor.cc:972] ARM64 does not support NUMA - returning NUMA node zero
2019-09-04 04:04:34.384494: I tensorflow/stream_executor/cuda/cuda_gpu_executor.cc:972] ARM64 does not support NUMA - returning NUMA node zero
2019-09-04 04:04:34.384581: I tensorflow/core/common_runtime/gpu/gpu_device.cc:1763] Adding visible gpu devices: 0
2019-09-04 04:04:34.384673: I tensorflow/stream_executor/platform/default/dso_loader.cc:42] Successfully opened dynamic library libcudart.so.10.0
2019-09-04 04:04:35.845911: I tensorflow/core/common_runtime/gpu/gpu_device.cc:1181] Device interconnect StreamExecutor with strength 1 edge matrix:
2019-09-04 04:04:35.845987: I tensorflow/core/common_runtime/gpu/gpu_device.cc:1187]      0
2019-09-04 04:04:35.846015: I tensorflow/core/common_runtime/gpu/gpu_device.cc:1200] 0:   N
2019-09-04 04:04:35.846323: I tensorflow/stream_executor/cuda/cuda_gpu_executor.cc:972] ARM64 does not support NUMA - returning NUMA node zero
2019-09-04 04:04:35.846599: I tensorflow/stream_executor/cuda/cuda_gpu_executor.cc:972] ARM64 does not support NUMA - returning NUMA node zero
2019-09-04 04:04:35.846767: I tensorflow/core/common_runtime/gpu/gpu_device.cc:1326] Created TensorFlow device (/job:localhost/replica:0/task:0/device:GPU:0 with 171 MB memory) -> physical GPU (device: 0, name: NVIDIA Tegra X1, pci bus id: 0000:00:00.0, compute capability: 5.3)
2019-09-04 04:04:36.649765: I tensorflow/stream_executor/platform/default/dso_loader.cc:42] Successfully opened dynamic library libcublas.so.10.0
Epoch 1/5
60000/60000 [==============================] - 31s 516us/sample - loss: 0.2217 - acc: 0.9344
Epoch 2/5
60000/60000 [==============================] - 30s 503us/sample - loss: 0.0964 - acc: 0.9709
Epoch 3/5
60000/60000 [==============================] - 30s 507us/sample - loss: 0.0695 - acc: 0.9779
Epoch 4/5
60000/60000 [==============================] - 30s 500us/sample - loss: 0.0533 - acc: 0.9832
Epoch 5/5
60000/60000 [==============================] - 30s 499us/sample - loss: 0.0423 - acc: 0.9865
10000/10000 [==============================] - 2s 183us/sample - loss: 0.0676 - acc: 0.9811
実行結果を見るとphysical GPU (device: 0, name: NVIDIA Tegra X1, pci bus id: 0000:00:00.0, compute capability: 5.3)とGPUを使ってMNISTを実行しているのがわかります。
以上で、Kubernetesに追加したJetson NodeのWorkerでMNISTを実行できました。
感想
おうちKubernetesでもGPUの時代がやってきました。今回はNVIDIA社の小型コンピューティングのJetson NanoをKubernetesのノードとして動作させる検証を行いました。Kubernetes上でコンテナ+AI/ML+GPUを安価に試したい人にとっては、Jetson Nanoはひとつの選択肢ではないでしょうか。また、今回の検証では、カーネルをコンパイルする必要がありました。カーネルコンパイルと聞くと少々ハードルが高いと思う人もいるかもしれませんが、今回検証したコンフィグですと、Jetson Nanoのハード仕様が変わらない限りは大きなエラーもなく成功するかと思います。Jetson Nanoのハード面での残念な点をあげるとすると、無線LAN/Bluetoothがない点でしょうか。
参考情報
- https://www.nvidia.com/ja-jp/autonomous-machines/embedded-systems/jetson-nano/
- https://developer.nvidia.com/embedded/downloads
- https://developer.nvidia.com/embedded/learn/get-started-jetson-nano-devkit
- https://docs.nvidia.com/deeplearning/frameworks/install-tf-jetson-platform/index.html
- https://blog.hypriot.com/post/nvidia-jetson-nano-build-kernel-docker-optimized/
- Jetson NanoでDockerを動かす(前編)