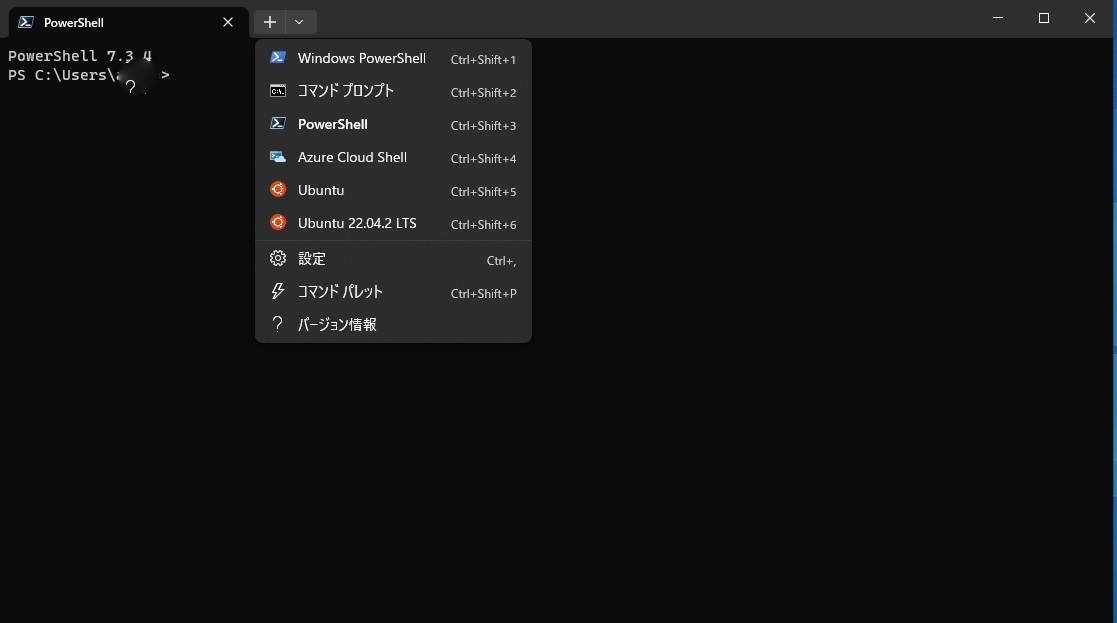
開発環境
- windows環境
windows10, windows11 - wsl
- docker
Laravel sailの導入
-
Dockerが立ち上がっていることを確認
-
Dockerを導入していない方は下記で導入の記事を投稿していますのでこちらへ
https://qiita.com/ys05181406/items/49fa9d9de286f0a474ef -
下記のコマンドのprojectNameに作成したいプロジェクト名を記入
-
ターミナルにて実行
curl -s https://laravel.build/projectName | bash
- ディレクトリの移動をし、dockerコンテナの立ち上げ
cd projectName
./vendor/bin/sail up -d --build
- 立ち上がったことが確認出来たら http://localhost にアクセス

- 上記の画面が出ていたら成功です。
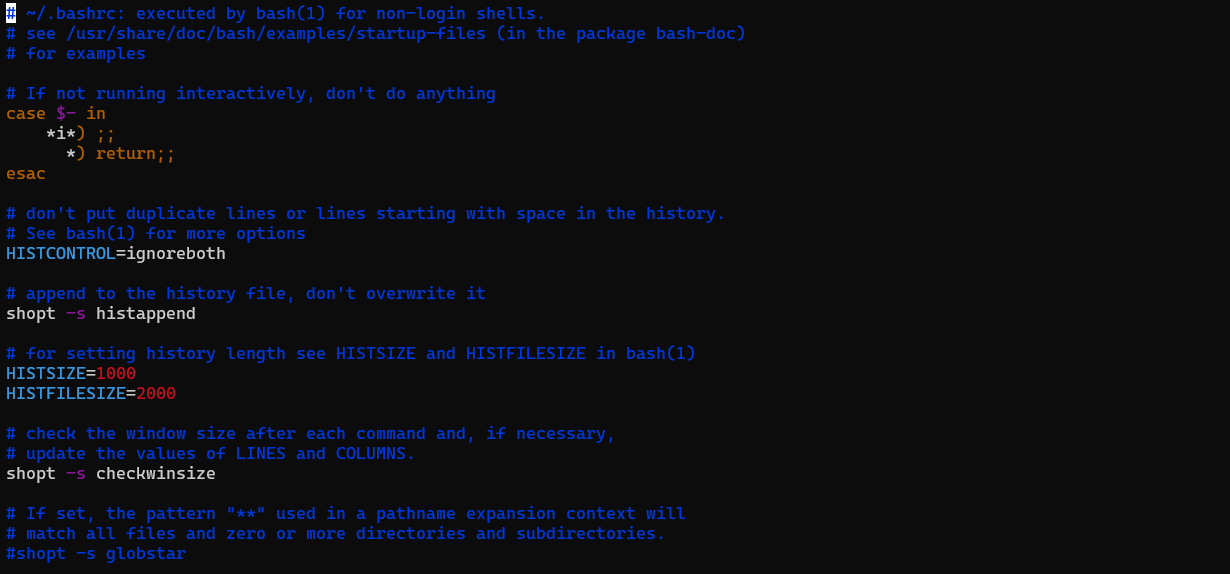
- 下記のコマンドを実行後パスワードを聞かれるのでパスワードを入力を行いEnter
sudo vi ~/.bashrc
alias sail='[ -f sail ] && bash sail || bash vendor/bin/sail'
-
ESCを押し:wqを入力しEnterで保存し、viを終了 - 最後に下記のコマンドを実行し、設定を反映
source ~/.bashrc
- これで
./vendor/bin/sail up -d --buildのようなコマンドをsail up -d --buildで実行することができます。
Laravel Breeze, Vue.js導入
- 下記のコマンドを実行してLaravel Breezeを導入してください
sail composer require laravel/breeze --dev
- 下記のコマンドを実行
sail php artisan breeze:install vue
sail php artisan migrate
sail npm install
sail npm run dev
- この状態でhttp://localhost にアクセスしてみるとさっきまで移っていたLaravelの初期画面がなくなっていることが確認できると思います。

- Windows(WSL)のみに起こるバグらしくVue.jsを導入後
sail npm run devを行うと表示されません - ターミナルにて
ctr + cでsail npm run devを終了させてください - 作成したプロジェクトディレクトリ内の
vite.config.jsの中身を確認 - 下記のコードが記述されていると思います
vite.config.js
import { defineConfig } from 'vite';
import laravel from 'laravel-vite-plugin';
import vue from '@vitejs/plugin-vue';

export default defineConfig({
    plugins: [
        laravel({
            input: 'resources/js/app.js',
            refresh: true,
        }),
        vue({
            template: {
                transformAssetUrls: {
                    base: null,
                    includeAbsolute: false,
                },
            },
        }),
    ],
});
- 下記をコピペして貼り付けてください
vite.config.js
import { defineConfig } from 'vite';
import laravel from 'laravel-vite-plugin';
import vue from '@vitejs/plugin-vue';

export default defineConfig({
    plugins: [
        laravel({
            input: 'resources/js/app.js',
            refresh: true,
        }),
        vue({
            template: {
                transformAssetUrls: {
                    base: null,
                    includeAbsolute: false,
                },
            },
        }),
    ],

    server: {
        hmr: {
            host: 'localhost',
        },
    },
});
- 内容としては下記を追記しただけです
vite.config.js
    server: {
        hmr: {
            host: 'localhost',
        },
    },
- 改めて
sail npm run devを実行してhttp://localhost にアクセスしてみましょう

- Laravelの初期画面が出ていたら成功です
- Vue.jsを使って開発を行うときは
sail npm run devを実行した状態で開発を行うことでリロードを行わずにリアルタイムに表示の変更がされるので開発効率を上げることができます。 - 最後に
sail downを実行することでsail up -d --buildで立ち上げたコンテナ落とすことができます。 - 今後ともWindows(WSL)を使った環境構築の記事を投稿しようと思っていますのでいいね!を押していただけたらと思います。


