
ImageMagick テキスト描画機能についてです。公式マニュアルはこちら。
フォント関連は別エントリに分けたので、ここでは取り上げません。
- ImageMagick のフォント指定
サンプル画像
% magick convert granite: granite.png
| granite.png |
|---|
 |
白文字も黒文字も読みやすく、都合の良いサンプルです。
-annotate
一番有名なオプションは -annotate でしょうか。使い方は以下の通り。
-annotate degrees text
-annotate XdegreesxYdegrees text
-annotate XdegreesxYdegrees{+-}tx{+-}ty text
-annotate {+-}tx{+-}ty text
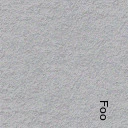
つまり、-annotate 90x90+100+100 のようにすると。{x:100, y:100} を基準に 90 度回転した文字を描画します。ちなみに、90x90 は x と y で別々に回転を反映させる記法です。残念ながら 90 だけだと動きません。(正直、90+100+100 で動いて欲しい)
% magick convert granite: -annotate 90x90+100+100 Foo Foo90x90+100+100.jpg
| Foo90x90+100+100.jpg |
|---|
 |
さて、まずは初心者が元に引っかかりそうな分かり易い失敗例です。
% magick convert granite: -annotate 0 Foo Foo0.jpg
テキストは左下が基準で、描画領域の上に文字が書かれる為です。
| Foo0.jpg | 枠外イメージ |
|---|---|
 |
 |
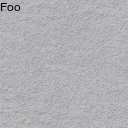
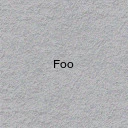
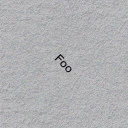
通常は gravity とセットで使うので問題にならないでしょう。
% magick convert granite: -gravity northwest -annotate 0 Foo Foo0-northwest.jpg
% magick convert granite: -gravity center -annotate 0 Foo Foo0-center.jpg
% magick convert granite: -gravity center -annotate 45 Foo Foo45-center.jpg
| Foo0-northwest.jpg | Foo0-center.jpg | Foo45-center.jpg |
|---|---|---|
 |
 |
 |
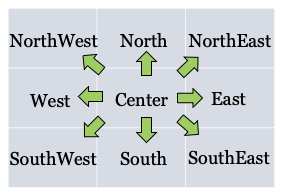
-gravity の詳細は以下のエントリをご参照下さい。
| ImageMagick Gravity 指定 |
|---|
 |
| https://qiita.com/yoya/items/b6926f01b7cb90217e07 |
テキスト属性
サイズ
-pointsize と -density で指定します。 まずは -pointsize の例を。
density はデフォルト 72 で、これとの組み合わせで文字の大きさが決まります。
色の指定
fill, stroke, undercolor
装飾
shadow 等があります。
レイアウト制御
- kerning
-draw text
label:
text:
pango:
pango の HTML風なマークダウン記法が使えます。
% magick -background lightblue \
       pango:'  Some  <span size="49152" rise="-20480"
                foreground="red" background="blue"
                 > Big Red on Blue </span>  Text  ' \
       pango_span.gif
| pango_span.gif |
|---|
 |
また、pango だと絵文字も使える事があるようです。
Ubuntu での成功報告があります。自分が macOS で試したら駄目でした。
- Is it possible to render multi-coloured emojis with ImageMagick?
参考
- https://www.imagemagick.org/Usage/text/
- ImageMagickでSlackのカスタム絵文字のダークモード対応する