はじめに
直近で試した以下と、似たような内容の記事です。
●Bun でローカル環境での WebSocketサーバー:シンプルな処理と Pub/Sub と - Qiita
https://qiita.com/youtoy/items/21e11b31b0d4293a6449
Bun を使うのは上記の記事と同じですが、上記と今回の内容の違いは、以下の「Elysia(ElysiaJS)」を使う点です。
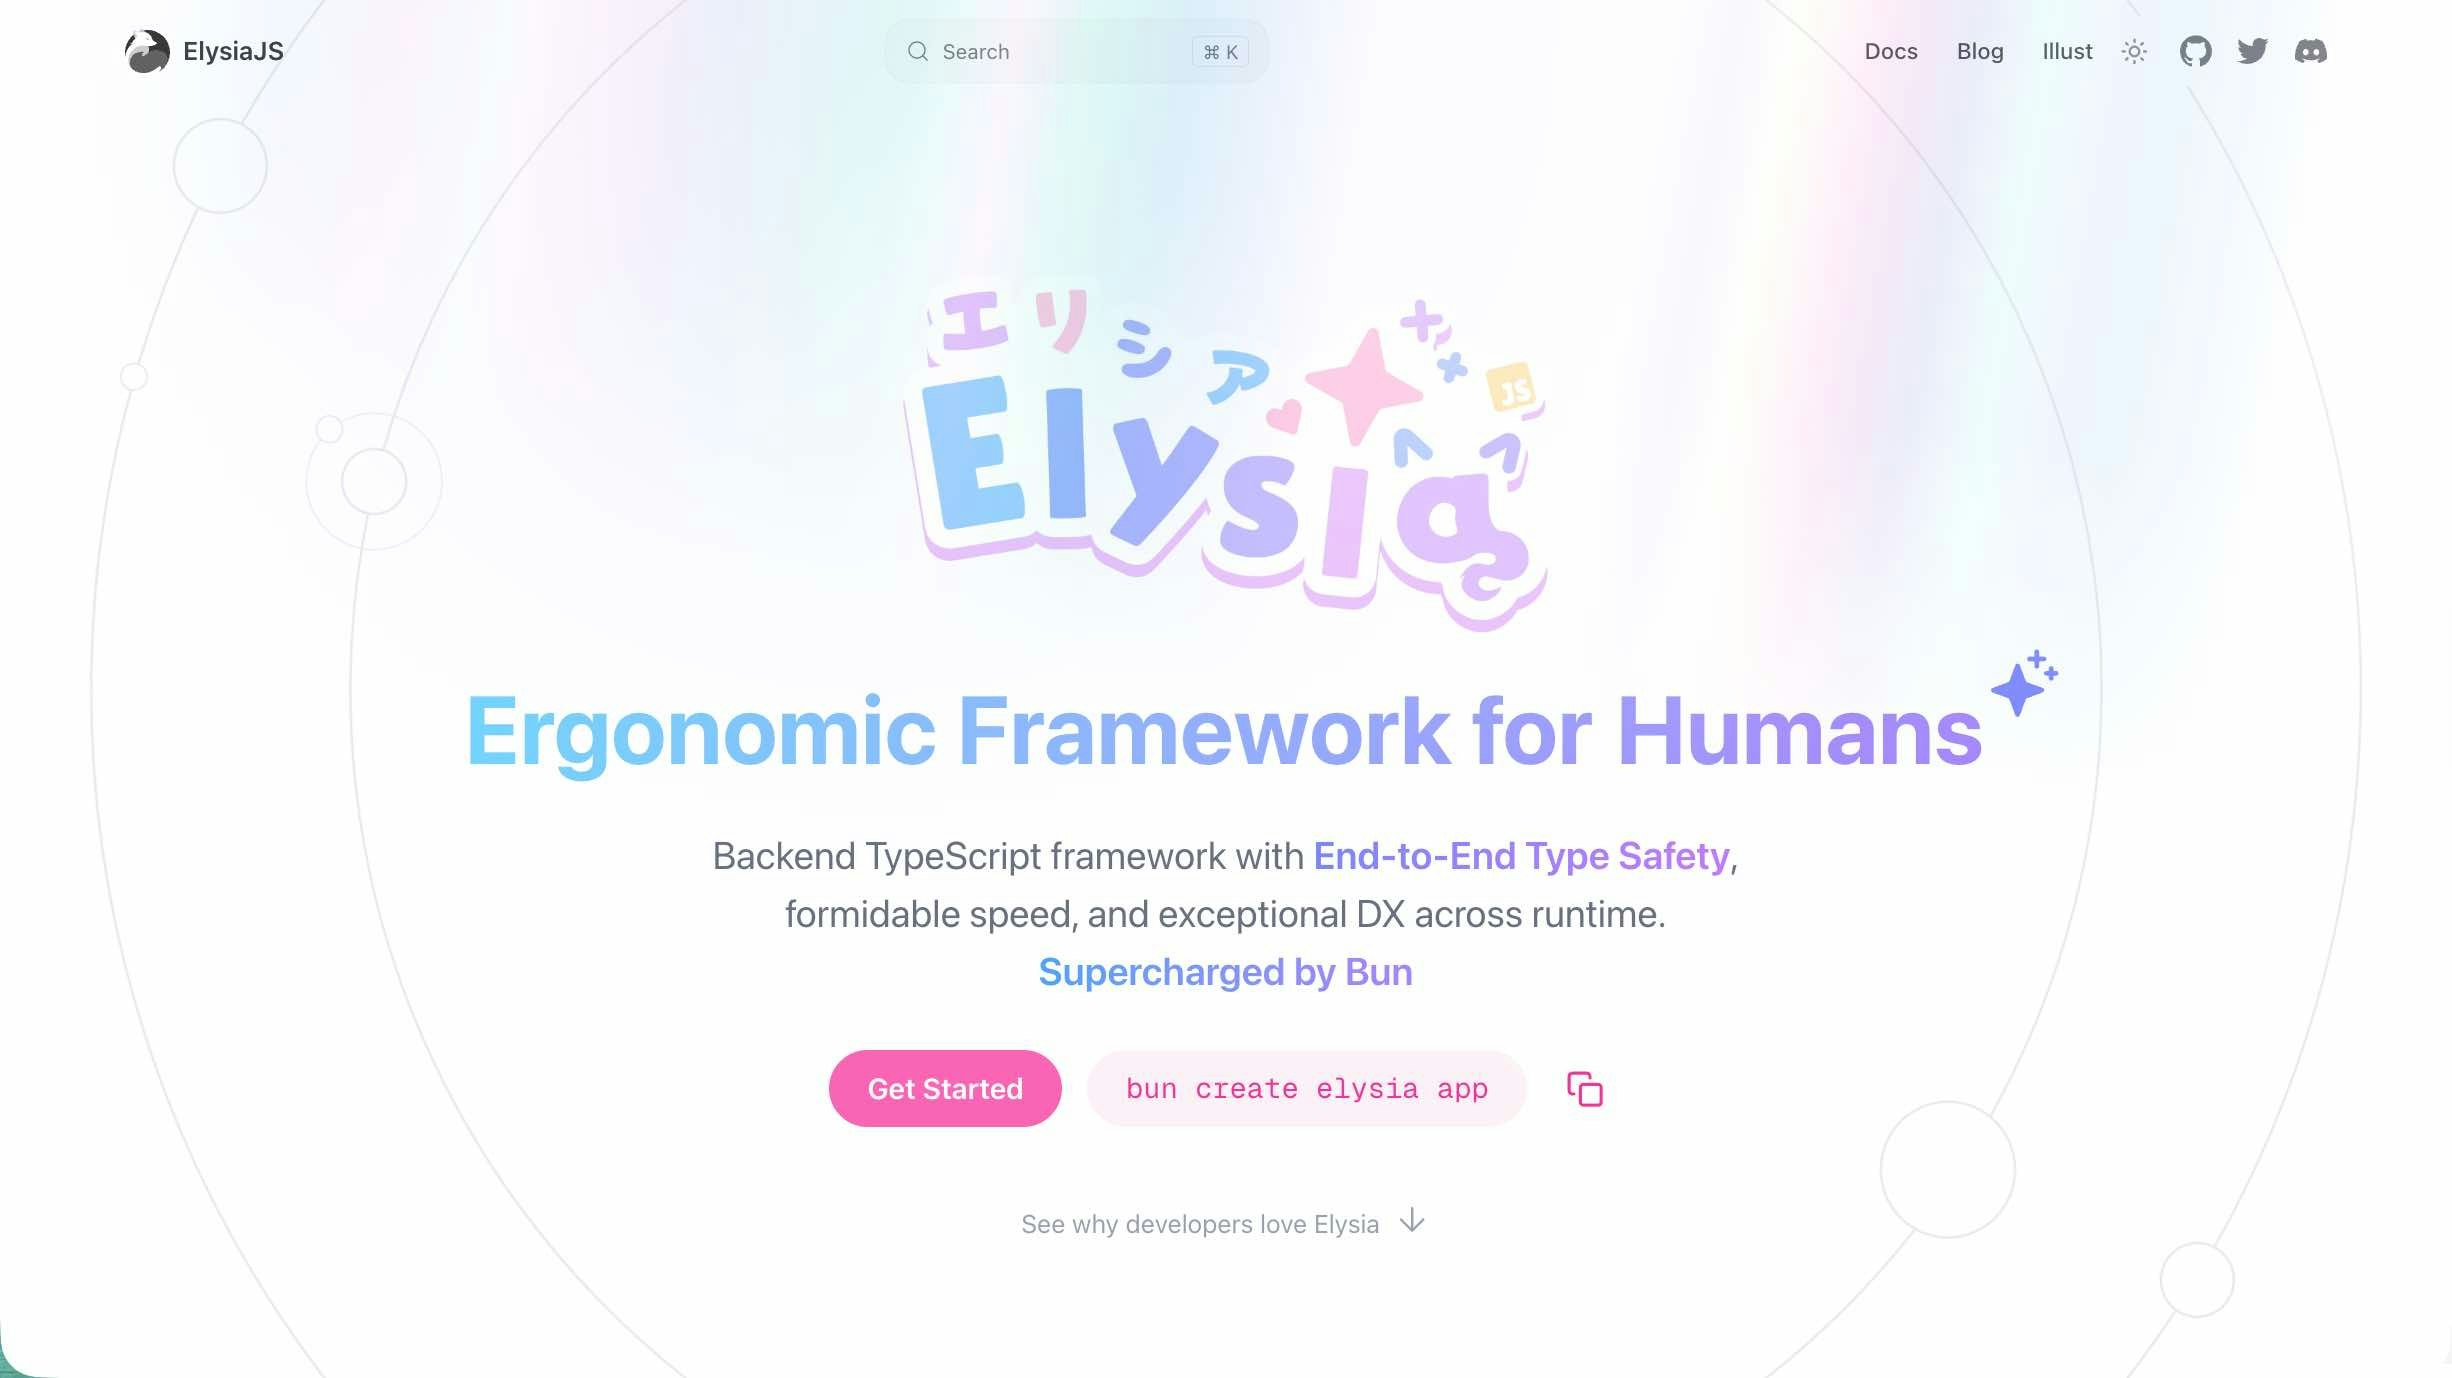
●Elysia - Ergonomic Framework for Humans | ElysiaJS
https://elysiajs.com/
さっそく試す
さっそく試します。
シンプルな手順
以下の公式サンプルをもとに、シンプルなお試しをやってみます。
●WebSocket - ElysiaJS | ElysiaJS
https://elysiajs.com/patterns/websocket

Elysia のインストール
以下のコマンドで Elysia をインストールします。
bun add elysia
サーバー側の実装
そして、以下のコードを実行します。
import { Elysia } from "elysia";

new Elysia()
  .ws("/ws", {
    message(ws, message) {
      ws.send(message);
    },
  })
  .listen(3000);

console.log("WebSocket echo server running on ws://localhost:3000/ws");
上記を bunコマンドを用いて実行すると、クライアントからは ws://localhost:3000/ws でサーバーに接続できるようになります。
直近で書いた記事の中で示した、以下の Bun の標準機能で実装したものが、さらにシンプルになりました。
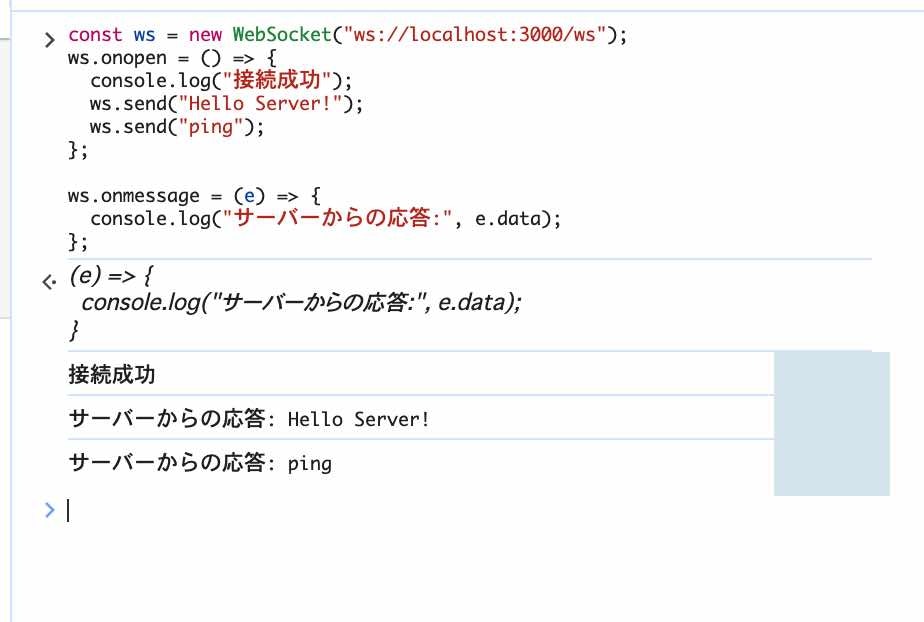
クライアント側の実装
次はクライアント側の実装です。前の記事で用いた処理と同じ内容にします(1行目の接続先のところだけ、少し書きかえました)。
これは、ブラウザの開発者ツールのコンソールで直接実行することにします。
const ws = new WebSocket("ws://localhost:3000/ws");
ws.onopen = () => {
  console.log("接続成功");
  ws.send("Hello Server!");
  ws.send("ping");
};

ws.onmessage = (e) => {
  console.log("サーバーからの応答:", e.data);
};
動作確認
最後に動作確認です。
以下がお試しの結果で、サーバー・クライアント間での通信が行えたことが確認できました。
公式の Quick Start の「Auto Installation」を用いたもの
「公式の Quick Start の Auto Installation(以下)」の手順を用いた流れも試したので、それもメモしておきます。
●Quick Start - ElysiaJS | ElysiaJS
https://elysiajs.com/quick-start.html

先ほどの手順と異なる部分
先ほどの手順と異なる部分だけ、メモしておきます。
まず、最初に用いるコマンドが以下になります。
bun create elysia app
上記を実行すると、以下に示したファイルが準備されました。
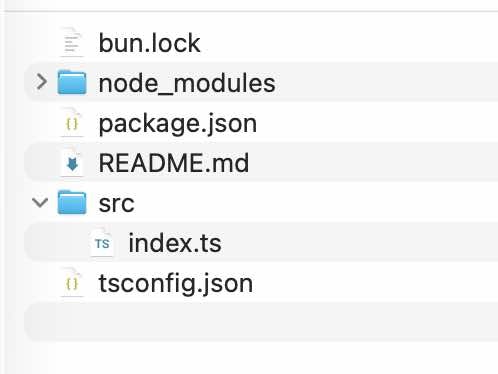
ここで生成されている index.ts は、以下の内容でした。
import { Elysia } from "elysia";

const app = new Elysia().get("/", () => "Hello Elysia").listen(3000);

console.log(
  `🦊 Elysia is running at ${app.server?.hostname}:${app.server?.port}`
);
あとは、これを WebSocketサーバー用の処理に変えて、以下のコマンドで処理を実行すれば OK です。
bun dev

その他
その他、今回の WebSocketサーバーの話とは関係ないですが、以下は公式ドキュメントを見ていて気になったところのメモです。ほぼリンクのメモ、という感じの内容になっています。
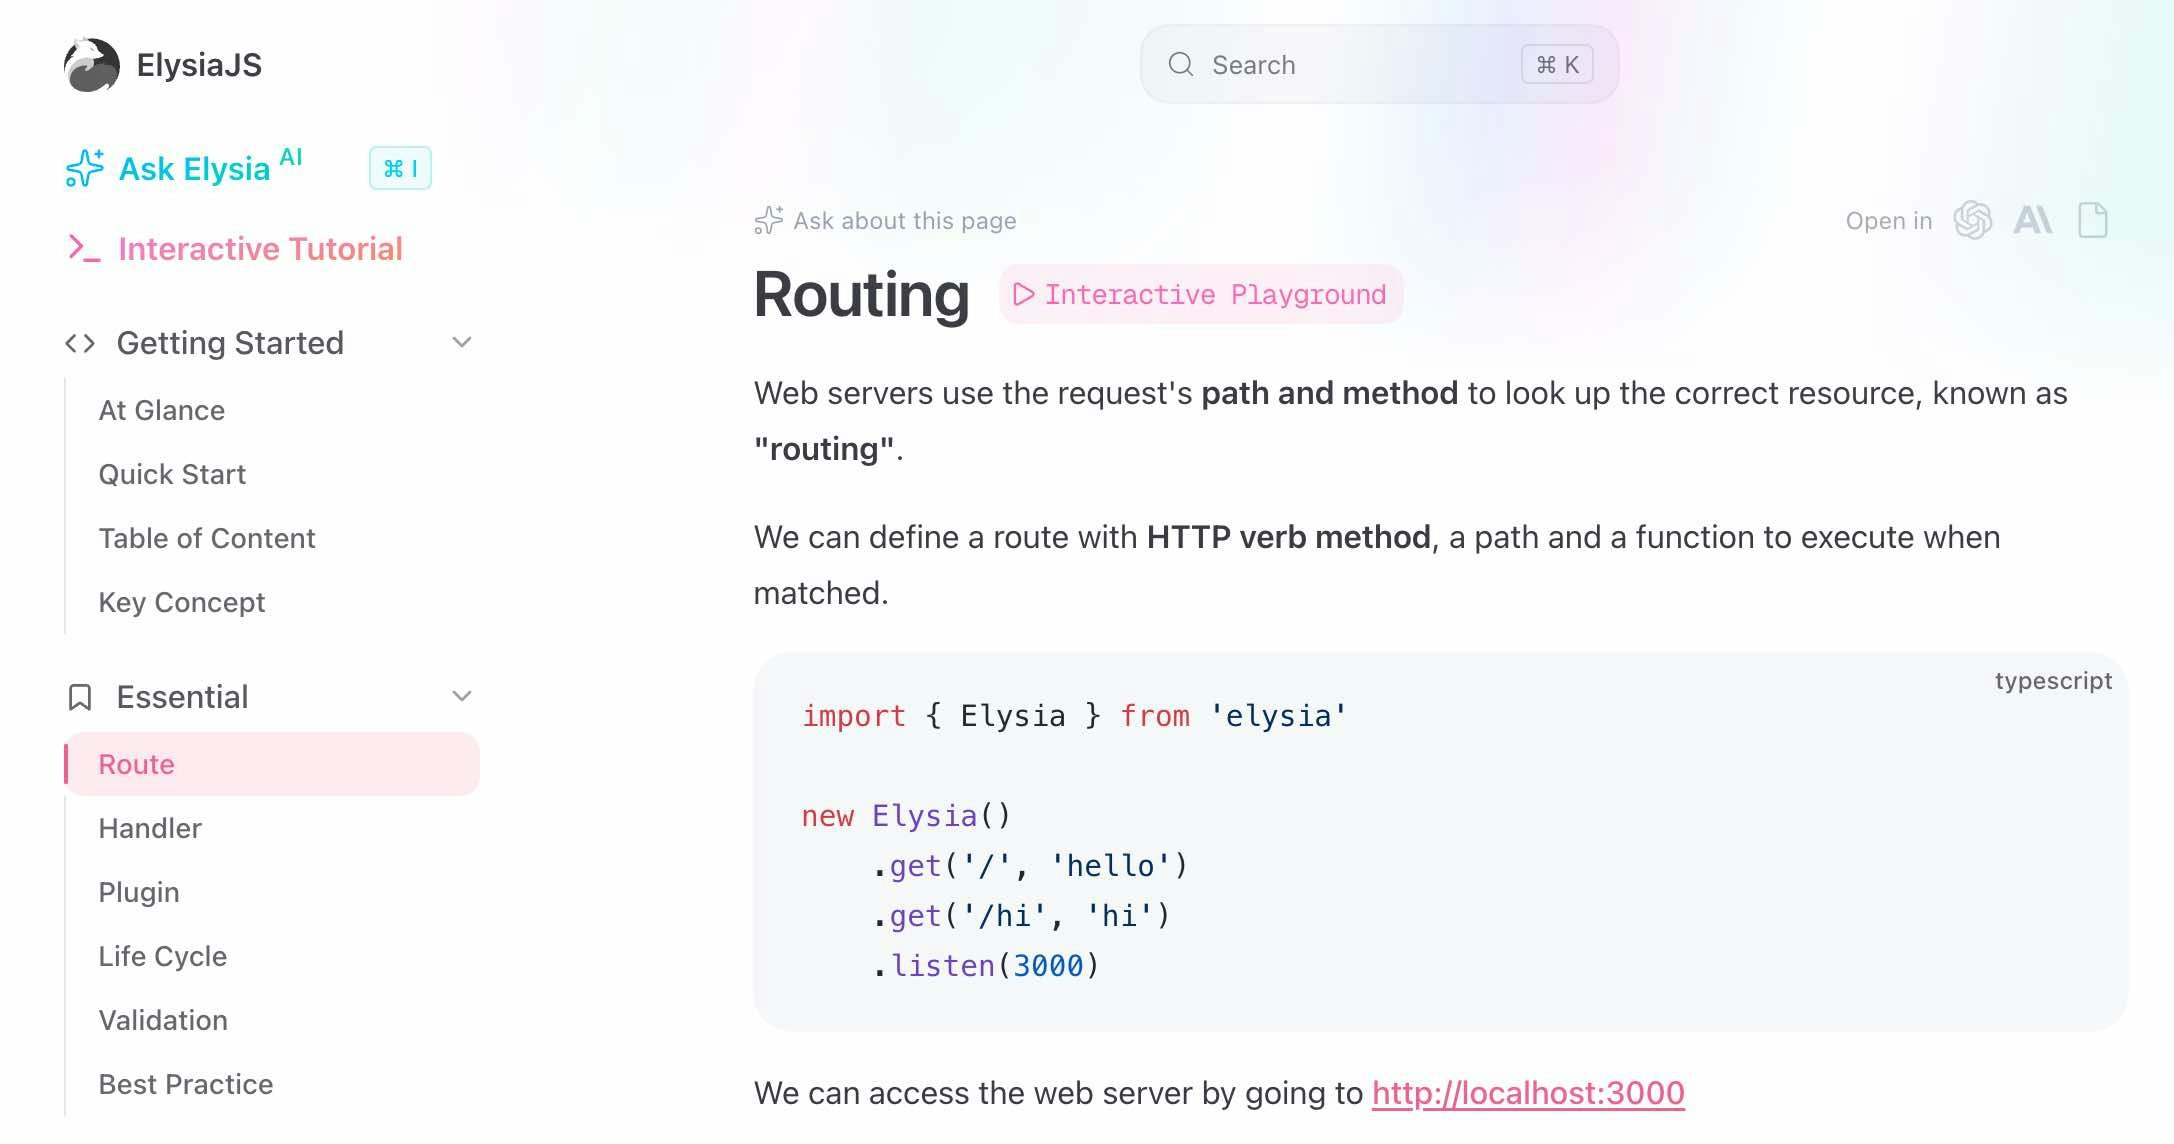
シンプルなルーティング
以下は、シンプルなルーティングの実装の話です。非常にシンプルな書き方ができるようでした。
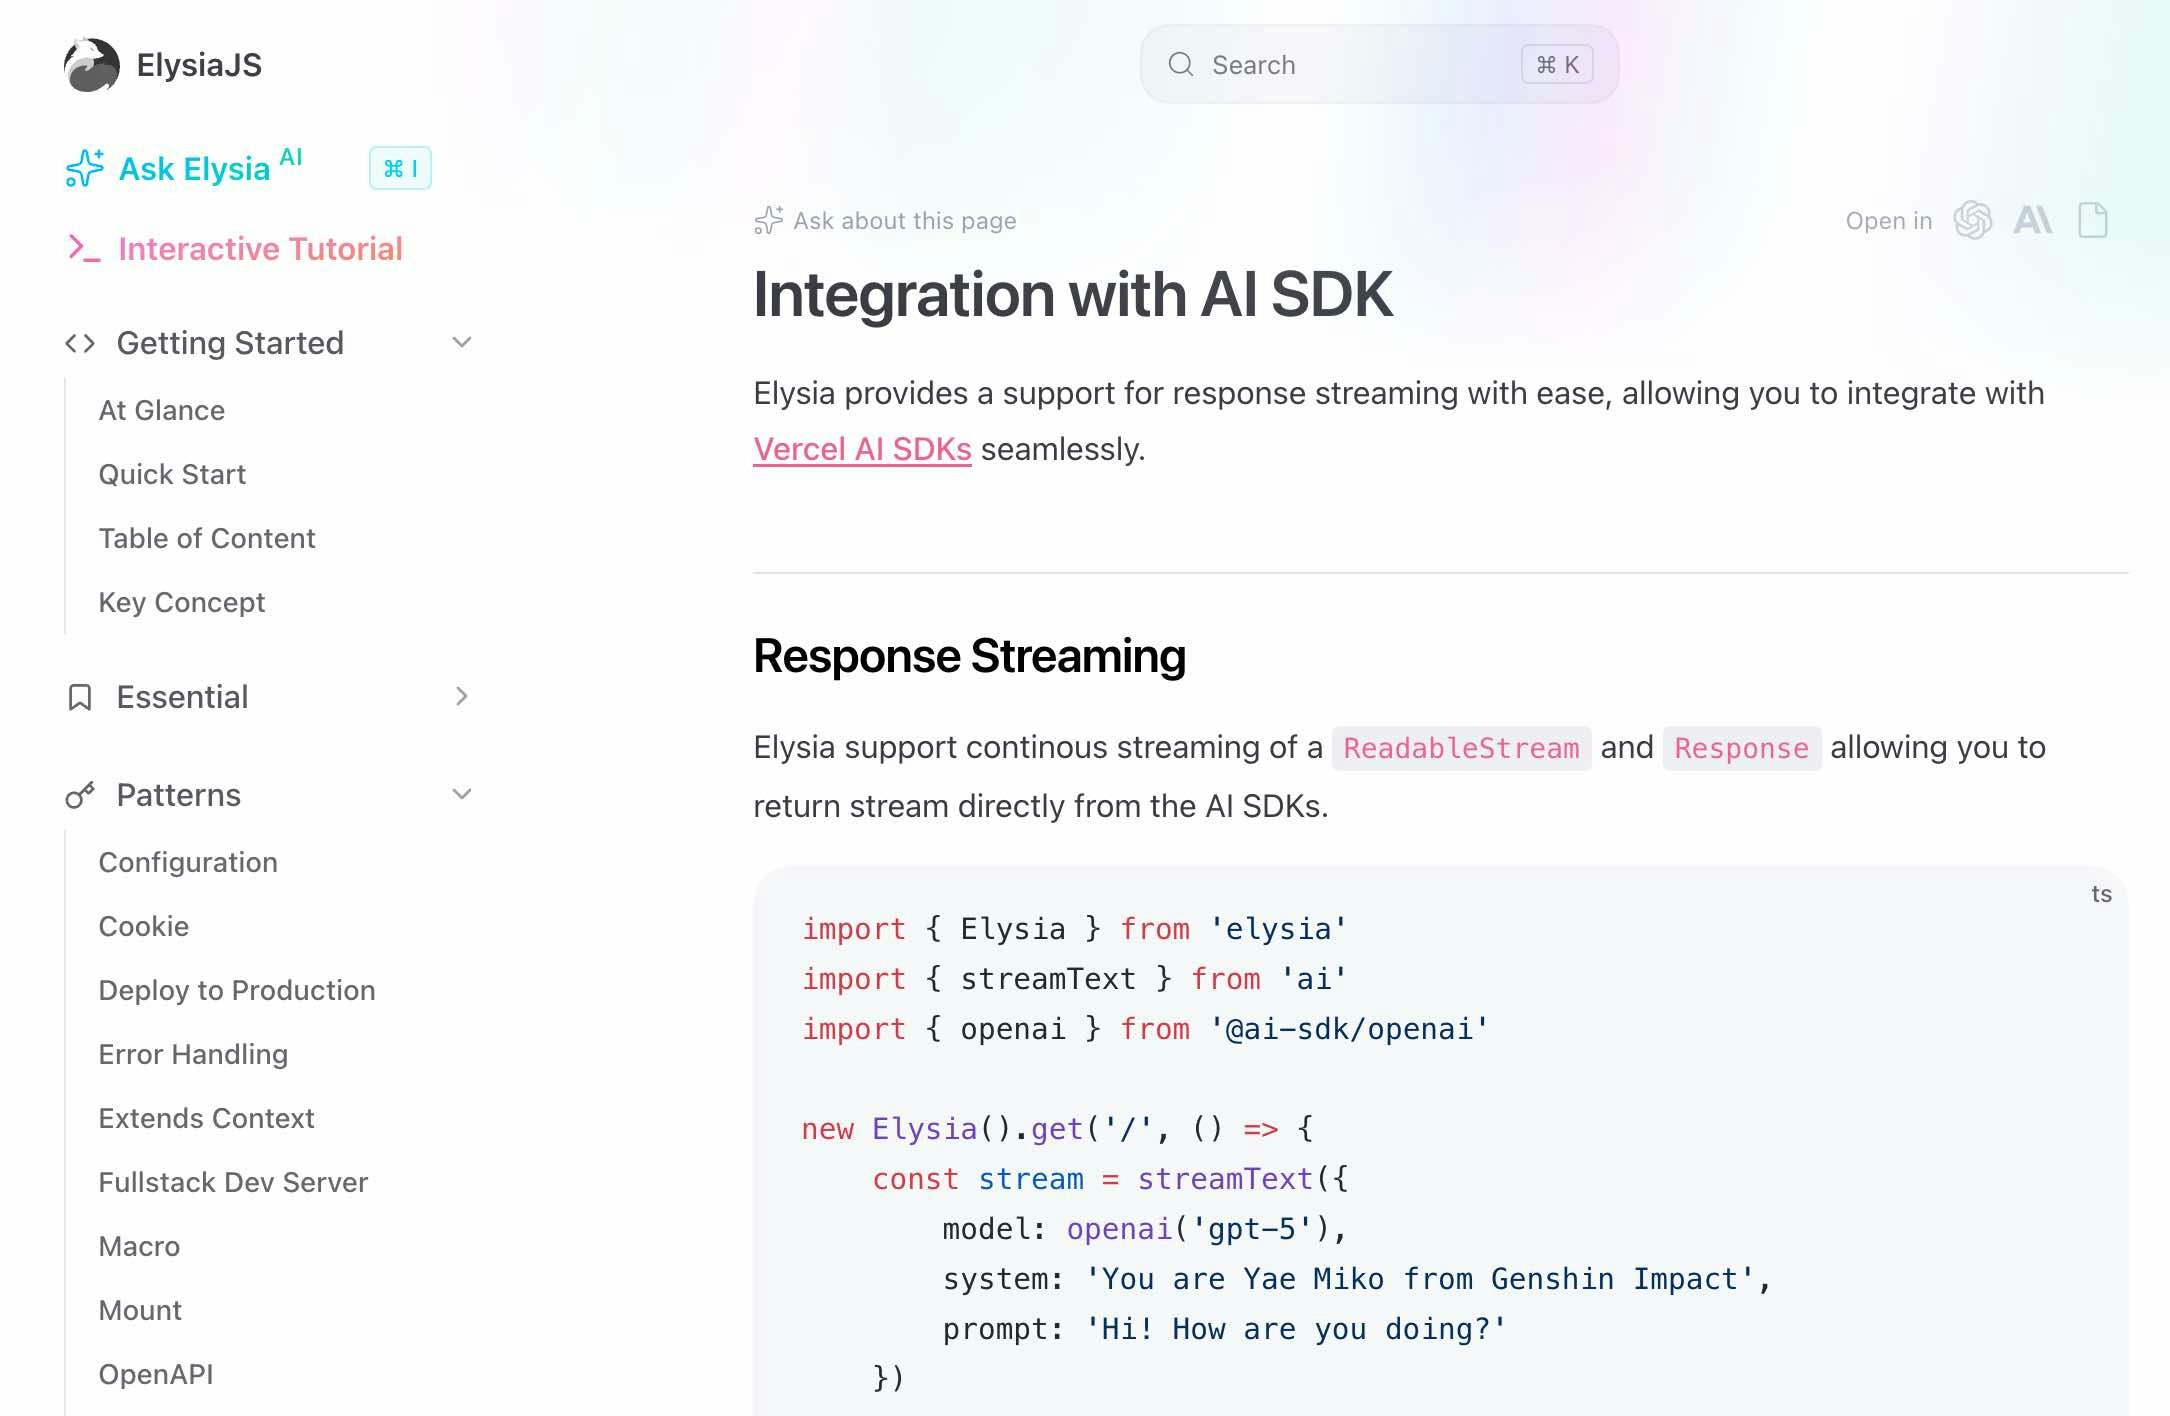
AI SDK との組み合わせ
以下は「AI SDK との組み合わせ」という話です。
●Table of Content - ElysiaJS | ElysiaJS
https://elysiajs.com/table-of-content.html#integration-with-your-favorite-tool
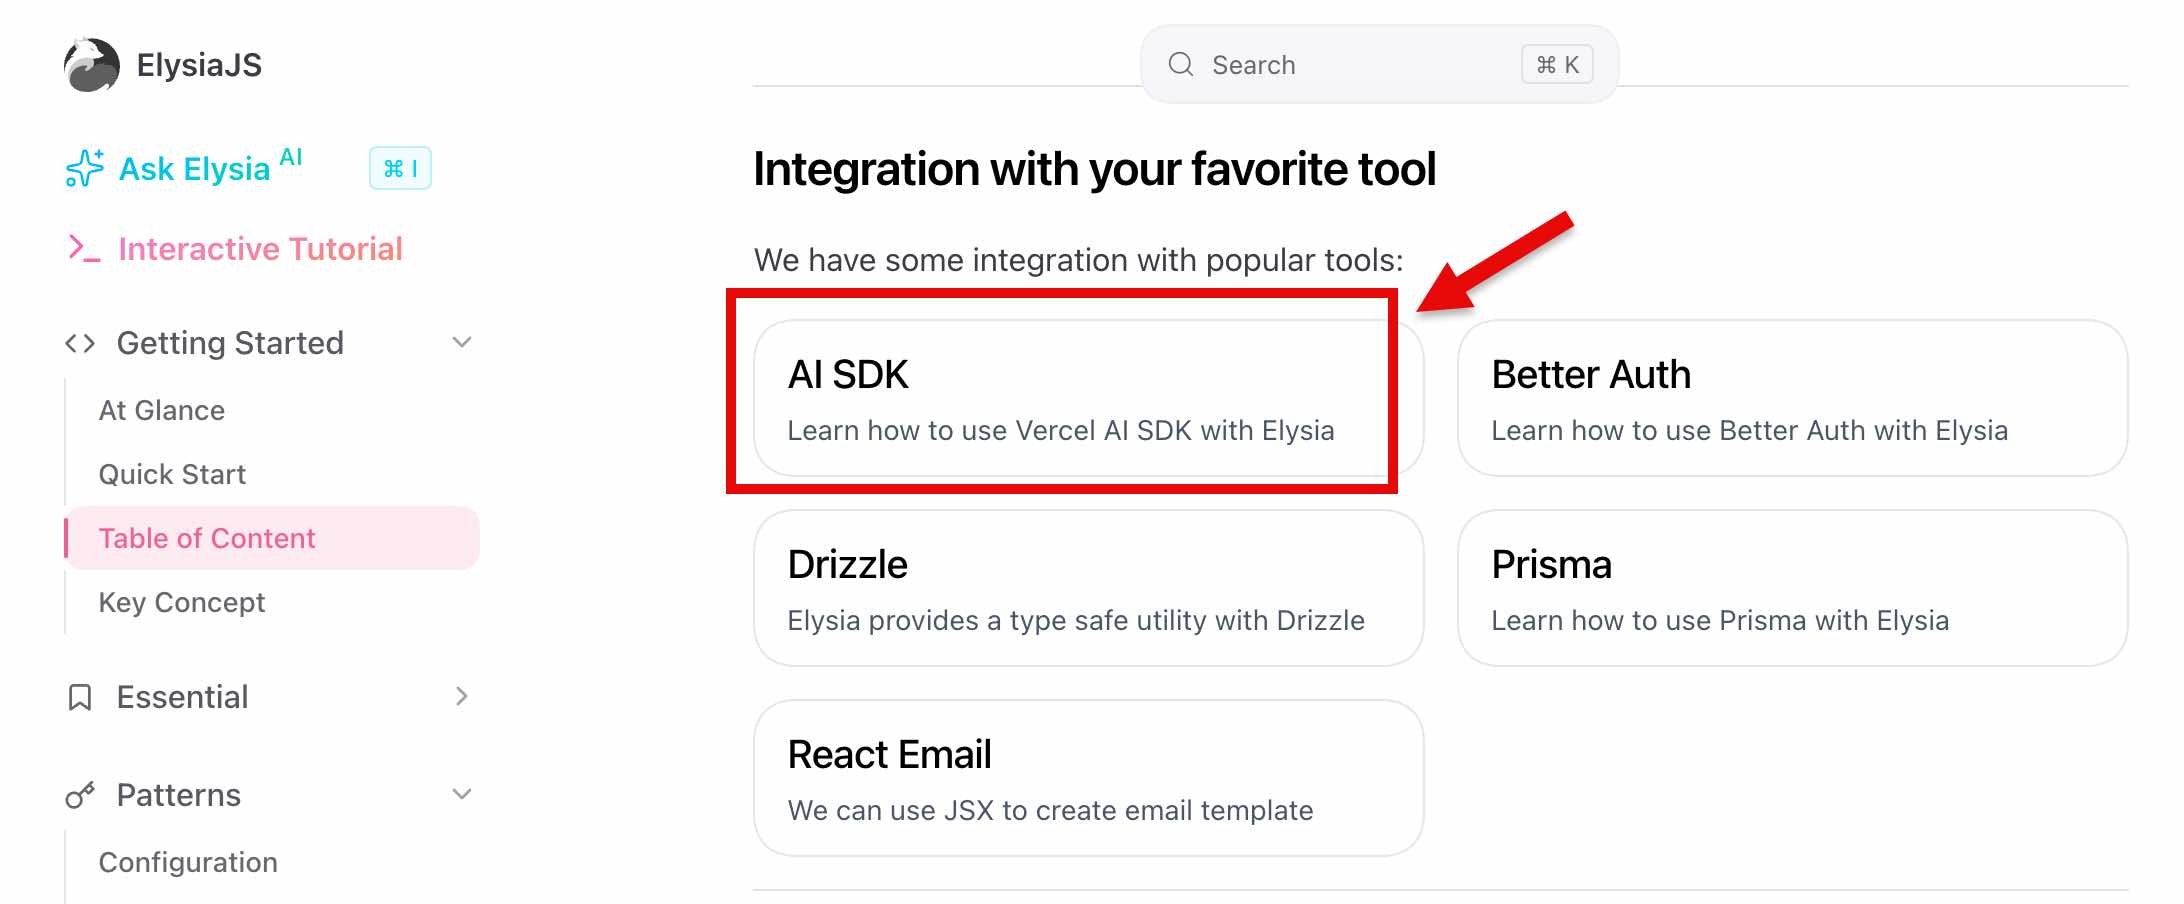
●Integration with AI SDK - ElysiaJS | ElysiaJS
https://elysiajs.com/integrations/ai-sdk.html
Node.js との組み合わせ・Vercel へのデプロイ
以下は Node.js との組み合わせや、Vercel へのデプロイという話のようです。
●Integration with Node.js - ElysiaJS | ElysiaJS
https://elysiajs.com/integrations/node
●Deploy Elysia on Vercel - ElysiaJS | ElysiaJS
https://elysiajs.com/integrations/vercel