以下の記事を書いた時などに見かけた「Fastify」が気になって、情報を少し見てみたり、試してみたというものです。
Fastify だけでなく、関連して出てきた fastify-websocket も気になったので、合わせて見てみました。
●Socket.IO の最新版 4.x の情報を見てみる(2022年3月) - Qiita
https://qiita.com/youtoy/items/c57158f4a08e478dff57
公式の GitHubリポジトリは、以下になるようです。
- fastify/fastify: Fast and low overhead web framework, for Node.js
- fastify/fastify-websocket: basic websocket support for fastify
また、軽く検索してみると以下の記事などが出てきたりしました。
公式の情報を見つつお試し
Fastify
まずは Fastify のほうの公式の説明などを見ていきます。
上記の部分の下に、以下のような記載があります。
Enter Fastify. Fastify is a web framework highly focused on providing the best developer experience with the least overhead and a powerful plugin architecture. It is inspired by Hapi and Express and as far as we know, it is one of the fastest web frameworks in town.
This branch refers to the upcoming Fastify v4 release. Check out the v3.x branch for v3.
Hapi(hapi.dev) や Express にインスパイアされたフレームワークで、高速なことを特長としているようです。ちなみに、公式ページに「Benchmarks」というページがあったりもします。
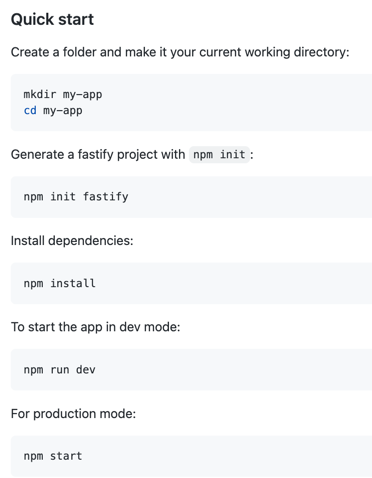
クイックスタート
クイックスタートを見てみると、こんな感じで準備をすれば良いようです。
また、サンプルのコードがこんな感じで書かれていました。
async-await を利用しているもの/利用していないものがあり、それぞれの中では ESM のバージョンと CommonJs のバージョンとがまとめて書かれているようです。
// Require the framework and instantiate it

// ESM
import Fastify from 'fastify'
const fastify = Fastify({
  logger: true
})
// CommonJs
const fastify = require('fastify')({
  logger: true
})

// Declare a route
fastify.get('/', (request, reply) => {
  reply.send({ hello: 'world' })
})

// Run the server!
fastify.listen({ port: 3000 }, (err, address) => {
  if (err) throw err
  // Server is now listening on ${address}
})
// ESM
import Fastify from 'fastify'
const fastify = Fastify({
  logger: true
})
// CommonJs
const fastify = require('fastify')({
  logger: true
})

fastify.get('/', async (request, reply) => {
  reply.type('application/json').code(200)
  return { hello: 'world' }
})

fastify.listen({ port: 3000 }, (err, address) => {
  if (err) throw err
  // Server is now listening on ${address}
})
この後に軽いお試しを、async-await を使った CommonJs のバージョンでやってみます。
軽く試してみる
それでは、簡易な手順で試してみます。
npm i fastify でパッケージをインストールします。
そして、以下のようなプログラムを作成し、nodeコマンドで実行します。
const fastify = require('fastify')({
  logger: true
})

fastify.get('/', async (request, reply) => {
  reply.type('application/json').code(200)
  return { hello: 'world' }
})

fastify.listen({ port: 3000 }, (err, address) => {
  if (err) throw err
})
その後、ローカルの 3000番ポートで待ち受けている状態になっているようなので、ブラウザで http://127.0.0.1:3000/ にアクセスしてみました。
そうすると、以下のようにプログラム中で return { hello: 'world' } と書いていた部分の JSON を得られたのが分かります。
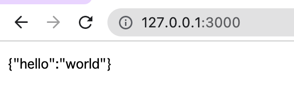
とりあえず、お試しはうまくいったようです。
ついでに、curlコマンドでも試してみました。

fastify-websocket
次に fastify-websocket を試してみます。
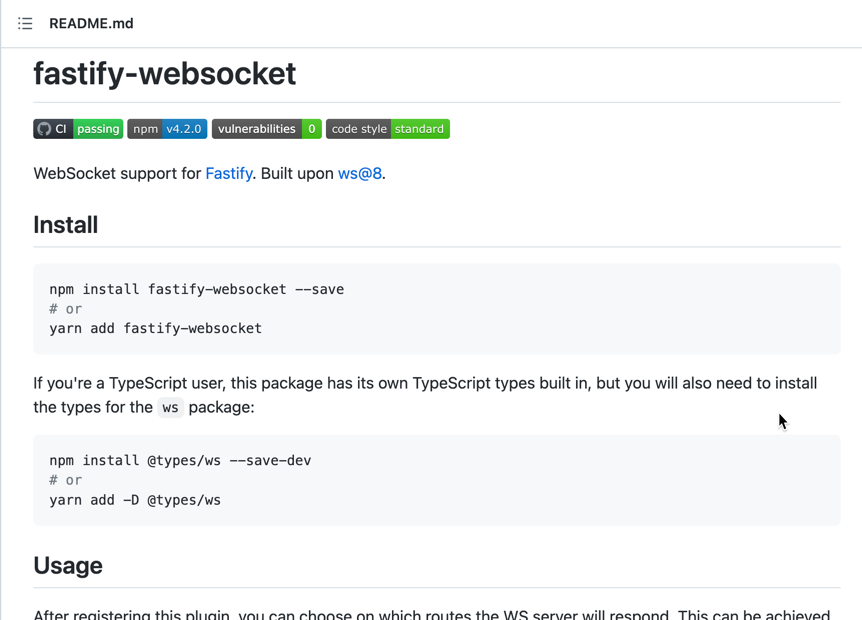
こちらを利用するために、 npm i fastify-websocket で fastify-websocket も利用できるようにします。
そして、上記のページの Usage の部分に書かれたプログラムをもとにした以下の内容の JavaScriptファイルを、nodeコマンドで実行します。
'use strict'
const fastify = require('fastify')()
fastify.register(require('fastify-websocket'), {
  options: { maxPayload: 1048576 }
})

fastify.get('/', { websocket: true }, (connection , req) => {
  console.log("fastify.get");
  connection.socket.on('message', message => {
    connection.socket.send('hi from server')
  })
})

fastify.listen(8080, err => {
  console.log("サーバー起動");
  if (err) {
    fastify.log.error(err)
    process.exit(1)
  }
})
上記を実行してサーバーが動いている状態になったら、以下の HTMLファイルを使って WebSocketクライアントを作成して、サーバーとの通信を行ってみます。
<!DOCTYPE html>
<html lang="ja">

<head>
  <meta charset="UTF-8">
  <meta name="viewport" content="width=device-width, initial-scale=1.0">
  <title>WebSocketクライアント</title>
</head>

<body>
  <input type="button" id="button" value="データの送信">

  <script>
    const socket = new WebSocket('ws://127.0.0.1:8080');

    socket.addEventListener('open', function (event) {
      console.log('サーバーへの接続成功');
    });

    socket.addEventListener('message', function (event) {
      console.log('Message from server ', event.data);
    });

    const button = document.getElementById('button');
    button.addEventListener('click', function () {
      socket.send('hello from client');
    });
  </script>
</body>

</html>
ブラウザで上記の HTMLファイルを開き、画面上に表示されたボタンを押して、開発者ツールのコンソール上の出力を確認してみてください。
以下のような出力が得られていると思います。

これで、お試しは完了です。
おわりに
今回、Node.js のフレームワークの Fastify と、Fastify で WebSocket を利用可能にする fastify-websocket を軽く試してみました。
まだまだ、利用可能な仕組みがいろいろあるので、引き続きお試しを続けていければと思います。
【追記】 気になったもの
記事を書いた後に見かけて気になった部分の 1つで、プラグインがいろいろあるみたいです。
●Ecosystem
https://www.fastify.io/ecosystem/

その中で気になったものをメモ。
●love-lena/fastify-mqtt
https://github.com/love-lena/fastify-mqtt
●alemagio/fastify-socket.io: Fastify plugin for Socket.io
https://github.com/alemagio/fastify-socket.io