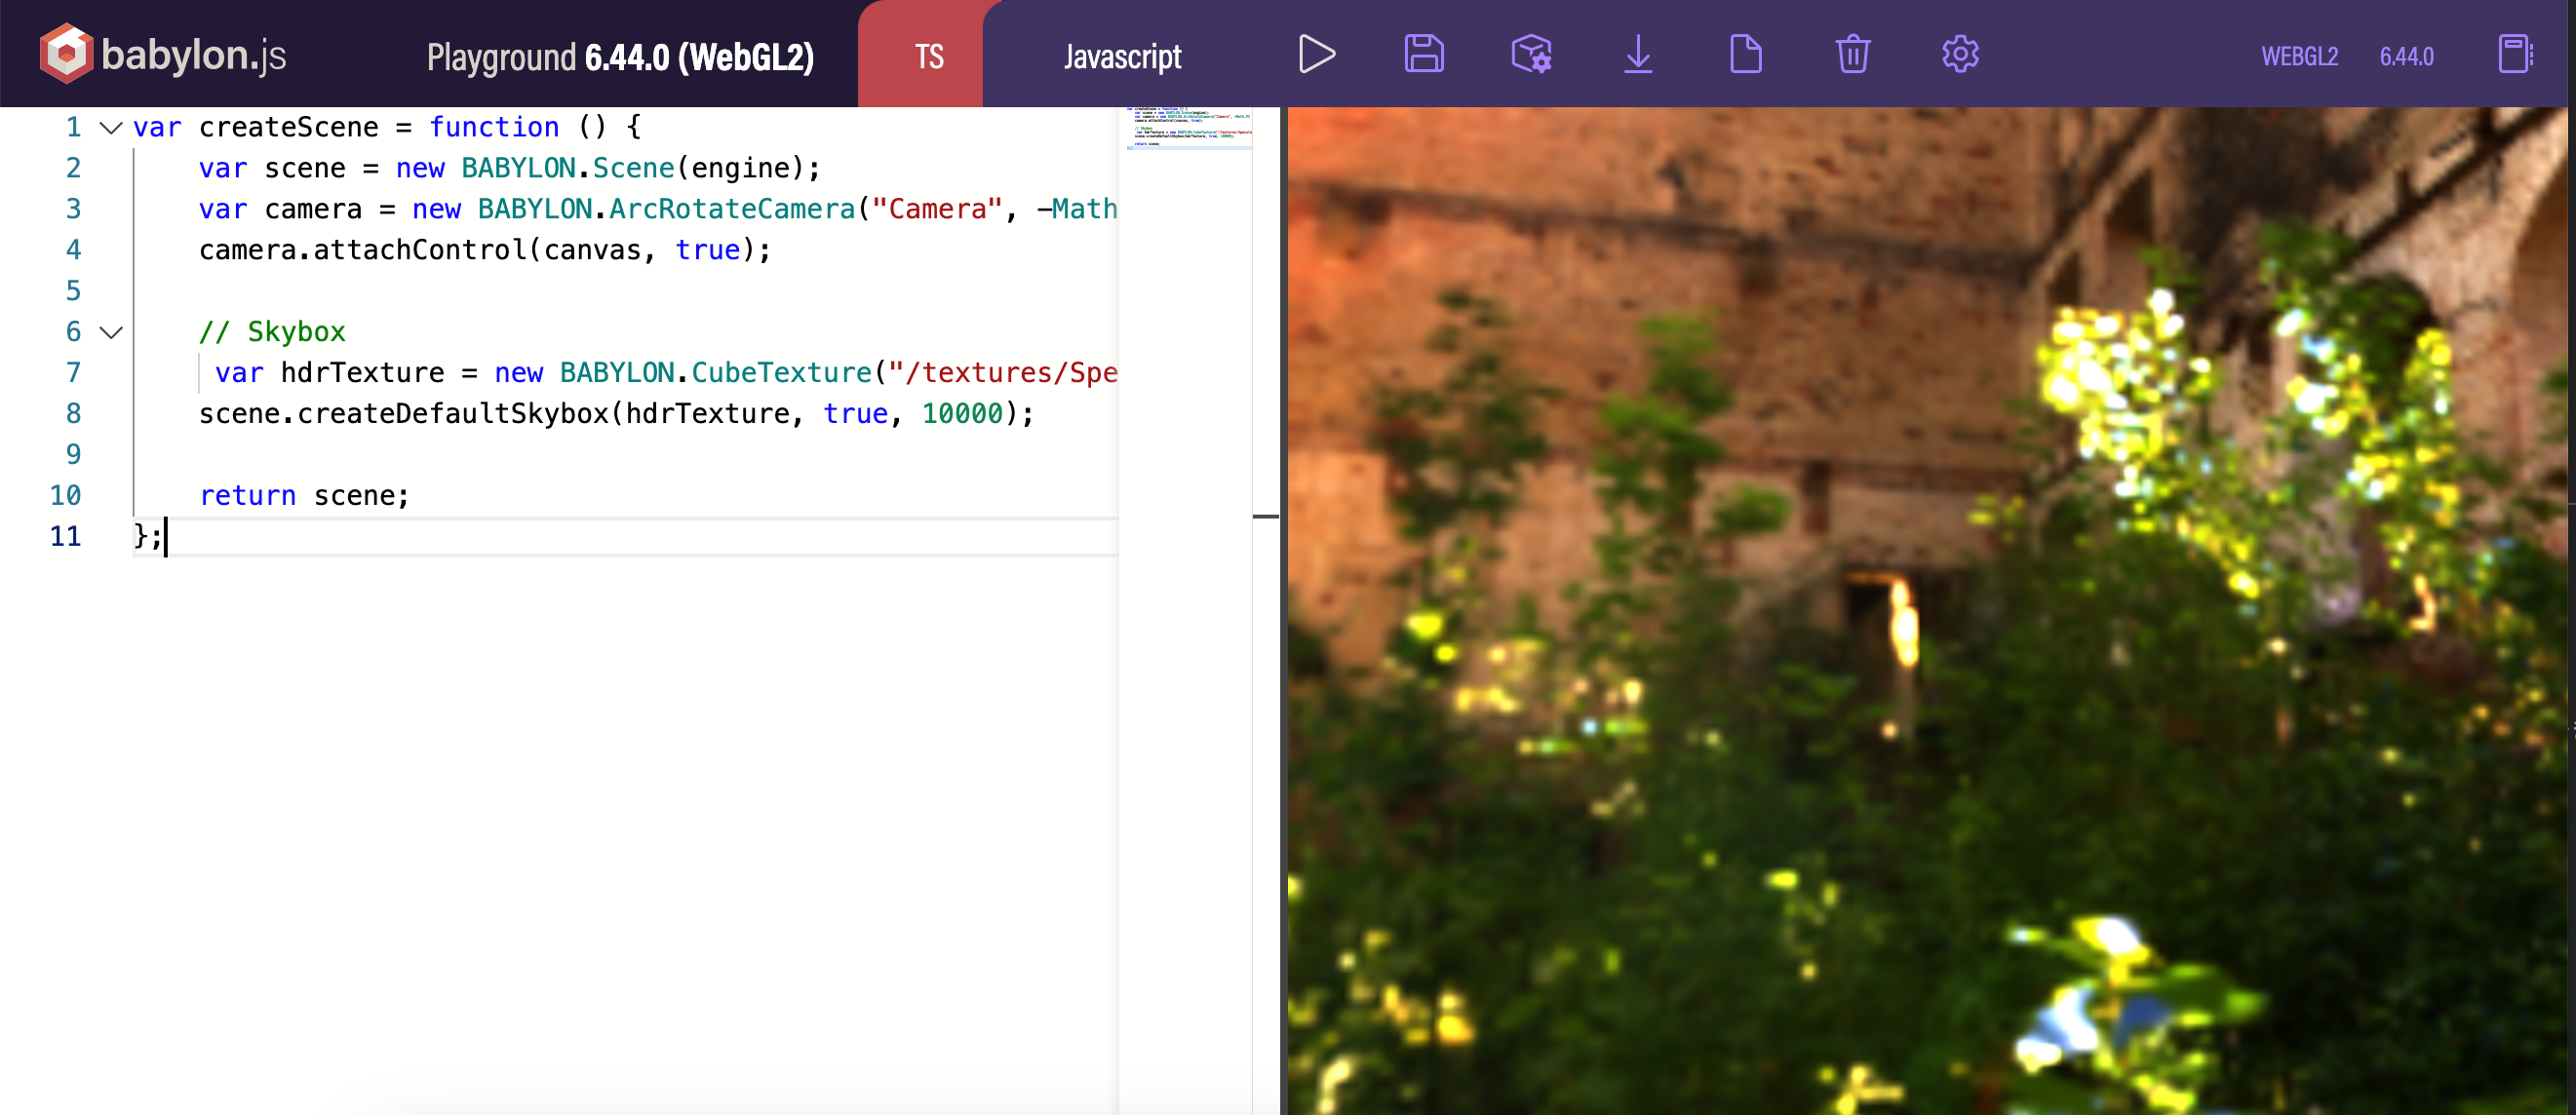
「まずは、Procedural Texture を Skybox に適用した見た目が作成できれば OK」という感じで、とりあえずで使っていた Skybox の情報をあらためて見ていければと思い、この記事を書きました。
Skybox とは?
Skybox は、Babylon.js だけでなく Unity などにも出てくる仕組みです。
以下の Unity のマニュアルの説明を引用してみます ⇒ 「広大に広がる世界に見せるため、画面全体を覆うラッパーです。」
●スカイボックス - Unity マニュアル
https://docs.unity3d.com/ja/2018.4/Manual/class-Skybox.html
以下の Babylon.js公式のドキュメントでは、以下のように説明されていました。
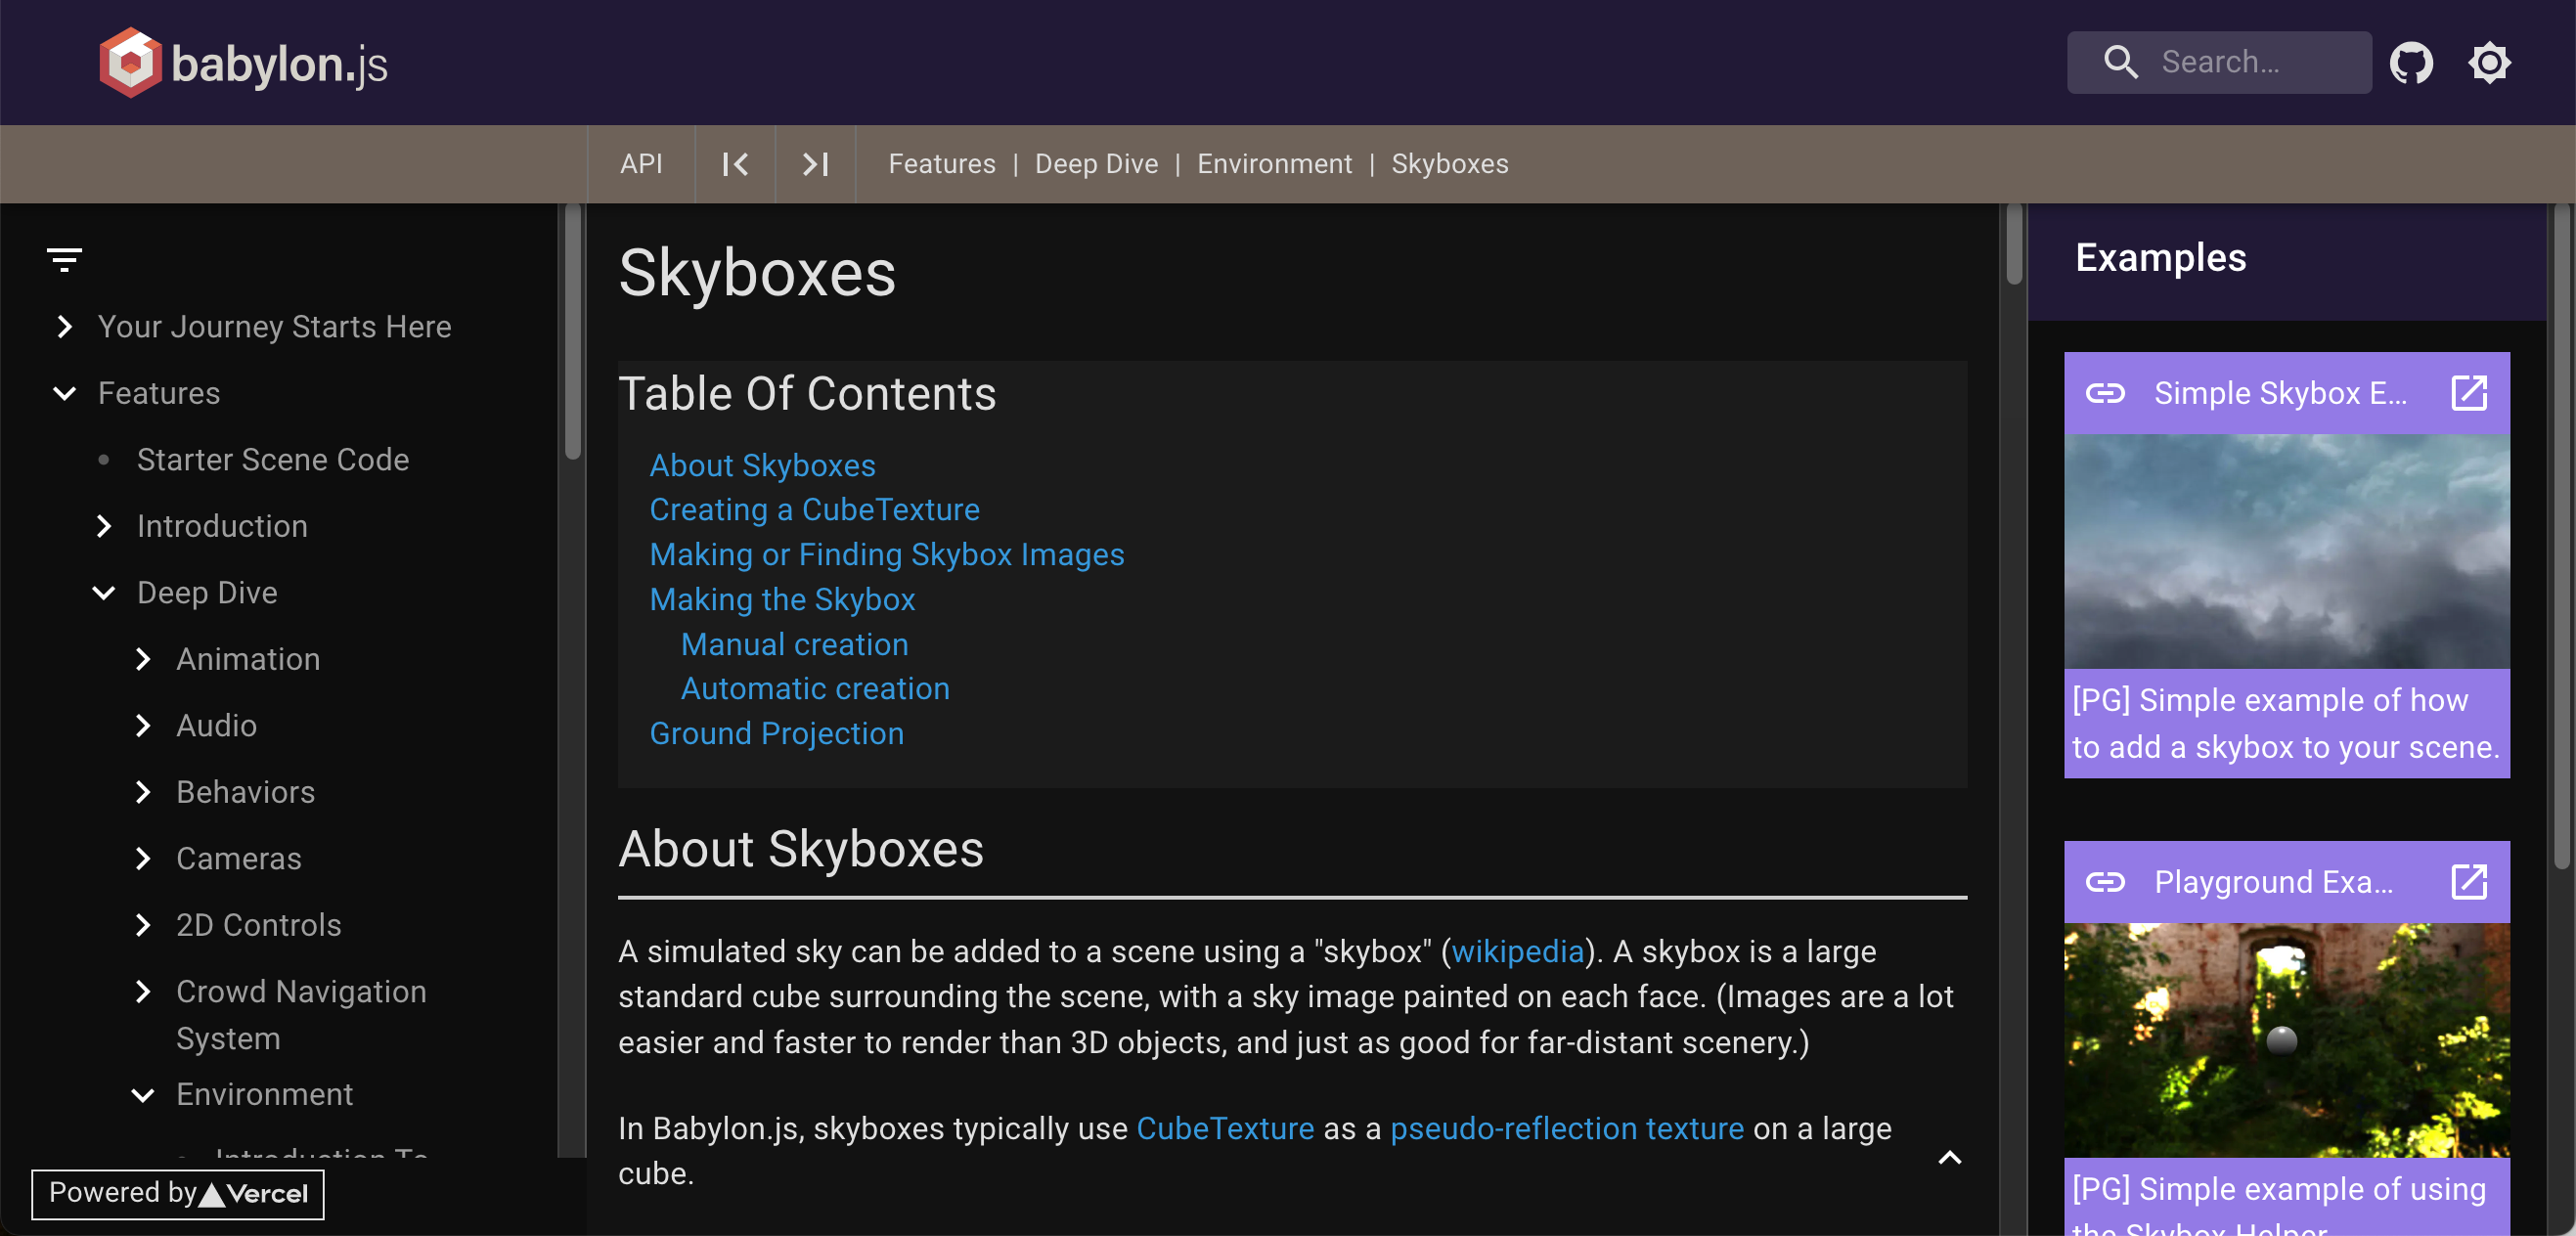
A simulated sky can be added to a scene using a "skybox" (wikipedia). A skybox is a large standard cube surrounding the scene, with a sky image painted on each face. (Images are a lot easier and faster to render than 3D objects, and just as good for far-distant scenery.)
In Babylon.js, skyboxes typically use CubeTexture as a pseudo-reflection texture on a large cube.
●Skyboxes | Babylon.js Documentation
https://doc.babylonjs.com/features/featuresDeepDive/environment/skybox
Babylon.js での Skybox
Babylon.js公式ドキュメント上の説明で、最後の部分に書かれている内容は、「Babylon.js での基本的な構成としては、巨大なキューブの上で、キューブテクスチャを擬似的な反射表現のテクスチャとして使う形になる」となっています。
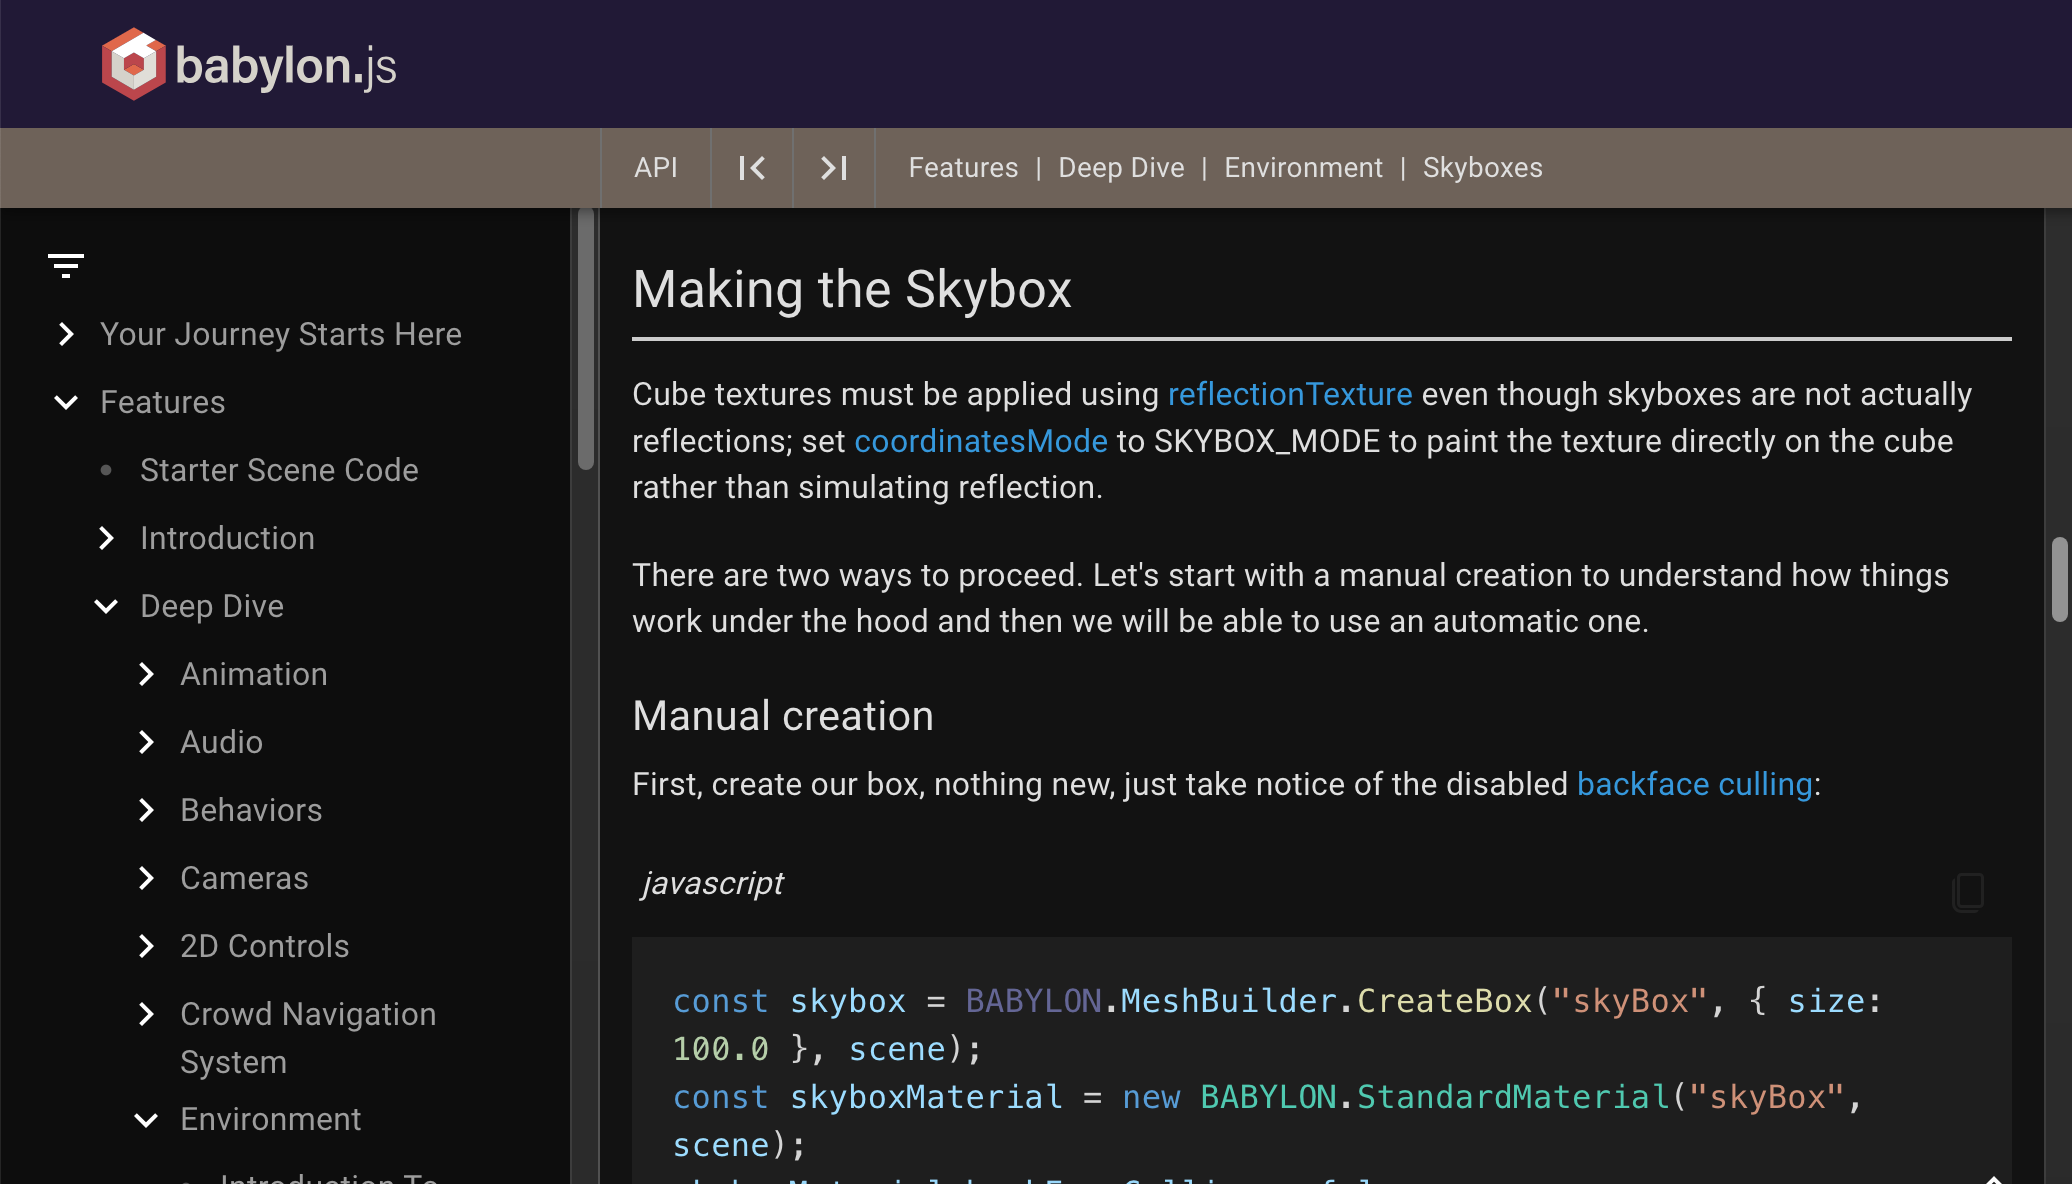
そして、「pseudo-reflection texture」という部分のリンク先(同ページ内の「Making the Skybox」の項目)へ移動すると、手動作成と自動の 2種があると書かれています。
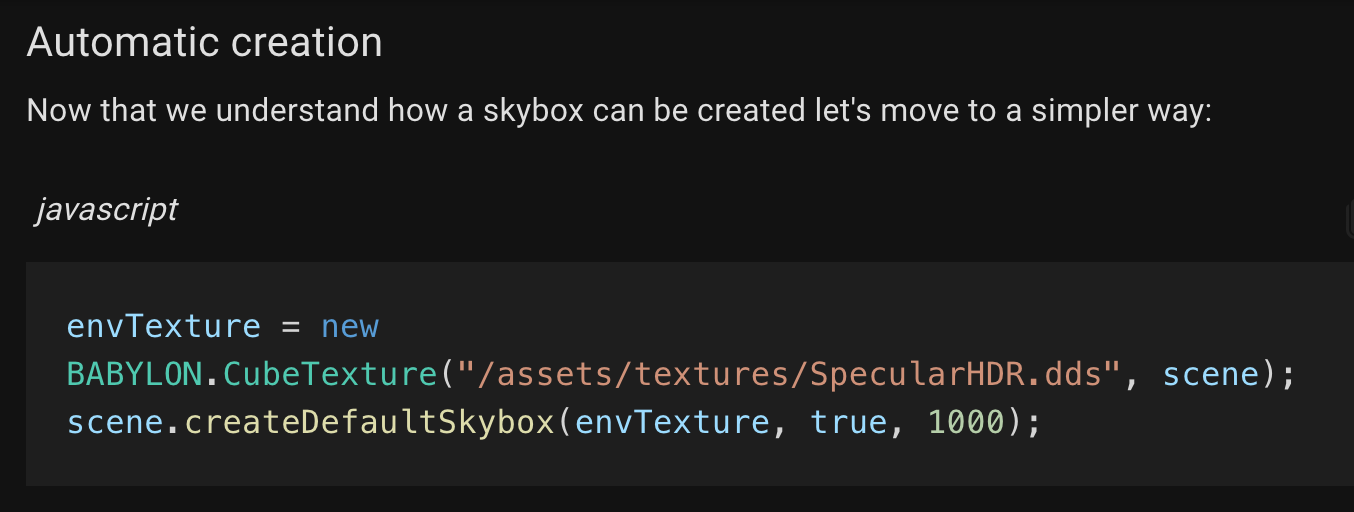
手動の手順は、複数のステップに分けて書かれています。自動のほうは、以下のようにシンプルに使えるようです。
手軽に使える方法を試してみる
今回、上記の「自動」と書かれていた方法を試してみます。
●Assets/skyboxes at master · BabylonJS/Assets
https://github.com/BabylonJS/Assets/tree/master/skyboxes
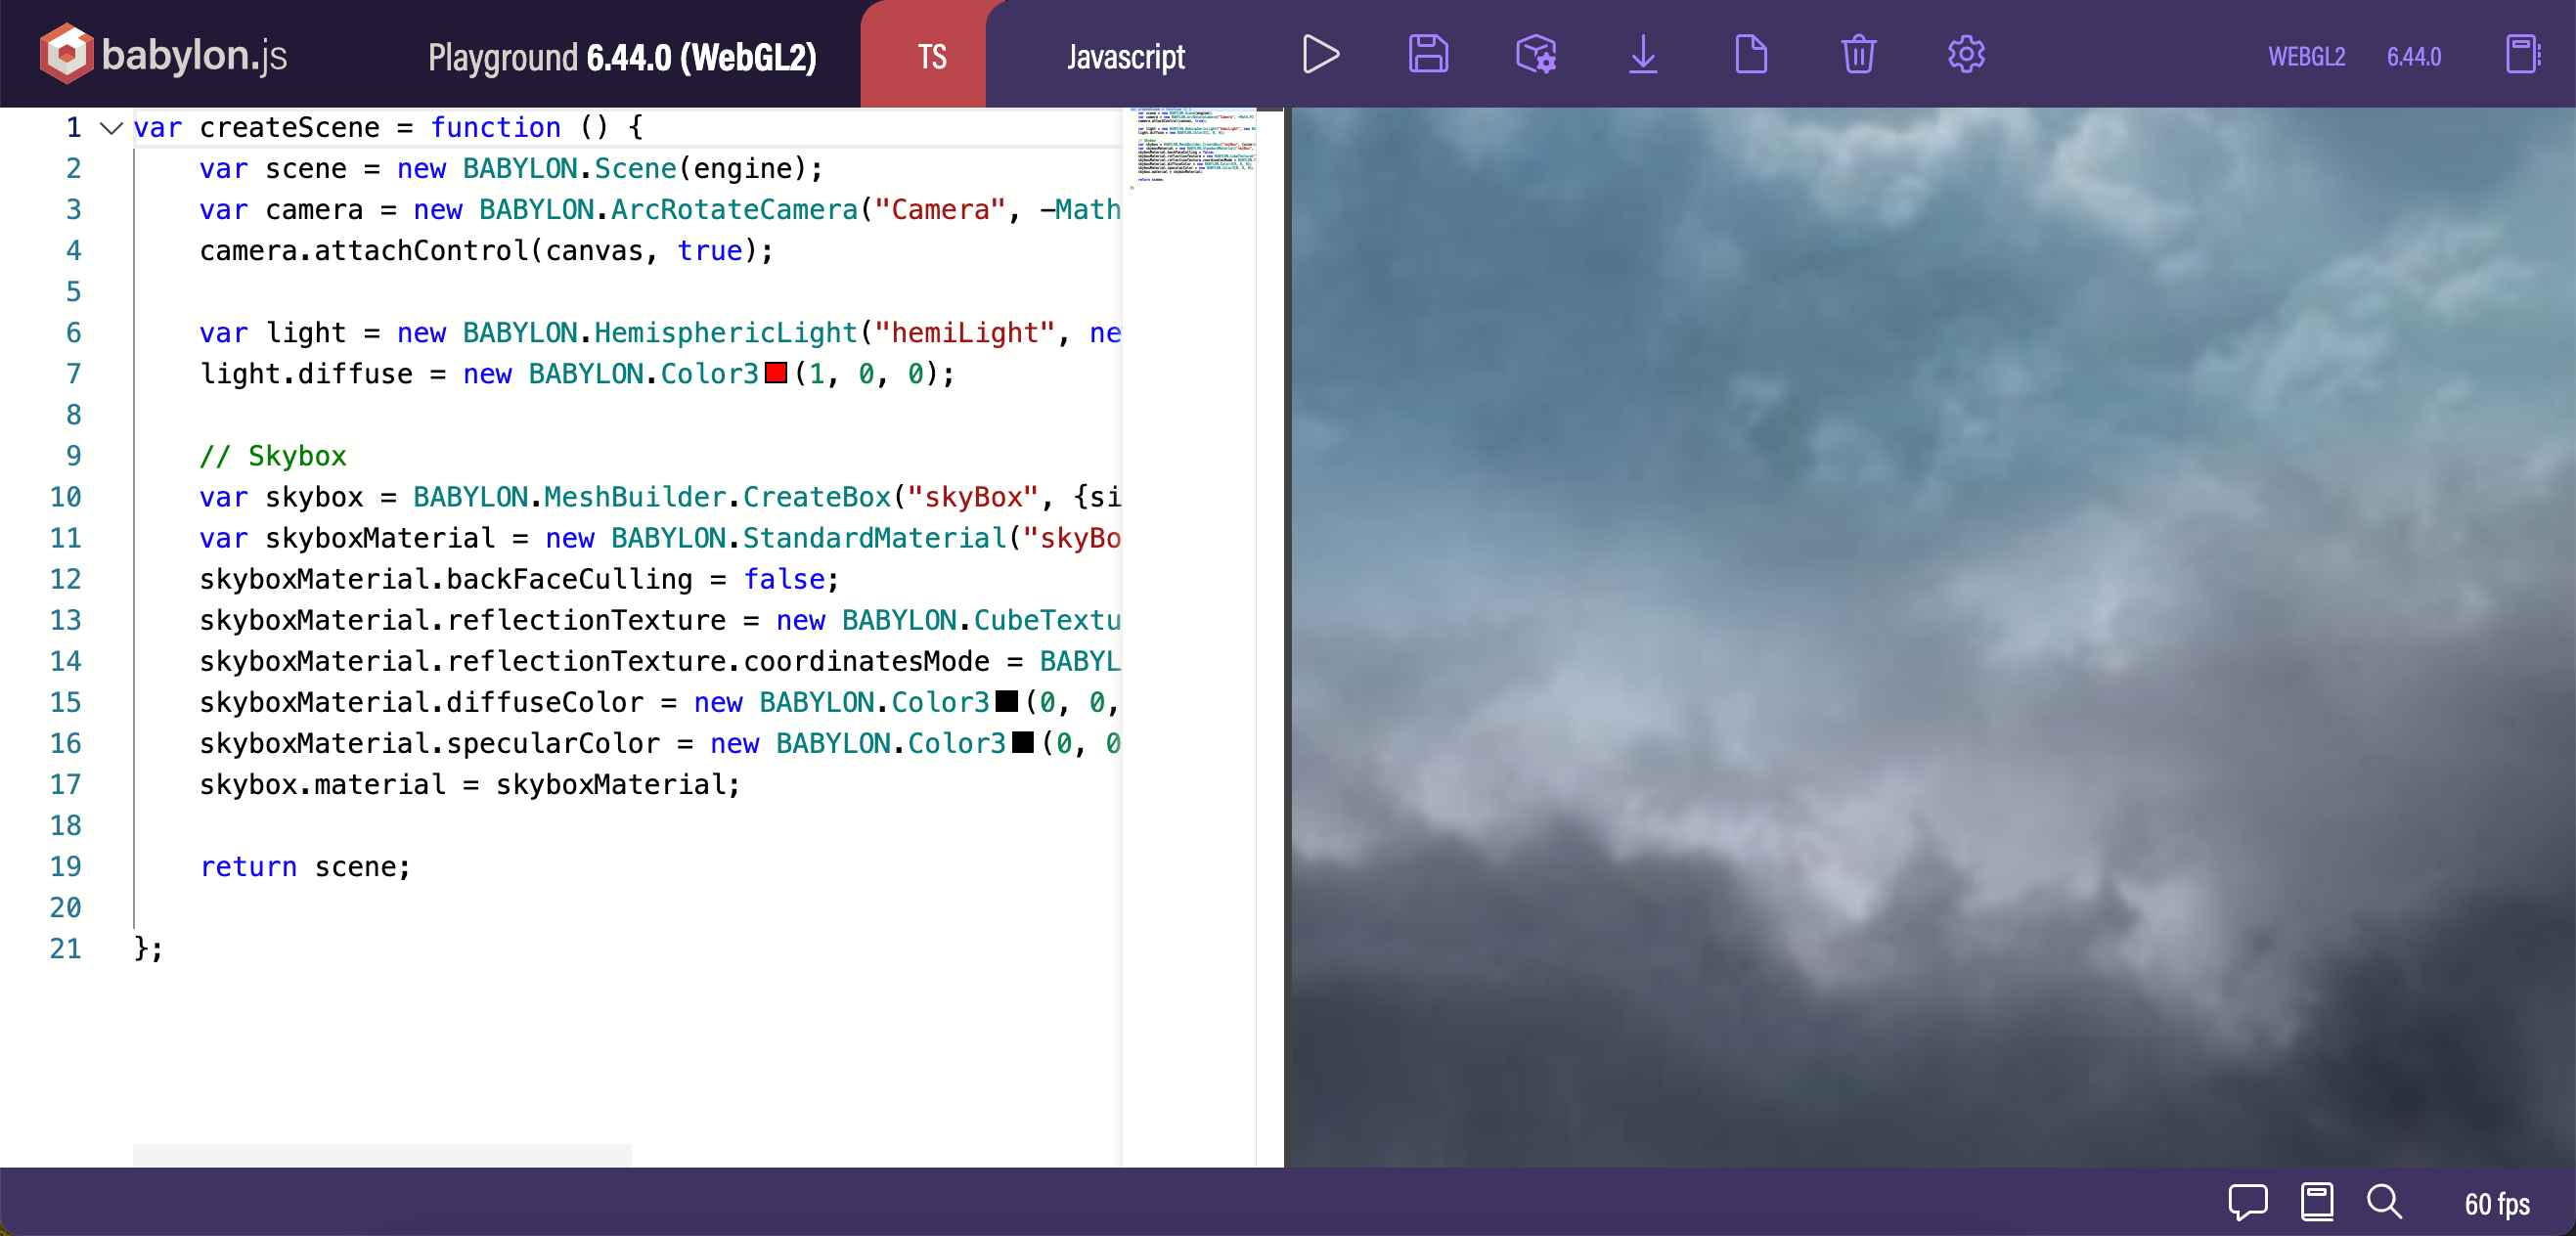
コードを最小限にしてみる(※ プレイグラウンド上)
その元として、公式ドキュメントに掲載されているサンプル 1つ目を流用してみます。
このサンプルは、Babylon.js の公式で「手動」と書かれていたほうの手順のもののようです。
そのため、その手動で作成する手順の部分を「自動」と説明されていた以下に置きかえてみます。
envTexture = new BABYLON.CubeTexture("/assets/textures/SpecularHDR.dds", scene);
scene.createDefaultSkybox(envTexture, true, 1000);
さらに、シーン内は Skybox のみとした場合に、表示に影響しなかったライトに関わる部分も削ってみました(※ 今回の内容が、Skybox のみ表示できれば良い、という限定的な内容であるため)。その場合、以下のみでも動作させることができました。
var createScene = function () {
    var scene = new BABYLON.Scene(engine);
    var camera = new BABYLON.ArcRotateCamera("Camera", -Math.PI / 2,  Math.PI / 2, 5, BABYLON.Vector3.Zero(), scene);
    camera.attachControl(canvas, true);

	// Skybox
	var hdrTexture = new BABYLON.CubeTexture("/textures/SpecularHDR.dds", scene);
    scene.createDefaultSkybox(hdrTexture, true, 10000);

    return scene;
};
コードを最小限にしてみる(※ HTMLファイル全体)
今度は、CSS・JavaScript の内容を含む HTMLファイルで、上記の内容を含んだものを作ってみます。
以前、以下のような記事を書いたことがあったのですが、この時の内容を流用しつつ進めました。
●Babylon.js を実行するミニマムな HTML について調べてみた & ミニマムな変更を加えてみる - Qiita
https://qiita.com/youtoy/items/7ccaab2d8f90c1f5ff76
作った内容は、以下のとおりです。
<!DOCTYPE html>
<html xmlns="http://www.w3.org/1999/xhtml">
  <head>
    <meta http-equiv="Content-Type" content="text/html; charset=utf-8" />
    <title>Babylon Template</title>

    <style>
      html,
      body {
        overflow: hidden;
        width: 100%;
        height: 100%;
        margin: 0;
        padding: 0;
      }

      #renderCanvas {
        width: 100%;
        height: 100%;
        touch-action: none;
      }
    </style>

    <script src="https://cdn.babylonjs.com/babylon.js"></script>
  </head>

  <body>
    <canvas id="renderCanvas"></canvas>

    <script>
      const canvas = document.getElementById("renderCanvas");
      const engine = new BABYLON.Engine(canvas, true);

      const createScene = function () {
        const scene = new BABYLON.Scene(engine);

        const camera = new BABYLON.ArcRotateCamera(
          "Camera",
          -Math.PI / 2,
          Math.PI / 2,
          5,
          BABYLON.Vector3.Zero(),
          scene
        );
        camera.attachControl(canvas, true);

        // Skybox
        const hdrTexture = new BABYLON.CubeTexture(
          // "/textures/SpecularHDR.dds",
          "https://assets.babylonjs.com/textures/SpecularHDR.dds",
          scene
        );
        scene.createDefaultSkybox(hdrTexture, true, 10000);

        return scene;
      };

      const scene = createScene();

      engine.runRenderLoop(function () {
        scene.render();
      });

      window.addEventListener("resize", function () {
        engine.resize();
      });
    </script>
  </body>
</html>
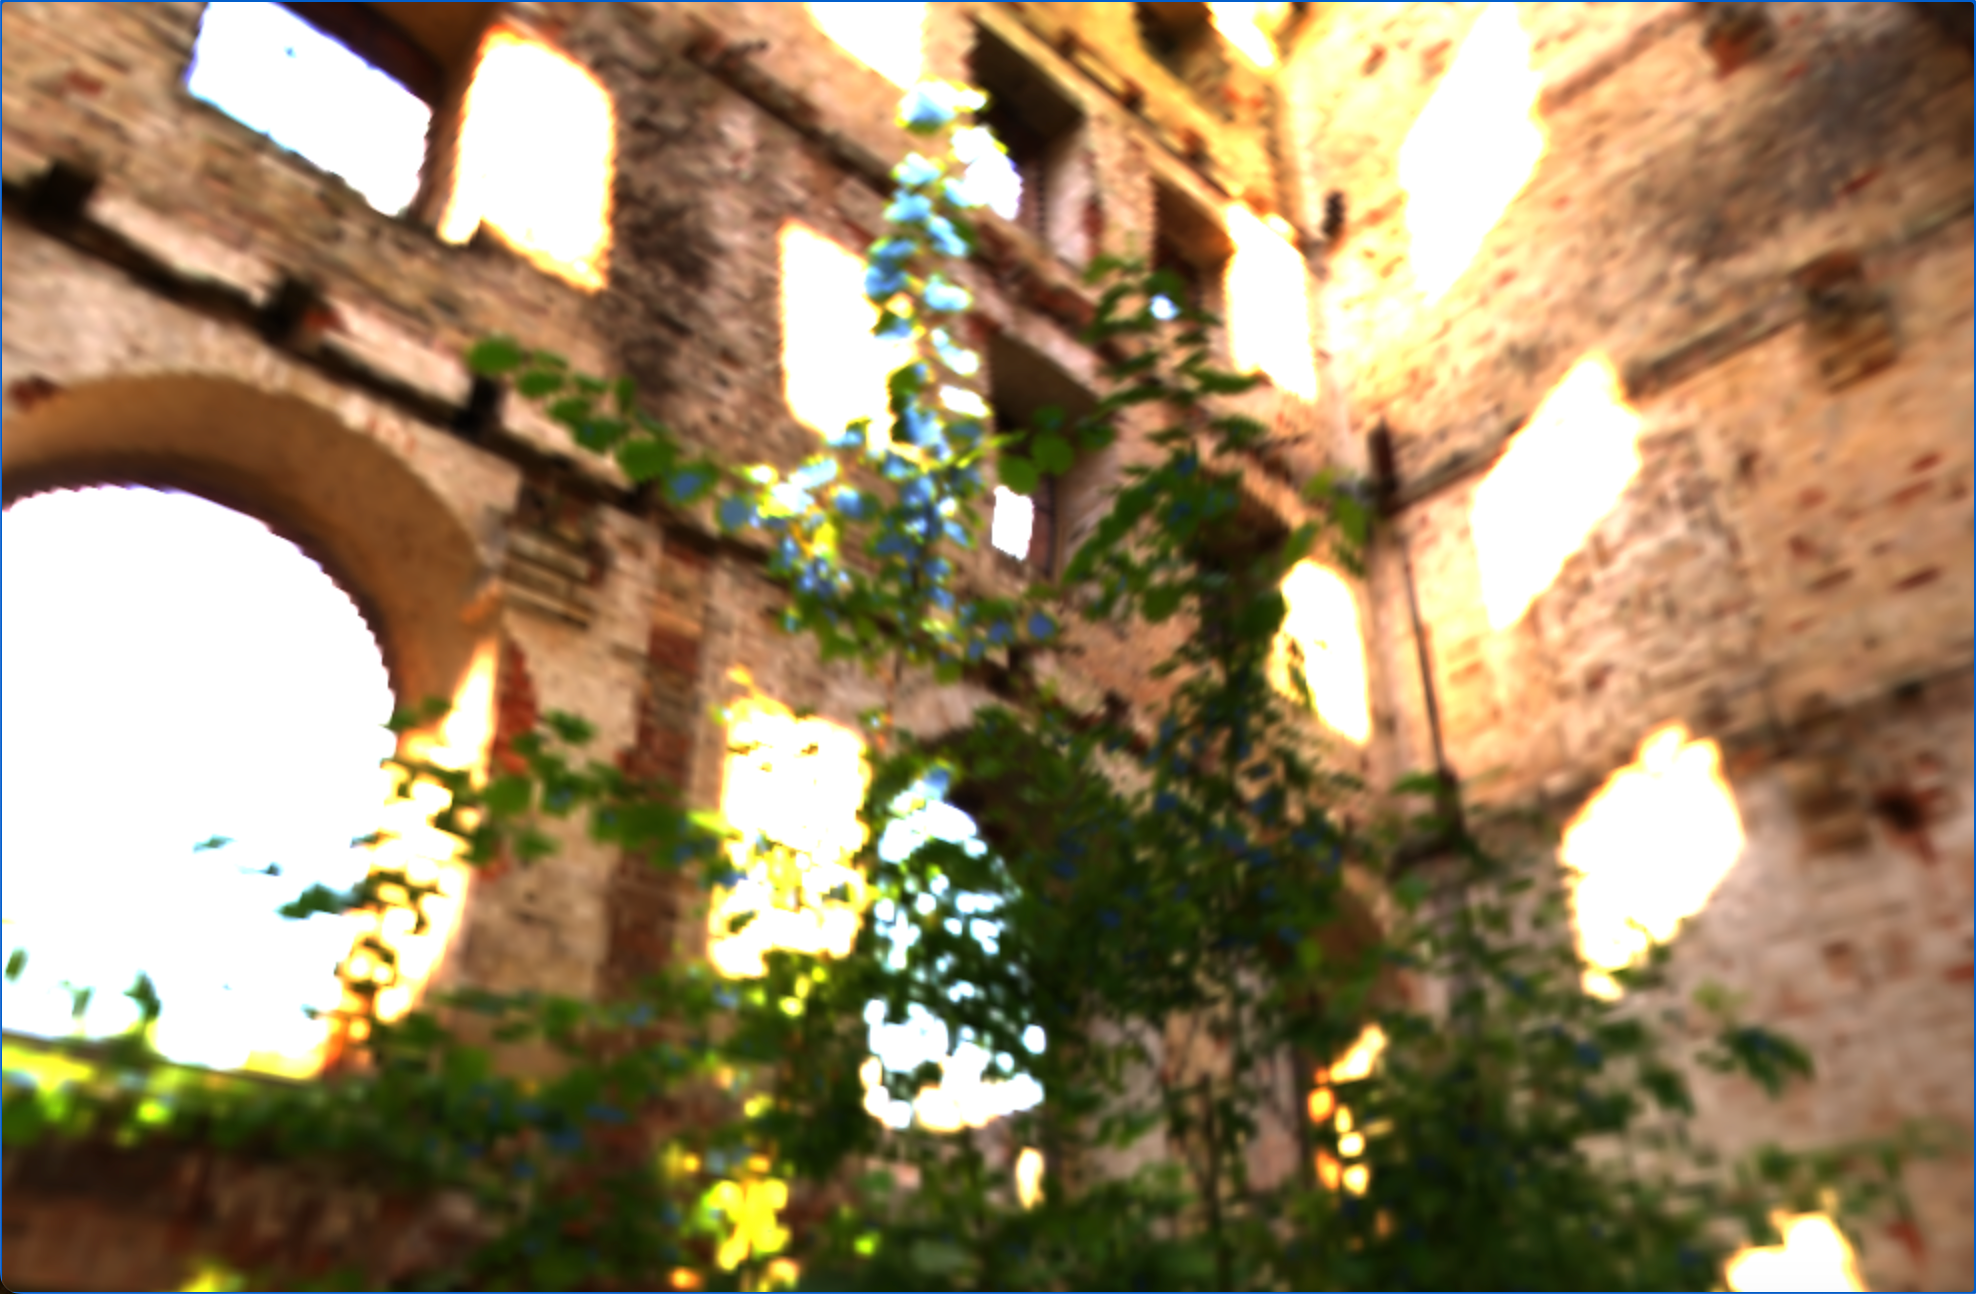
ブラウザ上で、以下のように表示が行えたのを確認できました。
ddsファイルの URL
テクスチャを呼び出す際の URL は、以下のように変更しています。
          // "/textures/SpecularHDR.dds",
          "https://assets.babylonjs.com/textures/SpecularHDR.dds",
これは、プレイグラウンド外からアセットを参照するための対応です。
●The Texture Library | Babylon.js Documentation >「hdr-as-dds」
https://doc.babylonjs.com/toolsAndResources/assetLibraries/availableTextures#hdr-as-dds
ddsファイルを別のものにする
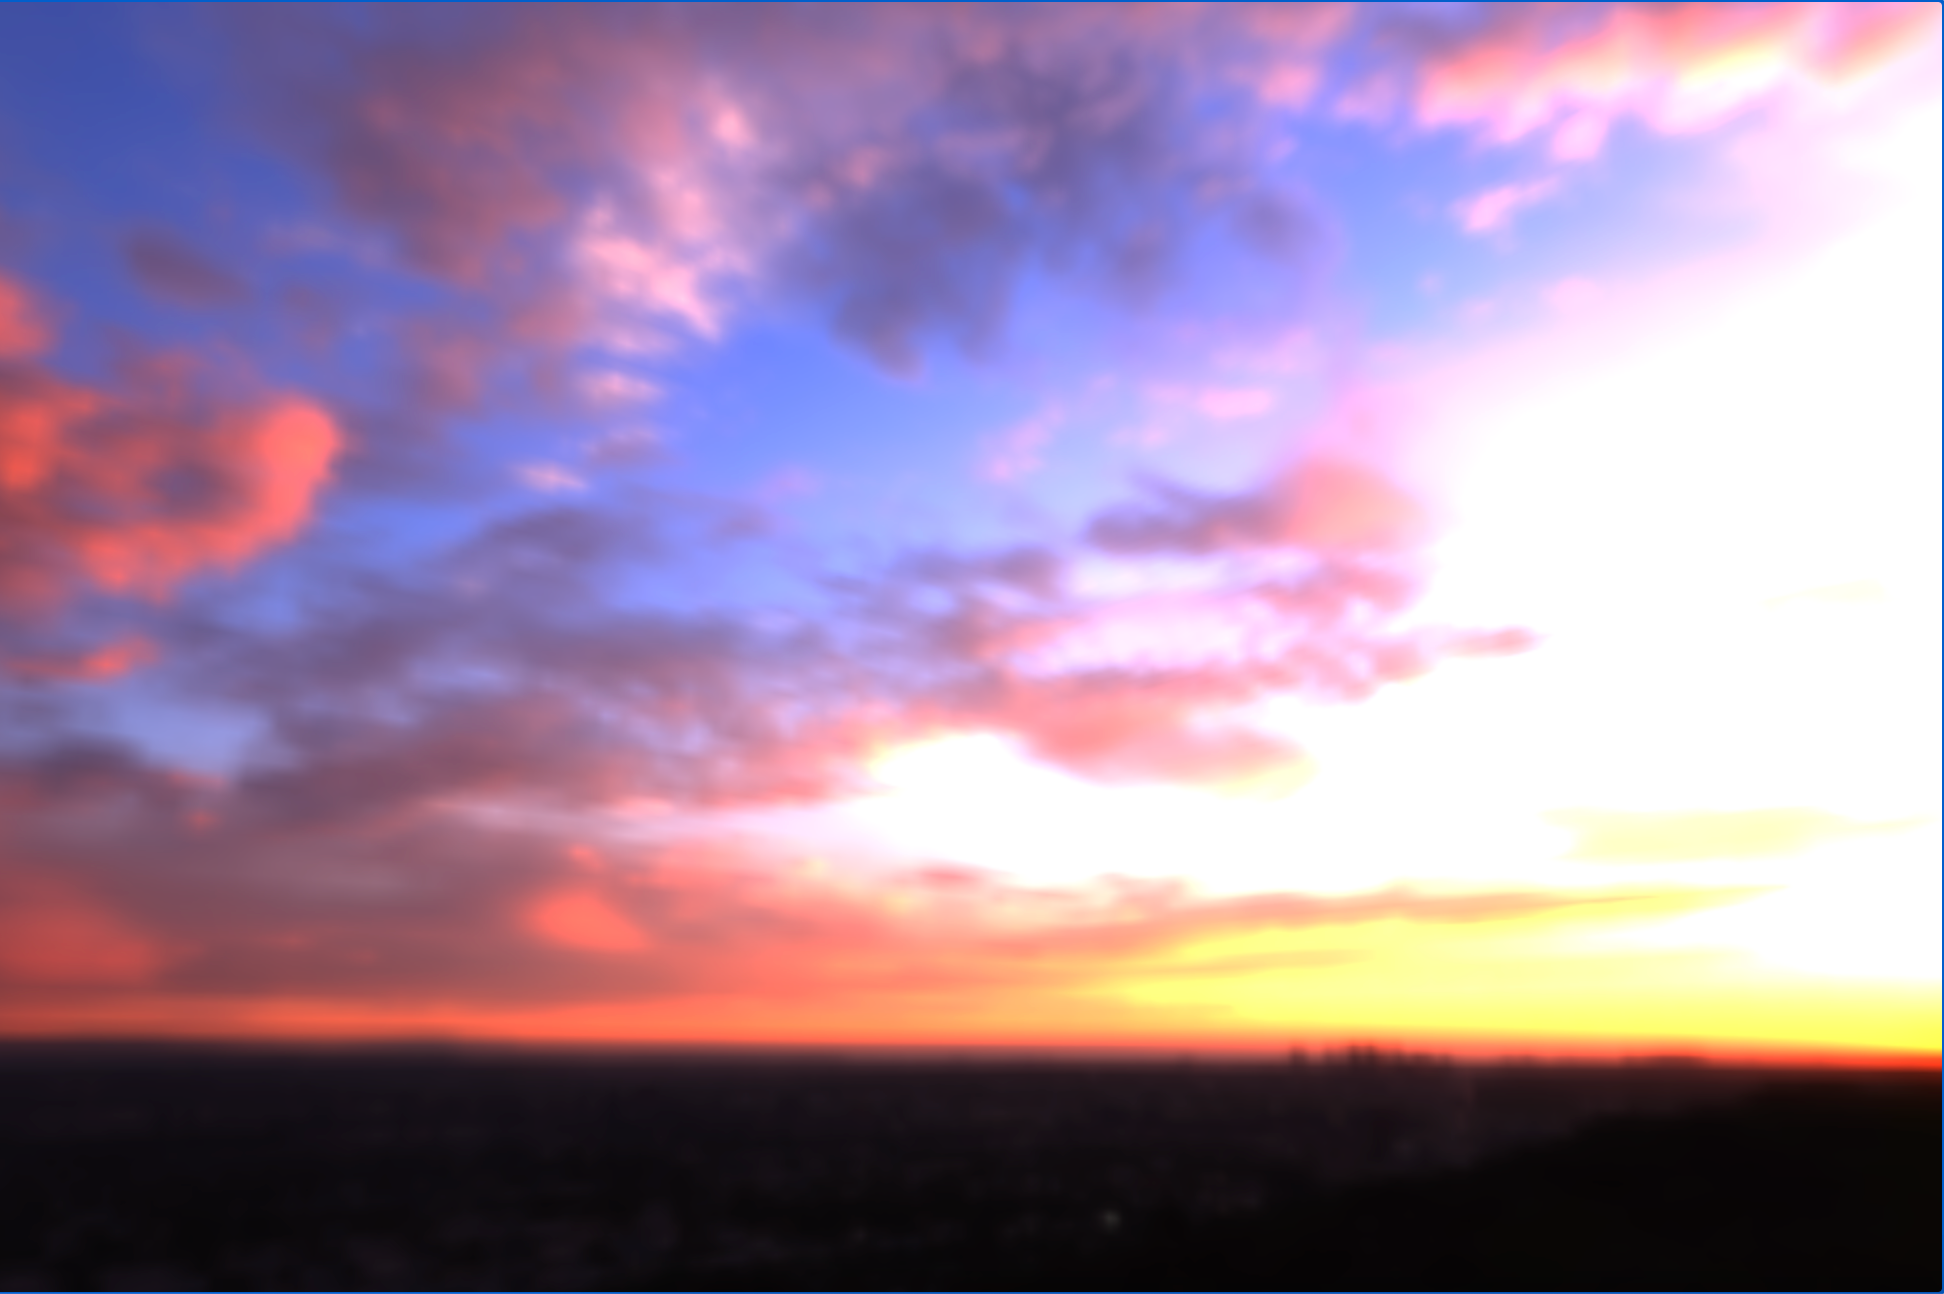
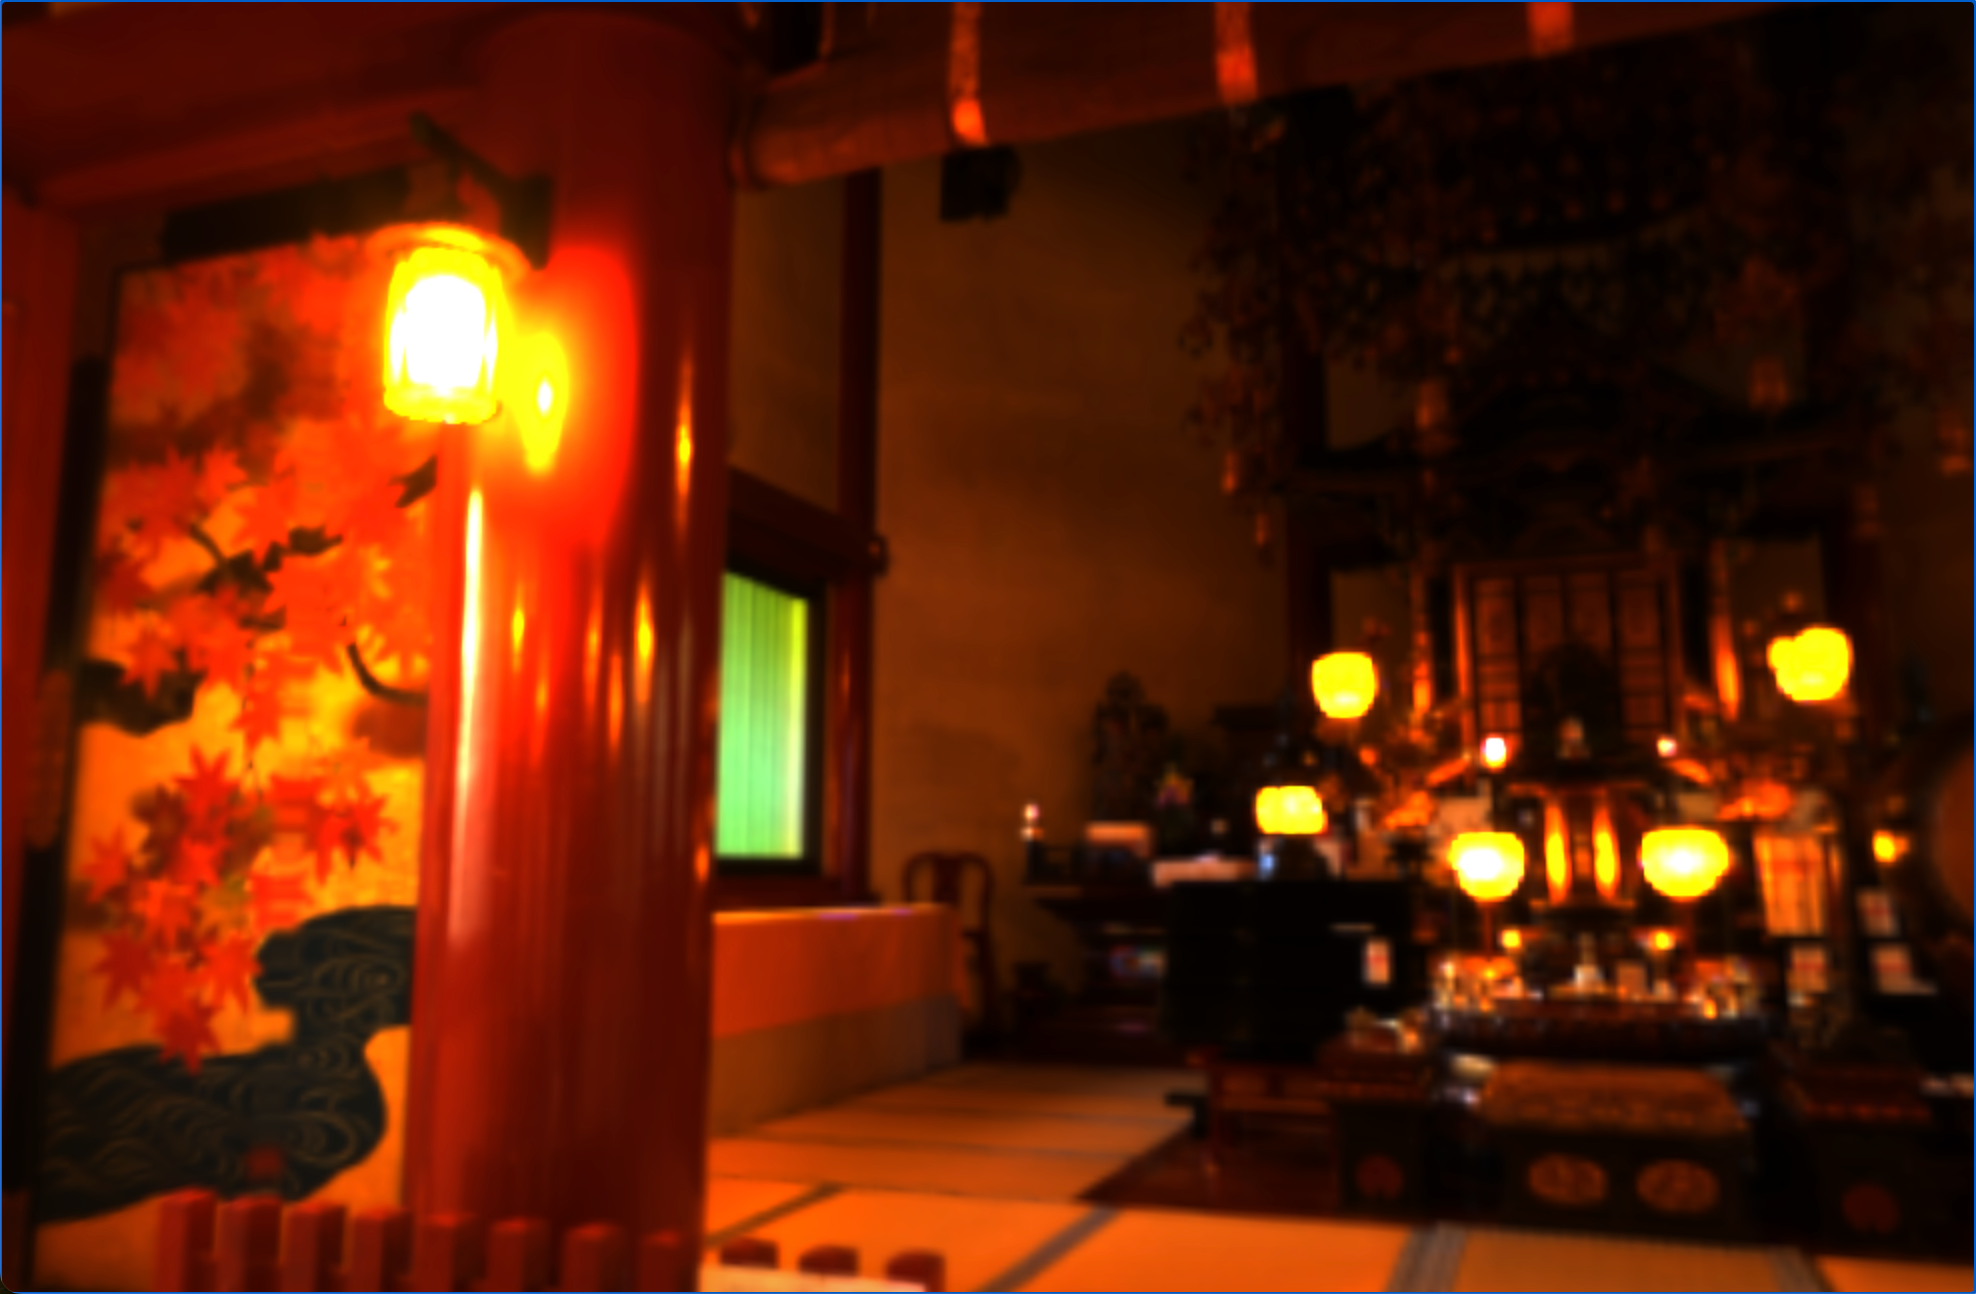
上の事例では「SpecularHDR.dds」を用いていましたが、これを Babylon.js公式の別のアセットに変更してみます。
Babylon.js の公式ドキュメントの「HDR as .dds」に記載された以下のうち、いくつかを試してみました。
- country.dds
- environment.dds
- forest.dds
- night.dds
- parking.dds
- room.dds
- Runyon_Canyon_A_2k_cube_specular.dds
- Studio_Softbox_2Umbrellas_cube_specular.dds
