

(この記事は JavaScript の Advent Calendar 2025 の記事【4つ目】です)
はじめに
iPhone のカメラアプリで撮った写真で使われたりする HEIC形式の画像を、JPEG形式の画像に変換する処理の話です。その変換をブラウザ上で、ライブラリを使った処理で試します。
用いるライブラリは以下の「heic-to」で、これを CDN から読み込んで、ブラウザ上の JavaScript の処理で使います。
●hoppergee/heic-to: Convert HEIC/HEIF images to JPEG, PNG in browser
https://github.com/hoppergee/heic-to
公式のライブデモのページ
ちなみに、heic-to を使った公式のライブデモがあり、以下から試せるようです。
●heic-to - HEIC/HEIF to JPEG/PNG Converter Demo
https://hoppergee.github.io/heic-to/example/
自分でコードを準備して試してみる
この後は、自分でコードを書いて試してみます。
ライブラリを CDN から読み込み
「ライブラリは CDN から読み込む」と上で書いていましたが、読み込み元は以下です。
●heic-to CDN by jsDelivr - A CDN for npm and GitHub
https://www.jsdelivr.com/package/npm/heic-to
お試し用のコード
お試し用のコードは、以下のとおりです。ステップごとの状態を確認しやすいよう、クリック操作で進めていく仕様にしました。
以下について、CSS はほぼ使わず(プレビュー画像の幅に制約をかけるための内容のみ)、JavaScript の処理もわりとシンプルなものにしました。
<!DOCTYPE html>
<html lang="ja">
  <head>
    <meta charset="utf-8" />
    <title>HEICをJPEGに変換(heic-to)</title>
    <style>
      #preview {
        max-width: 400px;
      }
    </style>
    <script src="https://cdn.jsdelivr.net/npm/heic-to@1.3.0/dist/iife/heic-to.js"></script>
  </head>

  <body>
    <h1>HEICをJPEGに変換</h1>

    <input
      id="heic-input"
      type="file"
      accept=".heic,.heif,image/heic,image/heif"
    />

    <p id="status"></p>

    <img id="preview" />

    <a id="download" href="#" download="converted.jpg" style="display: none">
      JPEG をダウンロード
    </a>

    <script>
      const input = document.getElementById("heic-input");
      const statusEl = document.getElementById("status");
      const previewEl = document.getElementById("preview");
      const downloadEl = document.getElementById("download");

      let currentObjectUrl = null;

      input.addEventListener("change", async (e) => {
        const file = e.target.files[0];
        if (!file) return;

        statusEl.textContent = "チェック中";
        previewEl.src = "";
        downloadEl.style.display = "none";

        if (currentObjectUrl) {
          URL.revokeObjectURL(currentObjectUrl);
          currentObjectUrl = null;
        }

        try {
          const isHeic = await HeicTo.isHeic(file);
          if (!isHeic) {
            statusEl.textContent = "このファイルは HEIC/HEIF ではありません。";
            return;
          }

          statusEl.textContent = "HEICをJPEGに変換中";

          const jpegBlob = await HeicTo({
            blob: file,
            type: "image/jpeg",
            quality: 0.8,
          });

          const url = URL.createObjectURL(jpegBlob);
          currentObjectUrl = url;

          previewEl.src = url;

          const dotIndex = file.name.lastIndexOf(".");
          const baseName =
            dotIndex > 0 ? file.name.substring(0, dotIndex) : file.name;
          downloadEl.href = url;
          downloadEl.download = baseName + ".jpg";
          downloadEl.style.display = "inline-block";

          statusEl.textContent = "変換完了";
        } catch (err) {
          console.error(err);
          statusEl.textContent = "変換中にエラーが発生しました";
        }
      });
    </script>
  </body>
</html>
変換処理のメインの部分は、以下になります。
          const jpegBlob = await HeicTo({
            blob: file,
            type: "image/jpeg",
            quality: 0.8,
          });
ライブラリを使ったことで、シンプルな処理で変換が行えました。
また、その前の以下の部分では、ライブラリの機能を使ってファイルが HEIC形式の画像かどうかをチェックしています。
          const isHeic = await HeicTo.isHeic(file);
          if (!isHeic) {
            statusEl.textContent = "このファイルは HEIC/HEIF ではありません。";
            return;
          }
その前後の処理は、ファイルが読み込まれた直後の処理と、変換された画像を手動でダウンロードできるようにした処理です。
変換処理を試す
上記をブラウザで開いて、変換処理を試してみます。
ブラウザ上での表示や操作
ブラウザで上記の HTMLファイルを開くと、以下のようなページが表示されます。
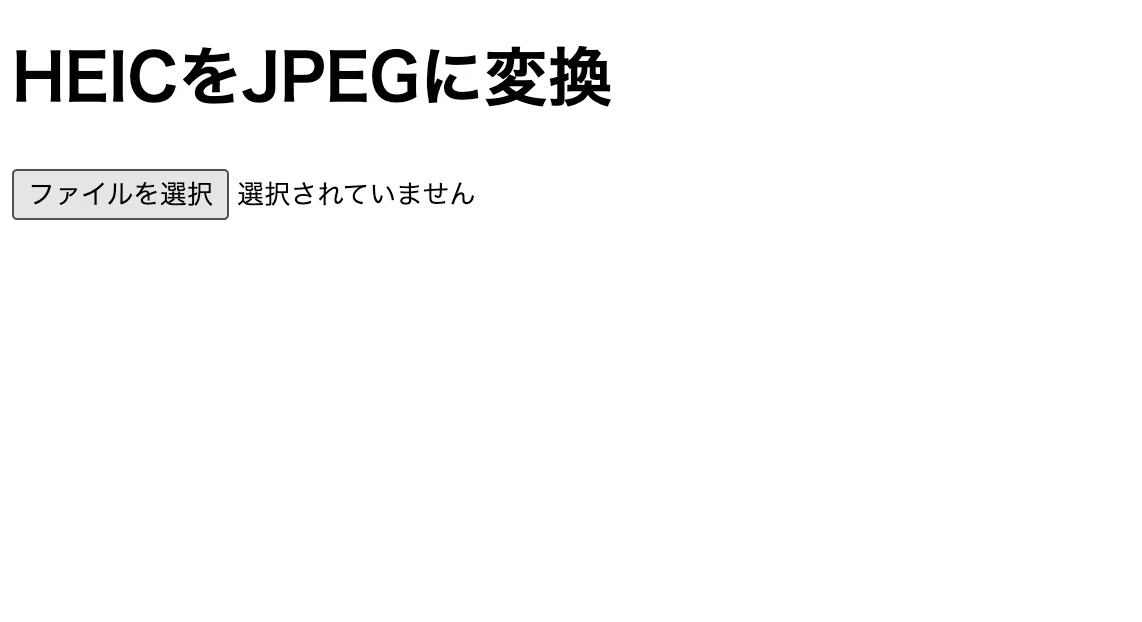
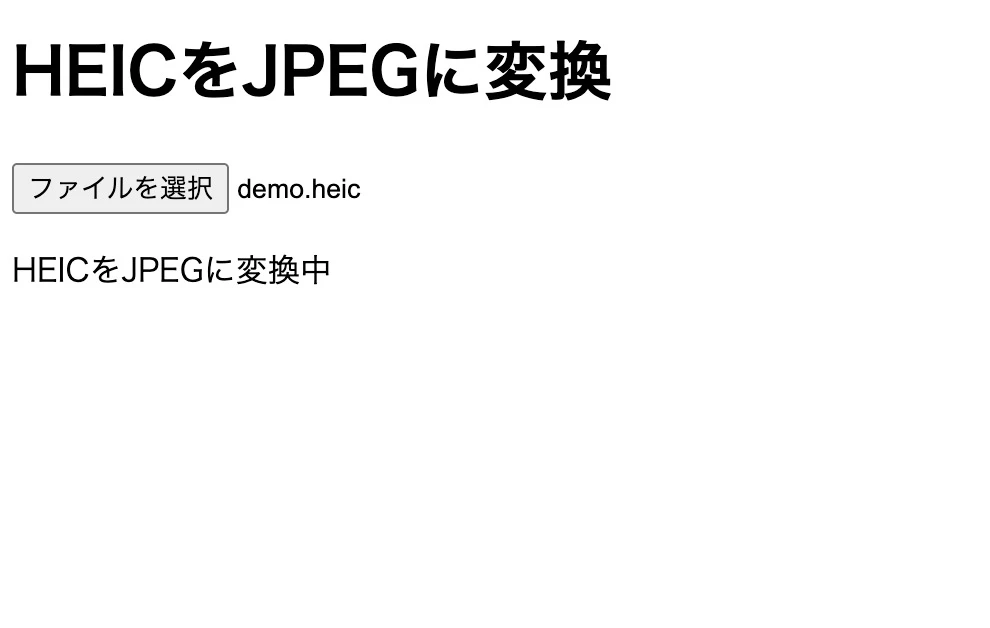
上記の「ファイルを選択」ボタンを押して、自分の PC内にあった適当な HEIC形式の画像を選びます。そうすると、以下の変換処理中の状態になります。
その後、少し待つと、以下のように画像のプレビューが表示されます。
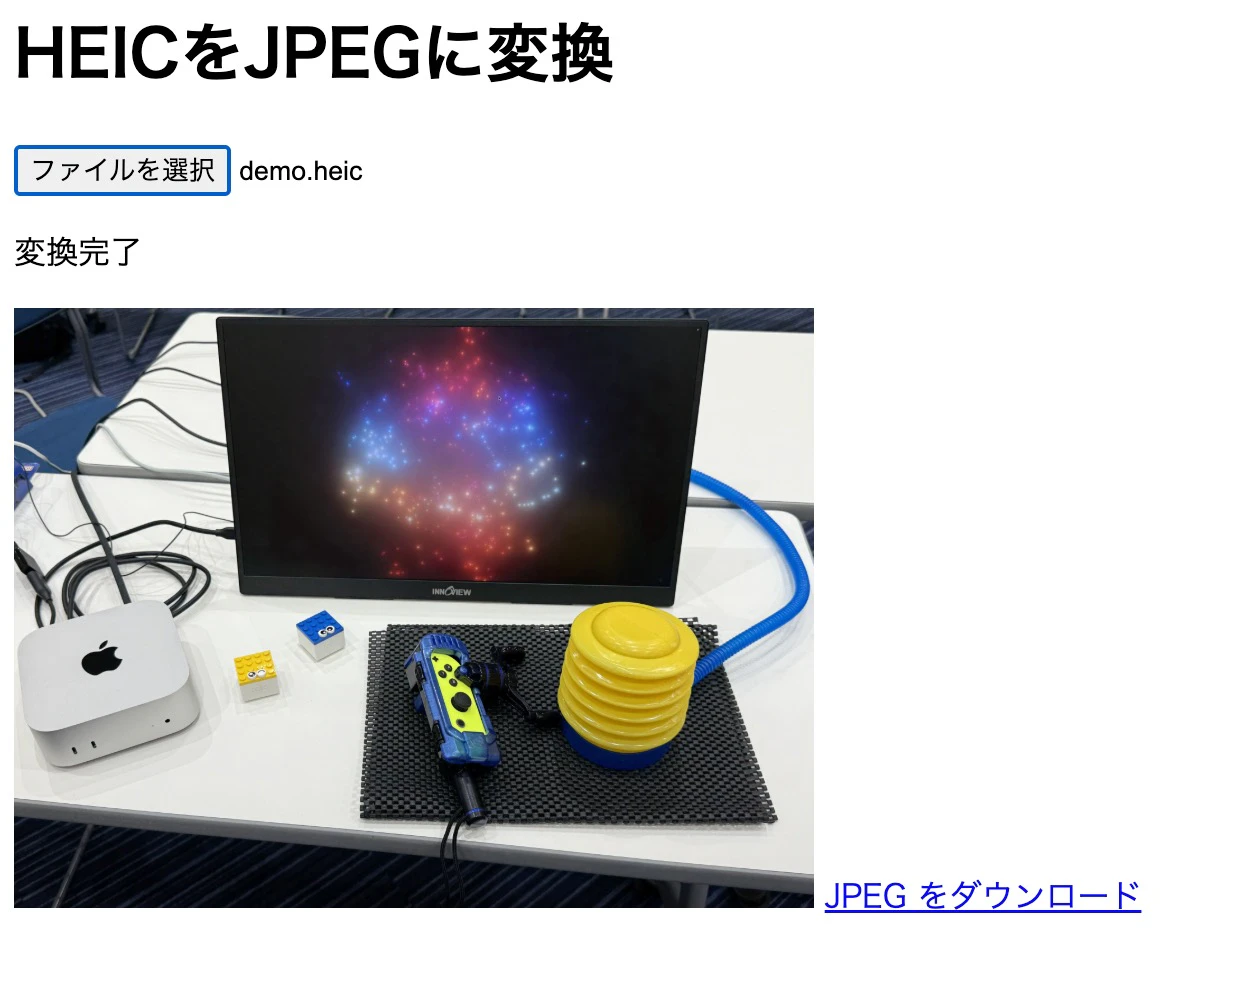
あとは、画像の横に出ている「JPEG をダウンロード」というリンクをクリックすると、JPEG形式に変換された画像をダウンロードできます。
変換前後の画像の比較
変換前の画像とダウンロードした変換後の画像を、Mac のプレビューアプリで開いたものを以下にのせてみました。
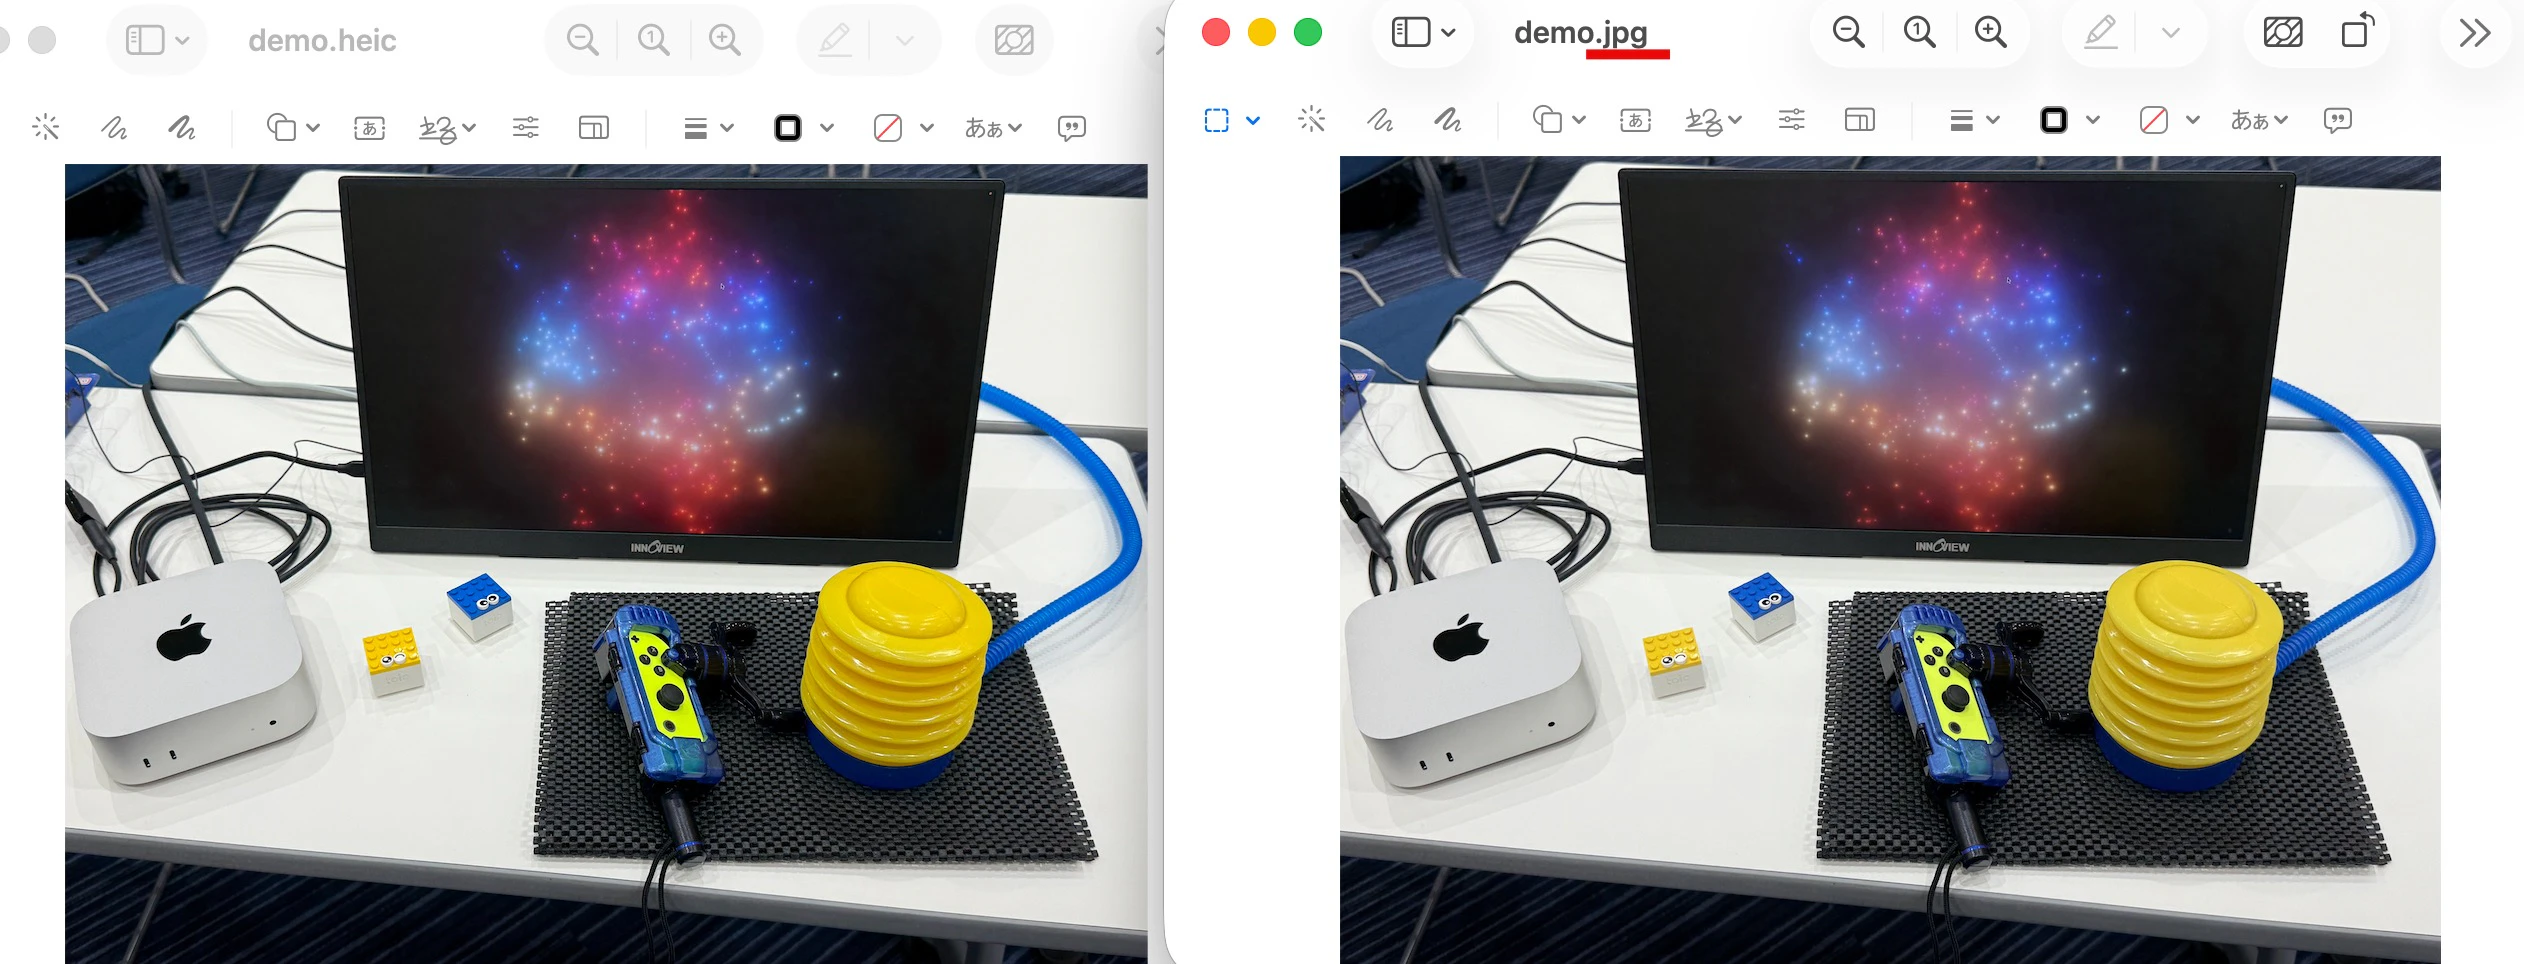
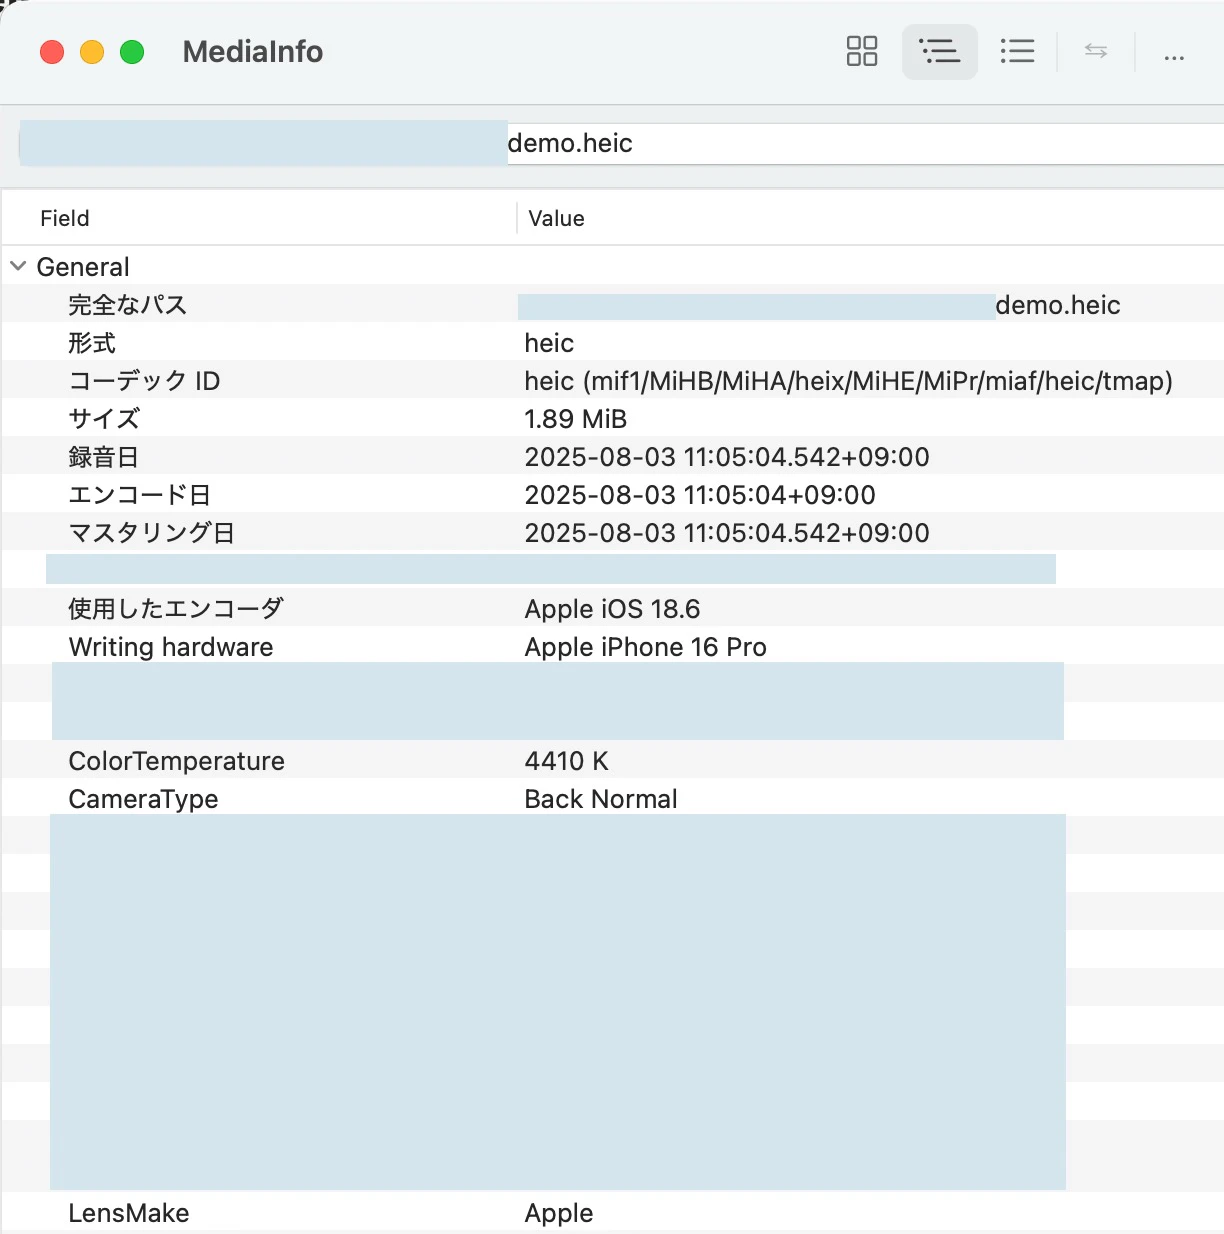
右側の変換後の画像が JPEG形式の画像です。これだけだと変換が正常に行われたかどうかが分からないため、それぞれの画像の情報を MediaInfoアプリで確認します。
以下は HEIC形式の画像のほうで、今年8月に撮ったという情報や、撮影した端末・OS の情報なども含まれたものになっています。
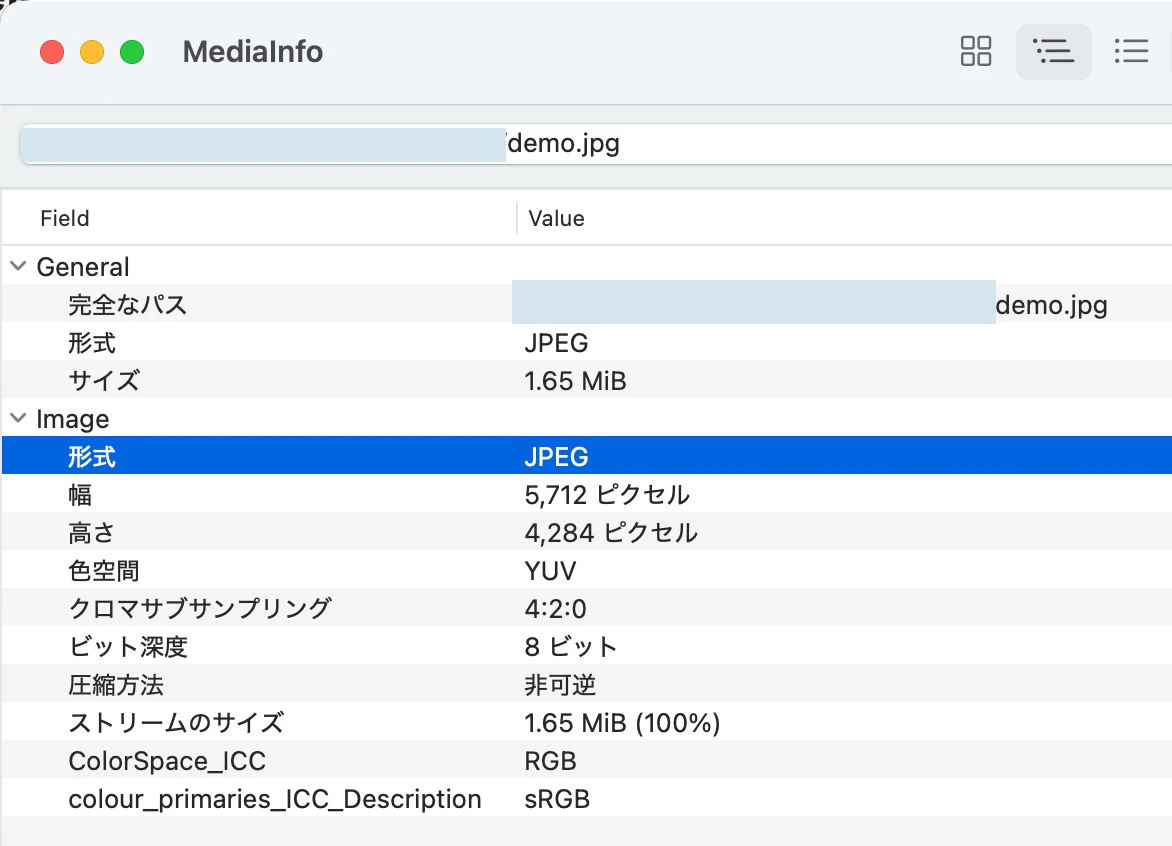
そして以下は、JPEG形式の画像の情報です。JPEG画像となっていて、画像の縦横のピクセル数や色空間やビット深度などの情報が確認できます。
無事、ブラウザ上の処理で HEIC形式の画像を JPEG形式の画像に変換できました。