はじめに
前から気になりつつも試したのはつい最近になってから、という感じになった「Mastra」について、そのドキュメントを見ていて気になった、以下の Mastraサーバーの話です。
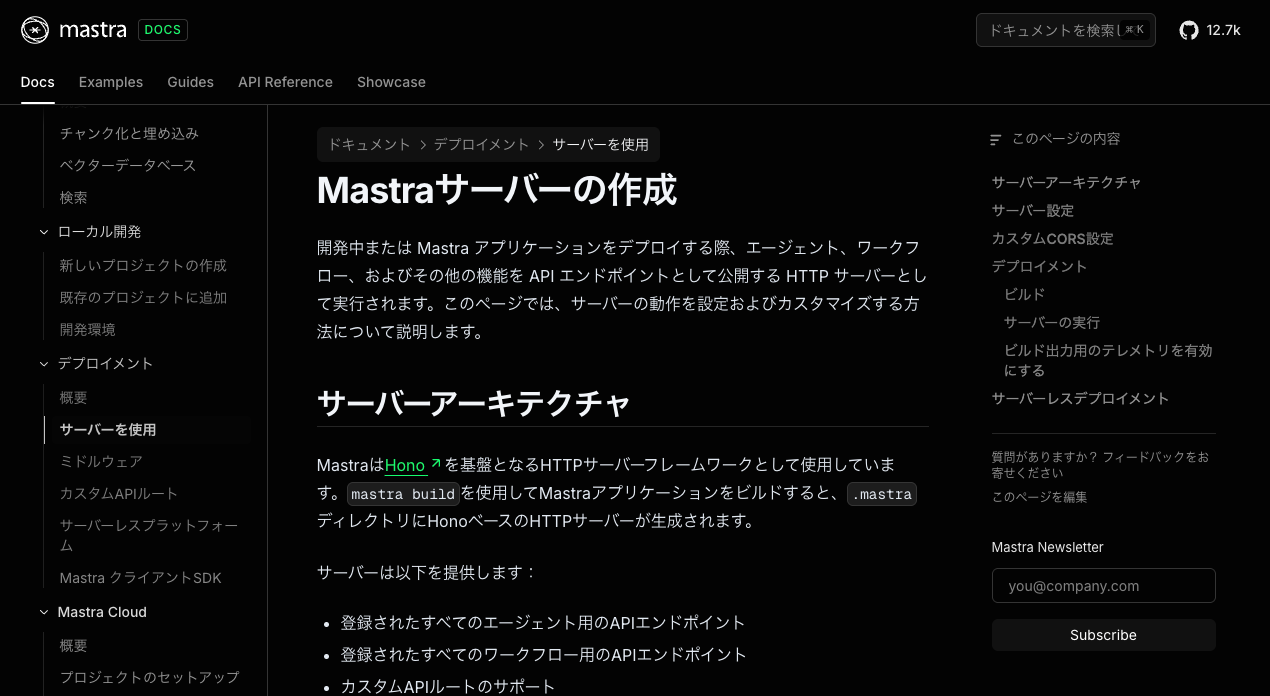
●Mastraサーバーの作成
https://mastra.ai/ja/docs/deployment/server
以下のお試しをした際に、Mastra関連の情報を探していた中でも Mastraサーバーの話を見かけていたので、あらためて上記を見かけて気になりました。
●Mastra でシンプルな MCPクライアント・MCPホストの機能を作って Node.js で実行(自作MCPサーバーと組み合わせる) - Qiita
https://qiita.com/youtoy/items/062165c2918cfdbc5590
サクッと試す
それではシンプルな内容・手順で試してみます。
「create-mastra」を使用した新規プロジェクト
まずは公式おすすめの「create-mastra」を使用した新規プロジェクト作成を少し試しました。
具体的には、以下のコマンドを使ったものです。
npx create-mastra
インストール
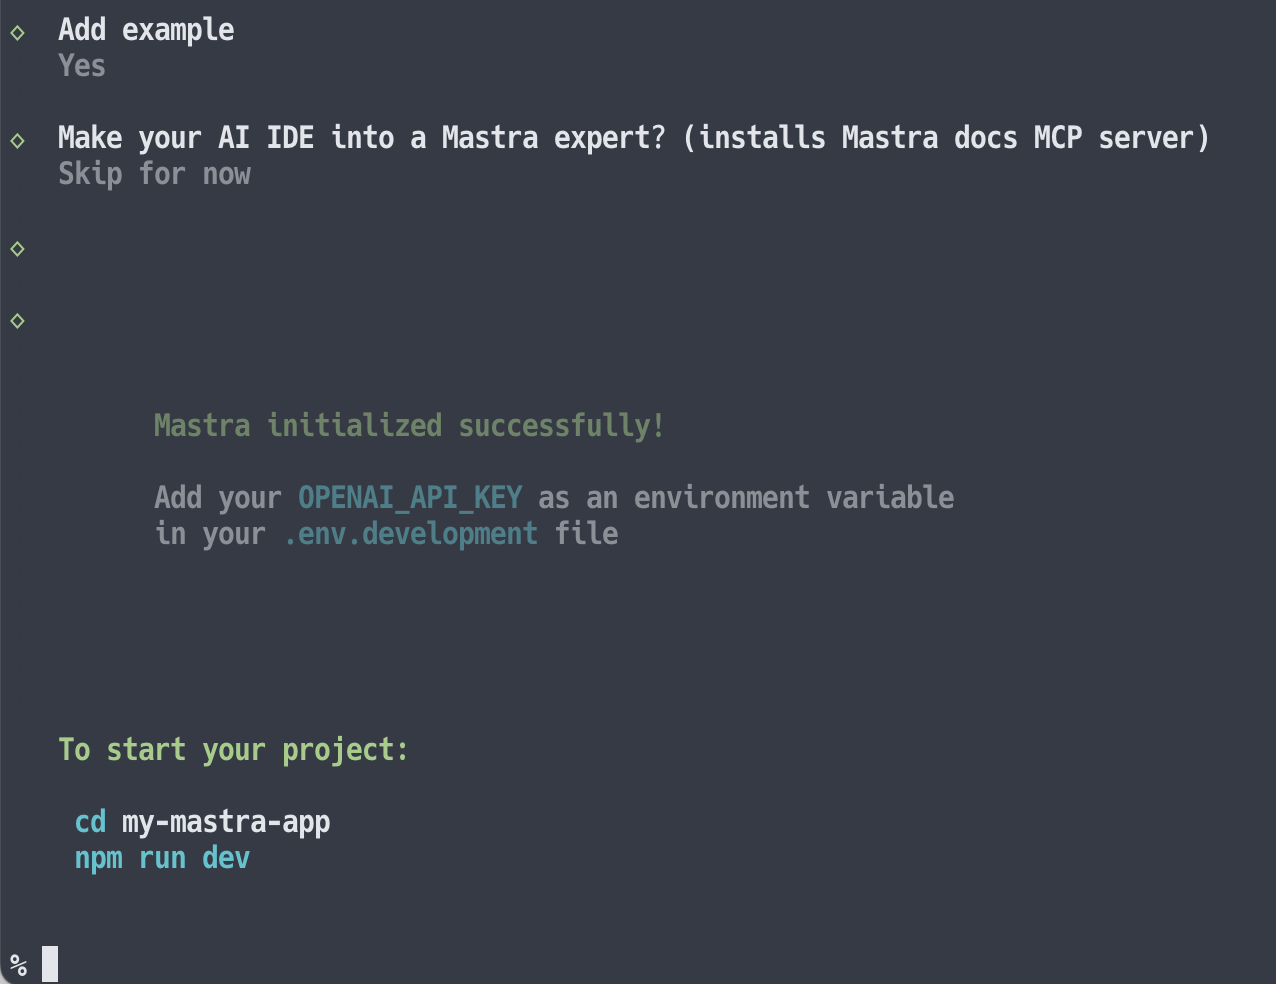
コマンド実行後、以下のようにインストールが始まりました。

その後、以下のように進んでいきました。

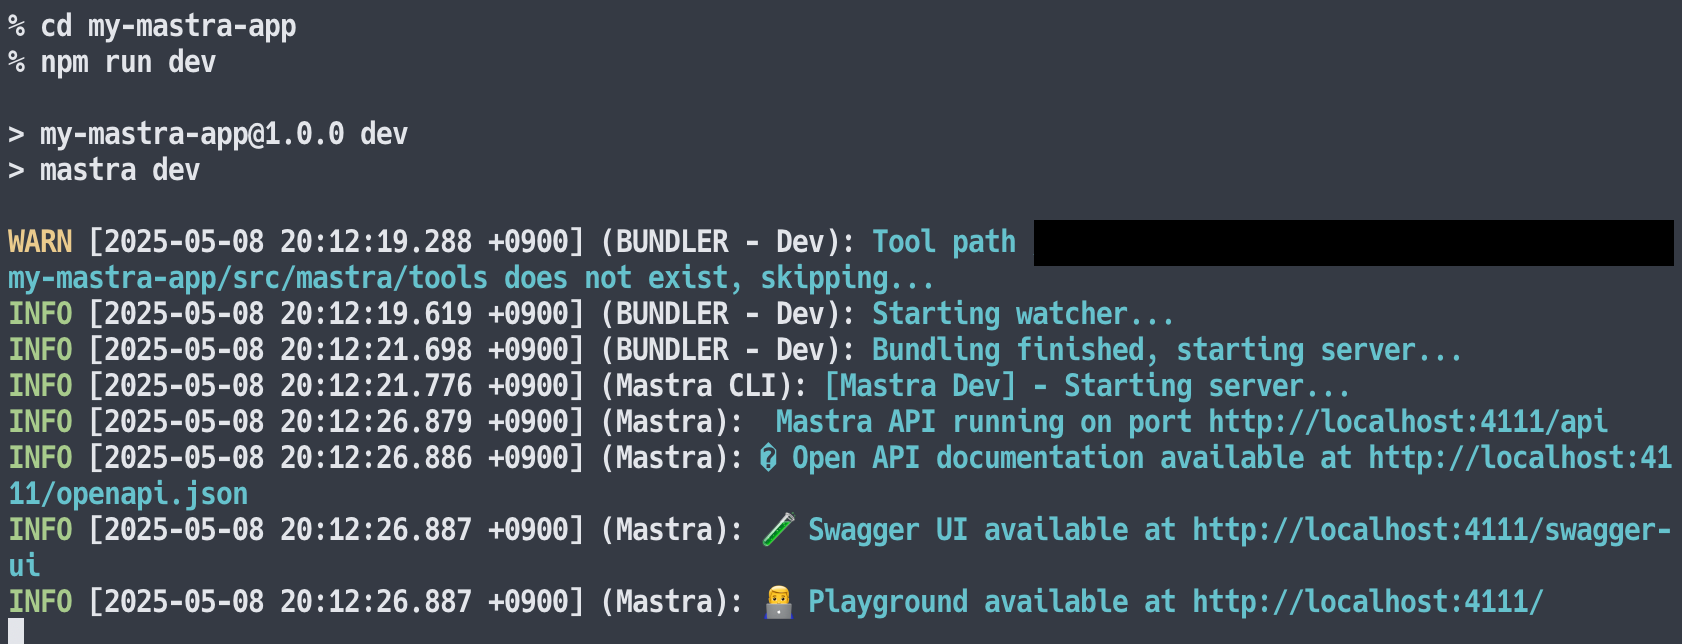
サーバーの起動
そして、上記のコマンドでサーバーを起動しました。
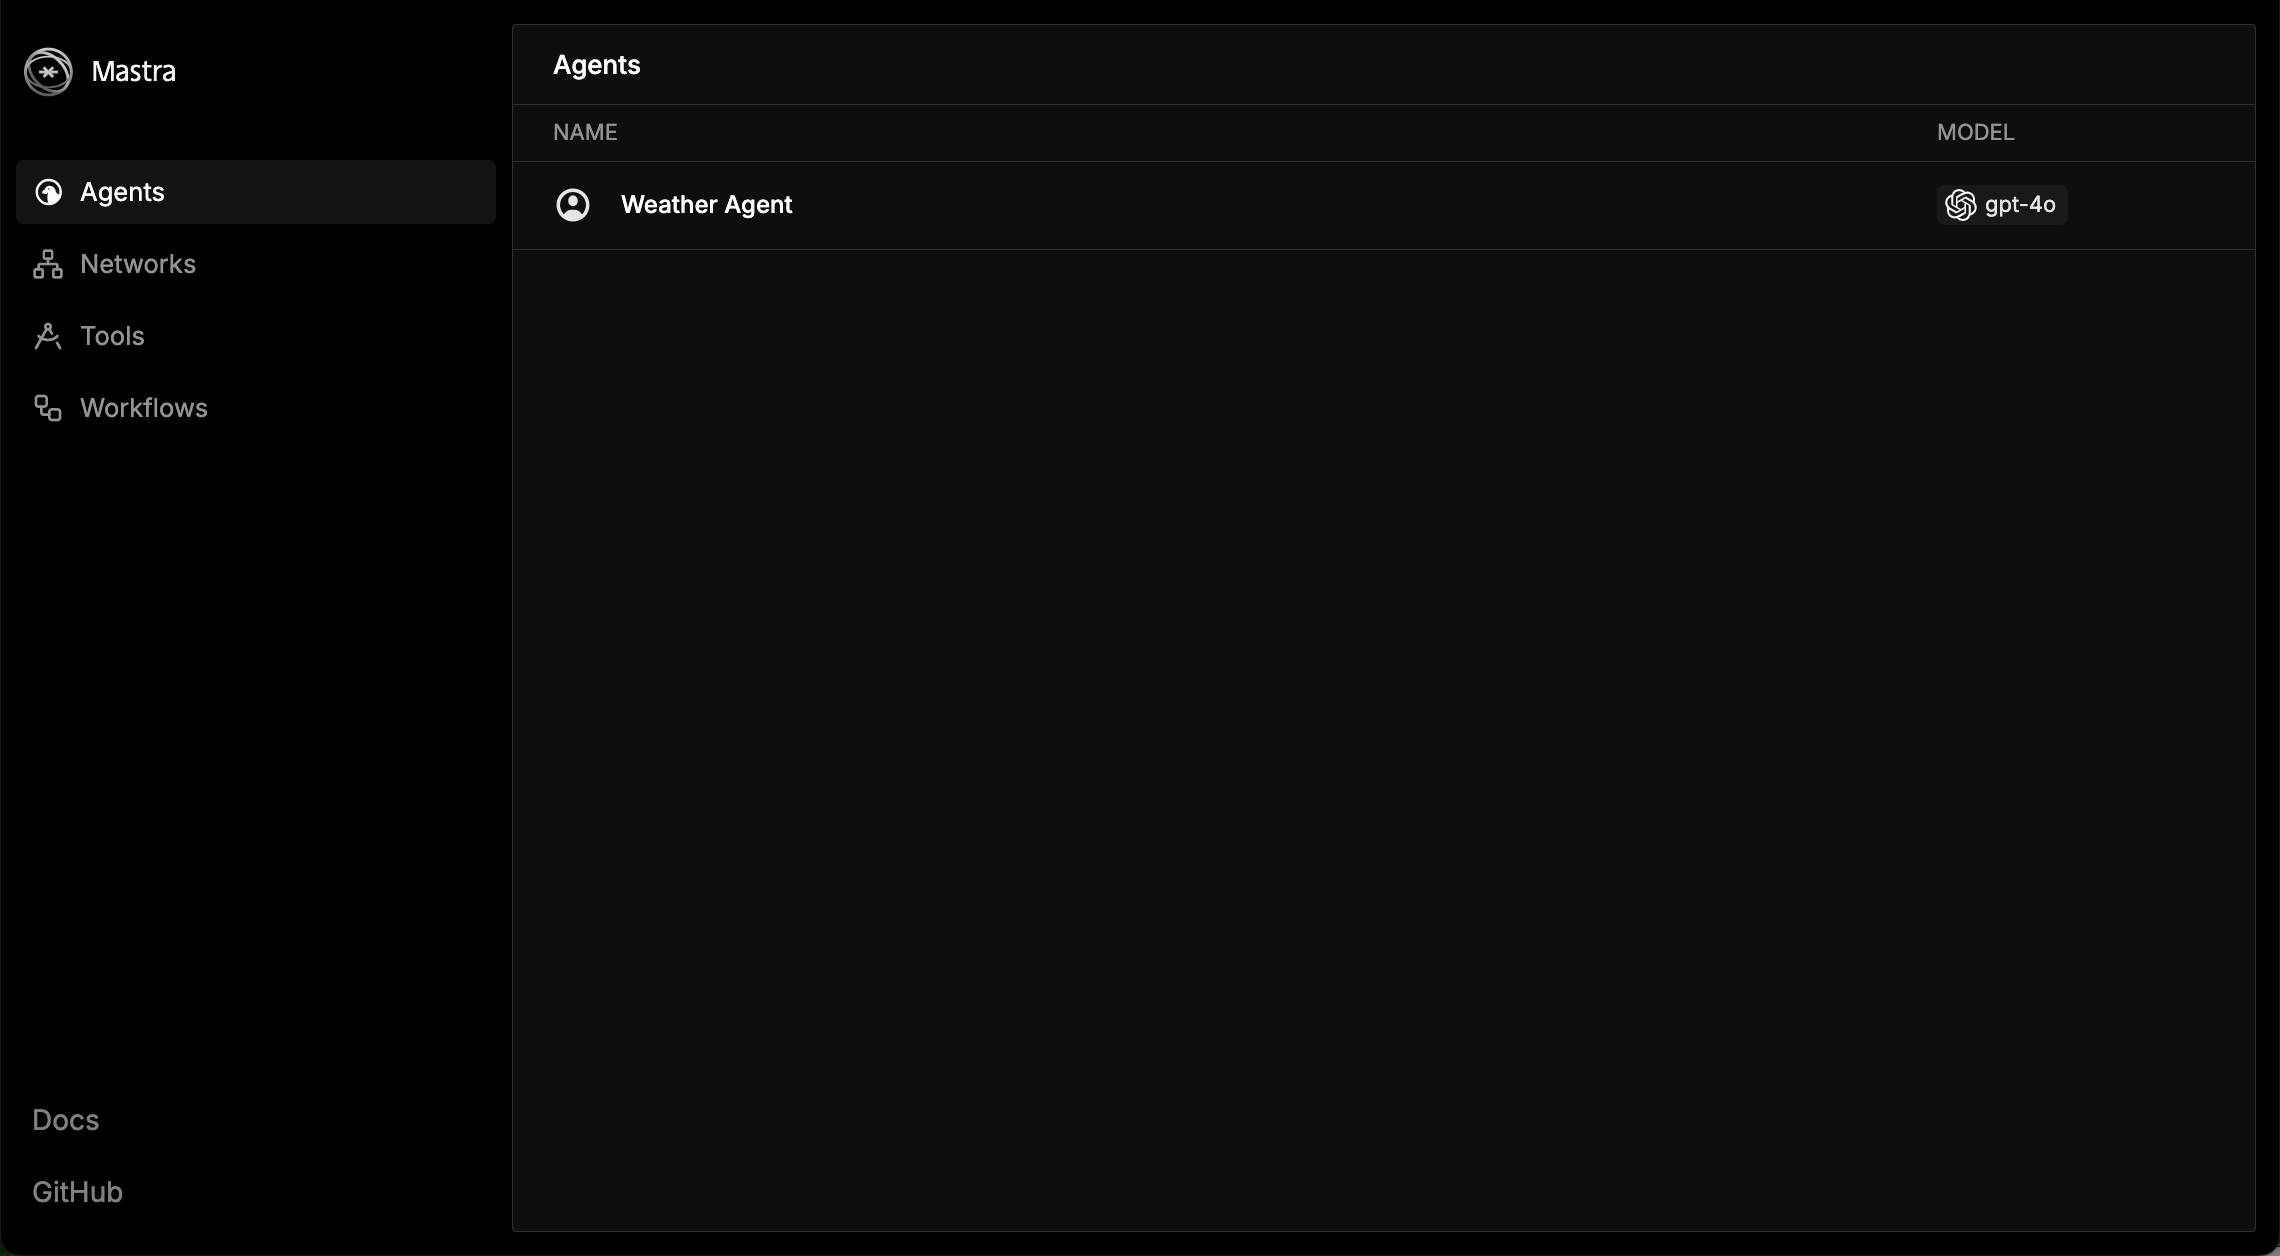
ブラウザでローカルサーバーにアクセスする
ブラウザで http://localhost:4111/agents にアクセスしたところ、以下のページが表示されたのが確認できました。
生成されていたコード
なお、 ./my-mastra-app/src/mastra/ に作られたコードは以下がありました。
import { Mastra } from '@mastra/core/mastra';
import { createLogger } from '@mastra/core/logger';
import { LibSQLStore } from '@mastra/libsql';

import { weatherAgent } from './agents';

export const mastra = new Mastra({
  agents: { weatherAgent },
  storage: new LibSQLStore({
    // stores telemetry, evals, ... into memory storage, if it needs to persist, change to file:../mastra.db
    url: ":memory:",
  }),
  logger: createLogger({
    name: 'Mastra',
    level: 'info',
  }),
});
import { openai } from '@ai-sdk/openai';
import { Agent } from '@mastra/core/agent';
import { Memory } from '@mastra/memory';
import { LibSQLStore } from '@mastra/libsql';

export const weatherAgent = new Agent({
  name: 'Weather Agent',
  instructions: `
      You are a helpful weather assistant that provides accurate weather information.

      Your primary function is to help users get weather details for specific locations. When responding:
      - Always ask for a location if none is provided
      - If the location name isn’t in English, please translate it
      - If giving a location with multiple parts (e.g. "New York, NY"), use the most relevant part (e.g. "New York")
      - Include relevant details like humidity, wind conditions, and precipitation
      - Keep responses concise but informative

`,
  model: openai('gpt-4o'),

  memory: new Memory({
    storage: new LibSQLStore({
      url: 'file:../mastra.db', // path is relative to the .mastra/output directory
    }),
    options: {
      lastMessages: 10,
      semanticRecall: false,
      threads: {
        generateTitle: false,
      },
    },
  }),
});
自前でセットアップして進めてみる
この後、HTTPリクエストを使ってやりとりできるシンプルなサーバーを、自前でセットアップしてみるというのも試しました。
サーバーについての公式ドキュメント内の記載
サーバーの作成について、公式ドキュメントの中に以下のシンプルな内容が示されていました。
import { Mastra } from "@mastra/core";

export const mastra = new Mastra({
  server: {
    port: 3000, // デフォルトは4111
    timeout: 10000, // デフォルトは30000(30秒)
  },
});
@mastra/core をインストールして、上記に少し機能を追加したものを用意すれば、シンプルなサーバーを立ち上げることができそうです。
サーバーの準備
下準備
前回の記事と同様に、OpenAI の API を組み合わせた構成にしてみます。
そのために、以下のコマンドで 2つのパッケージをインストールしました。
npm i @mastra/core @ai-sdk/openai
また、環境変数 OPENAI_API_KEY に OpenAI の APIキーをセットしました。
作成したコード
自前で用意したコードは以下の通りで、これを src/mastra というフォルダに index.js というファイル名で置きました。
import { Mastra } from "@mastra/core";
import { Agent } from "@mastra/core/agent";
import { openai } from "@ai-sdk/openai";

export const echoAgent = new Agent({
  name: "echoAgent",
  instructions: "ユーザーの入力をそのまま返すエージェントです。",
  model: openai("gpt-4o"),
  tools: {},
});

export const mastra = new Mastra({
  agents: { echoAgent },
  server: {
    port: 3000, // デフォルトは4111
    timeout: 10000, // デフォルトは30000(30秒)
  },
});
サーバーを起動
そして、以下のコマンドでサーバーを起動します。
npx mastra dev
ちなみに、上記のサーバーのコードを src/mastra というフォルダに置いてない場合は、以下のメッセージが出ます。

また以下が、サーバーを起動できた時の出力です(少し、追加で対応したほうが良さそうな内容も表示されていますが...)。

サーバーにブラウザでアクセスする
それではサーバーにアクセスしてみます。 http://localhost:3000/agents にアクセスすると、以下のページが表示されました。

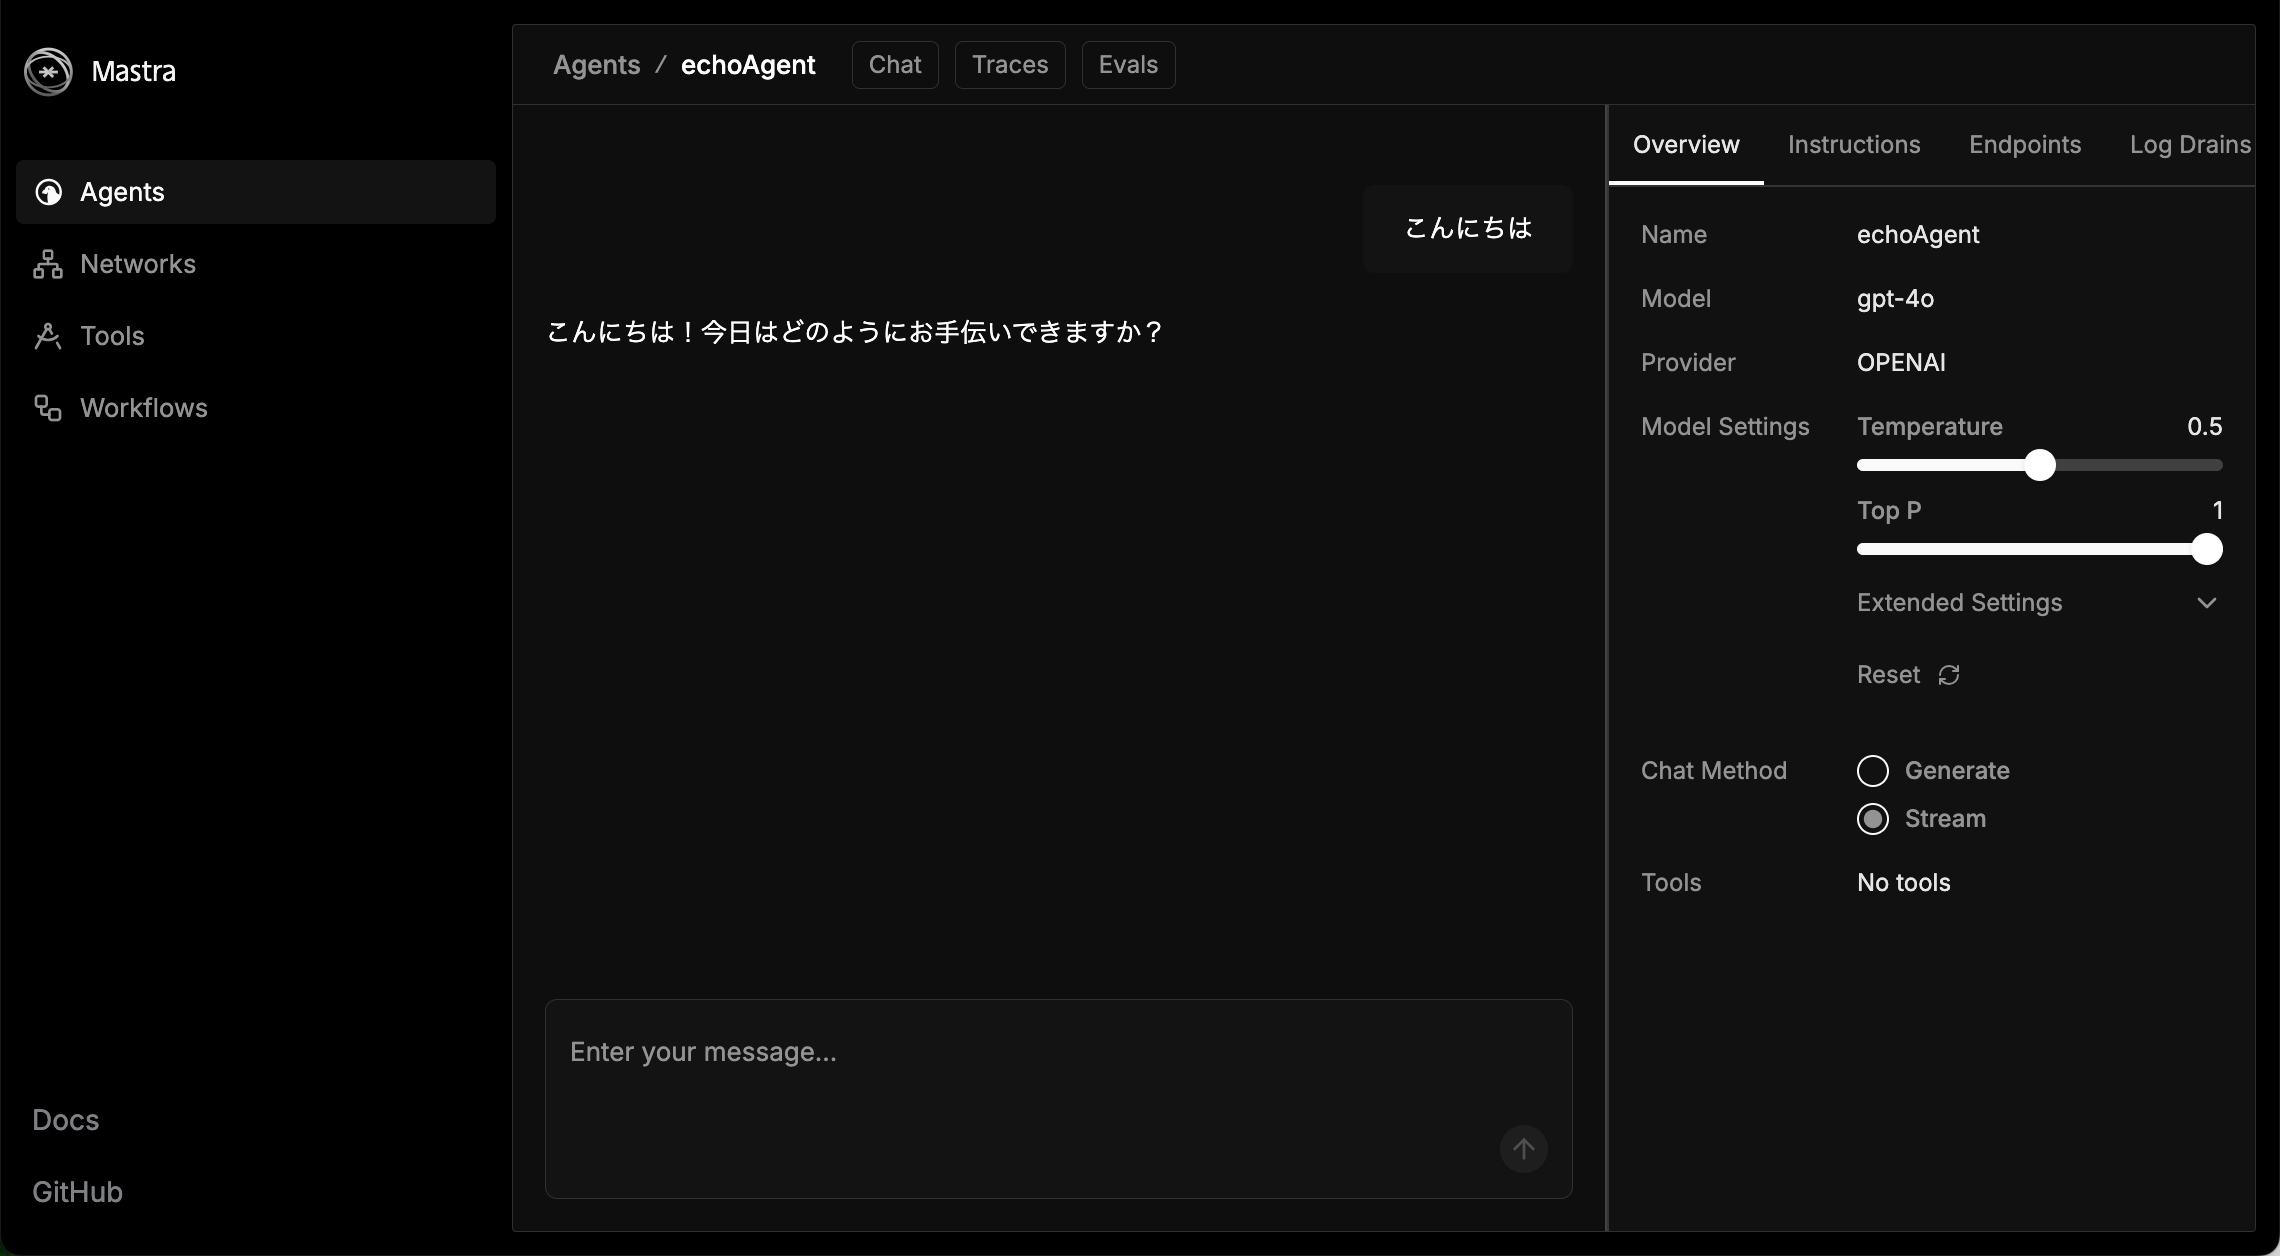
さらに http://localhost:3000/agents/echoAgent/chat にアクセスしてみました。この画面では、以下のようにチャットができる UI が表示されました。
HTTPリクエスト(POSTリクエスト)でのやりとり
それでは、起動したサーバーと HTTPリクエスト(POSTリクエスト)でのやりとりしてみます。
まずは以下の curlコマンドを実行してみます。
curl -X POST http://localhost:3000/api/agents/echoAgent/generate \
  -H "Content-Type: application/json" \
  -d '{
    "messages": [
      { "role": "user", "content": "こんにちは!" }
    ]
  }'
その結果、返答とその他の色々な情報が混じったレスポンスが返ってきました。
次に、Node.js を使ってシンプルに返答のみを表示させるようにしてみます。具体的には以下のコードを実装して、nodeコマンドで実行しました。
async function callEchoAgent() {
  try {
    const res = await fetch(
      "http://localhost:3000/api/agents/echoAgent/generate",
      {
        method: "POST",
        headers: {
          "Content-Type": "application/json",
        },
        body: JSON.stringify({
          messages: [{ role: "user", content: "あなたは誰?" }],
        }),
      }
    );
    if (!res.ok) throw new Error(`HTTP error! status: ${res.status}`);
    const data = await res.json();
    console.log(data.text);
  } catch (err) {
    console.error(err);
  }
}

callEchoAgent();
その結果、以下のように返答のみを表示させることができました。

HTTPリクエスト(POSTリクエスト)でのやりとり2
さらに、以下を使って実装したクライアントでのやりとりも、少し試してみます。
●@mastra/client-js - npm
https://www.npmjs.com/package/@mastra/client-js
公式ドキュメントでは、以下に説明などが書かれているものです。
●MastraClient
https://mastra.ai/ja/docs/deployment/client

これを使うために、以下でパッケージをインストールします。
npm i @mastra/client-js
クライアントの実装は以下にしました。エージェント名は「echoAgent」を指定しています。
import { MastraClient } from "@mastra/client-js";

const client = new MastraClient({
  baseUrl: "http://localhost:3000",
});

async function main() {
  const agent = client.getAgent("echoAgent");

  const response = await agent.generate({
    messages: [{ role: "user", content: "あなたは誰?" }],
  });

  console.log("Agent の応答:", response.text);
}

main().catch(console.error);
上記を実行したところ、以下のレスポンスを得られました。

mastra build を試す
それとサーバー側に関して、mastra build も試してみました。
以下のコマンドでパッケージのインストールとビルドを行います。
npm i mastra
npx mastra build
上記の実行後、以下のメッセージなどが表示されました。

ここに情報をもとに、以下のコマンドを実行してみます。
node .mastra/output/index.mjs
そうすると以下が表示され、先ほどの HTTPリクエストベースでのやりとりを行える状態になっていました。

おわりに
今回、Mastra を使った簡単なお試しをいくつかやってみました。Mastra でできることが色々ありそうなので、別途、他の機能も試していければと思います。
【追記】
実験的機能の AgentNetwork を使った複数エージェントの利用と、MCPサーバーの組み合わせも試しました。
●Mastra の AgentNetwork を使って「複数エージェントと MCPサーバーの組み合わせ」を試す - Qiita
https://qiita.com/youtoy/items/8a20d6c1a2af6d82826c