Cursor CLI
情報を見かけて気になっていた Cursor CLI の話です。
●Cursor CLI | Cursor - The AI Code Editor
https://cursor.com/ja/cli

●Cursor Agent CLI | Cursor - The AI Code Editor
https://cursor.com/ja/blog/cli

以下を見ると、記事執筆時点だとベータ版になるようです。

今回、公式情報を見ていきつつ、ちょっとした動作確認もやってみます。
インストール・セットアップ関連
インストールコマンドは、上記トップページにも書いてあります。
curl https://cursor.com/install -fsS | bash
実行してみると、以下のようになりました。
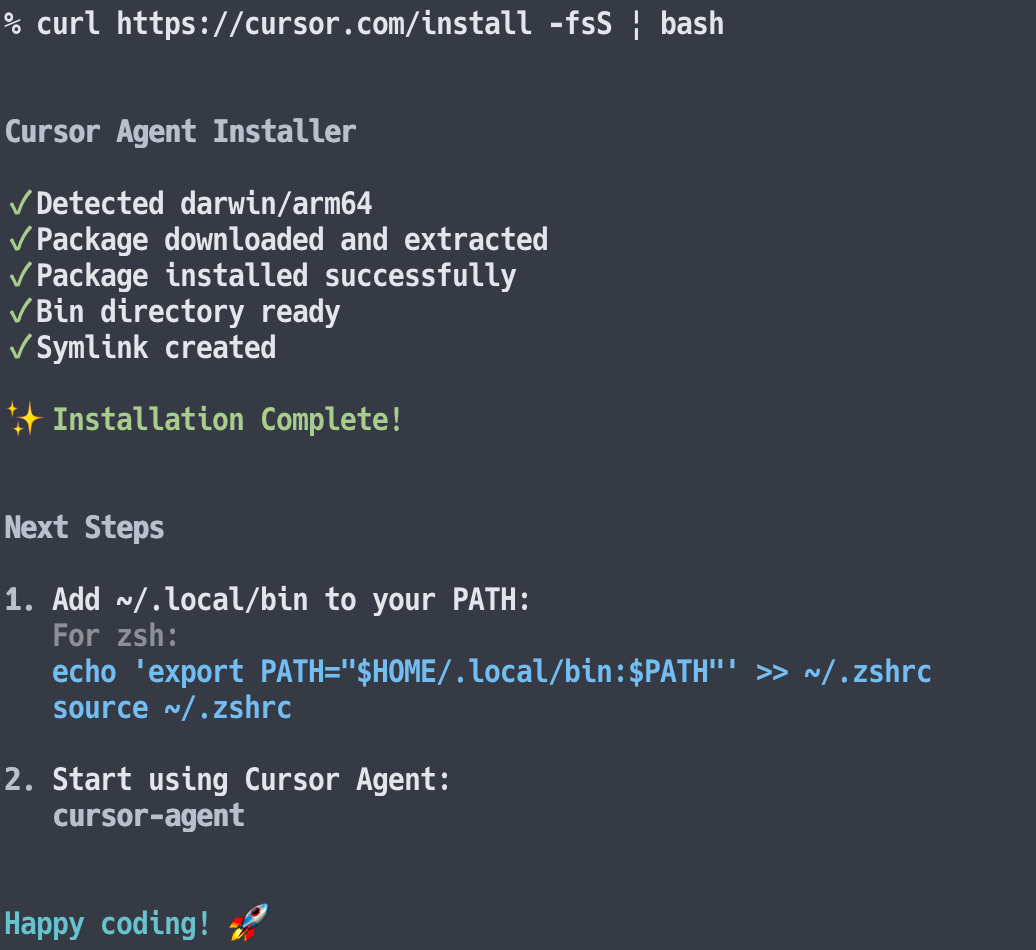
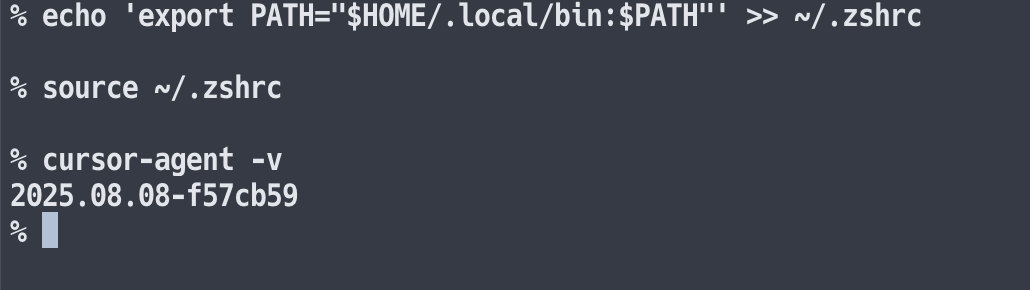
zsh の場合の事例ですが、上記のインストール実行後の画面でも出ている、以下のパスを通す設定をインストール後に行います。
echo 'export PATH="$HOME/.local/bin:$PATH"' >> ~/.zshrc
source ~/.zshrc
以下のバージョン表示用コマンド( cursor-agent -v )でバージョン番号表示を確認できれば、パスが通っているかどうかの確認は完了です。
なお新しいバージョンへのアップデートは、以下のコマンドで行えるようでした。

cursor-agent update
# or
cursor-agent upgrade
Cursor CLI のドキュメント
また、上記ページ内を見ていくと、以下のドキュメントのリンクも掲載されていました。
●Cursor – Overview
https://docs.cursor.com/en/cli/overview

Cursor CLI を起動してみる
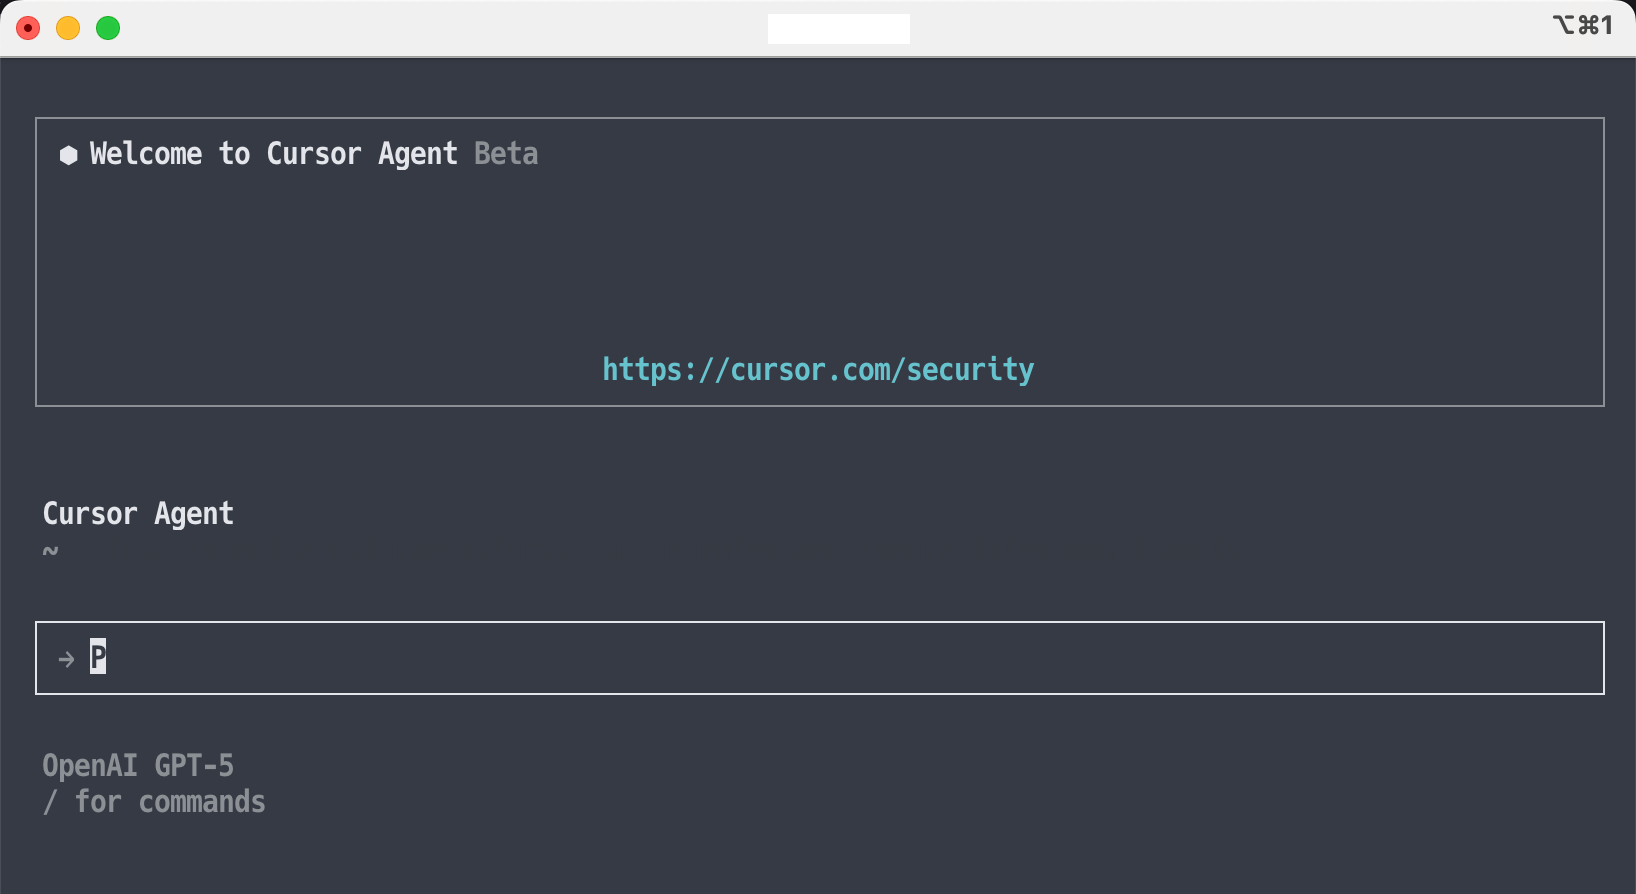
ここで Cursor CLI を起動してみます。
以下で実行します。

初回なので、ブラウザ側での認証を求められました。既に、ブラウザでログイン済みだったので、そのログイン済みアカウントで Cursor CLI へのログインを行うかどうかというのを聞かれました。

上記のログインを進めると、以下のようにターミナル側は Cursor CLI が使える状態になりました。

2つのモードに関する補足
ここで公式ドキュメントを少し見てみます。その中に Interactive mode・Non-interactive mode という内容で以下が掲載されています。
# Start interactive session
cursor-agent

# Start with initial prompt
cursor-agent "refactor the auth module to use JWT tokens"
# Run with specific prompt and model
cursor-agent -p "find and fix performance issues" --model "gpt-5"

# Use with git changes included for review
cursor-agent -p "review these changes for security issues" --output-format text
Gemini CLI などでも使える、コマンドから直接処理を実行するものがあるようでした。
Cursor CLI に依頼を出してみる
過去の類似ツールでも試したプロンプトの「Node.jsのプログラムでフィボナッチ数列を出力するプログラムを書いて、app.mjsという内容で保存して」という内容を試してみます。

そうすると、処理が進んでいきます。

そして、処理実行を試して良いかを聞かれました。これは許可して先に進めます。

そして、以下の出力が得られました。

生成されたファイル・コードの確認
生成されたファイル・コードの確認を行います。まず、ファイルは以下のように生成されていました。

生成されたコードは、以下のとおりです。
#!/usr/bin/env node

// Node.js (ESM) program to output Fibonacci sequence.
// Usage: node app.mjs [count]
// Prints the first `count` Fibonacci numbers (default: 10).

import process from 'node:process';

function parseCountArgument(argv) {
  const arg = argv[2];
  if (arg === undefined) {
    return 10; // default count
  }
  const parsed = Number(arg);
  if (!Number.isInteger(parsed) || parsed <= 0) {
    return null;
  }
  return parsed;
}

function* fibonacciBigInt() {
  let a = 0n;
  let b = 1n;
  while (true) {
    yield a;
    const next = a + b;
    a = b;
    b = next;
  }
}

function generateFibonacciAsStrings(count) {
  const result = [];
  const gen = fibonacciBigInt();
  for (let i = 0; i < count; i += 1) {
    const { value } = gen.next();
    result.push(value.toString());
  }
  return result;
}

function main() {
  const count = parseCountArgument(process.argv);
  if (count === null) {
    console.error('Usage: node app.mjs [count]');
    console.error('  count: positive integer (default 10)');
    process.exit(1);
  }

  const numbers = generateFibonacciAsStrings(count);
  for (const num of numbers) {
    console.log(num);
  }
}

main();
生成されたコードを使った処理の実行
既に動作確認が行われていた感じはありますが、自分でも確認してみます。
以下のような出力が得られることを確認できました。

今回は、とりあえずの内容で試しましたが、ドキュメントに書かれた以下なども気になったので、別途試してみようと思います。
●Cursor – Using CLI
https://docs.cursor.com/en/cli/using
