前提
- メモです
- ConoHaのVPSでサーバを起動
- OSはCentOS 8を選択
VPSにrootアカウントでssh接続する
ローカルの.ssh/configファイルにVPS情報を追記する
~/.ssh/config
Host conoha_root
    HostName 111.111.11.11 # VPSのIPアドレス(仮)
    User root
    ServerAliveInterval 15
    ServerAliveCountMax 10
    TCPKeepAlive yes
ローカルでsshコマンドを実行してVPSにrootで接続する
ssh conoha_root
ユーザを作成する
サーバ上で次のコマンドを実行する
useradd youichiro # 追加したいユーザの名前
passwd youichiro # ユーザを指定してパスワードを変更
usermod -aG wheel youichiro # ユーザにwheelグループを追加
yumのupdateと必要なコマンドのinstall
yum update -y
yum install -y git vim wget make bind-utils tmux
firewallを設定する
ufwをインストールする
wget https://launchpad.net/ufw/0.35/0.35/+download/ufw-0.35.tar.gz
tar xzf ufw-0.35.tar.gz
cd ufw-0.35
python3 ./setup.py install
chmod -R g-w /etc/ufw /lib/ufw /etc/default/ufw /usr/local/sbin/ufw
cd ..
rm -rf ufw-0.35 ufw-0.35.tar.gz
firewalldを無効化する
systemctl stop firewalld.service
systemctl disable firewalld.service
ufwの設定
ufw reset
ufw default deny # 最初にすべての通信を破棄するように設定
ufw allow http # そのあと個別に許可
ufw allow https
ufw allow 41639 # ssh用のポートを開ける
ufw enable # 反映
サーバ起動時にufwを自動で反映するようにする
echo /usr/local/sbin/ufw --force enable >> /etc/rc.d/rc.local # 起動時に/usr/local/sbin/ufw --force enableを走らせる
chmod u+x /etc/rc.d/rc.local # 実行権限付与
PATHを追加
echo 'export PATH=/usr/local/sbin:$PATH' >> ~/.bashrc
sshの設定を変更する
sshd_configファイルを編集する
vim /etc/ssh/sshd_config
ssh用ポートをデフォルトの22から41639に変更する
また、sshでrootアカウントのログインを禁止する
/etc/ssh/sshd_config
- # Port 22
+ Port 41639

- # PermitRootLogin yes
+ PermitRootLogin no  # rootへのログインを禁止
変更を反映する
systemctl reload sshd
ssh configファイルの変更
ローカルの.ssh/configファイルを変更する
~/.ssh/config
- Host conoha_root
+ Host conoha
    HostName 111.111.11.11
-   User root
+   User youichiro
+   Port 41639
    ServerAliveInterval 15
    ServerAliveCountMax 10
    TCPKeepAlive yes
nginxを設定する
以下、作成したyouichiroアカウントでログインして実行
yumにレポジトリを追加する
sudo vim /etc/yum.repos.d/nginx.repo
以下を追記する
[nginx]
name=nginx repo
baseurl=http://nginx.org/packages/centos/7/$basearch/
gpgcheck=0
enabled=1
nginxをインストールする
sudo yum install -y nginx
nginxを起動する
sudo systemctl enable nginx # サーバ起動時にnginxを自動で起動させる
sudo systemctl start nginx
ドメインを設定する
VPS側
conohaの管理画面でDNSページを開き
- ドメイン名を追加
- Aレコードを追加
- 値はサーバのIPアドレスを入力
ドメインサービス側
ネームサーバをconohaのネームサーバの設定に変更する
Let's Encryptを設定する
snapdのインストール
sudo dnf --enablerepo=epel -y install snapd
sudo systemctl enable --now snapd.socket
sudo ln -s /var/lib/snapd/snap /snap
exec $SHELL -l  # 再ログイン

sudo snap install core
sudo snap refresh core
certbotのインストール
sudo snap install --classic certbot
sudo ln -s /snap/bin/certbot /usr/bin/certbot
sudo certbot --version
# -> certbot 1.17.0
nginx.confのserver_nameにドメインを指定
仮にdomain.nameとしておきます
/etc/nginx/nginx.conf
...

server {
        listen       80;
        listen       [::]:80;
        server_name  domain.name;  # ここを変更
        ...
Let's Encryptの登録
$ sudo certbot --nginx

Saving debug log to /var/log/letsencrypt/letsencrypt.log
Enter email address (used for urgent renewal and security notices)
 (Enter 'c' to cancel):

- - - - - - - - - - - - - - - - - - - - - - - - - - - - - - - - - - - - - - - -
Please read the Terms of Service at
https://letsencrypt.org/documents/LE-SA-v1.2-November-15-2017.pdf. You must
agree in order to register with the ACME server. Do you agree?
- - - - - - - - - - - - - - - - - - - - - - - - - - - - - - - - - - - - - - - -
(Y)es/(N)o: Y

- - - - - - - - - - - - - - - - - - - - - - - - - - - - - - - - - - - - - - - -
Would you be willing, once your first certificate is successfully issued, to
share your email address with the Electronic Frontier Foundation, a founding
partner of the Let's Encrypt project and the non-profit organization that
develops Certbot? We'd like to send you email about our work encrypting the web,
EFF news, campaigns, and ways to support digital freedom.
- - - - - - - - - - - - - - - - - - - - - - - - - - - - - - - - - - - - - - - -
(Y)es/(N)o: N
Account registered.

Which names would you like to activate HTTPS for?
- - - - - - - - - - - - - - - - - - - - - - - - - - - - - - - - - - - - - - - -
1: domain.name
- - - - - - - - - - - - - - - - - - - - - - - - - - - - - - - - - - - - - - - -
Select the appropriate numbers separated by commas and/or spaces, or leave input
blank to select all options shown (Enter 'c' to cancel): 1
Requesting a certificate for domain.name

Successfully received certificate.
Certificate is saved at: /etc/letsencrypt/live/domain.name/fullchain.pem
Key is saved at:         /etc/letsencrypt/live/domain.name/privkey.pem
This certificate expires on 2021-10-20.
These files will be updated when the certificate renews.
Certbot has set up a scheduled task to automatically renew this certificate in the background.

Deploying certificate
Successfully deployed certificate for domain.name to /etc/nginx/nginx.conf
Congratulations! You have successfully enabled HTTPS on https://domain.name

- - - - - - - - - - - - - - - - - - - - - - - - - - - - - - - - - - - - - - - -
If you like Certbot, please consider supporting our work by:
 * Donating to ISRG / Let's Encrypt:   https://letsencrypt.org/donate
 * Donating to EFF:                    https://eff.org/donate-le
- - - - - - - - - - - - - - - - - - - - - - - - - - - - - - - - - - - - - - - -
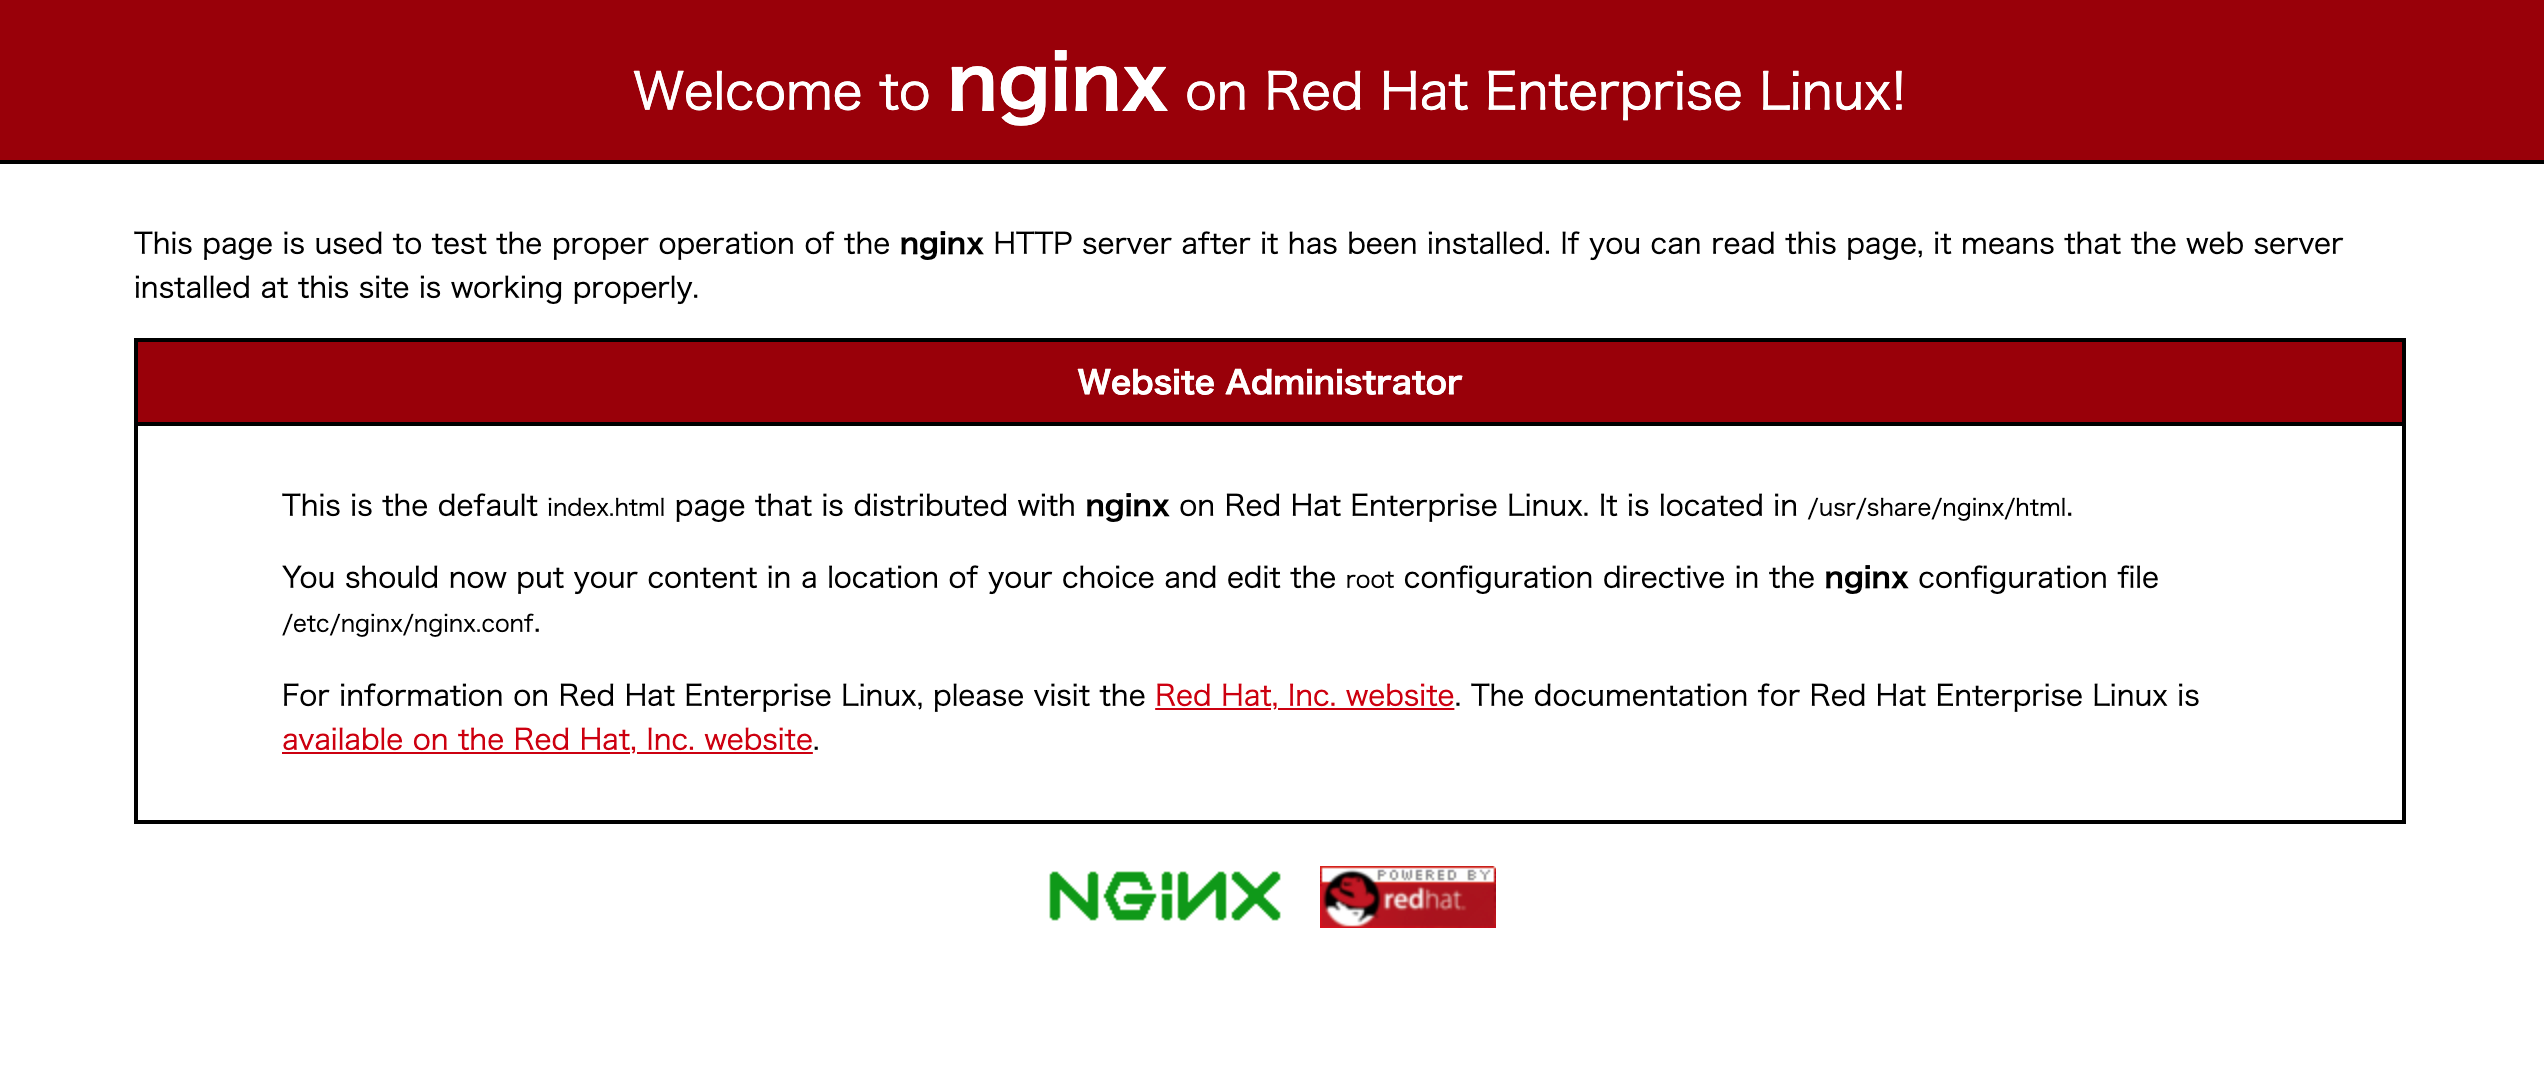
https://domain.nameを開き、以下のようにnginxのデフォルト画面が表示されればok
ワイルドカードでLet's Encryptにドメインを登録する
$ certbot certonly \
  --manual \
  --domain *.domain.name \
  --email hoge@gmail.com \
  --agree-tos \
  --manual-public-ip-logging-ok \
  --preferred-challenges dns-01

Saving debug log to /var/log/letsencrypt/letsencrypt.log
Requesting a certificate for *.domain.name

- - - - - - - - - - - - - - - - - - - - - - - - - - - - - - - - - - - - - - - -
Please deploy a DNS TXT record under the name:

_acme-challenge.domain.name.

with the following value:

xxxxxxxxx

Before continuing, verify the TXT record has been deployed. Depending on the DNS
provider, this may take some time, from a few seconds to multiple minutes. You can
check if it has finished deploying with aid of online tools, such as the Google
Admin Toolbox: https://toolbox.googleapps.com/apps/dig/#TXT/_acme-challenge.domain.name.
Look for one or more bolded line(s) below the line ';ANSWER'. It should show the
value(s) you've just added.

- - - - - - - - - - - - - - - - - - - - - - - - - - - - - - - - - - - - - - - -
Press Enter to Continue
このタイミングでconohaのDNSに次のようなTXTレコードを追加する
TXT _acme-challenge gTFfykB-xxxxxxxxx
追加したら続きでEnterを押す
Successfully received certificate.
Certificate is saved at: /etc/letsencrypt/live/domain.name-0001/fullchain.pem
Key is saved at:         /etc/letsencrypt/live/domain.name-0001/privkey.pem
This certificate expires on 2021-10-20.
These files will be updated when the certificate renews.

NEXT STEPS:
- This certificate will not be renewed automatically. Autorenewal of --manual certificates requires the use of an authenticatio
n hook script (--manual-auth-hook) but one was not provided. To renew this certificate, repeat this same certbot command before
 the certificate's expiry date.

- - - - - - - - - - - - - - - - - - - - - - - - - - - - - - - - - - - - - - - -
If you like Certbot, please consider supporting our work by:
 * Donating to ISRG / Let's Encrypt:   https://letsencrypt.org/donate
 * Donating to EFF:                    https://eff.org/donate-le
- - - - - - - - - - - - - - - - - - - - - - - - - - - - - - - - - - - - - - - -
参考: https://laboradian.com/use-wildcard-with-letsencrypt/
Let's Encryptの自動更新 (シングルドメインの場合)
更新コマンド
sudo certbot renew
更新のテストコマンド
sudo certbot renew --dry-run
cronが起動しているか確認
sudo systemctl status crond
cronコマンドファイルを作成
/etc/cron.d/letsencrypt
# 毎週火曜日2:00に実行
0 2 * * 2 certbot renew --post-hook "systemctl restart nginx"
cronに登録
sudo crontab -u root /etc/cron.d/letsencrypt
登録されているcronを一覧表示
$ sudo crontab -u root -l

0 2 * * 2 certbot renew --post-hook "systemctl restart nginx"
cronのログを確認
$ sudo tail -f /var/log/cron

Jul 22 17:20:01 160-251-17-39 CROND[84556]: (root) CMD (certbot renew --dry-run --post-hook "systemctl restart nginx")
Jul 22 17:20:02 160-251-17-39 CROND[84546]: (root) CMDOUT (- - - - - - - - - - - - - - - - - - - - - - - - - - - - - - - - - - - - - - - -)
Jul 22 17:20:02 160-251-17-39 CROND[84546]: (root) CMDOUT (Processing /etc/letsencrypt/renewal/domain.name.conf)
Jul 22 17:20:02 160-251-17-39 CROND[84546]: (root) CMDOUT (- - - - - - - - - - - - - - - - - - - - - - - - - - - - - - - - - - - - - - - -)
Let's Encryptの自動更新 (ワイルドカードの場合)
参考