docker-composeでrails環境を構築します。データベースはpostgresqlを使用します。
Setup
以下のような構成からスタートします。
./
|- docker-compose.yml
|- rails-app/
  |- Dockerfile
Dockerfileの作成
FROM ruby:2.5.0

RUN apt-get update && apt-get install -y build-essential libpq-dev postgresql-client vim less
RUN gem install rails -v '5.2.1'
RUN mkdir /app
WORKDIR /app
railsのバージョンは5.2.1を指定しています。
マウント先のディレクトリとしてappディレクトリを作成しておきます。
docker-compose.ymlの作成
version: "3"

services:
  rails-app:
    build: rails-app
    ports:
      - "3001:3001"
    environment:
      - "DATABASE_HOST=db"
      - "DATABASE_PORT=5432"
      - "DATABASE_USER=postgres"
      - "DATABASE_PASSWORD=<パスワード>"
    links:
      - db
    volumes:
      - "./rails-app:/app"
    stdin_open: true

  db:
    image: postgres:10.1
    ports:
      - "5432:5432"
    environment:
      - "POSTGRES_USER=postgres"
      - "POSTGRES_PASSWORD=<パスワード>"
ポートは3001番を指定していますが、3000番でもOKです。
コンテナの起動
docker-compose build
docker-compose up -d
コンテナにログインします。
docker-compose exec rails-app bash
以降はコンテナ内で操作を行います。
Railsプロジェクトの作成
cd /app
rails new . -d postgresql -BT
-Bでbundle installをスキップし、-Tでテストファイルの作成をスキップしています。
Gemfileにtherubyracerを追加します。
gem 'therubyracer', platforms: :ruby
この状態でbundle installします。
bundle install —-path vendor/bundle
これでプロジェクトが作成されました。
データベースの設定
config/database.ymlを編集します。
- defaultにhost, port, username, passwordを追加
- データベース名を rails_app_development に変更
default: &default
  adapter: postgresql
  encoding: unicode
  # For details on connection pooling, see Rails configuration guide
  # http://guides.rubyonrails.org/configuring.html#database-pooling
  pool: <%= ENV.fetch("RAILS_MAX_THREADS") { 5 } %>
+ host: <%= ENV.fetch("DATABASE_HOST") { "localhost" } %>
+ port: <%= ENV.fetch("DATABASE_PORT") { 5432 } %>
+ username: <%= ENV.fetch("DATABASE_USER") { "root" } %>
+ password: <%= ENV.fetch("DATABASE_PASSWORD") { "password" } %>


development:
  <<: *default
- database: app_development
+ database: rails_app_development
データベースを作成します。
bundle exec rails db:create
起動
IPアドレスとポートを指定してサーバを起動します。
rails s -b 0.0.0.0 -p 3001
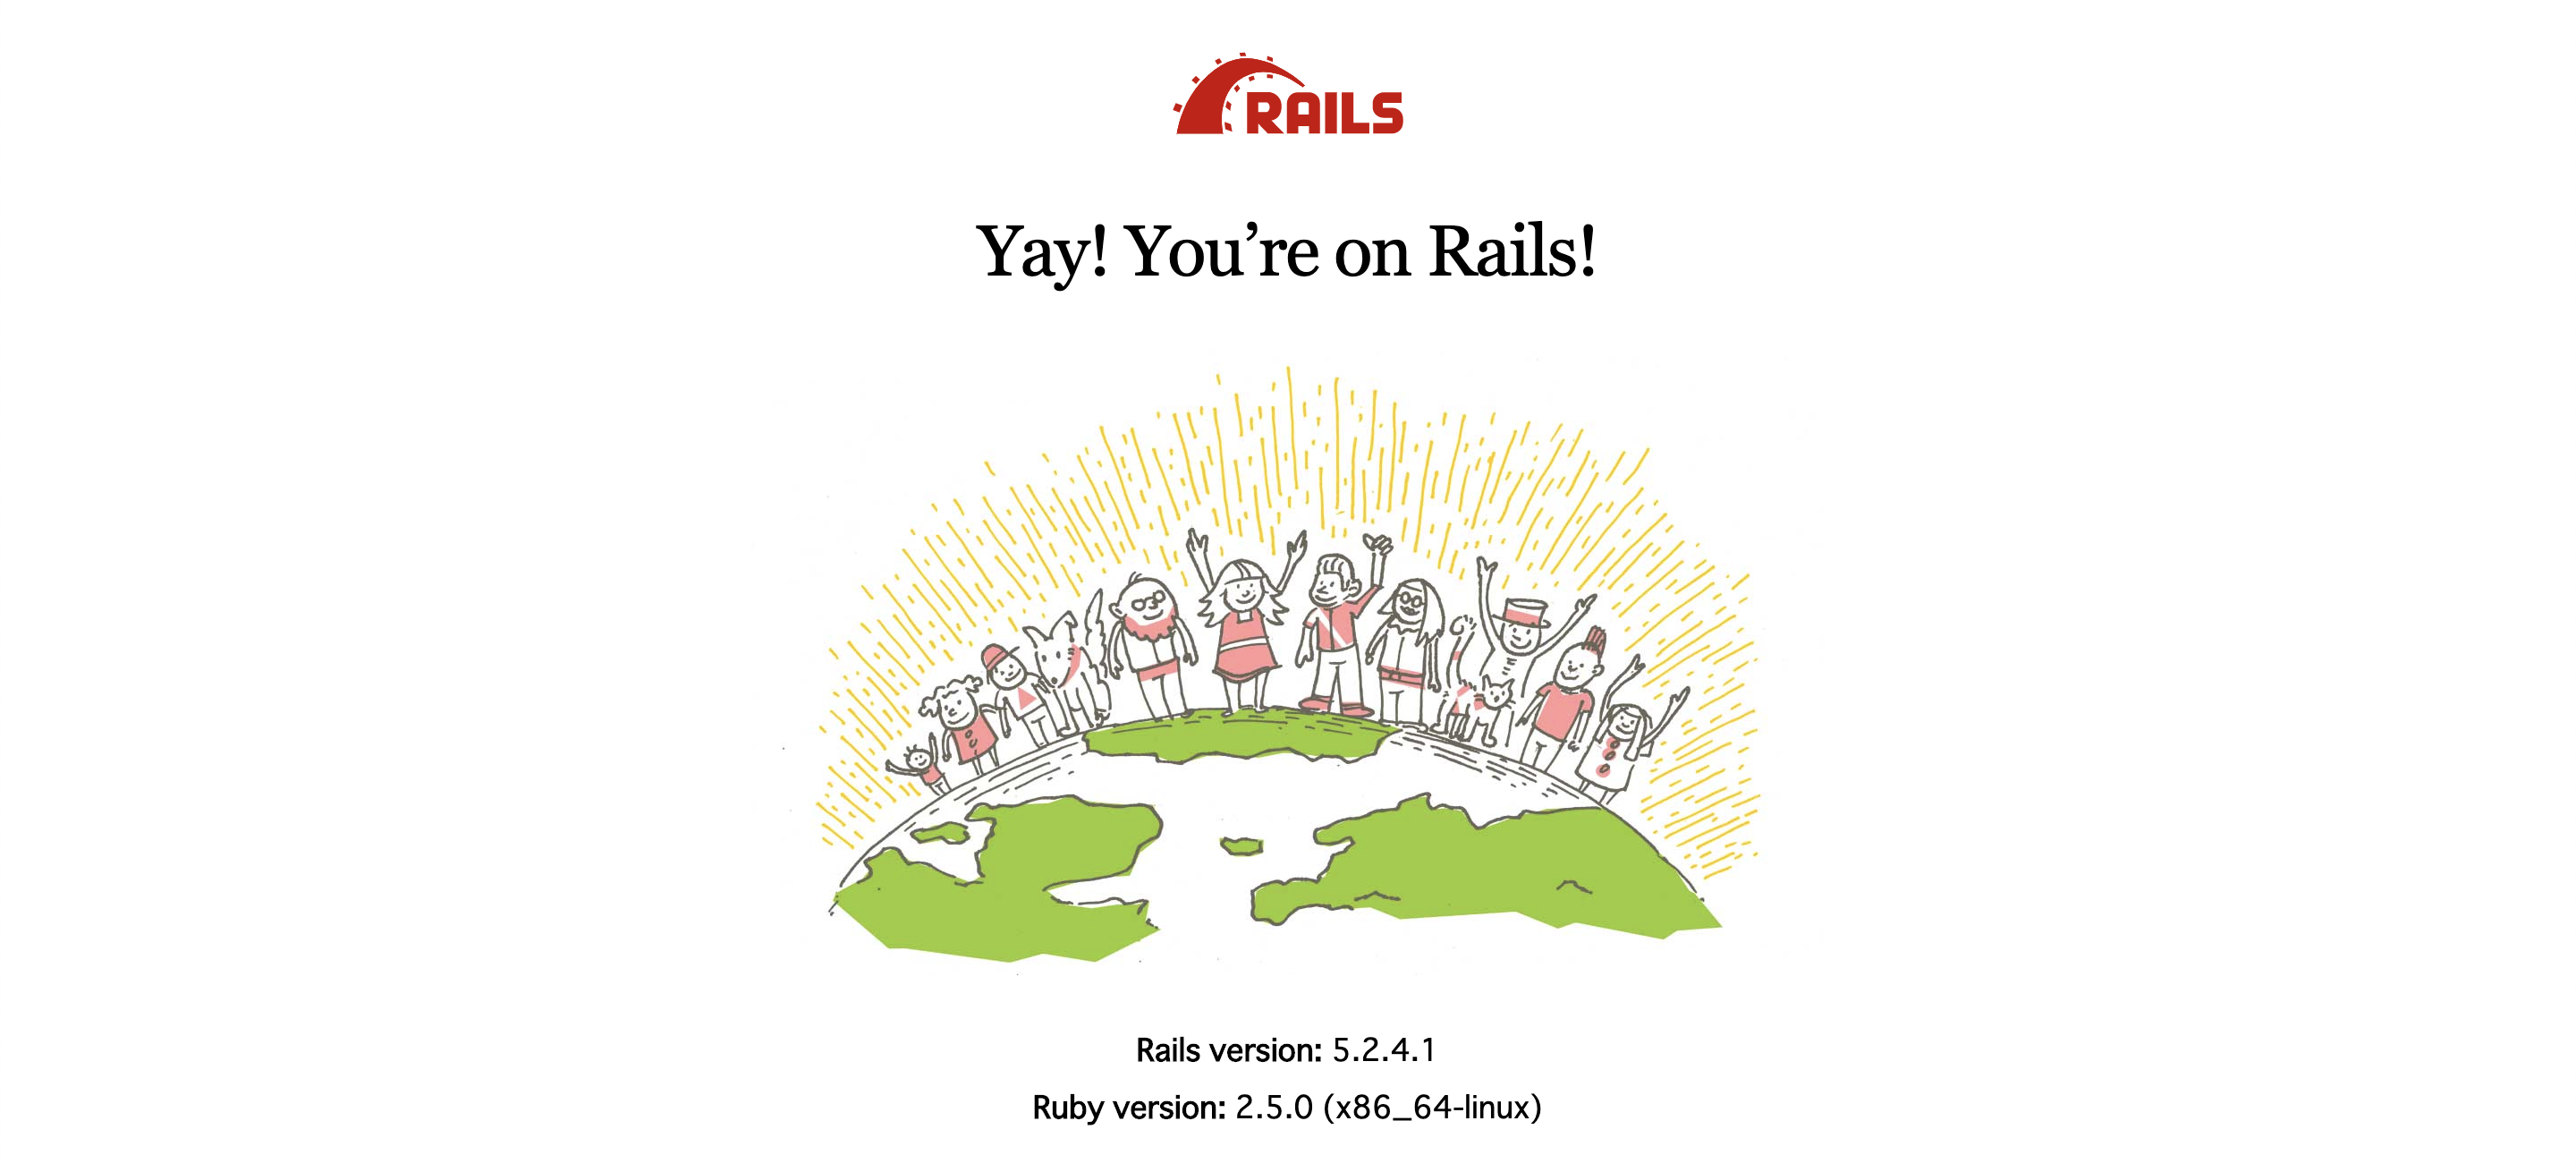
ブラウザでhttp://localhost:3001/を開いて、正しく起動できているか確認します。

ホストPCとdockerコンテナ間でプロジェクトディレクトリを共有しているので(./rails-app:/app)、編集はホストPCで(vscode等で!)、実行は環境構築したコンテナで、という開発ができます。
幸せになりましょう。