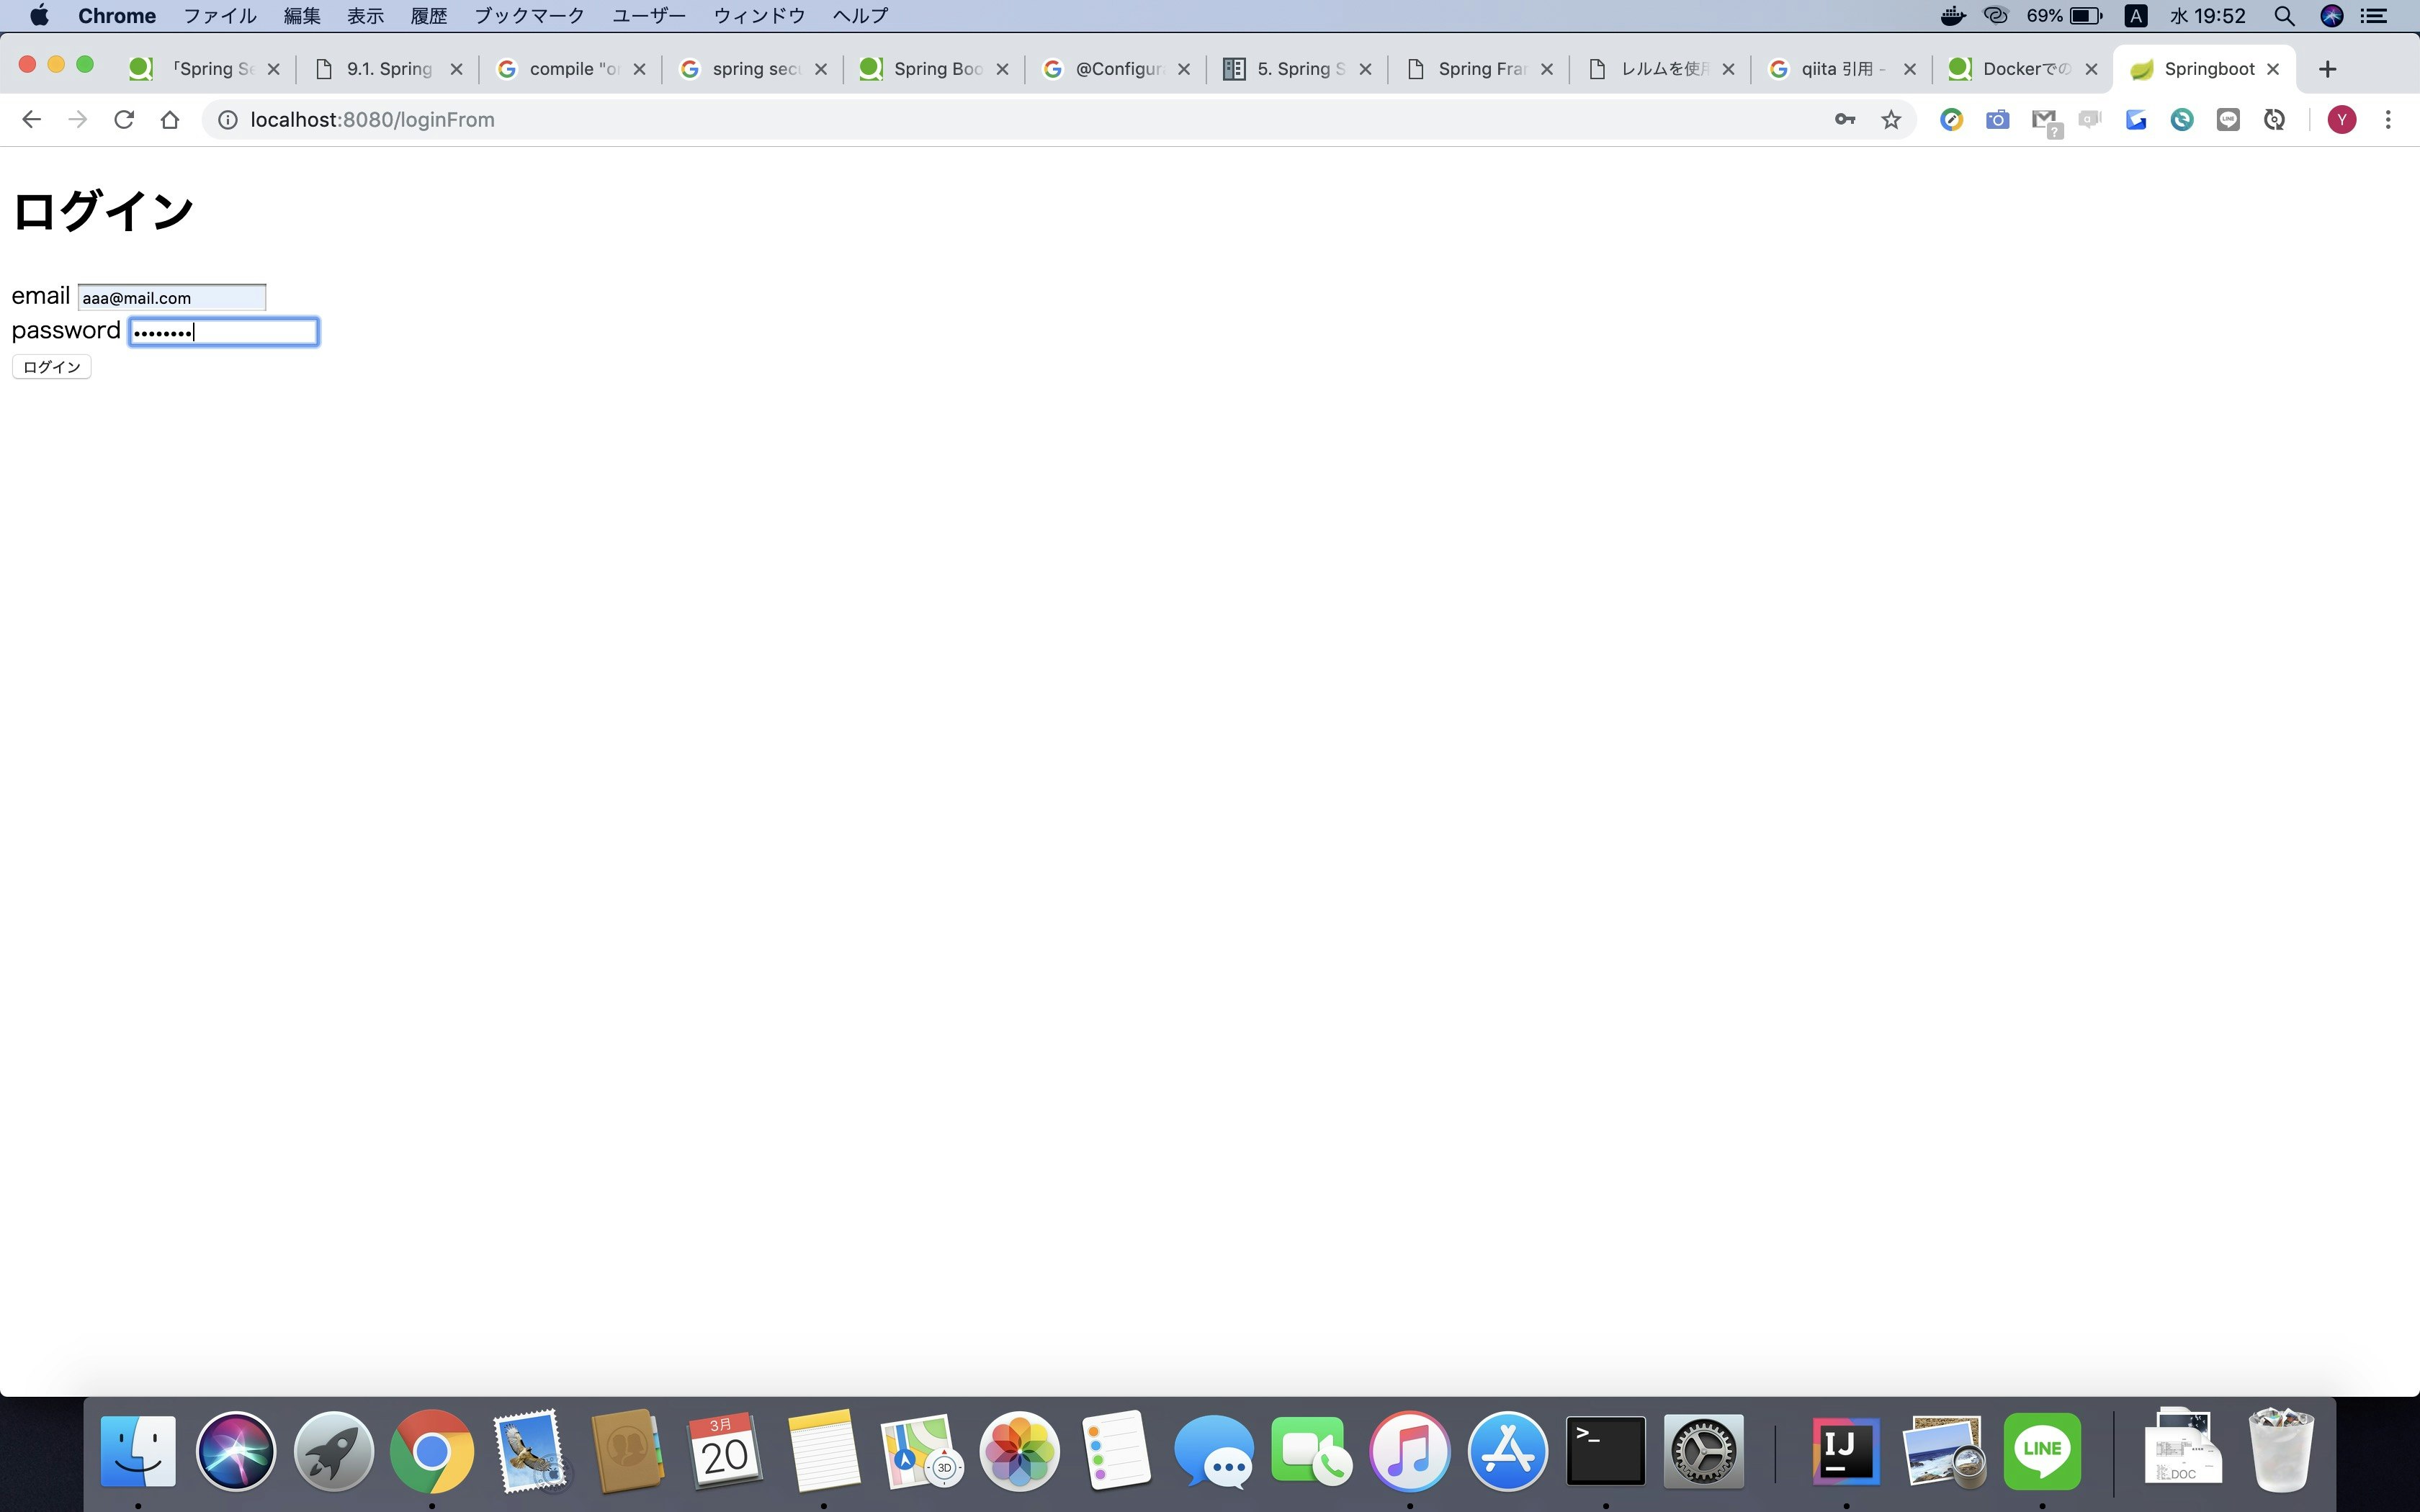
簡単に紹介している記事ばかりだったけど実際に手を動かすと意外とやることが多かった。。。私くらいのspring初心者の方の参考になればいいなーと思い書きました。ご指摘いただけると嬉しいです。
ログイン処理への道のり
■Spring Securityとは
・Securityで提供している認証方式として、DB認証、LDAP認証、CAS認証、JAAS認証、X509認証、Basic認証がサポートされている。
今回はDB認証を行います。

やること
・1.build.gradle内容の追加
・2.SecurityConfigで認証設定
・3.UserDetailsServiceインタフェースの実装(認証情報の取得(レルムを作る))
・4.LoginUserクラスを作成する
・5.Controllerの作成
・6.HTMLの作成
主な手順は6つです。
先にデモを【github】へあげておきましたのでよかったら参考にしてください。
■■■ログイン情報■■■
リクエスト先:http://localhost:8080/loginForm
email:aaa@mail.com
password:password
■■■■■■■■■■■■■
※現場至上主義 Spring Boot2 徹底活用のサンプルプロジェクトを参考にさせていただきました。
■環境情報
jdk:11
データベース:postgresql(dockerなのでインストール不要)
┗本デモのdockerについては【コチラ】
IDE:IntelliJ
ビルドシステム:gradle
ではソースコードの解説をします。
1.build.gradle内容の追加
plugins {
	id 'org.springframework.boot' version '2.1.3.RELEASE'
	id 'java'
}

apply plugin: 'io.spring.dependency-management'

group = 'com.example'
version = '0.0.1-SNAPSHOT'
sourceCompatibility = '11'

configurations {
	compileOnly {
		extendsFrom annotationProcessor
	}
}

repositories {
	mavenCentral()
}

dependencies {
	implementation 'org.springframework.boot:spring-boot-starter-thymeleaf'
	implementation 'org.springframework.boot:spring-boot-starter-web'
	implementation 'org.springframework.boot:spring-boot-starter-jdbc'
	compileOnly 'org.projectlombok:lombok'
	runtimeOnly 'mysql:mysql-connector-java'
	annotationProcessor 'org.projectlombok:lombok'
	testImplementation 'org.springframework.boot:spring-boot-starter-test'
	compile "org.springframework.boot:spring-boot-starter-validation"
	runtimeOnly 'org.springframework.boot:spring-boot-devtools'
	annotationProcessor "org.seasar.doma.boot:doma-spring-boot-starter:1.1.1"

	compile("org.seasar.doma.boot:doma-spring-boot-starter:1.1.1") {
		exclude group: "org.springframework.boot"
	}
	compile 'org.apache.commons:commons-lang3'
	//spring security
	compile 'org.springframework.boot:spring-boot-starter-security'
	// thymeleaf(ロール/権限によるthymeleafのテンプレートの制御)
	compile "org.thymeleaf.extras:thymeleaf-extras-springsecurity5"
	compile "org.modelmapper:modelmapper:0.7.5"

}
apply plugin: 'idea'
idea.module.inheritOutputDirs = true
processResources.destinationDir = compileJava.destinationDir
compileJava.dependsOn processResources
spring securityに関係する箇所のみコメントをつけています。
こちらは追加するだけです。
2.SecurityConfigで認証設定
package com.example.demo;

import org.springframework.beans.factory.annotation.Autowired;
import org.springframework.context.annotation.Bean;
import org.springframework.context.annotation.Configuration;
import org.springframework.security.config.annotation.authentication.builders.AuthenticationManagerBuilder;
import org.springframework.security.config.annotation.web.builders.HttpSecurity;
import org.springframework.security.config.annotation.web.builders.WebSecurity;
import org.springframework.security.config.annotation.web.configuration.EnableWebSecurity;
import org.springframework.security.config.annotation.web.configuration.WebSecurityConfigurerAdapter;
import org.springframework.security.core.userdetails.UserDetailsService;
import org.springframework.security.crypto.bcrypt.BCryptPasswordEncoder;
import org.springframework.security.crypto.password.PasswordEncoder;
import javax.sql.DataSource;
import static com.example.demo.common.WebConst.*;

@Configuration
@EnableWebSecurity
public class SecurityConfig extends WebSecurityConfigurerAdapter {

    @Autowired
    DataSource dataSource;

    @Autowired
    UserDetailsService userDetailsService;

    @Bean
    public PasswordEncoder passwordEncoder() {
        return new BCryptPasswordEncoder();
    }


    /**
     * 静的ファイルには認証をかけない
     * @param web
     * @throws Exception
     */
    @Override
    public void configure(WebSecurity web) throws Exception {
        web.ignoring().antMatchers("/favicon.ico", "/css/**", "/js/**", "/images/**", "/fonts/**", "/shutdown" /* for Demo */);
    }

    /**
     * UserDetailsServiceインターフェースを実装した独自の認証レルムを使用する設定
     * @param auth
     * @throws Exception
     */
    @Override
    protected void configure(AuthenticationManagerBuilder auth) throws Exception {
        auth.userDetailsService(userDetailsService)
                .passwordEncoder(passwordEncoder());
    }

    @Override
    protected void configure(HttpSecurity http) throws Exception {
        http.authorizeRequests()
                .antMatchers("/loginFrom").permitAll()//ログインフォームは許可
                .antMatchers("/user/**").permitAll()
                .antMatchers("/new").permitAll()//test用(ユーザ登録)※終わったら消す
                .antMatchers("/index").permitAll()//test用(ユーザ登録後の遷移画面)※終わったら消す
                .antMatchers("/user/create").permitAll()//test用機能※終わったら消す
                .anyRequest().authenticated();// それ以外は全て認証無しの場合アクセス不許可
        http.formLogin()
                .loginProcessingUrl("/login")//ログイン処理をするURL
                .loginPage("/loginFrom")//ログイン画面のURL
                .failureUrl("/login?error")//認証失敗時のURL
                .successForwardUrl("/success")//認証成功時のURL
                .usernameParameter("email")//ユーザのパラメータ名
                .passwordParameter("password");//パスワードのパラメータ名
        http.logout()
                .logoutUrl("/logout**")//ログアウト時のURL(今回は未実装)
                .logoutSuccessUrl("/login");//ログアウト成功時のURL
    }


}
・@Configurationで設定クラスということを示す(Bean定義するから?この辺り曖昧)
・@EnableWebSecurityでSpring Securityが提供するConfigurationクラスのインポート
・PasswordEncoderをBean定義しています。
・WebSecurityConfigurerAdapterを継承してconfigure()メソッドをオーバーライドしています。その中で認証処理のURLの設定やパラメータの設定を行います。
・認証処理のURLへリクエストを送るとAuthenticationConfigurationというインナークラスへと処理が渡り実際の認証処理を行うようです。(以下AuthenticationConfigurationクラス抜粋)
@Configuration
@Import(ObjectPostProcessorConfiguration.class)
public class AuthenticationConfiguration {
...省略...
@Override
		public <T extends UserDetailsService> DaoAuthenticationConfigurer<AuthenticationManagerBuilder, T> userDetailsService(
			T userDetailsService) throws Exception {
			return super.userDetailsService(userDetailsService)
				.passwordEncoder(this.defaultPasswordEncoder);
		}

...
3.UserDetailsServiceインタフェースの実装(認証情報の取得(レルムを作る))
レルムってなんだ。
┗レルムの概念
こちらによると
Webシステムでは,同一の認証ポリシーを適用する範囲をレルムと呼び,それぞれのレルムを識別する名称のことをレルム名と呼びます。
と記述があるので認証のために通すユーザ(に限らない)ごとの処理、ぐらいの認識で良いと思います。
今回作成するレルムでやっていることを日本語で簡潔に言うと、【ユーザ名をキーにデータベースを検索して、ユーザが存在すればそのユーザの情報を返し、いなければ例外を投げる】
です。
package com.example.demo.security;

import com.example.demo.common.security.BaseRealm;
import com.example.demo.domain.dao.UserDao;
import com.example.demo.domain.dao.UserRoleDao;
import com.example.demo.domain.dto.User;
import com.example.demo.domain.dto.UserRole;
import lombok.extern.slf4j.Slf4j;
import org.seasar.doma.jdbc.NoResultException;
import org.springframework.beans.factory.annotation.Autowired;
import org.springframework.security.core.GrantedAuthority;
import org.springframework.security.core.authority.AuthorityUtils;
import org.springframework.security.core.userdetails.UserDetails;
import org.springframework.security.core.userdetails.UsernameNotFoundException;
import org.springframework.stereotype.Component;

import java.util.HashSet;
import java.util.List;
import java.util.Set;

import static java.util.stream.Collectors.toList;
import static java.util.stream.Collectors.toSet;

@Component
@Slf4j
public class UserDaoRealm extends BaseRealm {

    @Autowired
    UserDao userDao;

    @Autowired
    UserRoleDao userRoleDao;

    @Override
    protected UserDetails getLoginUser(String email) {
        User user = null;

        List<GrantedAuthority> authorityList = null;

        try{
            user = new User();
            user.setEmail(email);

            //ユーザを取得して、セッションに保存
            user = userDao.select(user)
                    .orElseThrow(() -> new UsernameNotFoundException("no user found. [id=]" + email + "]"));

            //担当者権限を取得する
            List<UserRole> userRoles = userRoleDao.selectByUserId(user.getId(), toList());

            //役割キーにプレフィックスをつけてまとめる
            Set<String> roleKeys = userRoles.stream().map(UserRole::getRole_key).collect(toSet());

            //権限キーをまとめる
            Set<String> permissionKeys = userRoles.stream().map(UserRole::getPermissionKey).collect(toSet());

            //役割と権限を両方ともGrantedAuthorityとして渡す
            Set<String> authorities = new HashSet<>();
            authorities.addAll(roleKeys);
            authorities.addAll(permissionKeys);
            authorityList = AuthorityUtils.createAuthorityList(authorities.toArray(new String[0]));
        }catch (Exception e){
            // 0件例外がスローされた場合は何もしない
            // それ以外の場合は、認証エラーの例外で包む
            if(!(e instanceof NoResultException)){
                throw new UsernameNotFoundException("could not select user,", e);
            }
        }
        return new LoginUser(user, authorityList);
    }
}
・UserDetailsServiceをimplementsして抽象クラスBaseRealmを作成しています。
BaseRealmを継承してUserDaoRealmを作成しています。
・userDaoから情報を取得する処理はDomaを使用しています。詳しくは【コチラ】
・LoginUserはNO.4で実装します。
※ロールを取得している部分はなくてもログインできます。
・4.LoginUserクラスを作成する
package com.example.demo.security;


import com.example.demo.domain.dto.User;
import lombok.Data;
import org.springframework.security.core.GrantedAuthority;

import java.util.Collection;


@Data
public class LoginUser extends org.springframework.security.core.userdetails.User {
    /**
     * コンストラクタ
     *
     * @param user
     * @param authorities
     */
    public LoginUser(User user, Collection<? extends GrantedAuthority> authorities){
        super(String.valueOf(user.getEmail()), user.getPassword(), authorities);
    }

}
org.springframework.security.core.userdetails.Userを継承してコンストラクタを定義しているだけです。
・5.Controllerの作成
あとはコントローラで以下のURLをマッピングすればいいです。
・ログインフォーム
・ログイン処理(入力チェックしてからspring securityへ渡すため)
・ログイン成功
※ログアウトなくてごめんなさい
package com.example.demo.web.controller;

import com.example.demo.common.controller.AbstractHtmlController;
import com.example.demo.common.controller.BaseController;
import com.example.demo.web.form.LoginForm;
import org.springframework.beans.factory.annotation.Autowired;
import org.springframework.context.MessageSource;
import org.springframework.stereotype.Controller;
import org.springframework.ui.Model;
import org.springframework.validation.BindingResult;
import org.springframework.validation.annotation.Validated;
import org.springframework.web.bind.annotation.GetMapping;
import org.springframework.web.bind.annotation.ModelAttribute;
import org.springframework.web.bind.annotation.PostMapping;
import org.springframework.web.bind.annotation.RequestMapping;
import org.springframework.web.servlet.mvc.support.RedirectAttributes;

import static com.example.demo.common.WebConst.*;

@Controller
public class LoginController extends AbstractHtmlController {


    @Override
    public String getFunctionName() {
        return "A_LOGIN";
    }

    @ModelAttribute
    LoginForm loginForm(){return new LoginForm();}
    /**
     * ログイン画面表示
     * @return getメソッドの時はログイン画面を表示する
     */
    @GetMapping("/loginForm")
    public String loginFrom(){
        return "login/login";
    }

    /**
     * 入力チェック
     *
     * @param form
     * @param br
     * @return
     */
    @PostMapping("/login")
    public String index(@Validated @ModelAttribute LoginForm form, BindingResult br) {
        // 入力チェックエラーがある場合は、元の画面にもどる
        if (br.hasErrors()) {
            return "login/login";
        }
        //20190309入力チェックが通った場合は、SecurityConfigで設定した認証処理にフォワードする
        //20190309Postメソッドでなければいけないのでforwardを使う必要がある
        return "forward:" + LOGIN_PROCESSING_URL;
    }

    /**
     * ログイン成功
     */
    @PostMapping("/success")
    public String loginsuccess(@ModelAttribute LoginForm loginForm, Model model,RedirectAttributes redirectAttributes){
        model.addAttribute("msg","loginSuccess");
        return "/login/success";
    }


}
6.HTMLの作成
<!DOCTYPE html>
<html xmlns="http://www.w3.org/1999/xhtml" xmlns:th="http://www.thymeleaf.org">
<head>
    <title>Springboot</title>
    <meta charset="utf-8" />
</head>
<body>
<h1 th:text="ログイン"></h1>
<div th:if="${param.error}" class="alert alert-danger">
    ユーザー名またはパスワードが正しくありません。
</div>
<form th:action="@{'/login'}" action="../user/index.html" th:object = "${loginForm}" method="post">
    <div class="form-group" th:classappend="${#fields.hasErrors('email')}? 'has-error'">
        <label for="email" class="control-label">email</label>
        <input id="email" type="text" class="form-control" th:field="*{email}" name="email">
        <span th:if="${#fields.hasErrors('email')}" th:errors="*{email}" class="error-massages">error!</span>
    </div>
    <div class="form-group" th:classappend="${#fields.hasErrors('password')}? 'has-error'">
        <label for="password" class="control-label">password</label>
        <input id="password" type="password" class="form-control" th:field="*{password}" name="password">
        <span th:if="${#fields.hasErrors('password')}" th:errors="*{password}" class="error-massages">error!</span>
    </div>
    <input type="submit" class="btn btn-default" value="ログイン"/>
</form>
</body>
</html>
th:if="${param.error}"でエラーのパラメータを受け取り文字列を出すようにしています。
th:action="@{'/login'}"でログインボタンを押した際にspring securityへログイン処理を渡すようにしています。
終わりに
今回は重要とspring securityのログインにフォーカスして進めました。
次回は権限によって表示する画面を切り替えるに挑戦してみたいと思います。
ご静聴ありがとうございました。
