はじめに
FlutterでFirebase Authentication使ってユーザー登録・ログイン画面を作る手順などはよく見かけるのですが、バリデーションチェックや、ユーザー登録後の処理、パスワード変更処理などやらねばならないことはいろいろあります。また、FacebookログインやAppleログインについても備忘録かねてまとめてみようかと思います。
まず最初はユーザー登録画面を作成してみます。
VSCodeのMac版を利用していますので、AndroidStudio利用の方は適宜読み替えて行ってみてください。
更新履歴
2024.1.18 初回投稿
環境
[✓] Flutter (Channel stable, 3.16.4, on macOS 13.5.2 22G91 darwin-arm64, locale ja-JP)
[✓] Android toolchain - develop for Android devices (Android SDK version 34.0.0)
[✓] Xcode - develop for iOS and macOS (Xcode 15.0)
[✓] Chrome - develop for the web
[✓] Android Studio (version 2022.3)
[✓] VS Code (version 1.85.1)
参考にしたサイト
やりたいこと
- Firebase Authenticationを使ってログイン/ユーザー登録画面を作成する
実装手順
Firebaseプロジェクト作成
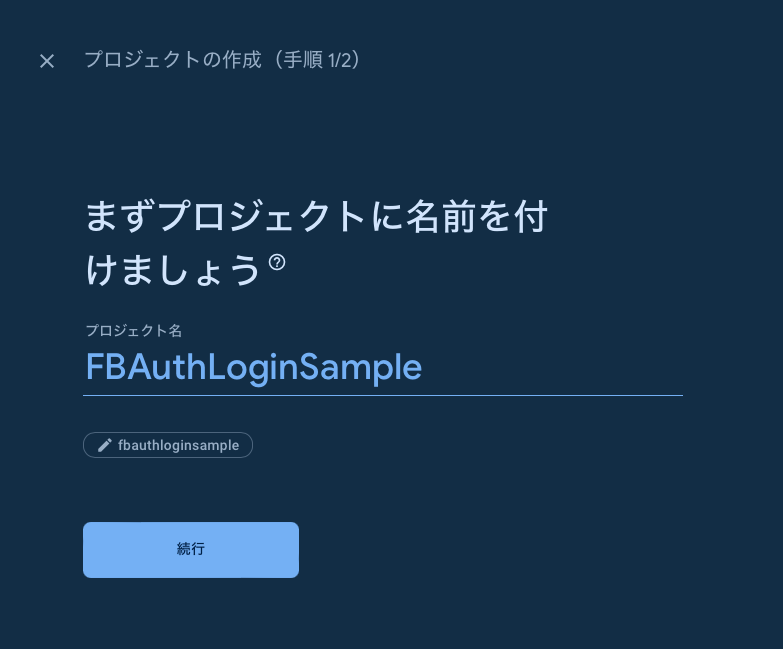
- Firebaseでプロジェクト作成する(ここではFBAuthLoginSampleとします)

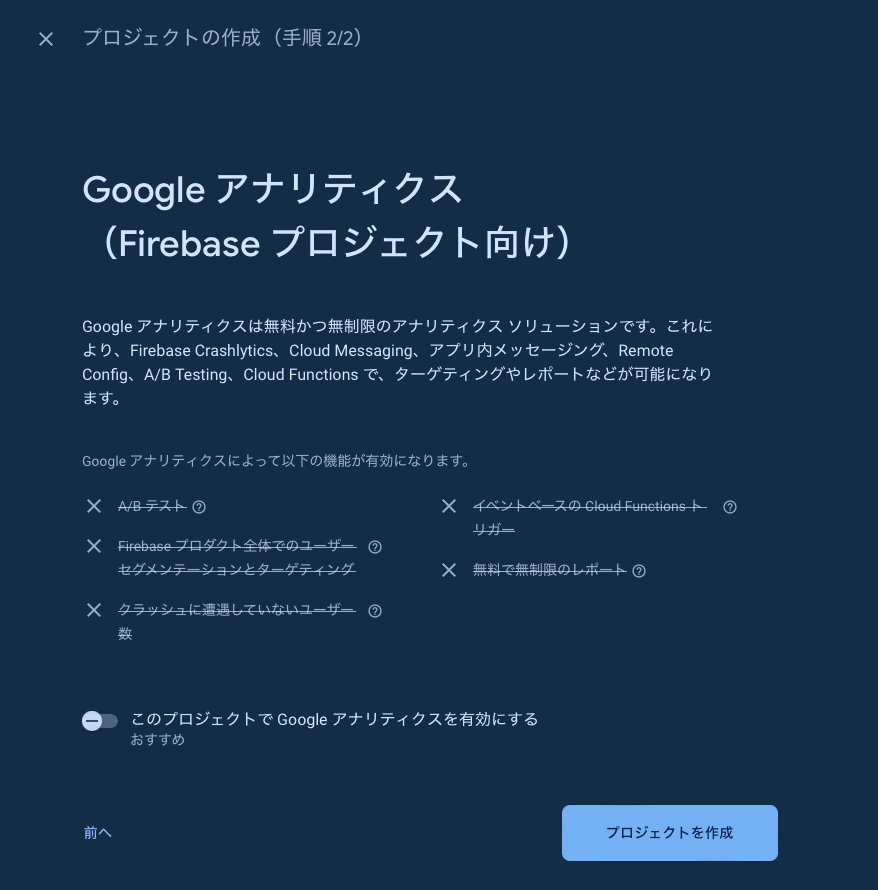
- サンプルなのでGoogleアナリティクスは不要です。本番の時は有効にしたほうがいいと思います。

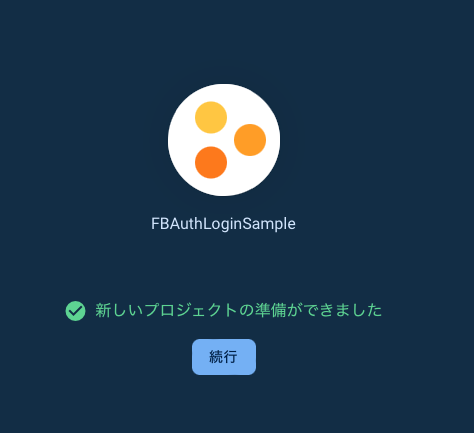
- プロジェクトの準備ができました。

Flutterプロジェクト作成
- プロジェクトを作成したいところに「cd」で移って、ターミナルで「flutter create fb_auth_login_sample」と打ちます。
- プロジェクトが作成されるので、VSCodeなどでプロジェクトを開きます。
- lib>main.dartを次のように書き換えます。
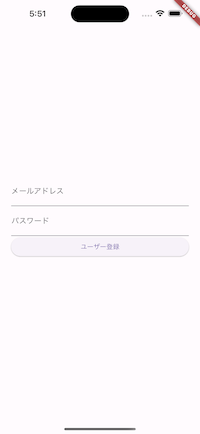
import 'package:flutter/material.dart'; void main() { runApp(const LoginSample()); } class LoginSample extends StatelessWidget { const LoginSample({super.key}); @override Widget build(BuildContext context) { return const MaterialApp( title: 'Login Sample', // home: const MyHomePage(title: 'Login Sample'), home: LoginPage(), ); } } class LoginPage extends StatelessWidget { const LoginPage({super.key}); @override Widget build(BuildContext context) { return Scaffold( body: Center( child: Container( padding: const EdgeInsets.all(24), child: Column( mainAxisAlignment: MainAxisAlignment.center, children: <Widget>[ // メールアドレス入力 TextFormField( decoration: const InputDecoration(labelText: 'メールアドレス'), onChanged: (String value) {}, ), // パスワード入力 TextFormField( decoration: const InputDecoration(labelText: 'パスワード'), obscureText: true, onChanged: (String value) {}, ), SizedBox( width: double.infinity, // ユーザー登録ボタン child: ElevatedButton( child: const Text('ユーザー登録'), onPressed: () { debugPrint('ユーザー登録'); }, ), ) ], ), ), ), ); } } - 一旦ここで、動作確認のためflutter runするなどしてシミュレータで動かしてみます。

- 次はFirebaseプロジェクトとFlutterプロジェクトの連携設定をします。
https://qiita.com/yoshikoba/items/4f49d1aac30cd446a629