はじめに
Firebase+iOS,Android,Webでアプリを作っているのですが、どうもユーザ管理がしづらく、Firebaseの管理画面ではdisplayNameや、電話番号、photoURLが確認できません。
では、Firebase Admin SDKを使って、管理画面を作成して、適当なサーバにあげるかCloud Functionsにデプロイするという方法もセキュリティ的に不安があるし....。
てことで、Electronに全部入れちゃって、アプリで色々操作できるようにしちゃえばいいじゃん!と思い立ち、やってみました。
Firebase Adminの使い方や実装などについては、省略して、取り急ぎ、ExpressGeneratorを使ってElectronアプリを起動できるまでを書いています
更新履歴
2019.5.23 2-6,7の「index.js」を「index.ejs」に修正
環境
・macOS Mojave
・Node:v10.10.0
・npm:v6.9.0
1.Expressプロジェクト作成
1.Express導入
$ mkdir Electron_Sample
$ cd Electron_Sample
$ npm i --save express
$ npm i express-generator -g
$ express  --view=ejs
$ npm install
$ npm start
注)express --view=ejs はejsは他のview engineでもOK。
yを押せば雛形を作成してくれる。
2.npm startをして、サーバーが立ち上がったら、ブラウザで以下URLにアクセス。
http://localhost:3000
3.一旦、コンソール画面でControl+cで止めます。
4.expressのソースを修正後毎回npm startするのは面倒なので、修正後自動起動させるようにします。
nodemonをインストール
$ npm install nodemon -g
5.package.jsonの一部を変更
"scripts": {
    "start": "nodemon ./bin/www"
}
2.BootStrapおよびTemplate導入
1.管理画面をHTMLで一から作ってもいいんですが、時間がかかるので、巷に溢れているテンプレートを使います。
サクッと見つかった管理画面テンプレート「gentelella」を使ってみます。
GitHub:https://github.com/puikinsh/gentelella
Demo:https://colorlib.com/polygon/gentelella/index.html
2.一旦、コンソール画面でControl+cで止めます。
3.以下のコマンドでgentelellaをインストール
$npm install gentelella --save
4.gentelellaのindex.htmlを探す
Electron_Sample>node_modules>gentelella>production内にあるindex.htmlを見つける。
5.普段使っているEditorでindex.htmlを開き、全部コピーする
6.viewsディレクトリ内のindex.ejsを開き、中身を先ほどコピーしたindex.htmlをまるまるペーストする
7.ペーストしたindex.ejs内の「../vendors」を全て「/vendors」に置き換える
8.「../build/css/」を「/stylesheet/」に、「../build/js/」を「/javascript/」に置き換える。
9.app.jsの「app.use(express.static(path.join(__dirname, 'public')));」の下に以下を追加する
app.use("/javascript", express.static(__dirname + "/node_modules/gentelella/build/js/"));
app.use("/stylesheet", express.static(__dirname + "/node_modules/gentelella/build/css/"));
app.use("/vendors", express.static(__dirname + "/node_modules/gentelella/vendors/"));
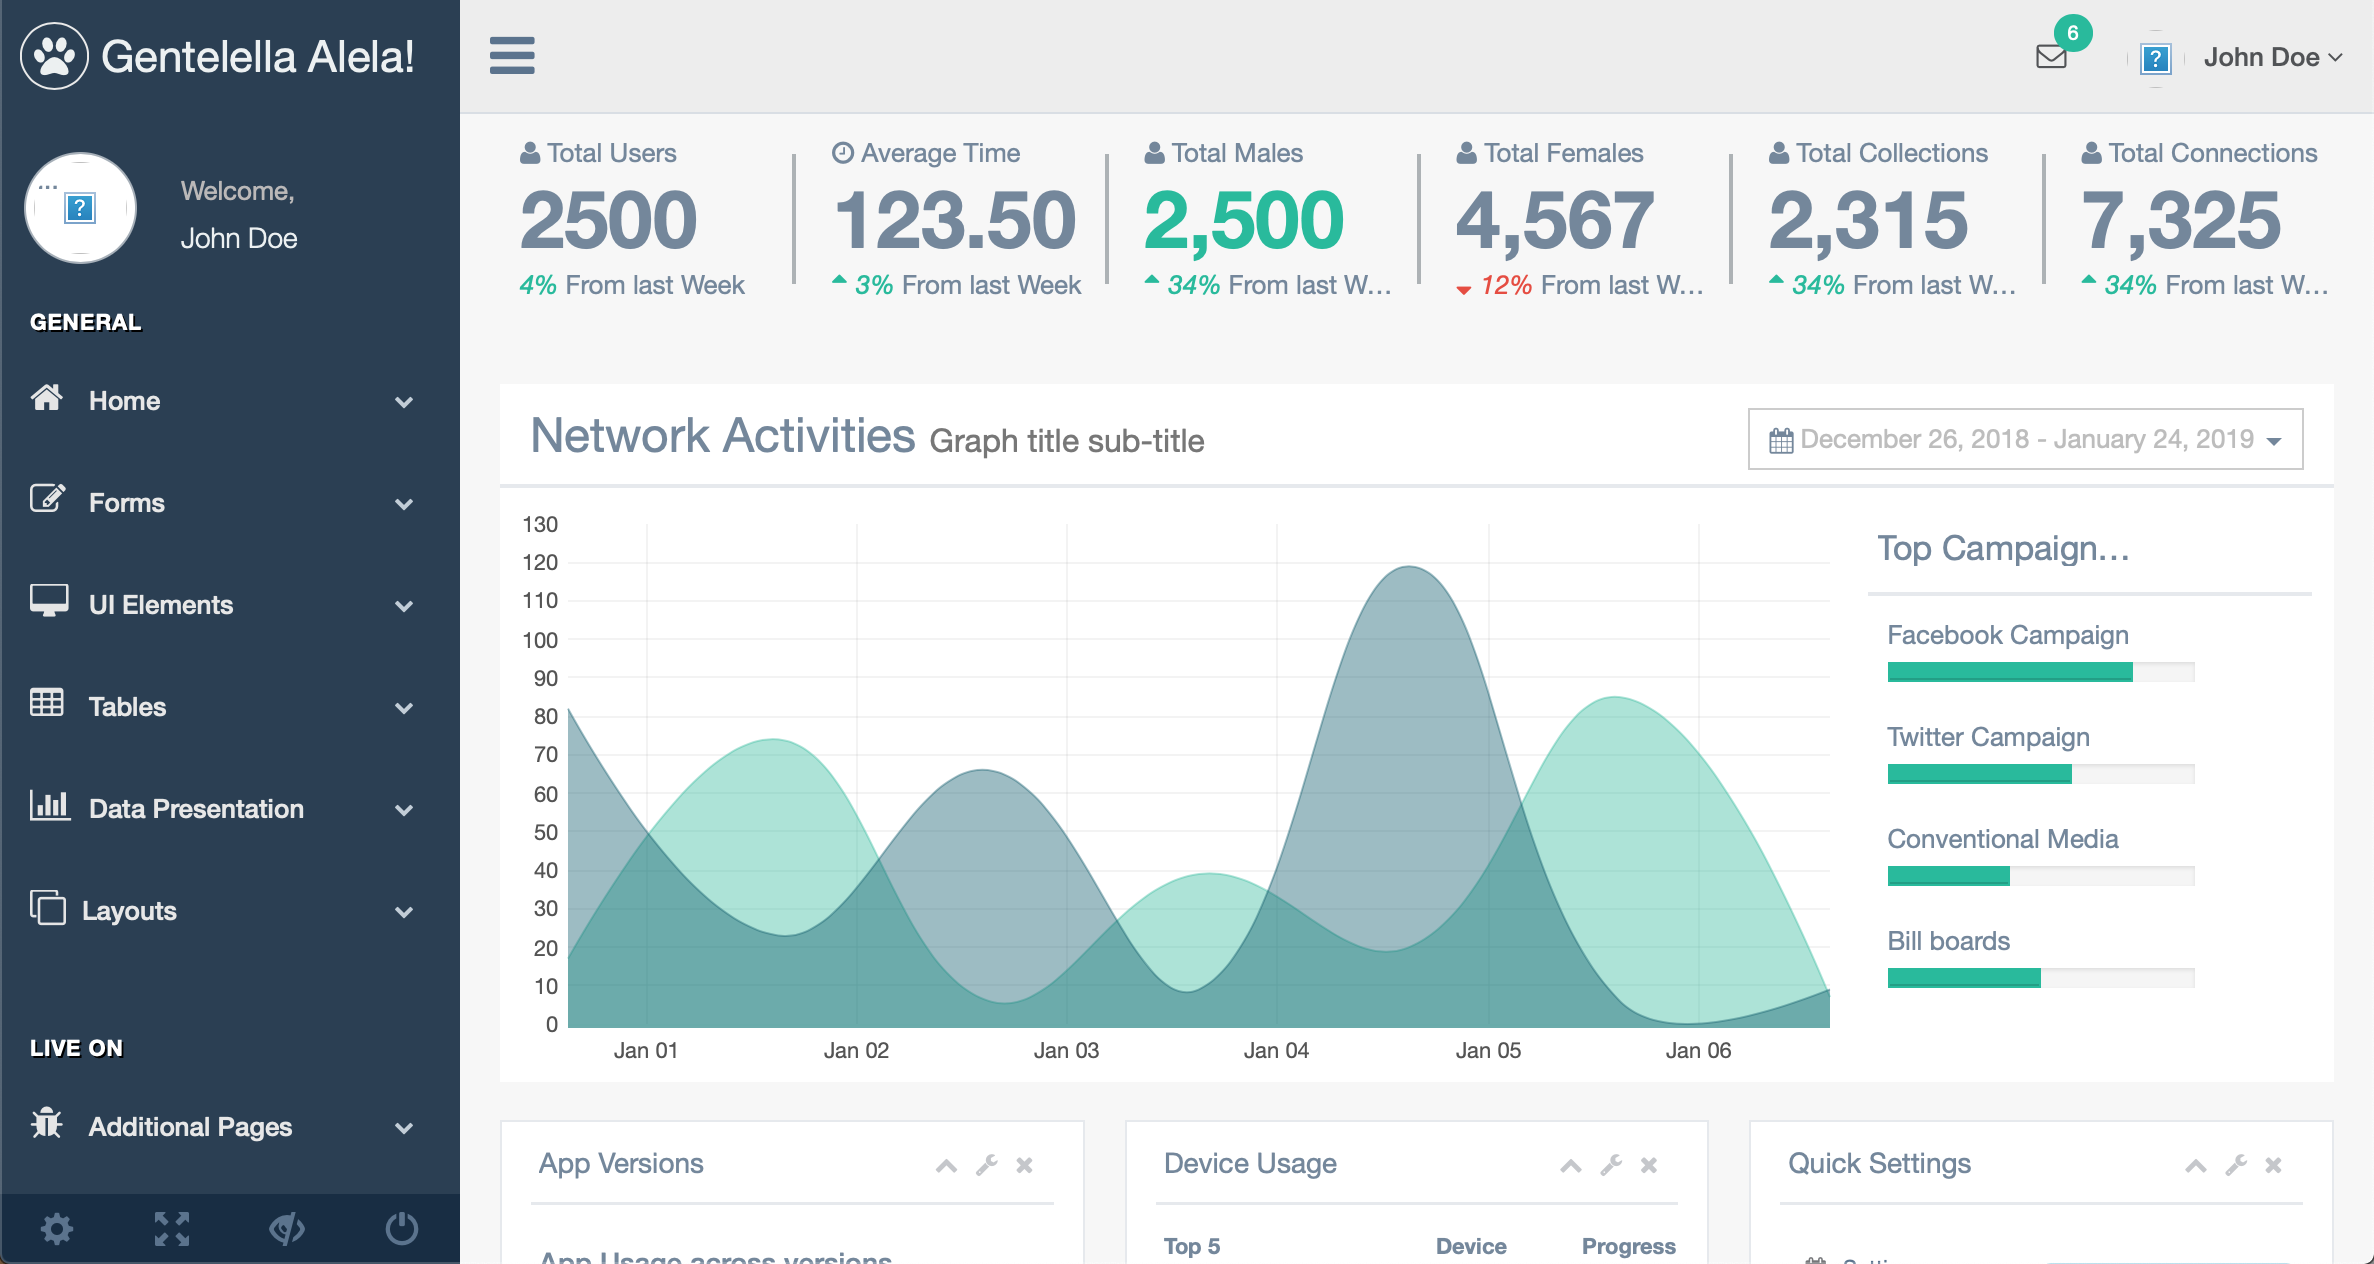
10.再度$npm startして、localhost:3000/にアクセスし、以下のように画面が表示されているか確認する。

「John」さんの写真がリンク切れてて表示されていませんが、いらんし、どうせ他のディレクトリを使うと思うので、無視。
4.Firebase Admin SDK導入
1.Firebase Admin SDKをインストール
$ npm install firebase-admin --save
2.認証情報の発行
Firebaseにログインして、コンソール画面を表示させ、プロジェクトを選択します。
「Project Overview」 右の歯車 -> プロジェクトの設定 -> サービスアカウント -> 新しい秘密鍵の生成
ダウンロードされたファイルをプロジェクトフォルダ内の任意の場所に保存
私は、viewsフォルダと同じ階層にsettingsフォルダを作成してその中に、settings.jsonと名前を変えて保存しました。
3.ruetesフォルダ内のindex.jsを開いて、Firebase サービスアカウントページからスニペットをコピーして追加
var express = require('express');
var router = express.Router();
//この下に追加

/*firestore admin 設定*/
var admin = require("firebase-admin");

var serviceAccount = require("path/to/serviceAccountKey.json");

admin.initializeApp({
  credential: admin.credential.cert(serviceAccount),
  databaseURL: "<databaseURLを記入>"
});
(参)https://qiita.com/YutoKoguchi/items/5de7f19768bea1885c99
(参)https://firebase.google.com/docs/admin/setup
4.一旦$node startでexpress起動
5.Electron導入
1.以下のコマンドでElectronをインストール
$ npm i electron --save
$ npm init -y
2.プロジェクトフォルダにあるpackage.jsonの “main” のapp.jsまたはindex.jsとなっているところを『main.js』に変更する。
{
  "name": "electronexpress",
  "version": "0.0.0",
  "private": true,
  "scripts": {
    "start": "nodemon ./bin/www"
  },
  "dependencies": {
    "cookie-parser": "~1.4.4",
    "debug": "~2.6.9",
    "ejs": "~2.6.1",
    "electron": "^5.0.1",
    "express": "~4.16.1",
    "gentelella": "^1.4.0",
    "http-errors": "~1.6.3",
    "morgan": "~1.9.1"
  },
  "main": "main.js",//ここをindex.jsまたはapp.jsからmain.jsに変更
  "devDependencies": {},
  "keywords": [],
  "author": "",
  "license": "ISC",
  "description": ""
}
3.app.jsと同じ階層にmain.jsファイルを作成する。
4.main.jsに以下をコピペ
	'use strict';

	// Electronのモジュール
	const electron = require("electron");
	const appExpress = require("./app");

	// アプリケーションをコントロールするモジュール
	const app = electron.app;

	// ウィンドウを作成するモジュール
	const BrowserWindow = electron.BrowserWindow;

	// メインウィンドウはGCされないようにグローバル宣言
	let mainWindow;

	// 全てのウィンドウが閉じたら終了
	app.on('window-all-closed', function() {
	 if (process.platform != 'darwin') {
	 app.quit();
	 }
	});

	// Electronの初期化完了後に実行
	app.on('ready', function() {
	 // メイン画面の表示。ウィンドウの幅、高さを指定できる
	 mainWindow = new BrowserWindow({width: 1300, height: 800});
	 mainWindow.loadURL('http://127.0.0.1:3000');

	// ウィンドウが閉じられたらアプリも終了
	 mainWindow.on('closed', function() {
	 mainWindow = null;
	 });
	});
5.app.jsのvar app = express();の下の行にapp.listen(3000, "127.0.0.1”);を追加
	var createError = require('http-errors');
	var express = require('express');
	var path = require('path');
	var cookieParser = require('cookie-parser');
	var logger = require('morgan');

	var indexRouter = require('./routes/index');
	var usersRouter = require('./routes/users');

	var app = express();

	app.listen(3000, "127.0.0.1");//これを追加

	// view engine setup
	app.set('views', path.join(__dirname, 'views'));
	app.set('view engine', 'ejs');
6.npm startして、localhost:3000でgentelellaの画面が表示されるか確認
7.control+cで止めて、下記コマンドでエレクトロンアプリが起動するか確認
$electron .
【備考】万が一、grpcが見つからないエラーが出る場合は以下を実行
$ npm rebuild --target=2.0.0 --runtime=electron --dist-url=https://atom.io/download/electron
(参)https://www.npmjs.com/package/grpc#about-electron
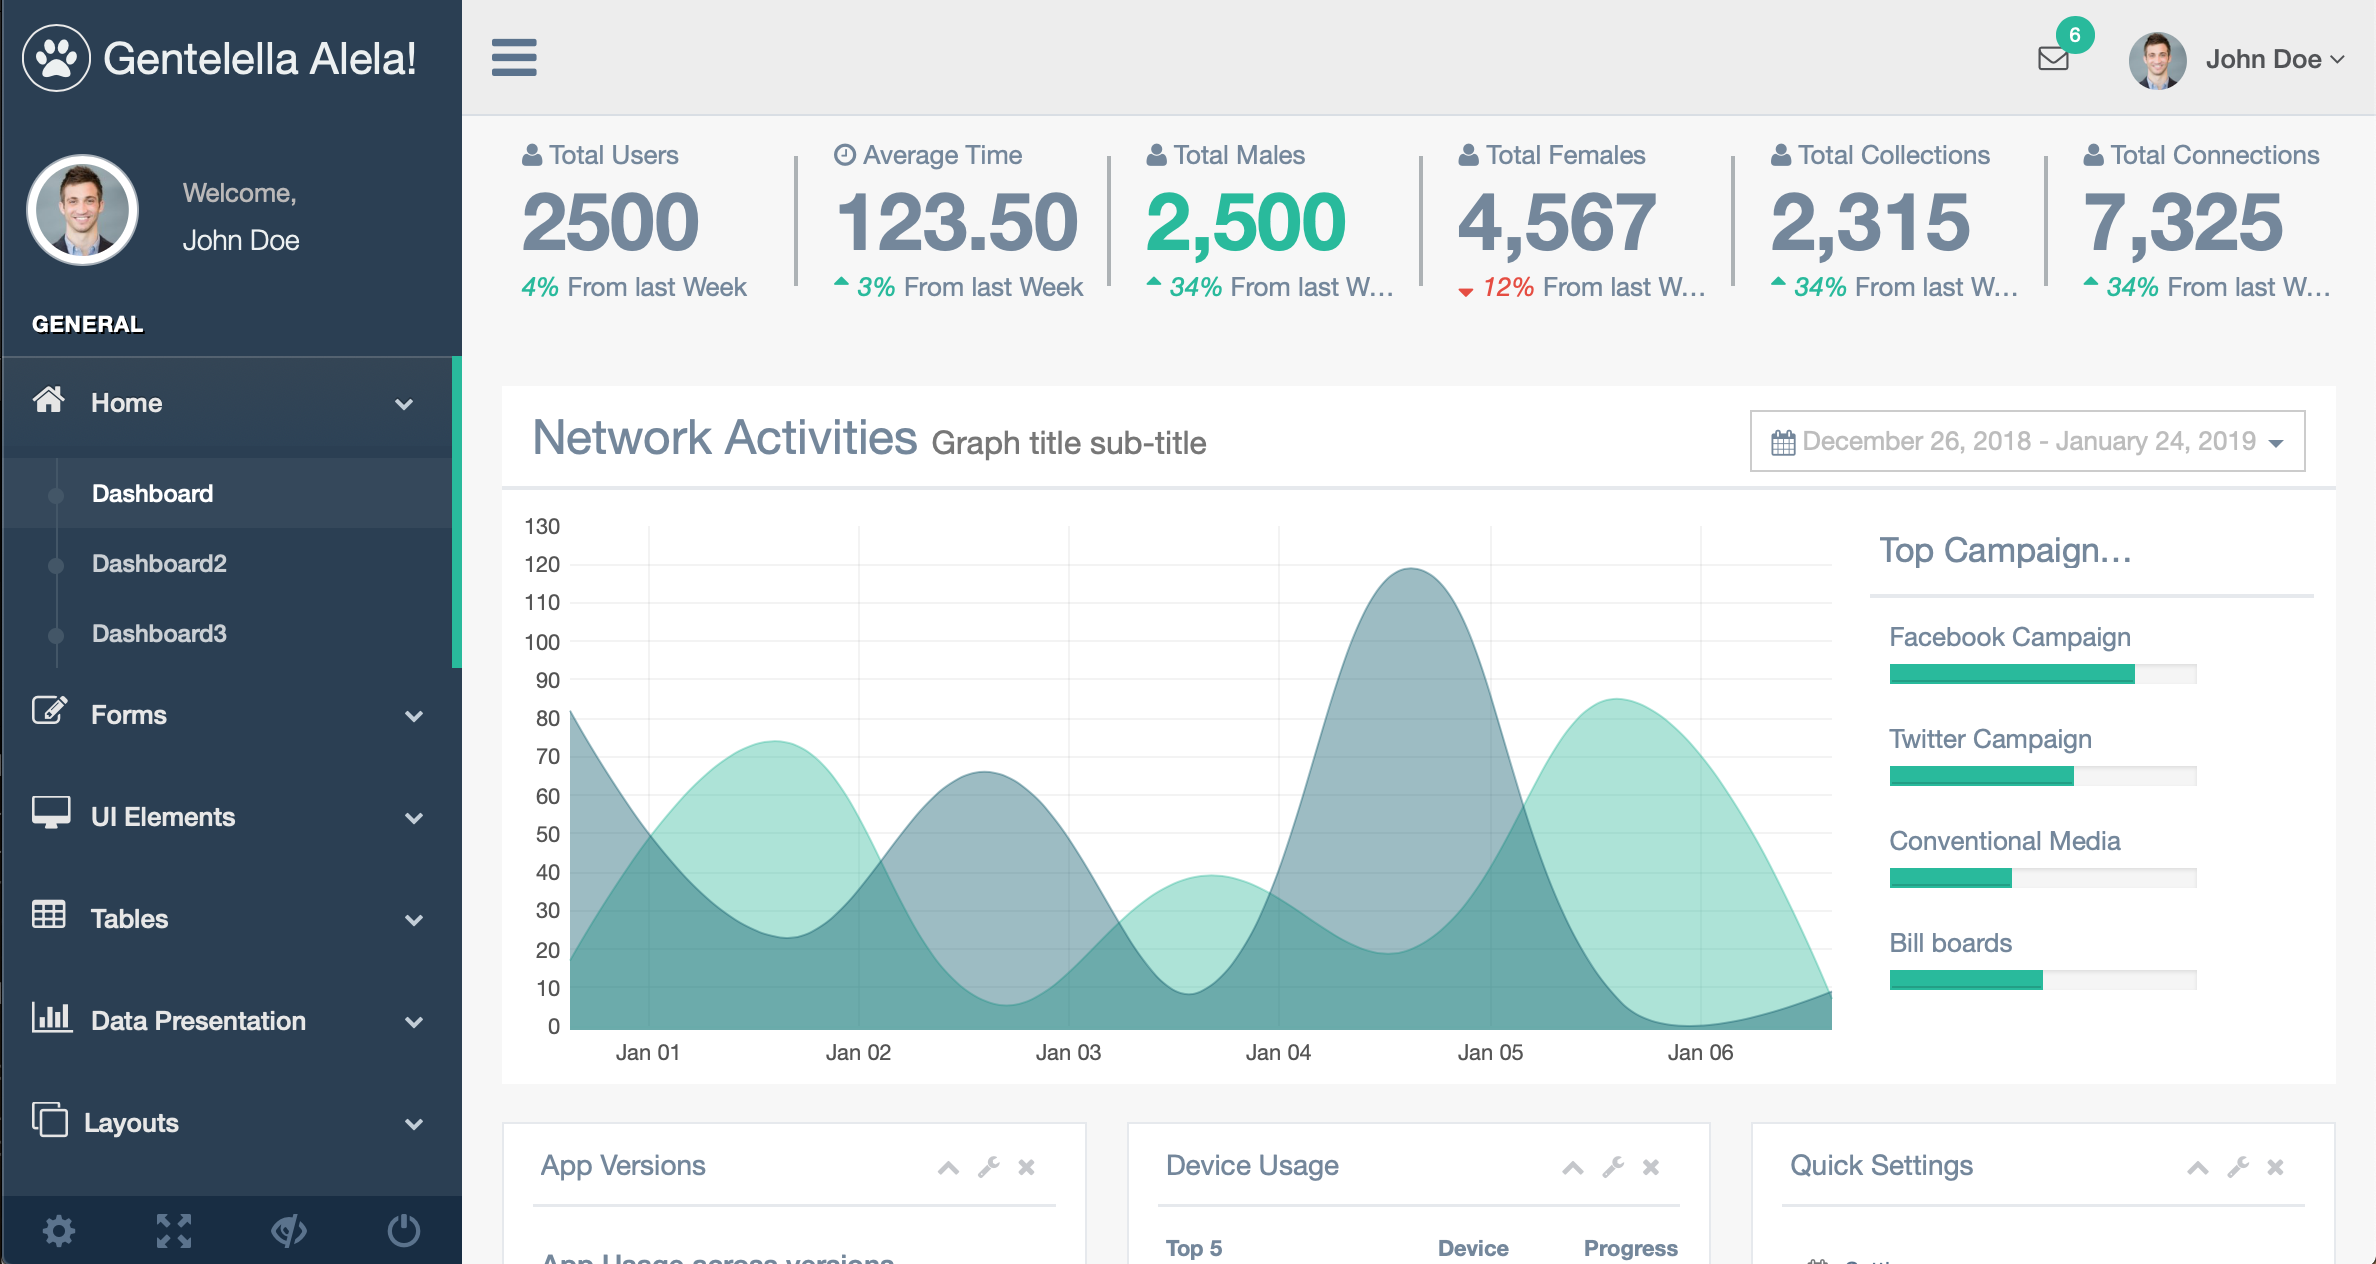
8.但しこのままだと、JQueryが動かないぽい(以下の画面でグラフが表示されていない)ので、index.ejsにJQueryを読み込む前に追記する。

(略)
  <script>
      window.nodeRequire = require;
      delete window.require;
      delete window.exports;
      delete window.module;
  </script>
    <!-- jQuery -->
    <script src="/vendors/jquery/dist/jquery.min.js"></script>
    <!-- Bootstrap -->
    <script src="/vendors/bootstrap/dist/js/bootstrap.min.js"></script>
    <!-- FastClick -->
    <script src="/vendors/fastclick/lib/fastclick.js"></script>
    <!-- NProgress -->
    <script src="/vendors/nprogress/nprogress.js"></script>
    <!-- Chart.js -->
    <script src="/vendors/Chart.js/dist/Chart.min.js"></script>

(以下略)
9.再度$electron .で動作確認。
次は、ここで作成したElectronアプリをWindowsとMacにインストールできるようにします。
→ElectronアプリのWindoswインストーラーをMacで作成
以上

