DynamoDB Shell とは
DynamoDB Shell(ddbsh) とは、DynamoDB を初めて使うユーザにとって使い慣れた SQL のようなコマンドを実行することができる CLI です。
ddbsh のクエリ言語は SQL から派生したもので、DynamoDB 固有の拡張機能なんかを持っています。
やってみよう
まずは、ddbsh の install から始めます。
brew からひけるようなので必要なものを install していきます。
brew tap aws/tap
brew install aws-ddbsh
ddbsh を使うと対象とする aws アカウント内にある DynamoDB へ接続することと、ローカル DynamoDB を使用したければそちらへの接続に切り替えることもできる。
特定の AWS 環境内の DynamoDB へ接続する
AWS CLI の設定ファイル内に記載されているデフォルトのリージョン、AWS アクセスキー、AWS シークレットキーに設定されているものを利用し、ddbsh も 対象とする DynamoDB が存在する AWS アカウントへのアクセスします。
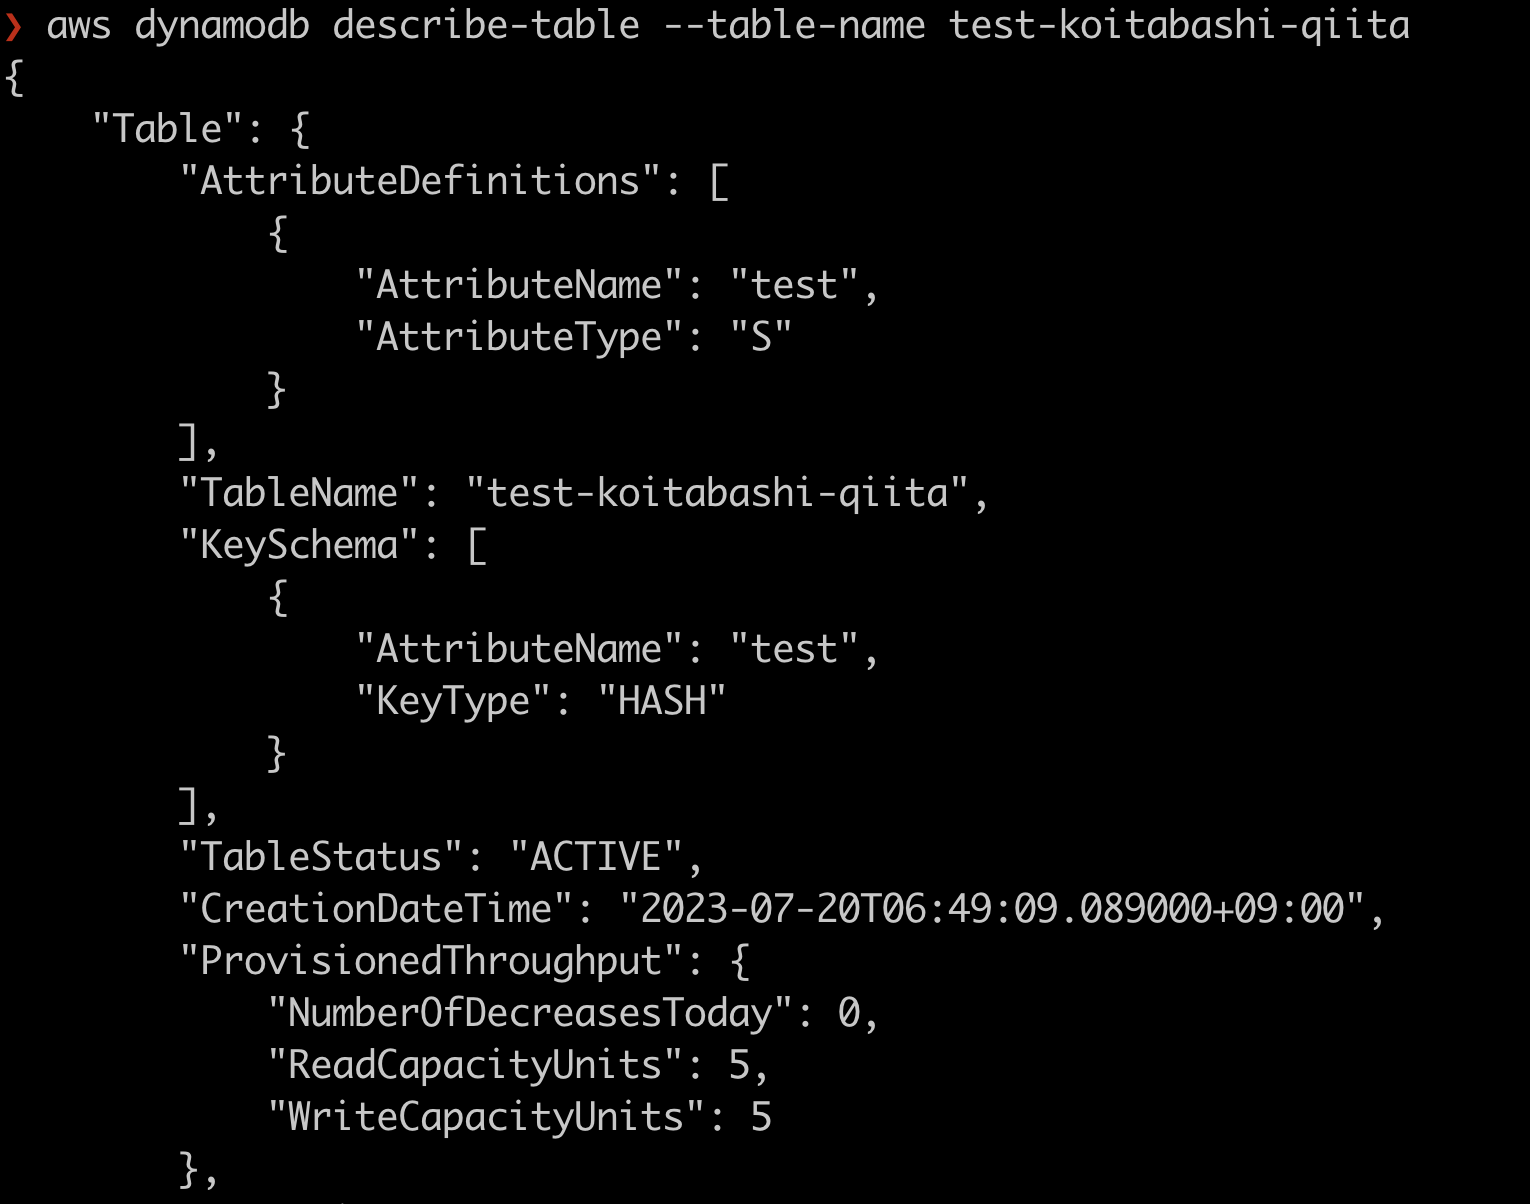
まずは、aws cli を利用し、操作対象としたい DynamoDB のテーブルへアクセスができるか試します。
aws dynamodb describe-table --table-name テーブル名
CLI 経由で 対象とする aws 環境の DynamoDB へ接続ができたので、ここからは ddbsh を使用し操作していきたいと思います。
❯ ddbsh
ddbsh - version 0.6.1
us-east-1>
対象とするリージョンに接続する
us-east-1> connect ap-northeast-1;
CONNECT
ap-northeast-1>
さて、ではいろいろ操作してみましょう。
① まずは、GSI を使用し、DynamoDB Streams を有効にしたテーブルを作成してみます。
CREATE TABLE コマンドには「nowait」が含まれていたため、コマンドはすぐに完了し、その後の記述ではテーブルが作成中であることが示されます。
ap-northeast-1> create table if not exists nowait balances ( id string, accttype string, balance number )
ap-northeast-1> primary key ( id hash, accttype range )
ap-northeast-1> billing mode provisioned ( 20 rcu, 20 wcu )
ap-northeast-1> gsi (balancegsi on (accttype hash, balance range) projecting all
ap-northeast-1> billing mode provisioned ( 20 rcu, 20 wcu ))
ap-northeast-1> stream (both images);
CREATE
作成したテーブルを describe してみましょう。
Name: balances (ACTIVE) になっているので、テーブルがすでに作成され使用できるようになっていることがわかります。
ap-northeast-1> describe balances;
Name: balances (ACTIVE)
Key: HASH id, RANGE accttype
Attributes:  accttype, S,  balance, N,  id, S
Created at: 2023-07-19T22:23:59Z
Table ARN: arn:aws:dynamodb:ap-northeast-1:123456789:table/balances
Table ID: 12345678-7778-4f34-9977-9aee44c29aeb
Table size (bytes): 0
Item Count: 0
Deletion Protection: Disabled
Billing Mode: Provisioned (20 RCU, 20 WCU)
PITR is Disabled.
GSI balancegsi: ( HASH accttype, RANGE balance ),  Provisioned (20 RCU, 20 WCU), Projecting (ALL), Status: ACTIVE, Backfilling: NO
LSI: None
Stream: NEW_AND_OLD_IMAGES
Table Class: STANDARD
SSE: Not set
そうしたら、作成したテーブルにデータを insert していきます。
ap-northeast-1> insert into balances ( id, accttype, balance)
ap-northeast-1> values ( "Alice", "Savings", 200 ),
ap-northeast-1> ("Alice", "Checking", 500 ),
ap-northeast-1> ("Bob", "Checking", 250 ),
ap-northeast-1> ("Charlie", "Savings", 500),
ap-northeast-1> ("Charlie", "Checking", 200),
ap-northeast-1> ("David", "Savings", 1000);
INSERT
INSERT
INSERT
INSERT
INSERT
INSERT
次に作成したデータを select していきます。
ap-northeast-1> select * from balances where accttype = "Savings";
{accttype: Savings, balance: 200, id: Alice}
{accttype: Savings, balance: 500, id: Charlie}
{accttype: Savings, balance: 1000, id: David}
ただ、今のままですと、テーブルには (id, accttype) という主キーがあるので、このselectを実行すると、スキャンされる動きになります。
さて本当にそうかを確認してみましょう。
ap-northeast-1> explain select * from balances where accttype = "Savings";
Scan({
   "TableName":   "balances",
   "ReturnConsumedCapacity":   "NONE",
   "FilterExpression":   "#ahaa1 = :vhaa1",
   "ExpressionAttributeNames":   {
      "#ahaa1":   "accttype"
   },
   "ExpressionAttributeValues":   {
      ":vhaa1":   {
         "S":   "Savings"
      }
   },
   "ConsistentRead":   false
})
ただ、このテーブルは、GSI を持っているので、GSI に対してクエリを実行できます。
下記のようにすると、テーブルスキャンではなく、インデックスに対するクエリに変わります。
ap-northeast-1> select * from balances.balancegsi where accttype = "Savings";
{accttype: Savings, balance: 200, id: Alice}
{accttype: Savings, balance: 500, id: Charlie}
{accttype: Savings, balance: 1000, id: David}
ap-northeast-1> explain select * from balances.balancegsi where accttype = "Savings";
Query({
   "TableName":   "balances",
   "IndexName":   "balancegsi",
   "ConsistentRead":   false,
   "ReturnConsumedCapacity":   "NONE",
   "KeyConditionExpression":   "#akaa1 = :vkaa1",
   "ExpressionAttributeNames":   {
      "#akaa1":   "accttype"
   },
   "ExpressionAttributeValues":   {
      ":vkaa1":   {
         "S":   "Savings"
      }
   }
})
他にもトランザクションを作成することもできます。
例えば下記のように update 文を書くこともできます。
ap-northeast-1> begin;
ap-northeast-1> update balances set balance = balance - 100 where id = "Alice" and accttype = "Checking" and balance >= 100;
ap-northeast-1> update balances set balance = balance + 100 where id = "Alice" and accttype = "Savings";
ap-northeast-1> commit;
COMMIT
更新した内容を確認してみます。
ap-northeast-1> select * from balances where id = "Alice";
{accttype: Checking, balance: 400, id: Alice}
{accttype: Savings, balance: 300, id: Alice}
CLI を終了するとき
us-east-1> quit;
QUIT
まとめ
今回は、DynamoDB Shell(ddbsh)を使用し、いろいろ操作してみましたが、確かに SQL のようなクエリを書き諸々動作を確認することができたのですが、操作感がとても良かったので、初めて DynamoDB を触る人や SQL っぽく操作したい人にとってはいいツールな気がしました。
参考文献