今回は NSSearchField について調べてみました。
とりあえず、前に作成したプロジェクトに検索機能を追加してみます。
完成イメージ

環境
macOS Mojave:10.14.6
Xcode:10.3
StoryBoard で NSSearchField を NSTableView の上部に配置
※ Auto Layout は適当に設定してます。

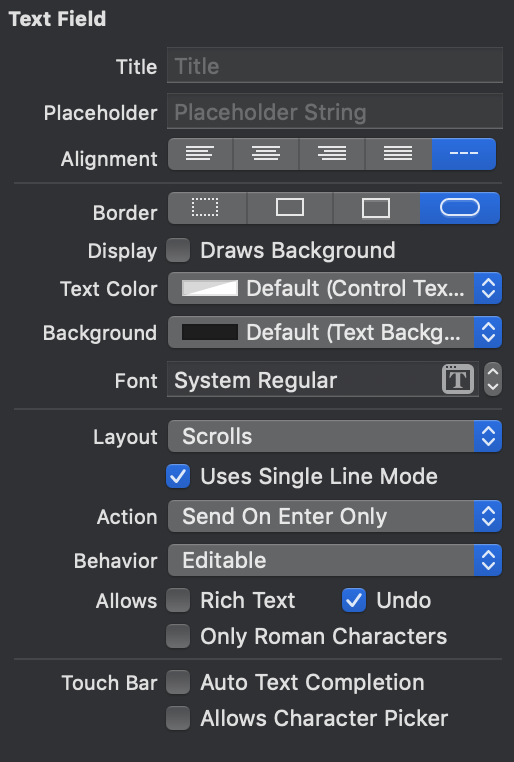
NSSearchField の Action を作成

アクションの挙動について
※ アクション実行のタイミングを設定することができる。

- Send On Enter Only:Enter ボタン押した場合だけアクションが実行される(デフォルト)
- Sent On End Editting:編集が終わったタイミングでアクションが実行される
ソースコード
検索/表示用の変数を用意
ViewController.swift
    private var originalValues = [
        ["name" : "○○株式会社", "price": 1000, "status": "up"]
        ,["name" : "○×水産", "price": 12345, "status": "down"]
        ,["name" : "株式会社□○", "price": 345, "status": "flat"]
        ,["name" : "×△ホールディングス", "price": 321, "status": "up"]
        ,["name" : "ABC BANK", "price": 20, "status": "down"]
        ,["name" : "▼○重工", "price": 98000, "status": "up"]
    ]

    private lazy var values = self.originalValues
検索処理を作成
※ 表示する際にどのアイテムが追加/削除されたか計算が面倒臭いので reloadData で全アイテムを再描画
ViewController.swift
    // MARK: - actions

    @IBAction func actionSearchField(_ sender: NSSearchField) {
        print(sender)

        let searchValue = sender.stringValue.trimmingCharacters(in: .whitespaces)
        if searchValue != "" {
            var tmpValues = [[String:Any]]()
            for value in self.originalValues {
                if (value["name"] as! String).contains(searchValue) {
                    tmpValues.append(value)
                }
            }
            self.values = tmpValues
            self.tableView.reloadData()
        } else {
            self.values = self.originalValues
            self.tableView.reloadData()
        }
    }
全ソースコード(ViewController)
ViewController.swift
import Cocoa

class ViewController: NSViewController {

    // MARK: - IBOutlet
    @IBOutlet weak var tableView: NSTableView! {
        didSet {
            self.tableView.dataSource = self
            self.tableView.delegate = self

            self.tableView.headerView = nil
            self.tableView.rowHeight = 88
        }
    }

    // MARK: - private variables
    private var originalValues = [
        ["name" : "○○株式会社", "price": 1000, "status": "up"]
        ,["name" : "○×水産", "price": 12345, "status": "down"]
        ,["name" : "株式会社□○", "price": 345, "status": "flat"]
        ,["name" : "×△ホールディングス", "price": 321, "status": "up"]
        ,["name" : "ABC BANK", "price": 20, "status": "down"]
        ,["name" : "▼○重工", "price": 98000, "status": "up"]
    ]

    private lazy var values = self.originalValues


    // MARK: - override func
    override func viewDidLoad() {
        super.viewDidLoad()

        // Do any additional setup after loading the view.
    }

    override var representedObject: Any? {
        didSet {
        // Update the view, if already loaded.
        }
    }

    // MARK: - actions

    @IBAction func actionSearchField(_ sender: NSSearchField) {
        print(sender)

        let searchValue = sender.stringValue.trimmingCharacters(in: .whitespaces)
        if searchValue != "" {
            var tmpValues = [[String:Any]]()
            for value in self.originalValues {
                if (value["name"] as! String).contains(searchValue) {
                    tmpValues.append(value)
                }
            }
            self.values = tmpValues
            self.tableView.reloadData()
        } else {
            self.values = self.originalValues
            self.tableView.reloadData()
        }
    }

}

extension ViewController: NSTableViewDataSource, NSTableViewDelegate {

    // MARK: - NSTableViewDataSource
    func numberOfRows(in tableView: NSTableView) -> Int {
        return self.values.count
    }

    // MARK: - NSTableViewDelegate
    func tableView(_ tableView: NSTableView, viewFor tableColumn: NSTableColumn?, row: Int) -> NSView? {
        let result = tableView.makeView(withIdentifier: NSUserInterfaceItemIdentifier(rawValue: "MyView"), owner: self) as? CustomNSTableCellView

        // Set the stringValue of the cell's text field to the nameArray value at row
        switch self.values[row]["status"] as! String {
        case "up":
            result?.stockImage.image = NSImage(named: NSImage.Name("up"))
            result?.stockImage.contentTintColor = NSColor.red
            result?.companyName.textColor = NSColor.red
        case "down":
            result?.stockImage.image = NSImage(named: NSImage.Name("down"))
            result?.stockImage.contentTintColor = NSColor.green
            result?.companyName.textColor = NSColor.green
        case "flat":
            result?.stockImage.image = NSImage(named: NSImage.Name("flat"))
            result?.stockImage.contentTintColor = NSColor.gray
            result?.companyName.textColor = NSColor.gray
        default:
            break
        }
        result?.companyName.stringValue = self.values[row]["name"] as! String
        let formatter = NumberFormatter()
        formatter.numberStyle = .decimal
        let commaString = formatter.string(from: self.values[row]["price"] as! NSNumber)
        result?.stockPrice.stringValue = commaString ?? "-"

        // Return the result
        return result
    }
}
よかったら いいね してください。