こんにちは。ymurao2です!
ScrollViewでScroll方向に応じてぴょこぴょこするあれの実装が難しかったので、ご紹介します!
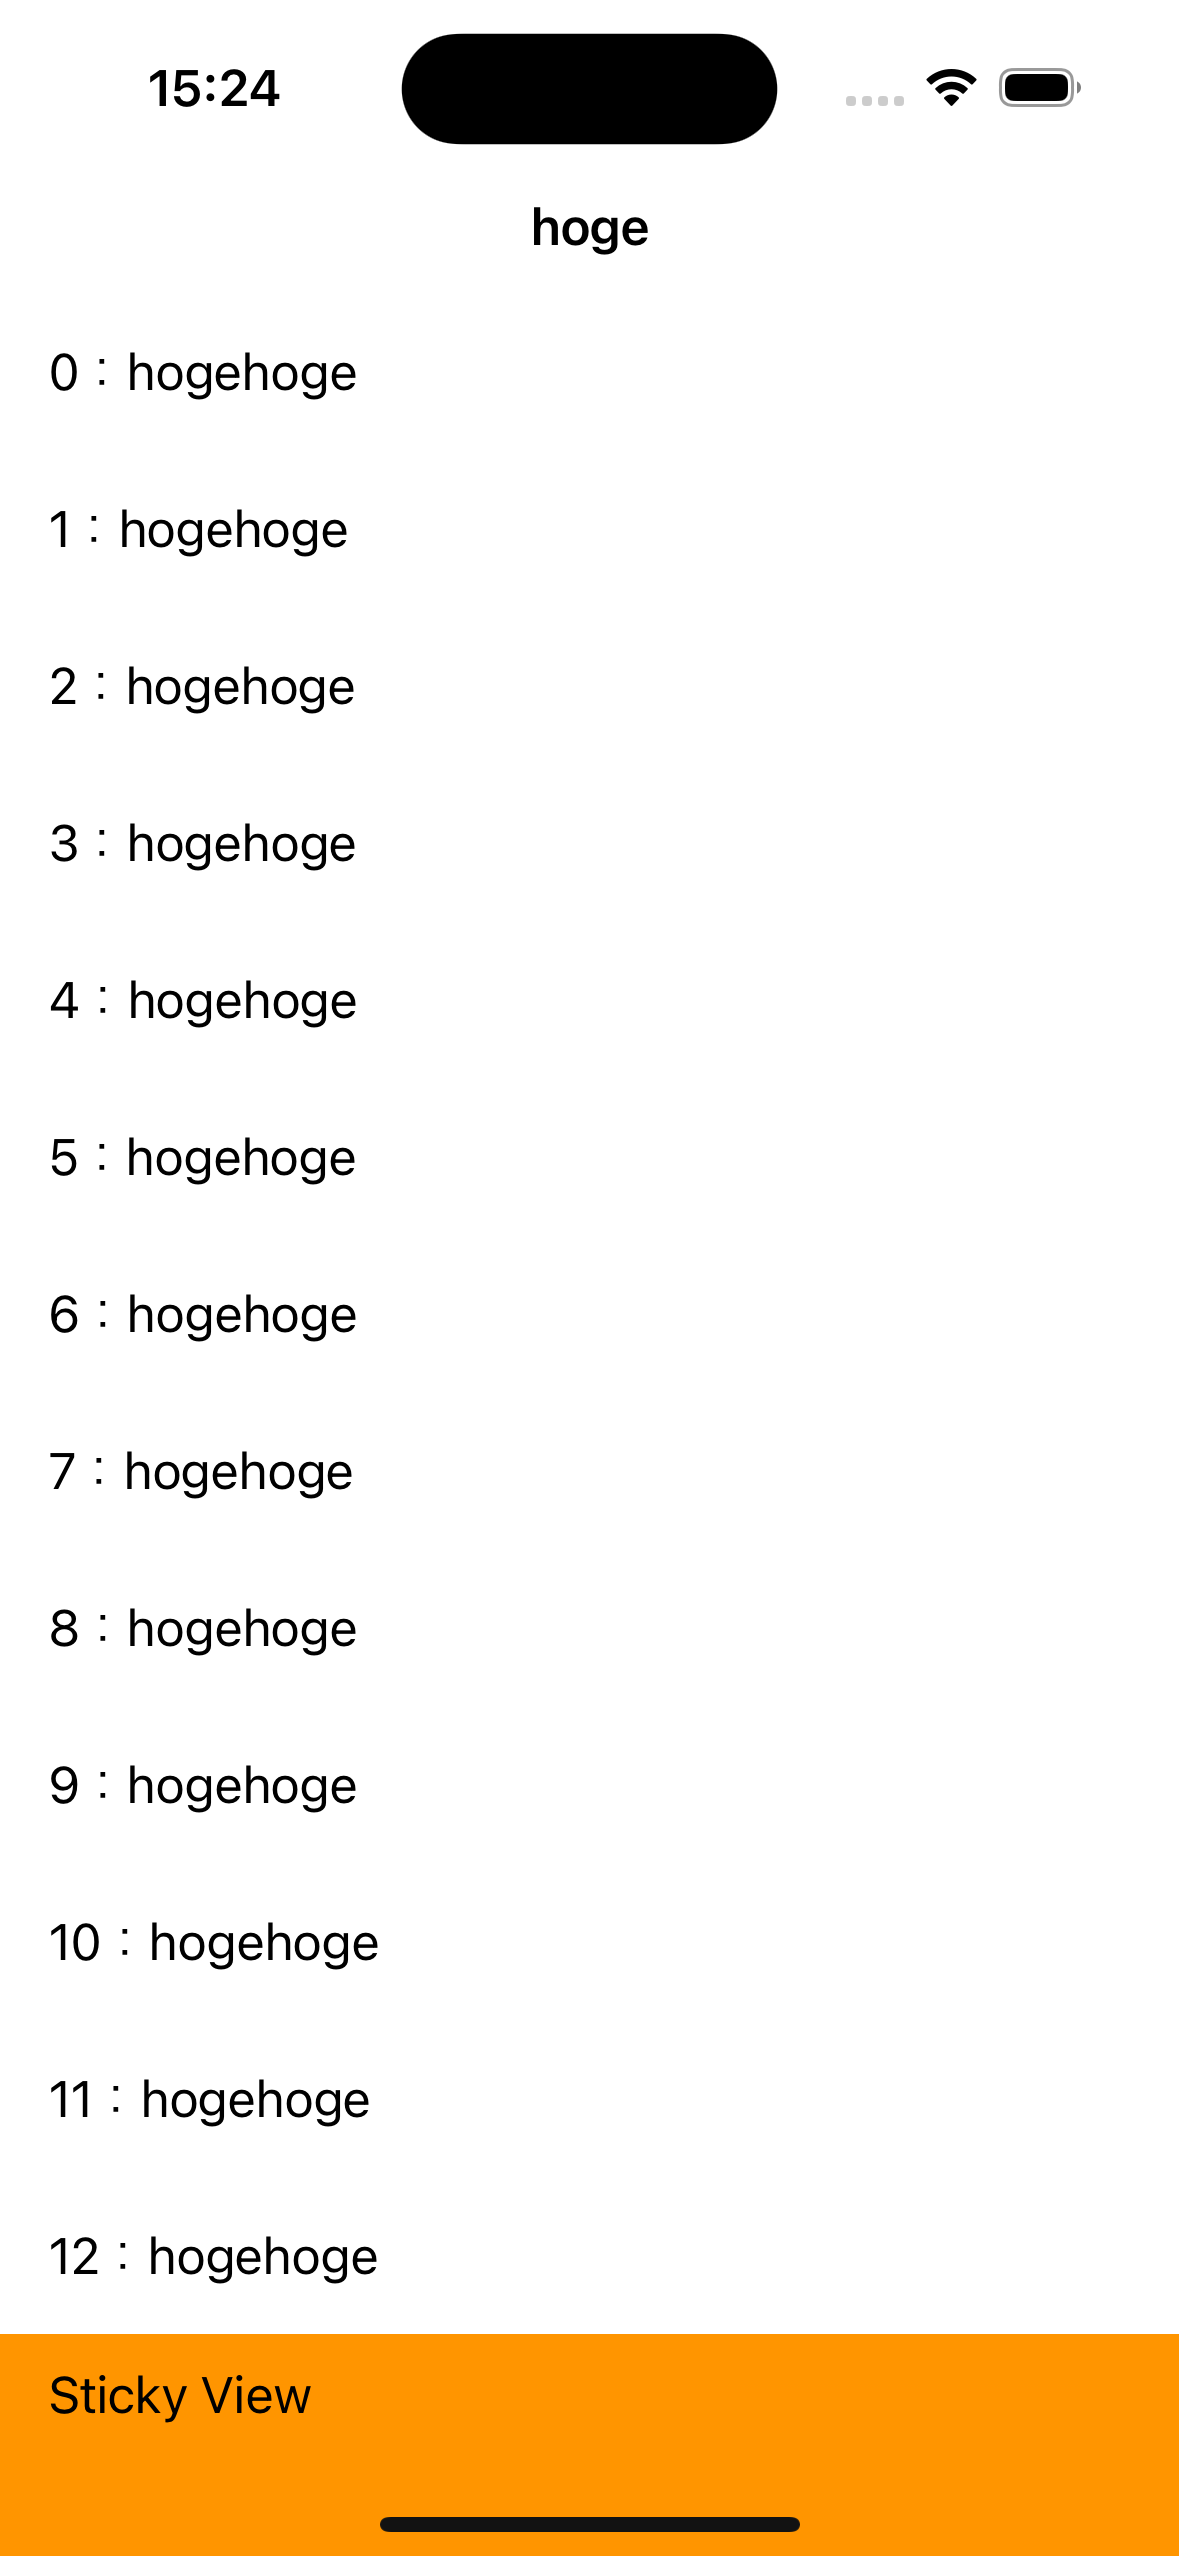
成果物

※ この画面なんて呼ぶんですかね ![]()
実装
お急ぎの方のために全体像です。
public struct InteractiveStickyHeaderScrollView: View {
    @State var offset: CGFloat = .zero
    @State var shouldShowStickyView: Bool = true

    public var body: some View {
        NavigationView {
            ScrollViewOffsetReader(offset: $offset) {
                ForEach(0...100, id: \.self) { i in
                    cell(i)
                }
            }
            /// iOS17以上はこちら
            .onChange(of: offset) { oldValue, newValue in
                if offset >= 0 {
                    shouldShowStickyView = true
                } else {
                    shouldShowStickyView = oldValue <= newValue
                }
            }
            /// iOS16以下はこちら
            /*
            .onChange(of: offset) { [offset] newValue in
                if newValue >= 0 {
                    shouldShowStickyView = true
                } else {
                    shouldShowStickyView = offset <= newValue
                }
            }
            */
            .safeAreaInset(edge: .top, spacing: 0) {
                stickyView
            }
            .navigationTitle("TItle")
            .navigationBarTitleDisplayMode(.inline)
        }
    }

    var stickyView: some View {
        Text("Sticky View")
            .frame(maxWidth: .infinity, alignment: .leading)
            .frame(height: 40)
            .background(Color.orange)
            .offset(y: shouldShowStickyView ? 0 : -40)
            .opacity(shouldShowStickyView ? 1 : 0)
            .animation(.easeIn, value: shouldShowStickyView)
    }

    func cell(_ i: Int) -> some View {
        Text("\(i):hogehoge")
            .padding()
            .frame(maxWidth: .infinity, alignment: .leading)
    }
}
struct ScrollViewOffsetReader<Content: View>: View {
    @Binding var offset: CGFloat
    let content: () -> Content
    private let scrollViewCoordinateSpace: String = "scrollViewCoordinateSpace"

    init(
        offset: Binding<CGFloat>,
        @ViewBuilder content: @escaping () -> Content
    ) {
        self._offset = offset
        self.content = content
    }

    var body: some View {
        ScrollView {
            offsetReader
            content()
                .padding(.top, -8)
        }
        .coordinateSpace(name: scrollViewCoordinateSpace)
        .onPreferenceChange(ScrollViewOffsetPreferenceKey.self) {
            self.offset = $0
        }
    }

    private var offsetReader: some View {
        GeometryReader { proxy in
            Color.clear
                .preference (
                    key: ScrollViewOffsetPreferenceKey.self,
                    value: proxy.frame(in: .named(scrollViewCoordinateSpace)).minY
                )
        }
        .frame (height: 0)
    }
}

fileprivate struct ScrollViewOffsetPreferenceKey: PreferenceKey {
    static var defaultValue: CGFloat = .zero
    static func reduce(value: inout CGFloat, nextValue: () -> CGFloat) {}
}
雰囲気で解説する
1. ScrollViewのラッパー(ScrollViewのOffsetを検知する)
PreferenceKeyを定義します。情報伝搬に使います。
fileprivate struct ScrollViewOffsetPreferenceKey: PreferenceKey {
    static var defaultValue: CGFloat = .zero
    static func reduce(value: inout CGFloat, nextValue: () -> CGFloat) {}
}
次に上で定義したPreferenceKeyを使います。
GeometryReaderを使用し、親ビュー(今回はScrollView)のサイズと位置にアクセスし、子ビュー(今回はColor.clear)にそれらの情報を伝えています。
proxy.frame(in: .named(scrollViewCoordinateSpace)).minYのように指定することで、
scrollViewCoordinateSpaceが設定されたScrollViewの上端と、Color.clearまでの距離を取得できます。
private var offsetReader: some View {
    GeometryReader { proxy in
        Color.clear
            .preference (
                key: ScrollViewOffsetPreferenceKey.self,
                value: proxy.frame(in: .named(scrollViewCoordinateSpace)).minY
            )
    }
    .frame (height: 0)
}
先ほどの高さ0のoffsetReaderをcontent()の上に配置することによって、スクロールオフセットの読み取りが可能になります。
coordinateSpaceを使用してScrollViewの座標空間に名前をつけます。
onPreferenceChangeでScrollViewOffsetPreferenceKeyの値を監視し、offsetの値を更新します。
var body: some View {
    ScrollView {
        offsetReader
        content()
            .padding(.top, -8)
    }
    .coordinateSpace(name: scrollViewCoordinateSpace)
    .onPreferenceChange(ScrollViewOffsetPreferenceKey.self) {
        self.offset = $0
        print($0)
    }
}
printの結果

下にスクロールすると、offsetは減っていき、上にスクロールするとoffsetは増えていますね!
2. ぴょこぴょこの解説
a.ぴょこぴょこのView
まずは、上部に表示するViewです.
肝はoffset、opacity、animationだと思います。このように指定することで、ぴょこぴょこするようになります。
つまるところ、shouldShowStickyViewのフラグをいい感じにできれば完成です!
var stickyView: some View {
    Text("Sticky View")
        .frame(maxWidth: .infinity, alignment: .leading)
        .frame(height: 40)
        .background(Color.orange)
        .offset(y: shouldShowStickyView ? 0 : -40)
        .opacity(shouldShowStickyView ? 1 : 0)
        .animation(.easeIn, value: shouldShowStickyView)
}
こちらを、.safeAreaInsetを使用して配置します。
ScrollViewOffsetReader(offset: $offset) {
    /// content
}
.safeAreaInset(edge: .top, spacing: 0) {
    stickyView
}
safeAreaInsetについて余談
| edge: .bottom | spacing: 50 |
|---|---|
edgeに.bottomを指定すると、↓のように配置できます。 |
spacingに値を入れることで、スペースを取ることができます |
 |
 |
b. offsetの検知
先ほどの、ScrollViewOffsetReaderを使用し、offsetを検知します。
oldValueとnewValueの差分を計算することで、スクロール方向を取得することができそうです。
@State var offset: CGFloat = .zero
@State var shouldShowStickyView: Bool = true

public var body: some View {
    ScrollViewOffsetReader(offset: $offset) {
        ForEach(0...100, id: \.self) { i in
            cell(i)
        }
    }
    .onChange(of: offset) { oldValue, newValue in
        print("oldValue:\(oldValue)、newValue:\(newValue)、diff:\(oldValue-newValue)")
    }
}
offSetをprintしてみます。

GIFだと少し分かりにくいので、表にしてみます。
| oldValue | newValue | 差分(oldValue-newValue) | |
|---|---|---|---|
| 下にスクロール | -1.67 | -2.67 | 1.0 |
| 上にスクロール | 6.67 | 7.67 | -1.0 |
整理すると
-
oldValueがnewValueより小さければ、上にスクロールしている -
pull To Refreshのように引っ張ると、newValueは0以上になる
c.ぴょこぴょこの出し分け
.onChange(of: offset) { oldValue, newValue in
    if offset >= 0 {
        shouldShowStickyView = true
    } else {
        shouldShowStickyView = oldValue <= newValue
    }
}
以上!
おわりに
ScrollのOffsetを監視して、Viewをぴょこぴょこさせることができました!
苦しい戦いでしたが、なんとか実装できました!
ここまで読んでくださりありがとうございました!