Auth0
この記事1に詳しく書いていますが、Auth0は統合認証プラットフォームと呼ばれているサービスで
認証・認可機能を提供しています。
日本でもユーザコミュニティを作ろうとする動きや2導入事例も増えていています3。
22日間は機能がフルに使えるフリートライアルを試すことができるので色々遊んでみましょう。
(フリートライアル以降は一部機能が制限)
ということで今回は最近勉強しているSPA(React)でさくっとサービスを使えるってところを紹介していきます。
読者はReact??くらいの人を想定しているのでその辺り詳しい方は公式のサンプル読んだ方が早いかもしれないです。
環境
Windows10環境ですが、Macでも同じ手順で進めて大丈夫です。
下記の必要なものを上からインストールしてください。
ハンズオン
1. Reactのアプリケーション作成・起動
テンプレートのアプリを作って動かします。
# アプリ作成
$ npx create-react-app auth0-handson
# 移動
$ cd auth0-handson
# 起動
$ yarn start
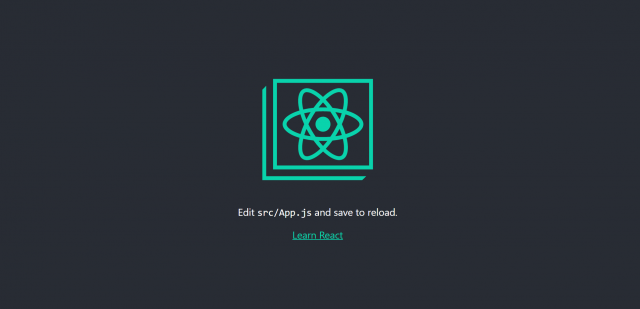
http://localhost:3000 で下のテンプレ画面がでればアプリが動作しています。
Auth0のサービスを使ってこの画面にログイン/ログアウト機能を付け加えます。
2. Auth0の登録・準備
少し長くなりますが、先ほどのアプリでAuth0の認証サービスを利用するための準備作業をします。
2.1. ユーザ登録
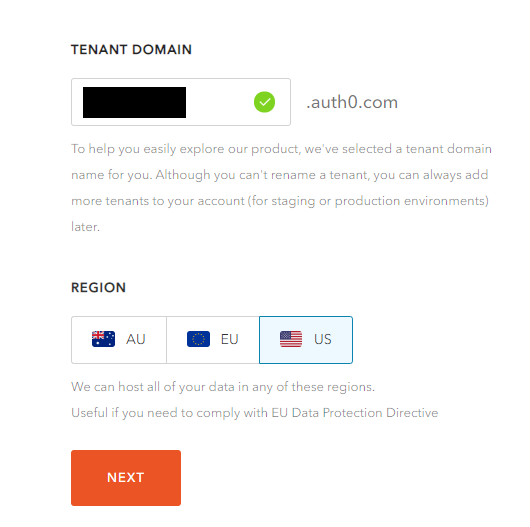
Auth0でユーザ登録します。
Tenant DomainとRegionを変更できますがデフォルトで特に問題ないです。
(Tenant Domainは1度設定すると変更できないので命名したい方はここで設定)
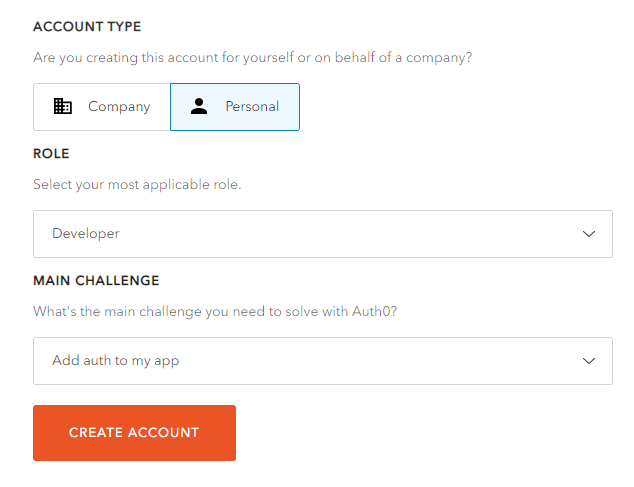
次はアカウントの設定です。
今回はPersonalでDeveloper、Add auth to my appを選びます。
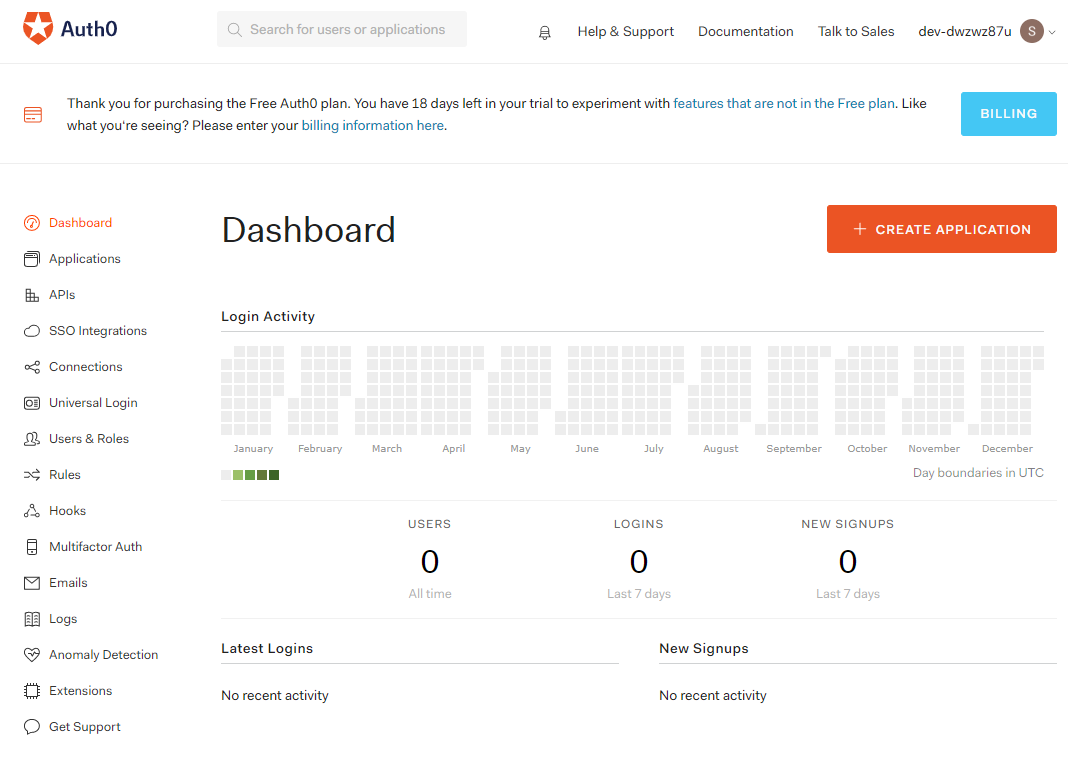
登録が完了するとDashboard画面に移ります。
2.2. アプリケーションの紐づけ先の作成
Auth0上で作成したアプリケーションの紐づけ先を作成します。
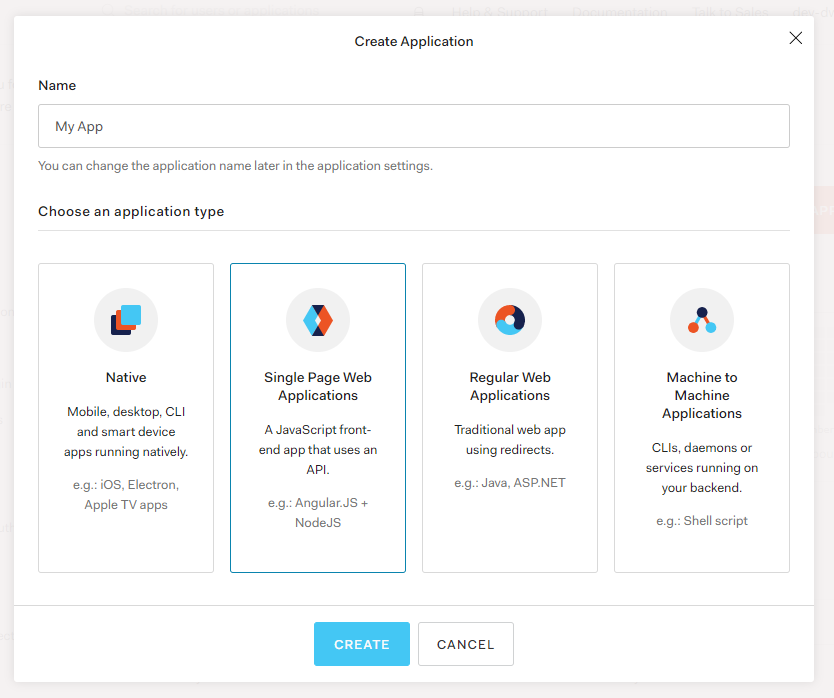
まずは、Dashboard画面のCreate Applicationボタンを押します。
ボタンを押すと次の画面が出てくるので、Nameと「Single Page Web Applications」を選択し、CREATEボタンを押します。
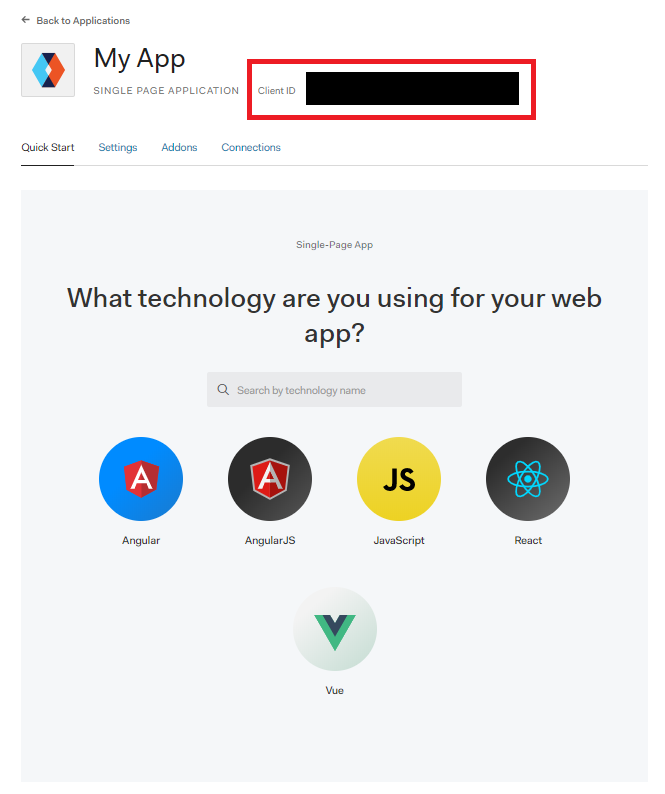
完了すると個別のアプリケーションに対する設定画面に移ります。
赤い枠で囲ったClient IDは後で必要になるので書いている場所を覚えておいてください。
下のアイコンが並んでいる部分は自分が使っているフレームワークやライブラリを選ぶと
公式ガイドに切り替わってAuth0の使い方を教えてくれます。
2.3. Auth0側で紐づけ設定
アプリケーションとAuth0との紐づけ設定をします。
SettingsタブでアプリケーションのURLを設定します。
次の3つの項目に http://localhost:3000 を設定してください。
- Allowed Callback URLs
- Allowed Web Origins
- Allowed Logout URLs
3つとも変更したら、最下部のSAVE CHANGESを押して設定は完了です。
Auth0側での設定は以上ですが、アプリケーション側での設定に必要なため
DomainとClient IDをひかえておいてください。
3. アプリケーション側の設定
3.1. パッケージの追加
今のアプリケーションにAuth0と必要なパッケージを追加します。
次のコマンドを入力してください。
# Auth0パッケージの追加
$ yarn add @auth0/auth0-spa-js
# Reactで画面遷移するライブラリ
$ yarn add react-router-dom
少し待つとインストールが完了します。
これでアプリケーション側でAuth0のサービスを利用できるようになります。
3.2. コーディング
利用できると書きましたが、パッケージ追加しただけでは利用できるわけではないので
Auth0のサービスを呼び出すために、アプリケーションの修正をします。
アプリケーション内のsrcフォルダの中にreact-auth0-spa.jsというファイルを作成します。
以下コピペでも大丈夫です。(Auth0の機能をReactで利用するための部品を作っています)
import React, { useState, useEffect, useContext } from "react";
import createAuth0Client from "@auth0/auth0-spa-js";

const DEFAULT_REDIRECT_CALLBACK = () =>
  window.history.replaceState({}, document.title, window.location.pathname);

export const Auth0Context = React.createContext();
export const useAuth0 = () => useContext(Auth0Context);
export const Auth0Provider = ({
  children,
  onRedirectCallback = DEFAULT_REDIRECT_CALLBACK,
  ...initOptions
}) => {
  const [isAuthenticated, setIsAuthenticated] = useState();
  const [user, setUser] = useState();
  const [auth0Client, setAuth0] = useState();
  const [loading, setLoading] = useState(true);
  const [popupOpen, setPopupOpen] = useState(false);

  useEffect(() => {
    const initAuth0 = async () => {
      const auth0FromHook = await createAuth0Client(initOptions);
      setAuth0(auth0FromHook);

      if (window.location.search.includes("code=")) {
        const { appState } = await auth0FromHook.handleRedirectCallback();
        onRedirectCallback(appState);
      }

      const isAuthenticated = await auth0FromHook.isAuthenticated();

      setIsAuthenticated(isAuthenticated);

      if (isAuthenticated) {
        const user = await auth0FromHook.getUser();
        setUser(user);
      }

      setLoading(false);
    };
    initAuth0();
    // eslint-disable-next-line
  }, []);

  const loginWithPopup = async (params = {}) => {
    setPopupOpen(true);
    try {
      await auth0Client.loginWithPopup(params);
    } catch (error) {
      console.error(error);
    } finally {
      setPopupOpen(false);
    }
    const user = await auth0Client.getUser();
    setUser(user);
    setIsAuthenticated(true);
  };

  const handleRedirectCallback = async () => {
    setLoading(true);
    await auth0Client.handleRedirectCallback();
    const user = await auth0Client.getUser();
    setLoading(false);
    setIsAuthenticated(true);
    setUser(user);
  };
  return (
    <Auth0Context.Provider
      value={{
        isAuthenticated,
        user,
        loading,
        popupOpen,
        loginWithPopup,
        handleRedirectCallback,
        getIdTokenClaims: (...p) => auth0Client.getIdTokenClaims(...p),
        loginWithRedirect: (...p) => auth0Client.loginWithRedirect(...p),
        getTokenSilently: (...p) => auth0Client.getTokenSilently(...p),
        getTokenWithPopup: (...p) => auth0Client.getTokenWithPopup(...p),
        logout: (...p) => auth0Client.logout(...p)
      }}
    >
      {children}
    </Auth0Context.Provider>
  );
};
自分も全量理解しているわけではないですが、
内部で持っている変数(状態)だけ簡単に表で説明しておきます。
| 変数(状態)名 | 内容 |
|---|---|
| isAuthenticated | 認証済みかどうか |
| user | ユーザ情報 |
| auth0Client | Auth0と接続するクライアント |
| loading | 認証中かどうか |
| popupOpen | 認証用ポップアップ画面の開閉 |
次にsrcフォルダの中にhistory.jsというファイルを作成します。
中身は次のように書いてください。
import { createBrowserHistory } from "history";
export default createBrowserHistory();
historyAPIについてはカレンダー5日目の記事で触れられています。
同じくsrcフォルダの中のindex.jsを修正します。
import React from "react";
import ReactDOM from "react-dom";
import App from "./App";
import * as serviceWorker from "./serviceWorker";
import { Auth0Provider } from "./react-auth0-spa";
import config from "./auth_config.json";
import history from "./history";

const onRedirectCallback = appState => {
  history.push(
    appState && appState.targetUrl
      ? appState.targetUrl
      : window.location.pathname
  );
};

ReactDOM.render(
  <Auth0Provider
    domain={config.domain}
    client_id={config.clientId}
    redirect_uri={window.location.origin}
    onRedirectCallback={onRedirectCallback}
  >
    <App />
  </Auth0Provider>,
  document.getElementById("root")
);

serviceWorker.unregister();
そして、srcフォルダの中にauth_config.jsonファイルを作成し、
2.3でメモしたDomainとClient IDを記入します。
{
    "domain": "<自分のDomain>",
    "clientId": "<自分のClientId>"
}
最後にアプリの画面にログインボタンを追加します。
App.jsを次のように修正してください。
import React from 'react';
import logo from './logo.svg';
import './App.css';
// 追加部分①
import { useAuth0 } from "./react-auth0-spa";

// ここから追加部分②
const Profile = () => {
  const { loading, user } = useAuth0();

  if (loading || !user) {
    return <div>Loading...</div>;
  }
  return <div>ようこそ {user.name} さん</div>;
};
// ここまで追加部分②

function App() {
  // 追加部分③
  const { isAuthenticated, loginWithRedirect, logout} = useAuth0();

  return (
    <div className="App">
      <header className="App-header">
        <img src={logo} className="App-logo" alt="logo" />
        <p>
          Edit <code>src/App.js</code> and save to reload.
        </p>
        <a
          className="App-link"
          href="https://reactjs.org"
          target="_blank"
          rel="noopener noreferrer"
        >
          Learn React
        </a>
        {/* ここから追加部分④ */}
        <div>
        {!isAuthenticated && (
          <button onClick={() => loginWithRedirect({})}>Log in</button>
          )}
        {isAuthenticated && (
          <div>
            <Profile/>
            <button onClick={() => logout()}>Log out</button>
          </div>
        )}
      </div>
      {/* ここまで追加部分④ */}
      </header>
    </div>
  );
}

export default App;
コーディングは以上です。お疲れ様でした。
4. ログイン機能を確認
では実際にログイン機能が使えるか試してみます。
実は今までアプリケーション自体は動かしっぱなしでした。
コードを変更 ⇒ 保存 ⇒ アプリケーションに反映
保存すると反映するところまで自動でやってくれています。
ですので変更・追加したプログラムを保存して再度 http://localhost:3000 を開きます。
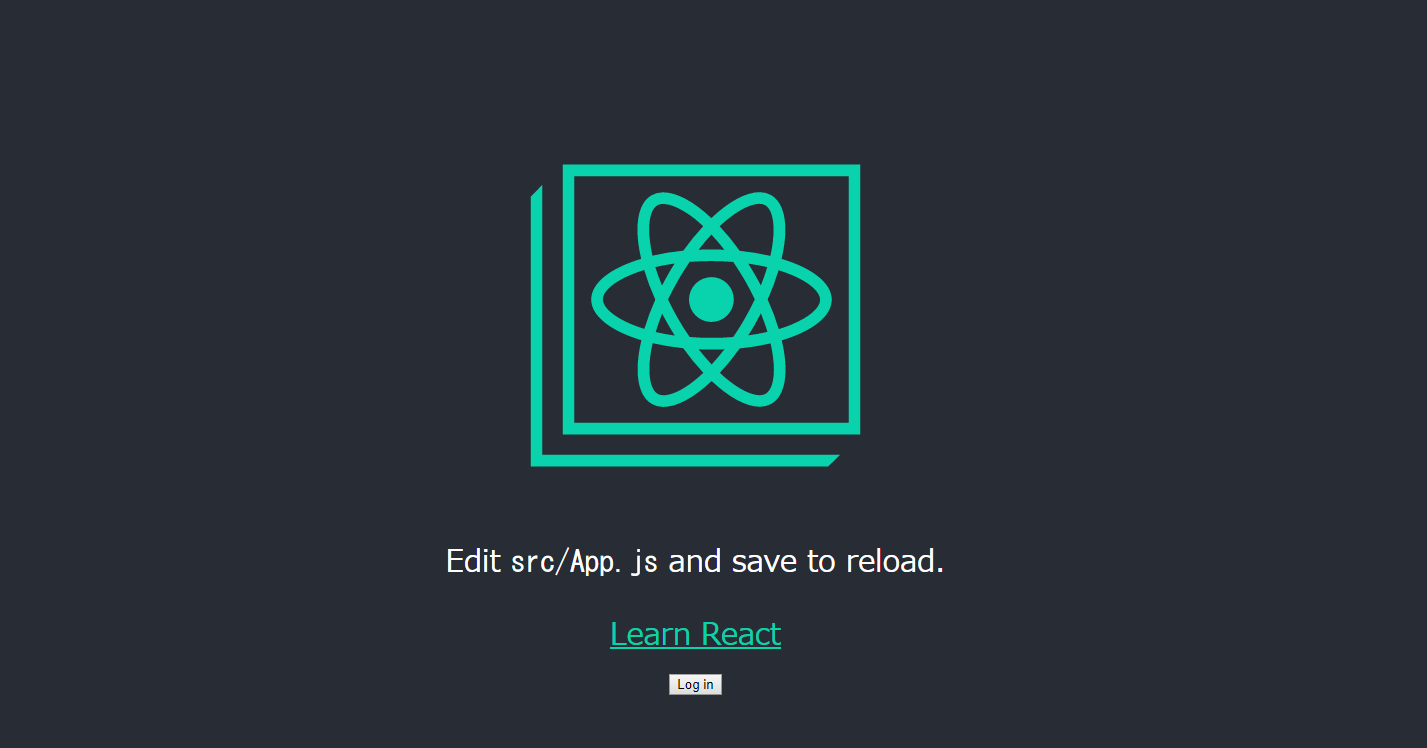
一番下に小さくログインボタンが追加されています。
これを押すとログイン画面(タブでユーザ登録と切り替え)が出てきます。
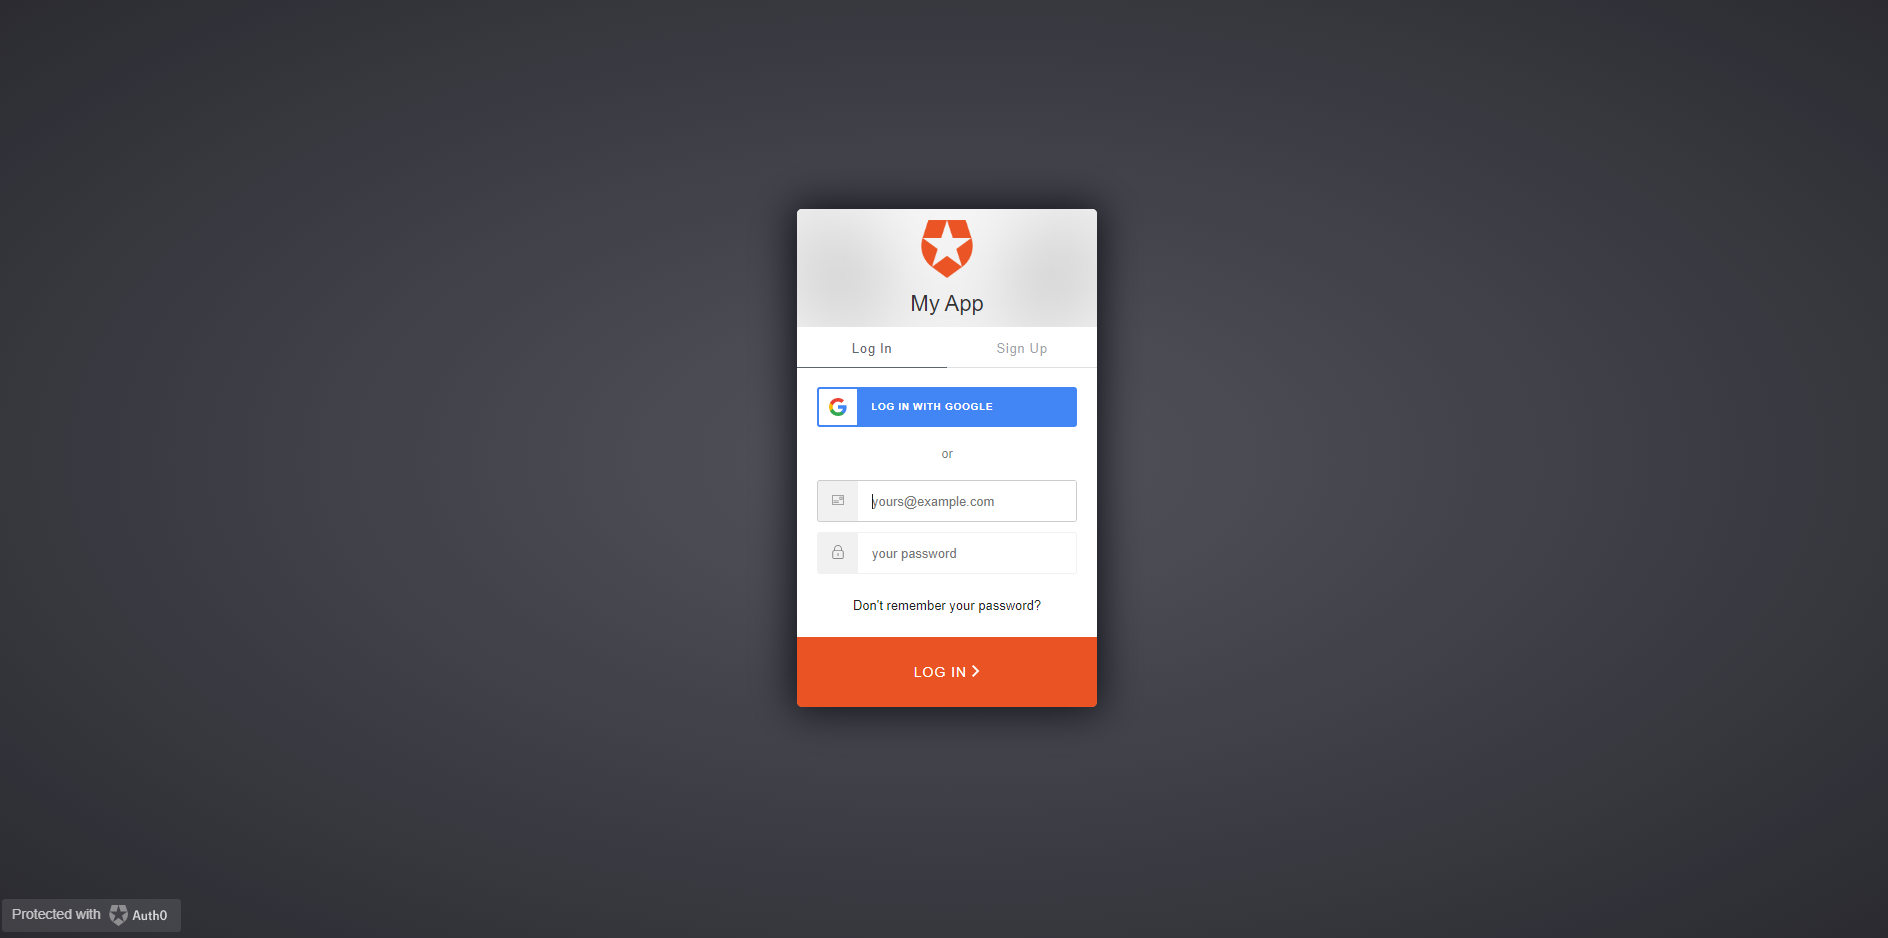
せっかくなのでGoogleアカウントでログインしてみましょう。
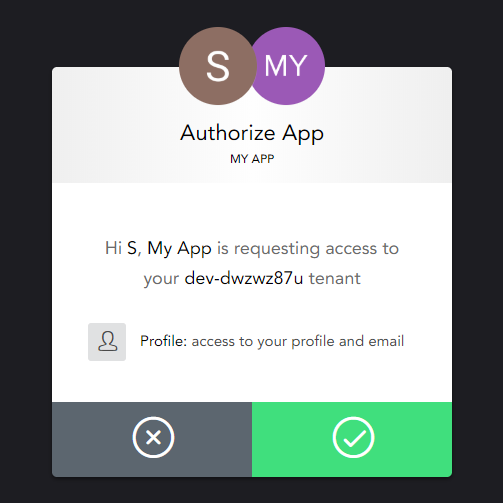
初回ログインは同意を求める上の画面が出てくるので✔マークで同意してログイン完了です。
今回は元のページに戻りますがボタンがLoginからLogoutに変わっています。
また、ユーザの名前を表示するようにしています。
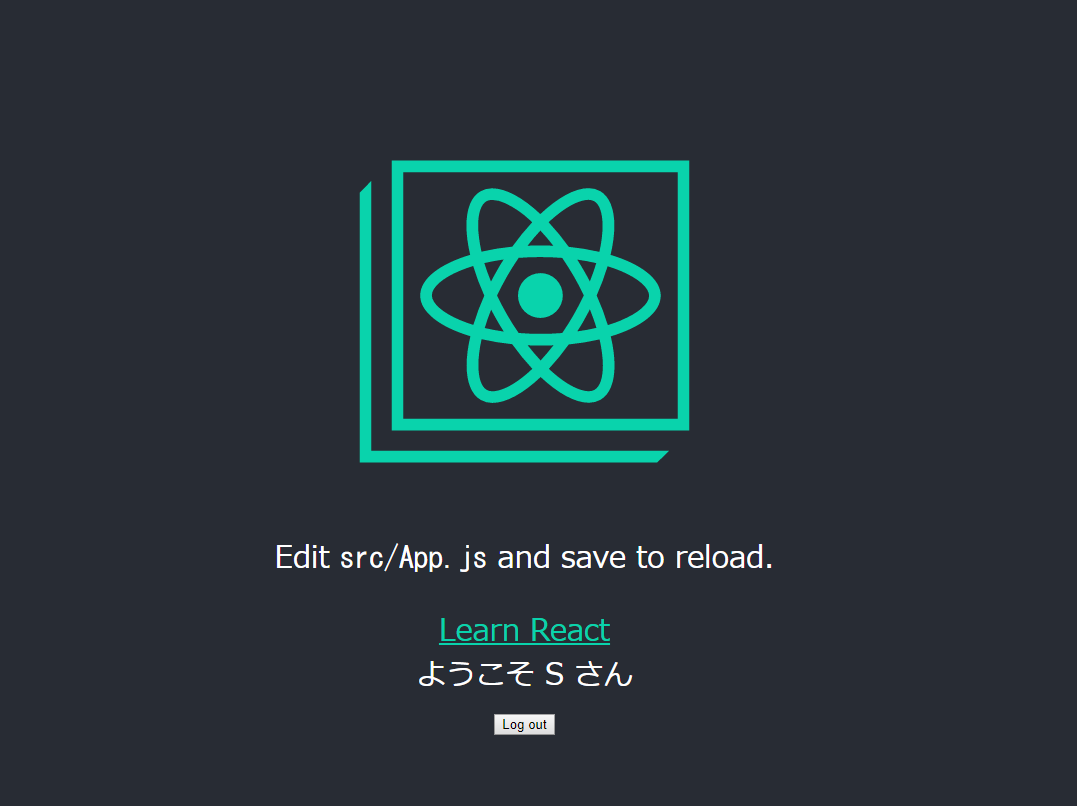
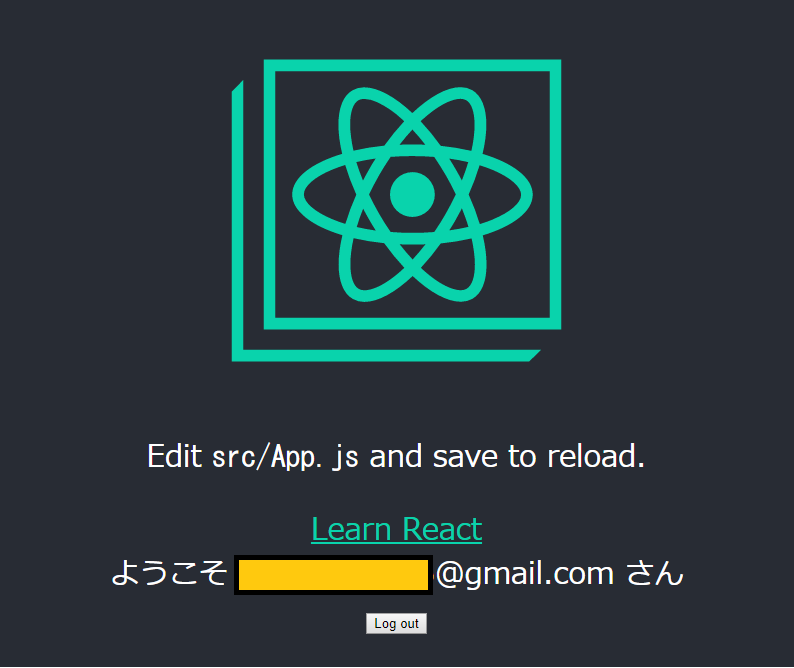
Googleの認証ではなくメールアドレスを登録してログインした場合はアドレスが表示されます。
まとめ
- 最近HotなAuth0を使ってみた
- 手軽にサービスを組み込めるところが良い
この機会にどんどん使い込んでいきたいですね!