はじめに
2023年の大ブームになっているChatGPT。会話だけでなく、コードの生成やデバッグ等の活用事例もちらほら見ますね。
せっかくなのでいつも使っているvscodeで簡単にコードの生成ができるように拡張機能を作ってみたいと思います。
※ きっともう誰かがいいやつ作っている気もしますが、今までvscodeの拡張機能を作ったことがなかったので、お勉強の題材ということで。
やりたいこと
vscodeエディタ上にコメントで実装したい内容を記載し、そのコメントを選択して右クリックメニューからcodegptを選択することで、コメントの下にコードを追記したいと思います。なお、作成するコードはこの例ではJava固定としています。(ファイル拡張子等、言語を判定する仕様を決めれば複数言語にも簡単に対応はできると思います)
OpenAIのAPIキー
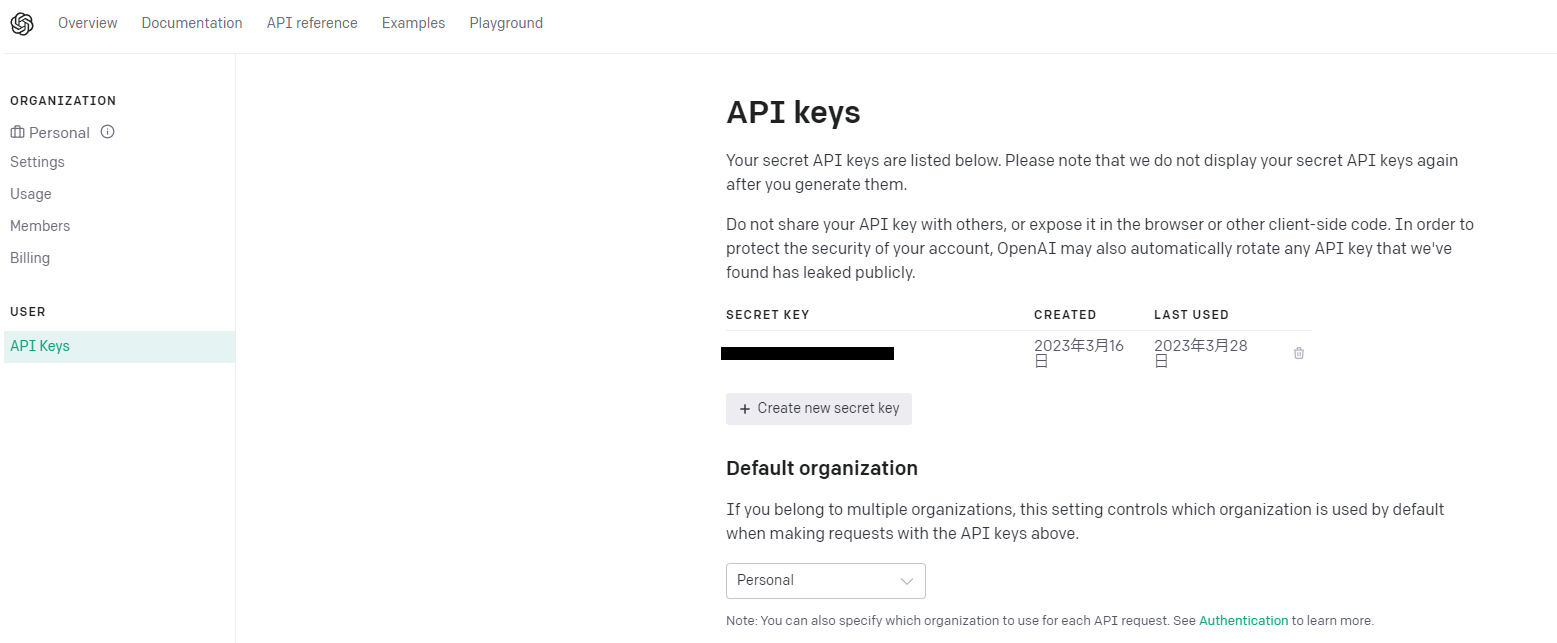
まずはOpenAIのAPI keys( https://platform.openai.com/account/api-keys )にアクセスしてOpenAIのAPIキーを払い出しておきます。
注)有償ライセンス等費用がかかるケースがあります。登録は個人の責任でお願いします。
拡張機能の開発準備
Generatorインストール
$ npm install -g generator-code
プロジェクトの作成
プロジェクトを作成します。今回はcode-gptという名前で作成してみました。
$ npx yo code

Need to install the following packages:
  yo@4.3.1
Ok to proceed? (y) y
npm WARN deprecated readdir-scoped-modules@1.1.0: This functionality has been moved to @npmcli/fs
npm WARN deprecated @npmcli/move-file@1.1.2: This functionality has been moved to @npmcli/fs
npm WARN deprecated @npmcli/move-file@2.0.1: This functionality has been moved to @npmcli/fs

     _-----_     ╭──────────────────────────╮
    |       |    │   Welcome to the Visual  │
    |--(o)--|    │   Studio Code Extension  │
   `---------´   │        generator!        │
    ( _´U`_ )    ╰──────────────────────────╯
    /___A___\   /
     |  ~  |
   __'.___.'__
 ´   `  |° ´ Y `

? What type of extension do you want to create? New Extension (TypeScript)
? What's the name of your extension? code-gpt
? What's the identifier of your extension? code-gpt
? What's the description of your extension? chat-gpt support extention
? Initialize a git repository? No
? Bundle the source code with webpack? Yes
? Which package manager to use? npm
実装
出来上がったスケルトンから実装していきます。
設定ファイル
package.json
APIキーをsettings.jsonで設定できるようにします。propertiesにあるcode-gpt.apikeyが取得するためのキーになります。
  "contributes": {
      "configuration": {
        "type": "object",
        "title": "code-gpt",
        "properties": {
            "code-gpt.apikey": {
                "type": [
                    "string",
                    "null"
                ],
                "default": "",
                "description": "ChatGPT APIKEY"
            }
        }
    },
右クリックメニューでcode-gptを起動するようにします。条件をeditorHasSelectionとすることで、エディタ上で何かしら文字列を選択している場合のみメニューが表示されるようになります。
    "commands": [
      {
        "command": "code-gpt.exec",
        "title": "codegpt"
      }
    ],
    "menus": {
      "editor/context": [
        {
          "when": "editorHasSelection",
          "command": "code-gpt.exec",
          "group": "myGroup@1"
        }
      ]
    }
  },
src/extenstion.ts
まずはregisterCommandにcode-gpt.execを設定します。
	let disposable = vscode.commands.registerCommand('code-gpt.exec', () => {
		let editor = vscode.window.activeTextEditor; // エディタ取得
		if (editor == undefined) {
			return
		}
		ask(editor)
実際にChatGPTへ問い合わせるソースになります。(モデルはgpt-3.5-turbo-0301固定)
問い合わせの際には言語の指定と、応答に会話が入らないようにコードだけ応答するように裏で指定しておきます。(べったべたなソースです・・・)
また、それでも応答コードが「```」でくくられる場合があるのでそれも外しておきます。
export async function ask(editor: vscode.TextEditor, model = "gpt-3.5-turbo-0301") {
	const conf = vscode.workspace.getConfiguration("code-gpt"); // settings.jsonの値を読み込む
	const value = conf.get<string>("apikey");
	const configuration = new Configuration({
		apiKey: value,
	});
	const openai = new OpenAIApi(configuration);

	let doc = editor.document;            // ドキュメント取得
	let cur_selection = editor.selection; // 選択範囲取得
	const f = doc.fileName;
	const selectText = doc.getText(cur_selection)
	const prefix = "Javaで";              // ファイル名の拡張子等で判断すれば別言語も対応できる
	const suffix = "。また、返事はコード部分だけにしてください。";
	const askText = prefix + selectText + suffix;
	const response = await openai.createChatCompletion({
	  model: model,
	  messages: [{ role: "user", content: askText }],
	});

	const answer = response.data.choices[0].message?.content;
	console.log(answer);
	if (answer != undefined) {
		editor.edit(edit => {
			const selectText = doc.getText(cur_selection)
			edit.replace(cur_selection, selectText + answer.replace("```", ""));
		});
		vscode.window.showInformationMessage(answer);
	}
}
動作確認
では、デバッグモードで起動して動かしてみます。
settings.json
OpenAIの管理画面で生成したAPIキーを設定しておきます。
{
    ...
    "code-gpt.apikey": "xxxxxxxxxxxxxxxxxxxxxxx"
}
コード生成
コードが挿入されました!
なお、何度か試したところコードが違ったり返事に会話が含まれたり(たまにですが)していたので、もっと安定した回答になるようにチューニングしていく必要はありそうです。
参考
公式ドキュメントの使いそうなところ。
VS Code API
https://code.visualstudio.com/api/references/vscode-api
contributes
https://code.visualstudio.com/api/references/contribution-points#contributes.configuration
https://code.visualstudio.com/api/references/contribution-points#contributes.menus
Activation Events
https://code.visualstudio.com/api/references/activation-events
おわりに
はじめてのvscode拡張機能開発でデバッグモードで動作確認までやってみました。メニューを追加して処理を動かす程度であればそれほど覚えることも多くなく、ロジックに集中して実装できるなと感じました。
実装はまだサンプルレベルなので、ここからもう少しちゃんとした実装にしたり、デバッグやテストコードの生成のような新しい機能の追加もやっていきたいと思います。


