1. CentOS騒動と、その後のRed Hatの対応
これまで以下の2つの記事で書いてきたように、CentOS終了の影響は大きく、結局RHELの無料範囲が広がることになった。
そこで今回はRed Hat Developer programに登録して、実際に16システムまで利用できるか確認してみよう。
2. Red Hat Developer Programとは
Red Hat Developer Programの詳細は以下サイトを見てほしい。
簡単に言うと、Red Hat Developerという開発者向けリソースと、一部のRed Hat製品が利用できるプログラムだ。以前から存在しているが、今回の改訂で16システムまで利用できるようになったのと、本番環境でも利用できるようになった。
利用条件の詳細は、上記「赤帽エンジニアブログ」や以下のリンクを見てほしい。1ユーザーでの利用に限られるので、複数ユーザーがログインして使うシステムでは利用できないようだ。
3. Red Hat Customer Portalで確認する
すでにRed Hat Developer Programへのユーザー登録を終えているものとして説明する。Red Hat Customer Portalではサブスクリプションの利用状況を確認できる。
- Red Hat Customer Portalにログインする。
https://access.redhat.com/ - ページ上の [SUBSCRIPITONS] をクリックする。
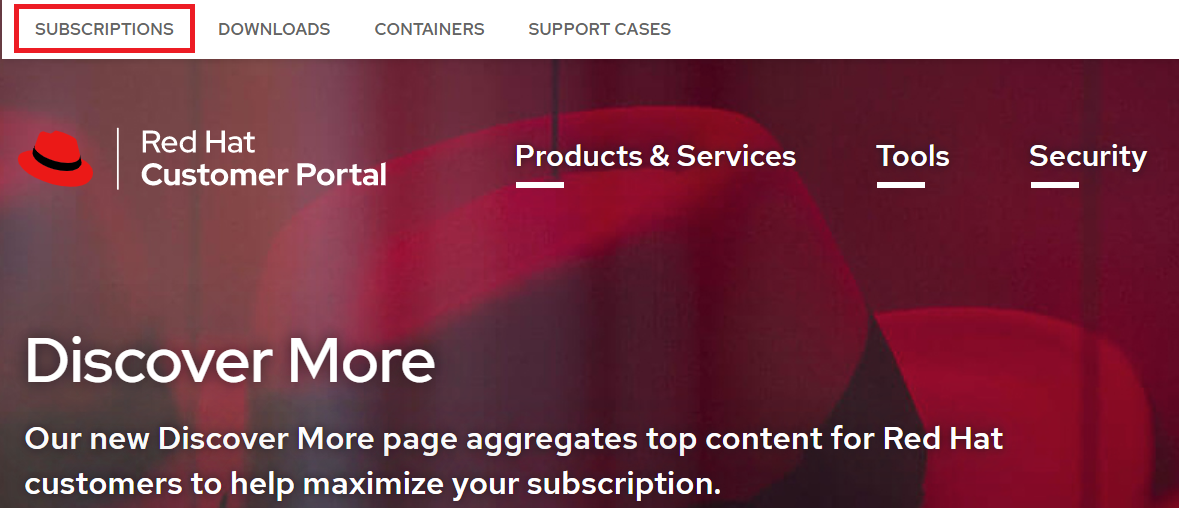
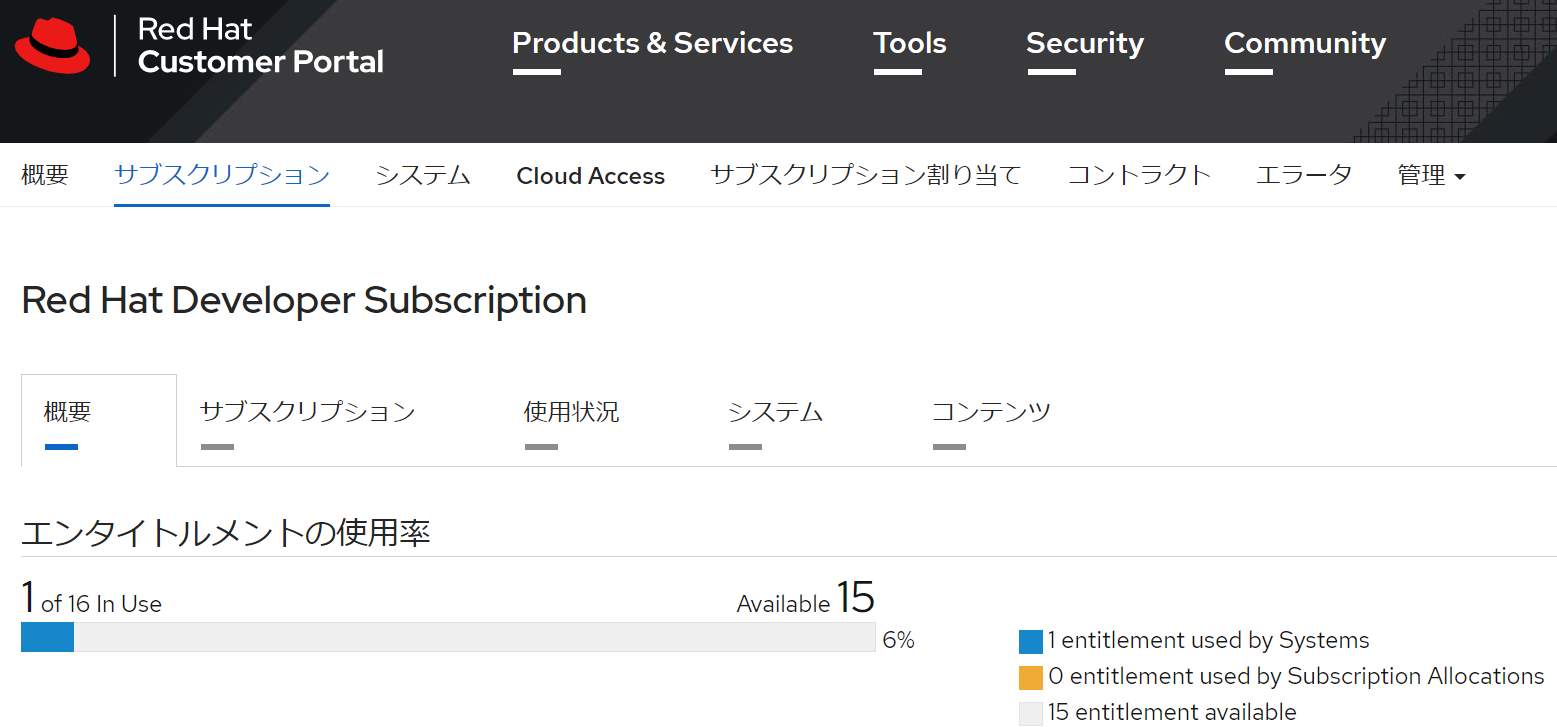
- アクティブなサブスクリプションが「1」になっていて、ページ下のPurchased Productsに「Red Hat Developer Subscription」が表示されている。
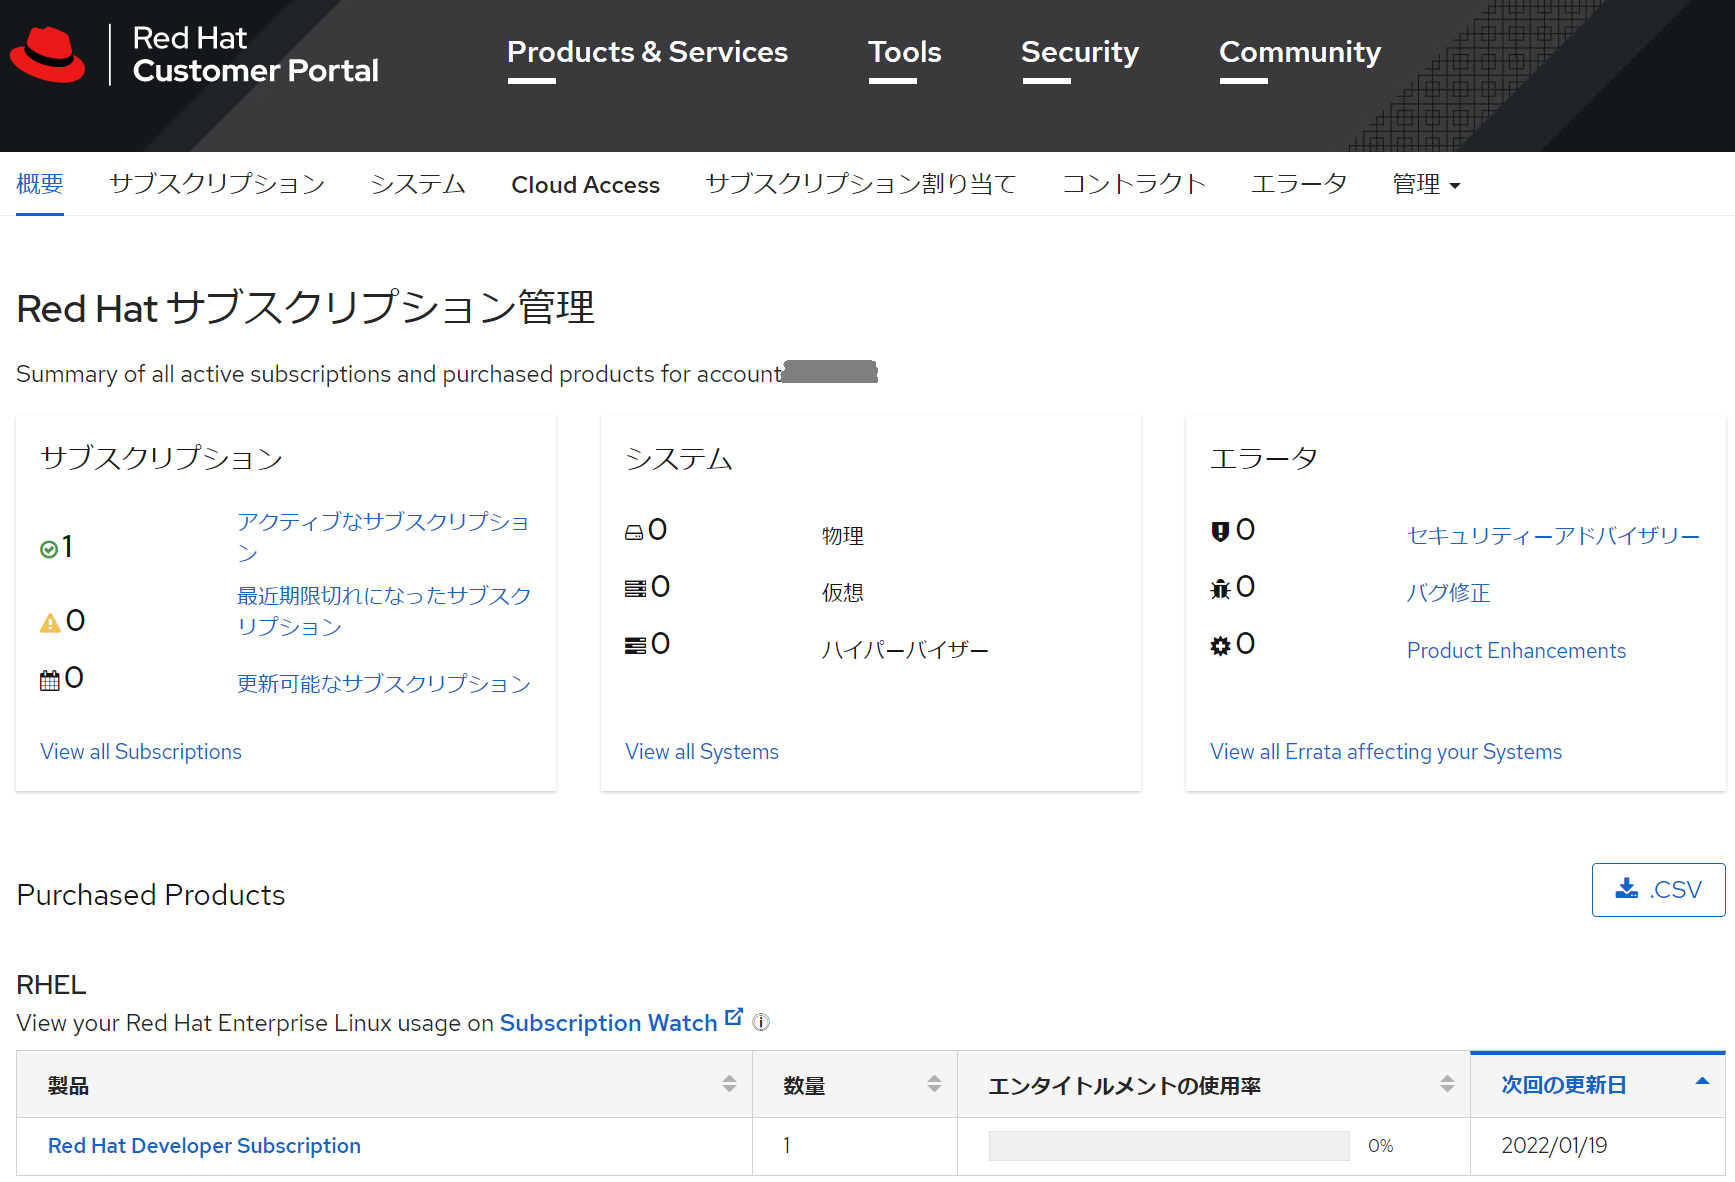
-
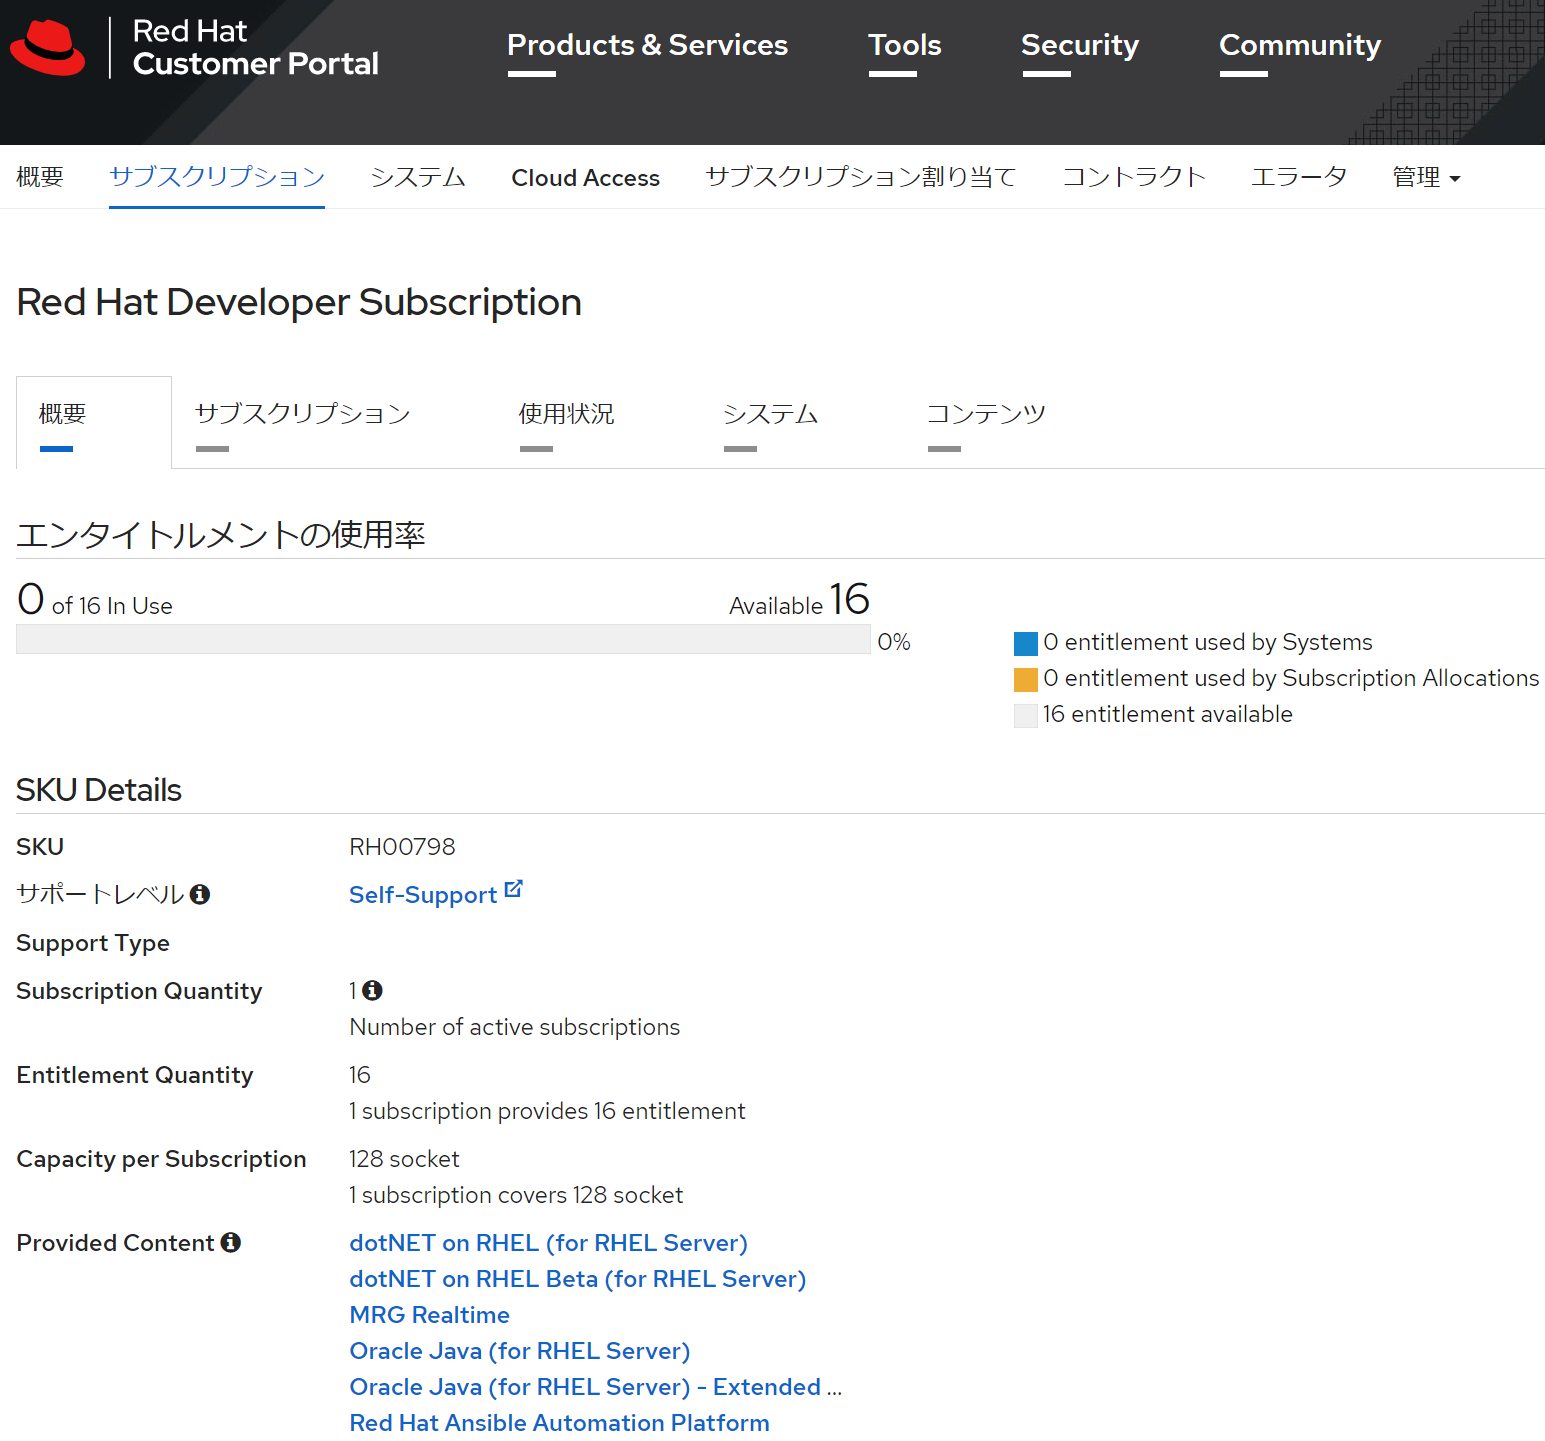
[Red Hat Developer Subscription] をクリックすると、サブスクリプションの使用状況が表示される。Availableが16となっており、16システムまで登録できることがわかる。
4. VMをサブスクリプションに登録する
RHELをインストールしたVMをサブスクリプションに登録する。登録することでYumリポジトリにアクセスできるだけでなく、Red Hat Customer PortalからもVMを確認できる。
今回はVirtualBoxを使用しているが、ベアメタルサーバーやCloud Accessで認められたクラウドサービスでも構わない。
前提条件
- ISOイメージをダウンロードして、RHELをインストールしてあること
- インストールしたRHELからインターネットにアクセスできること
ISOイメージの入手先
https://developers.redhat.com/products/rhel/download
4.1. コマンドラインで登録する
登録手順はマニュアルを参考にしてほしいが、コマンドの場合はマニュアルと手順が異なるので注意する。
- VMにログインする。sudoでもかまわないが、操作にはroot権限が必要になる。
- 利用できるリポジトリを確認すると、サブスクリプション登録前なので表示されない。
# dnf repolist
Updating Subscription Management repositories.
Unable to read consumer identity

This system is not registered to Red Hat Subscription Management. You can use subscription-manager to register.

利用できるリポジトリーがありません
3.subscription-managerコマンドで登録する。文法は次のとおり。ユーザー名とパスワードはRed Hat Customer Portalのものを使用する。--nameを省略すると、ホスト名で登録される。
# subscription-manager register --username [username] --password [password] --name [SYSTEM_NAME]
登録に成功すると次のように表示される。途中にプロキシがあるときは--proxyを指定する。
# subscription-manager register --username <ユーザー名> --password <パスワード>

登録中: subscription.rhsm.redhat.com:443/subscription
このシステムは、次の ID で登録されました: XXXXXXXX-XXXX-XXXX-XXXX-XXXXXXXXXXXX
登録したシステム名: rhel8
4.システムのロールとサービスレベルを設定する。
# subscription-manager role --set="Red Hat Developer Subscription for Individuals"
# subscription-manager service-level --set="Self-Support"
5.サブスクリプションをアタッチするには、プールIDを指定する方法と自動選択する方法がある。それぞれ文法は次のとおり。
- プールID指定:
subscription-manager attach --pool=<POOLID> - 自動:
subscription-manager attach --auto
プールIDは以下のコマンドで確認できる。
# subscription-manager list --consumed
+-------------------------------------------+
   割り当て済みのサブスクリプション
+-------------------------------------------+
サブスクリプション名:     Red Hat Developer Subscription for Individuals
提供:                     Red Hat Enterprise Linux High Availability for x86_64
                          - Update Services for SAP Solutions
★中略
アカウント:               xxxxxxxx
シリアル:                 xxxxxxxxxxxxxxx
プール ID:                xxxxxxxxxxxxxxxxxxxxxxxxxxxxx ★ここ
管理の提供:               いいえ
アクティブ:               True
使用数量:                 1
サービスタイプ:
ロール:                   Red Hat Enterprise Linux Server
                          Red Hat Enterprise Linux Workstation
                          Red Hat Enterprise Linux Compute Node
サービスレベル:           Self-Support
使用方法:                 Development/Test
★以下省略
大量に表示されるので次のようにgrepしてもいいだろう。
# LANG=C subscription-manager list --consumed | grep -i pool
Pool ID:             xxxxxxxxxxxxxxxxxxxxxxxxxxxxx
6.サブスクリプションをアタッチする。この例では--autoを使用しているが、--pool=プールIDでもよい。
# subscription-manager attach --auto
インストール済み製品の現在の状態:
製品名: Red Hat Enterprise Linux for x86_64
状態:   サブスクライブ済み
7.サブスクリプションのステータスを確認する。
# subscription-manager list
+-------------------------------------------+
    インストール済み製品のステータス
+-------------------------------------------+
製品名:           Red Hat Enterprise Linux for x86_64
製品 ID:          479
バージョン:       8.3
アーキテクチャー: x86_64
状態:             サブスクライブ済み
状態の詳細:
開始:             2021年01月20日
終了:             2022年01月20日
8.再びリポジトリを確認すると、2つのリポジトリが使えるようになっている。
# dnf repolist
Updating Subscription Management repositories.
repo id                          repo の名前
rhel-8-for-x86_64-appstream-rpms Red Hat Enterprise Linux 8 for x86_64 - AppStream (RPMs)
rhel-8-for-x86_64-baseos-rpms    Red Hat Enterprise Linux 8 for x86_64 - BaseOS (RPMs)
9.アップデートできるパッケージを確認すると表示される。
# dnf check-update
★中略
sudo.x86_64               1.8.29-6.el8_3.1         rhel-8-for-x86_64-baseos-rpms
systemd.x86_64            239-41.el8_3.1           rhel-8-for-x86_64-baseos-rpms
systemd-libs.x86_64       239-41.el8_3.1           rhel-8-for-x86_64-baseos-rpms
systemd-pam.x86_64        239-41.el8_3.1           rhel-8-for-x86_64-baseos-rpms
systemd-udev.x86_64       239-41.el8_3.1           rhel-8-for-x86_64-baseos-rpms
tuned.noarch              2.14.0-3.el8_3.1         rhel-8-for-x86_64-baseos-rpms
tzdata.noarch             2021a-1.el8              rhel-8-for-x86_64-baseos-rpms
※最初に操作したときは「subscription-manager register」を実行しただけでリポジトリにアクセスできたような気がするのだが…。いろいろ操作していたら、今回の手順通りに実行しないとダメだった。
4.2. Red Hat Customer Portalで登録状況を確認する
Red Hat Customer Portalで確認すると、システムが登録されてることが分かる。次のように名前の前に 緑の●印 が付いていればYumリポジトリを利用できる。
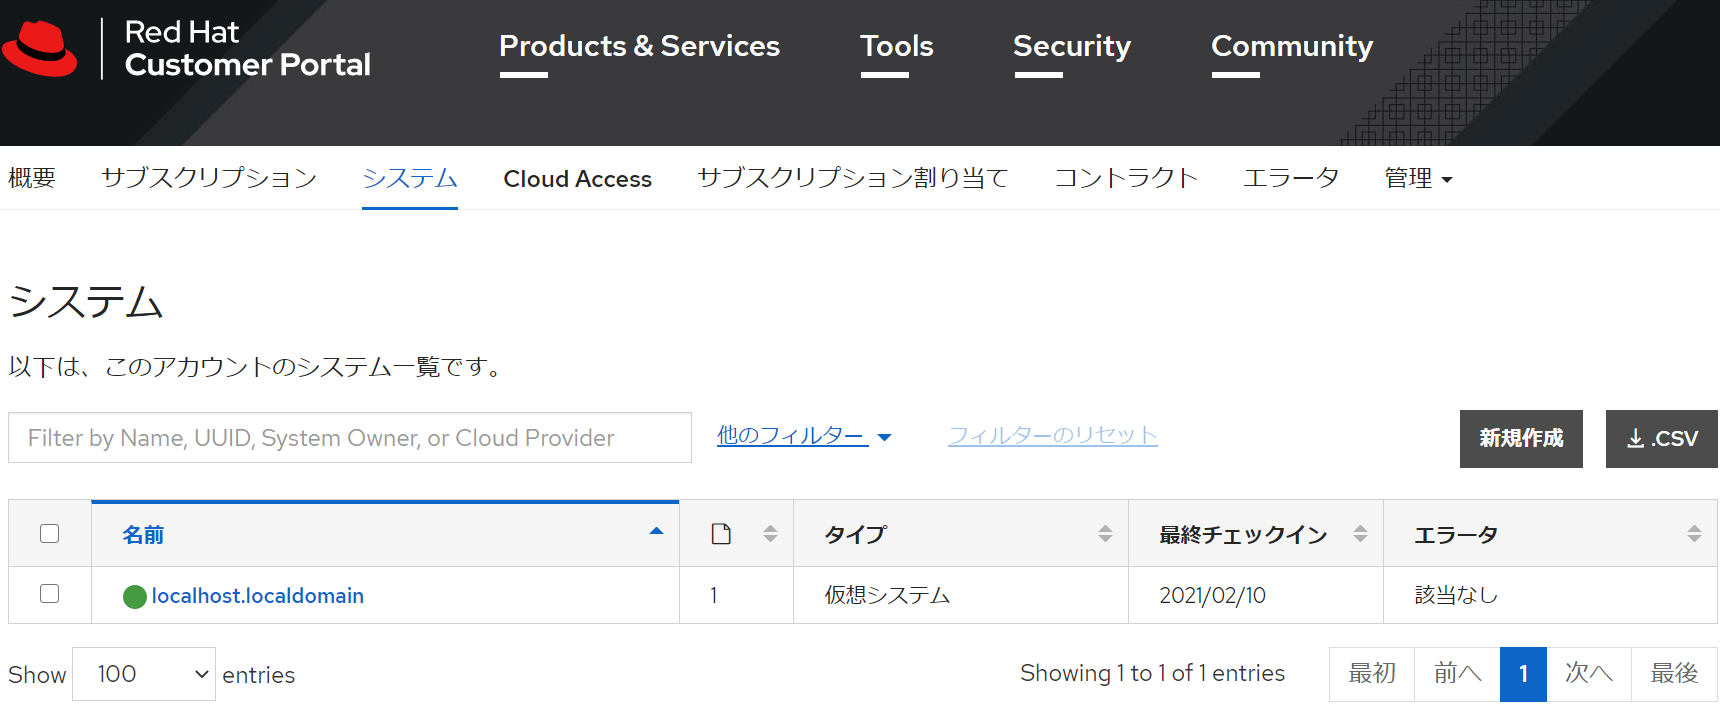
概要ページを見ると、1システムが登録され、残りは15システムになっている。
4.3. トラブルシュート
登録したシステムはCustomer Portalやsubscription-managerコマンドで削除できる。subscription-managerコマンドは複雑なのでmanを見てほしい。
subscription-manager unregister # システム登録削除
subscription-manager clean      # ローカルディスク上の登録情報削除
5. おわりに
いままでRed Hat Enterprise Linuxを使用したことがないユーザーにとって、サブスクリプション登録は戸惑うかもしれないが、分かってしまえば簡単だ。実際のところ「1ユーザー」という制限があるので、本格的なシステムでの利用は難しいが、完全に個人利用のシステムや、ちょっとした開発やテストでは十分使えるだろう。
今後CentOS Streamになるのか。それともAlmaLinuxなどのオルナタティブCentOSになるのか。はたまたRHELやOracle Linuxになるのか。今後の1,2年の動向が楽しみである。