インストール
インストール
Mac
以下のコマンドを実行します。
$ brew install go
Windows
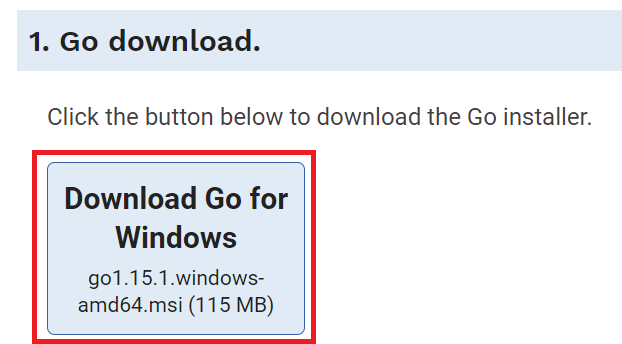
以下のページより、Windows用のインストーラー(.msiファイル)をダウンロードして実行します。
Download and install
インストーラーに表示される手順に従って進めます。
インストール先フォルダは、特段の理由がなければデフォルトのまま変更しない方がいいです。
インストール後確認
インストール後、コマンドラインで以下を実行して動作すればOK。
$ go version
go version go1.15.1 windows/amd64
環境変数の設定
PATHに%GOPATH%\binを登録します。
PATHに登録しておかないとgo getでインストールしたコマンドを実行することができません。
Mac
以下のコマンドを実行して設定します。
$ echo "export GOPATH=$(go env GOPATH)" >> ~/.bash_profile
$ echo "export PATH=$PATH:$(go env GOPATH)/bin" >> ~/.bash_profile
$ source ~/.bash_profile
Windows
環境変数の設定がわからない場合は、以下が参考になります。
WindowsにGo言語をインストールする方法まとめ
VSCode Extension
VSCodeをインストールしていない場合は、こちらからインストールします。
インストール
VSCodeを起動し、拡張機能(Ctrl+Shift+X)を開いてGoで検索します。
検索結果に表示される以下をインストールします。
主な機能
- Lint&Format
- Debug
- コード補完
Tips
VSCodeで開発をしていて、補完が効かない、エラーが消えないなどの時は、VSCode上で以下のコマンドを実行するとたいてい解決します。
-
Ctrl + Shift + Pでコマンドパレットを表示 -
Go: Restart Language Serverと入力して実行
プロジェクトのはじめかた・おすすめライブラリ
手前みそですが、以下の記事を参考にして頂けると幸いです。
Goプロジェクトのはじめかたとおすすめライブラリ8.5選。ひな形にも使えるサンプルもあるよ。
⇒Qiitaのデイリートレンド5位に入りました!
さいごに
Twitterの方でも、モダンな技術習得やサービス開発の様子を発信したりしているので良かったらチェックしてみてください!
Goプロジェクトのはじめかたやおすすめライブラリの記事に続き、GoインストールとVSCode設定に関してもQiitaに投稿しました😊
— やぎぬ😇行動力エンジニア (@yagi_eng) September 9, 2020
他言語と比べて、圧倒的に簡単に始められるのがGoのいいところです!
Goをこれから始める方など、良かったら参考にしてください😇https://t.co/s02NmXTfU3
また、BOT開発を通じてGoとLINE BOTにまとめて入門する記事をZennに掲載していますので、良かったらそちらもご覧ください!
ZennでGoとLINE BOTの記事を書いてみました
— やぎぬ😇行動力エンジニア (@yagi_eng) November 7, 2020
⬇️BOT開発を通じてGoとLINE BOTにまとめて入門するhttps://t.co/QqsEESJMKa
5ステップに分け、「Hello Worldから始めて、飲食店検索ができるLINE BOTの実装まで」を解説しています
GoやLINE BOTに興味のある人は是非読んでみてください😇
24,000字超え😇

